Gather leaves, twigs, rocks, and pinecones, then make 15 kid-friendly nature crafts using simple supplies you already have at home.
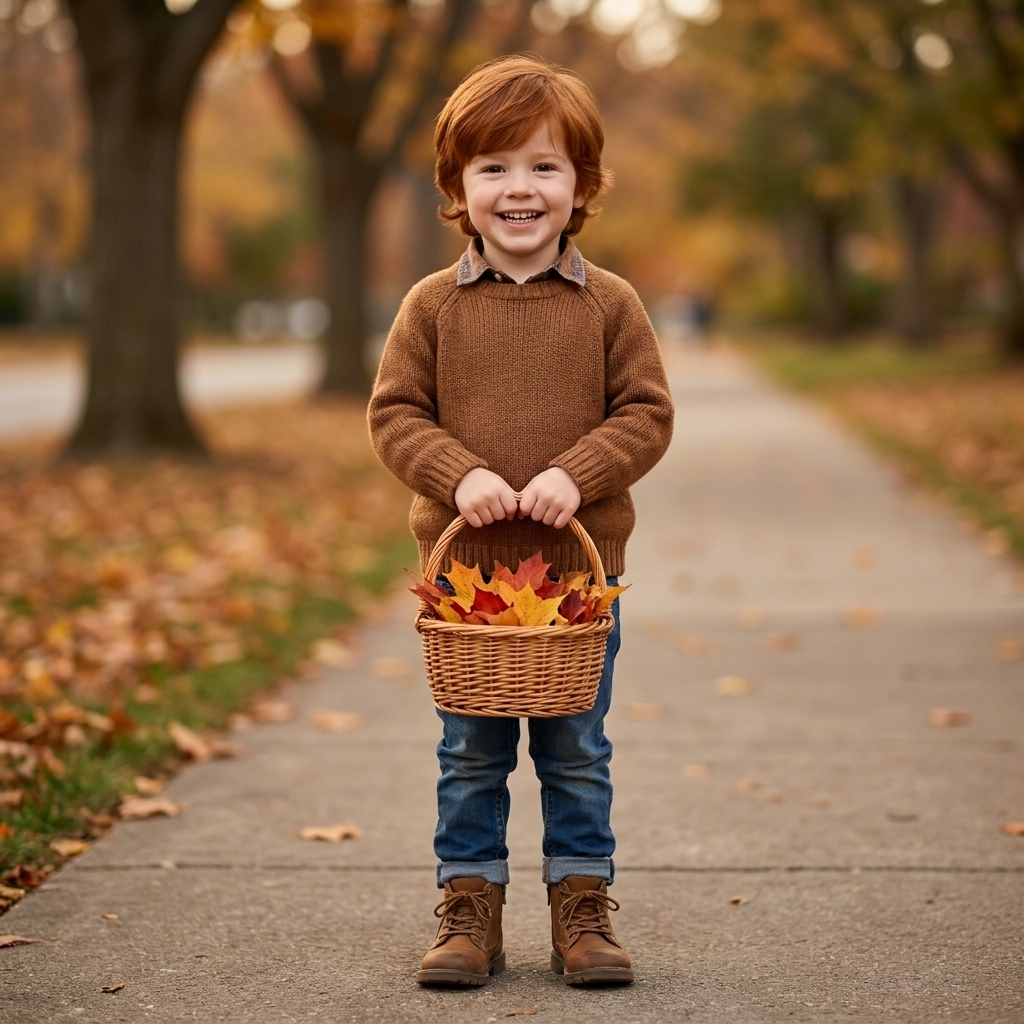
Nothing says autumn like a pocket full of crunchy leaves and a kid who is absolutely sure this one is the best leaf in the whole neighborhood. I love leaf crafts for kindergarten because the “shopping trip” is built in. We walk, we notice, we collect, and then we create.
Below are 12 leaf crafts that start with a simple nature walk. They are classroom-friendly and home-friendly, and they work with real kindergarten attention spans. A few are quick wins, a few are “save it for a rainy afternoon,” and all of them celebrate that gorgeous fall color.
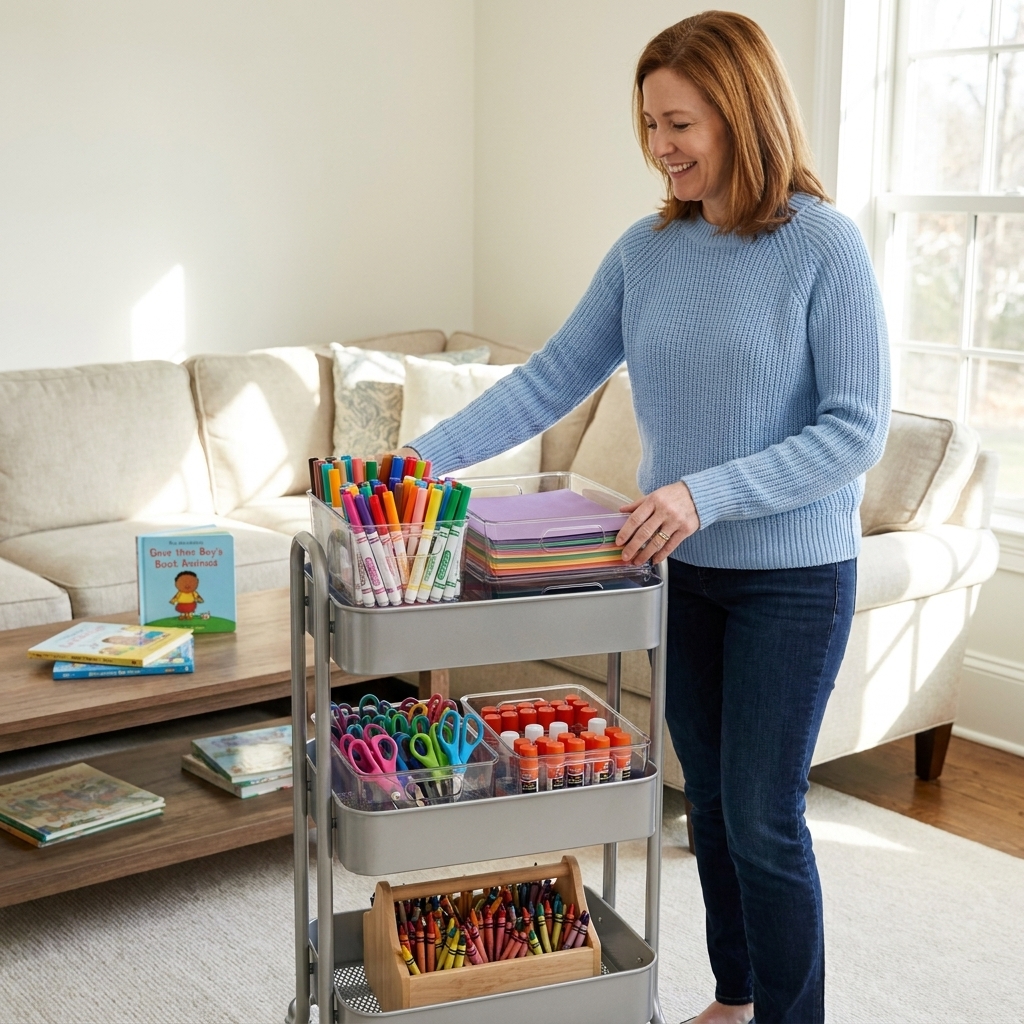
Quick supply list
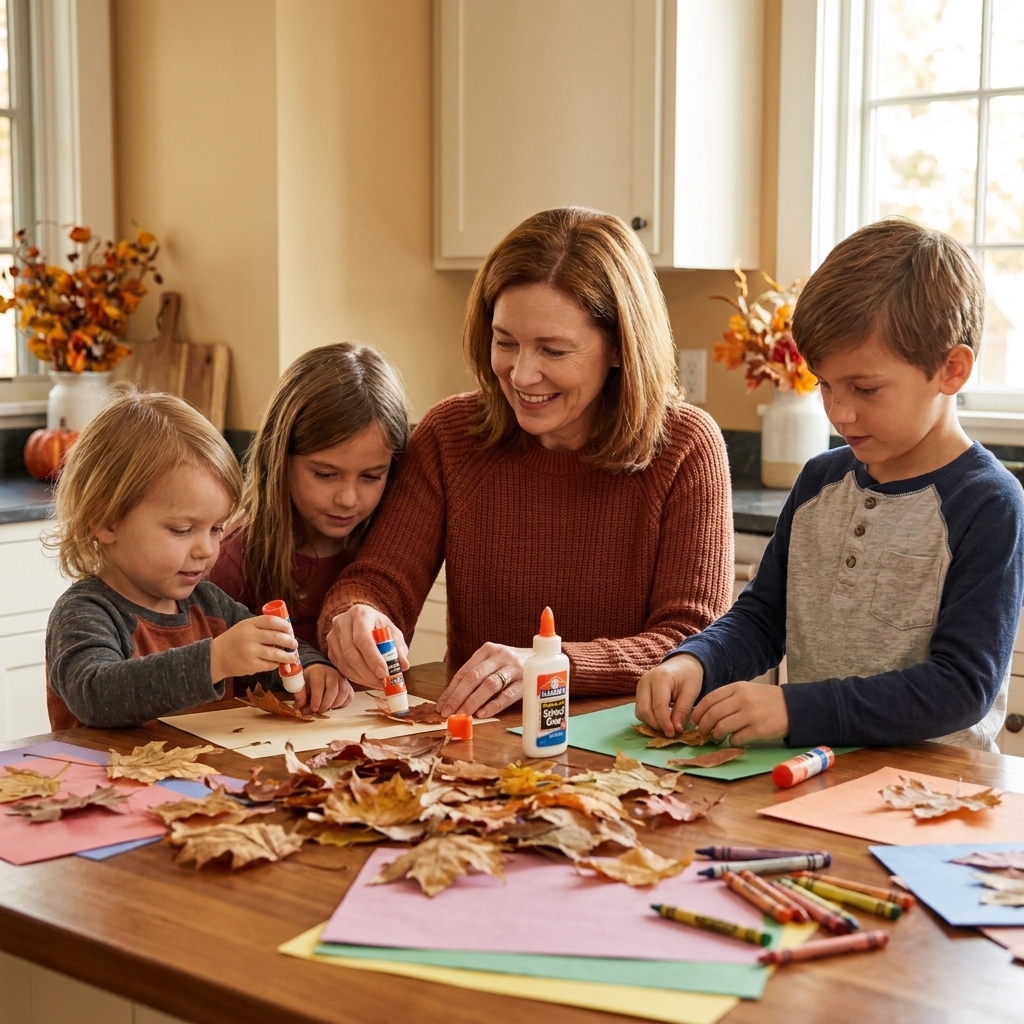
If you have these basics, you can do almost every project in this list without a last-minute store run.
- Paper: construction paper + cardstock (cardstock holds up better with wet glue)
- Adhesives: glue sticks for most projects, plus white school glue for jars or heavy layering
- Drawing tools: markers or crayons (peeled crayons are great for rubbings)
- Scissors: kid scissors and one adult pair
- Easy mess control: a shallow tray/baking sheet for leaves, and wipes or a damp washcloth
- Optional fun extras: googly eyes, yarn/twine, a hole punch, wax paper, clear contact paper
Before you craft
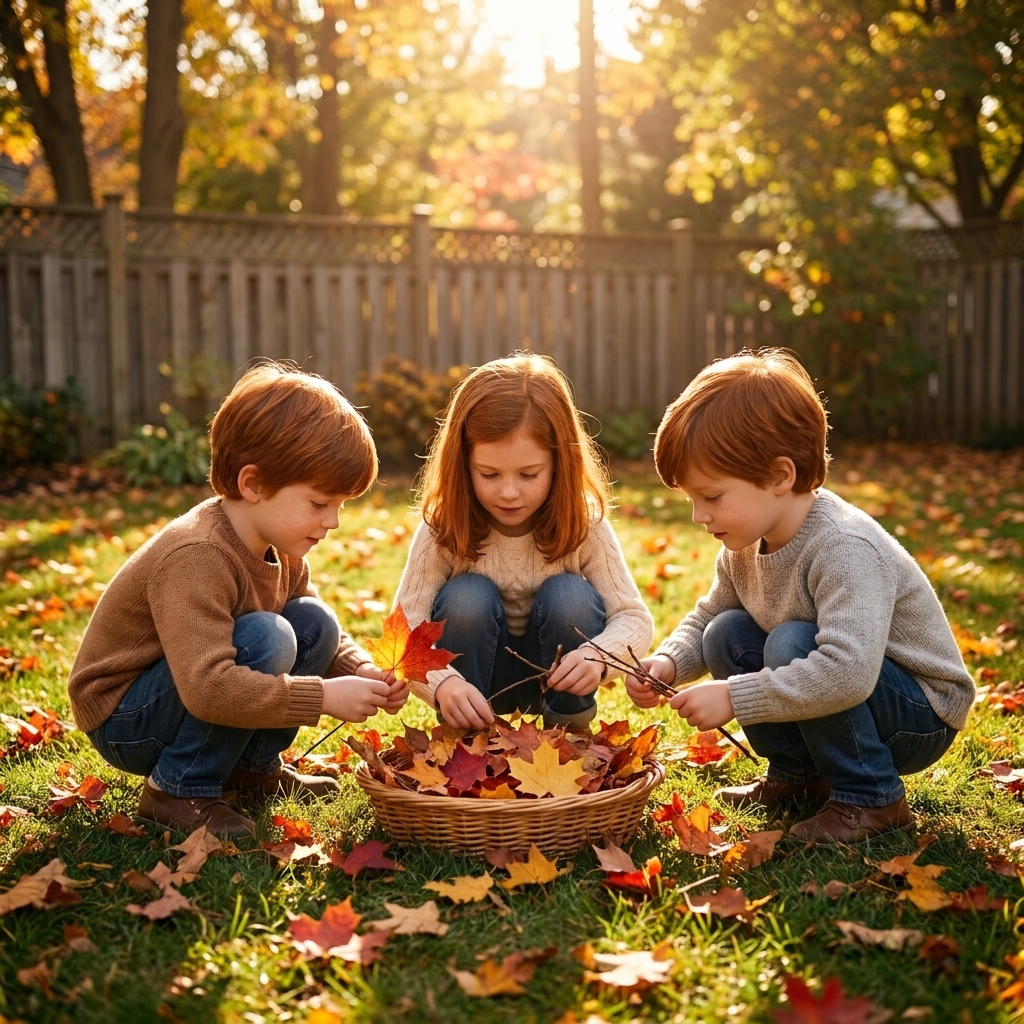
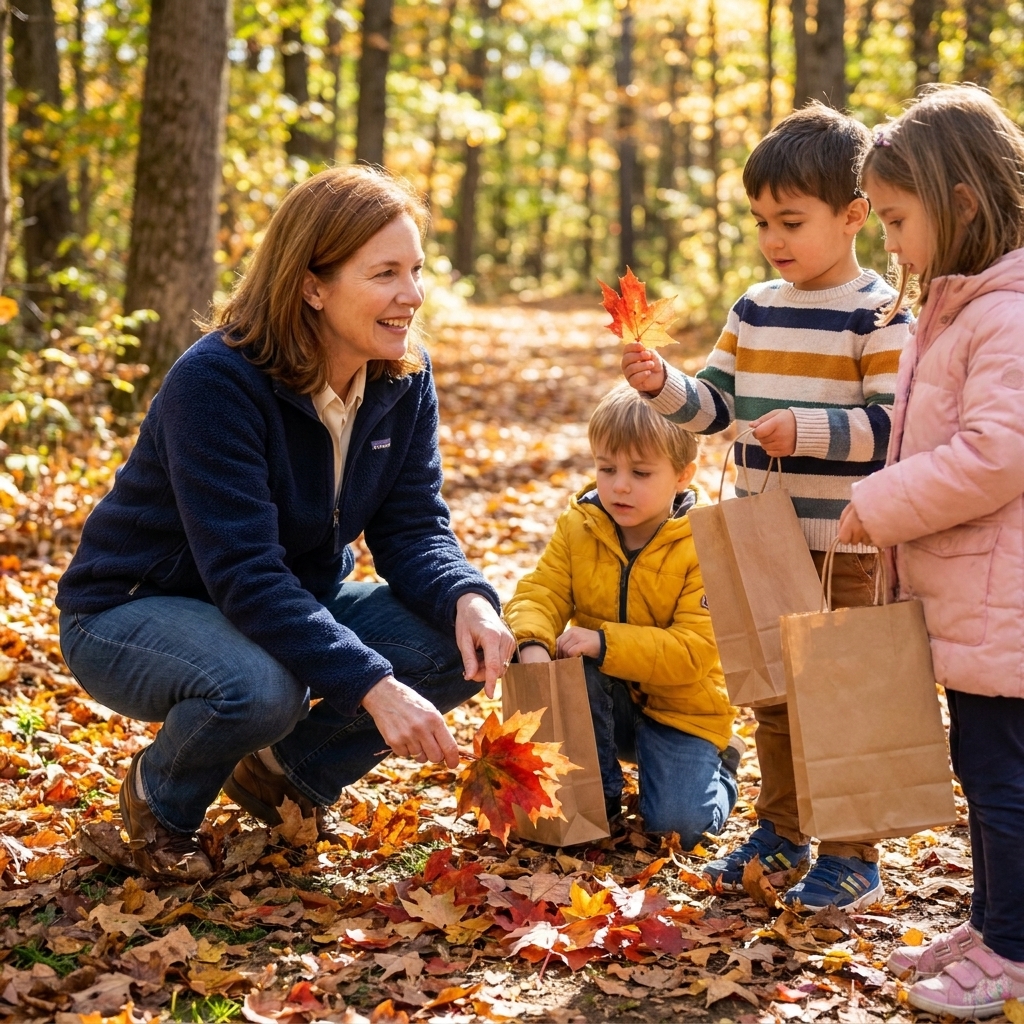
What to bring
- Small bag or basket for each child (paper bags work great)
- Hand wipes or a damp washcloth in a zip bag
- A “treasure rule”: we only pick up fallen leaves, and we leave the tree alone
- Optional: a simple magnifying glass, or your phone camera for close-ups
What leaves work best?
Look for leaves that are mostly dry but not crumbling. Leaves that are soaking wet tend to tear, and very crispy leaves can shatter. If you find a perfect leaf that is damp, tuck it between paper towels when you get home for a few minutes before crafting.
Walk rules (classroom-friendly)
- Buddy system: partners hold hands or walk shoulder to shoulder.
- Boundaries: pick a simple rule kids can see, like “stay on the path” or “stay between me and the cones.”
- Leaf limit: set a cap (5 to 10 leaves) so nobody drags in a whole tree and melts down when it is time to leave.
- Drop zone: when you get back, everyone puts leaves into a shared bin/tray before washing hands. It prevents the “my bag spilled” chaos.
Safety check (worth 30 seconds)
- Skip leaves with visible mold, lots of black spots, or a musty smell.
- Avoid leaves from roadsides or heavily soiled areas (kids touch everything, then touch their faces).
- Watch for poison ivy in your area. When in doubt, stick to well-known trees in parks or schoolyards.
- Some kids have allergies or skin sensitivities. If a leaf is sticky with sap or irritates skin, toss it and switch to something else.
- After the walk, have kids wash hands, especially before snack time.
Preserve leaves
You can craft with fresh leaves right away, but if you want to save bright colors for later, here are my go-to options.
Option 1: Press in a book
- Place leaves between two sheets of plain paper.
- Tuck inside a heavy book.
- Add a couple more books on top.
- Wait about a week for thin leaves, and 1 to 2 weeks for thicker leaves or humid weather.
Option 2: Wax paper “lamination”
This is great for kids because it keeps leaves flatter and looking bright for a bit longer.
- Place a leaf between two sheets of wax paper.
- Cover with a thin towel and iron on low (adult only).
- Let cool, then trim around the leaf.
Real-life note: Leaf colors still fade over time, especially in direct sunlight. If you want them to last longer, hang sun catchers where they get light but not full-day blazing sun.
Option 3: Quick dry (for today)
If you need leaves today, sandwich them between paper towels and weigh them down under a book for 30 to 60 minutes. This is mainly to make leaves less soggy for immediate crafting, not for long-term storage.
My honest teacher tip: Pressing makes leaves easier for little hands to glue without curling into a sad taco shape.
12 leaf crafts
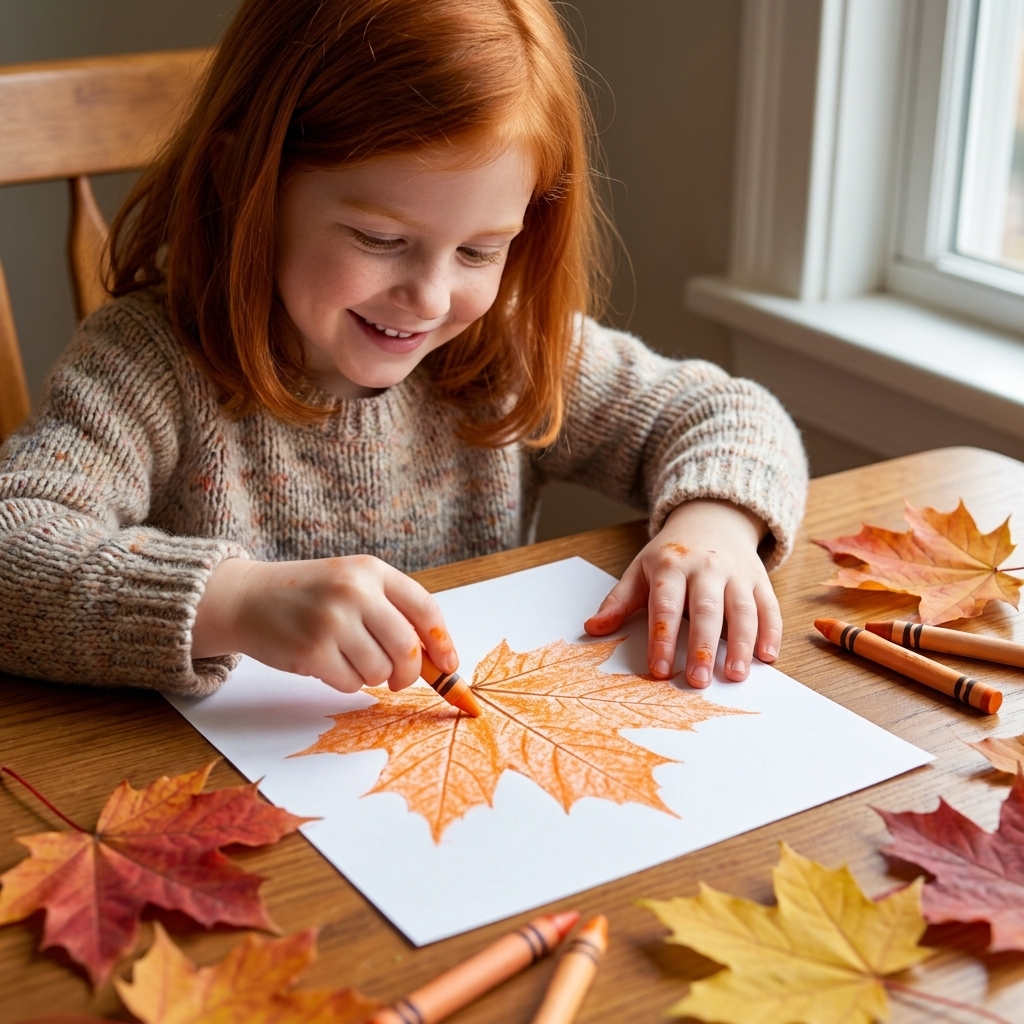
1) Leaf rubbings
Time: 5 to 10 minutes
Leaf rubbings are perfect for kindergarten because the leaf does the heavy lifting. The details feel like magic.
- You’ll need: leaves, white paper, crayons (peeled)
- How to: Place leaf under paper. Rub crayon sideways over the top.
- Make it fun: Use fall colors, then turn the rubbing into a “leaf museum” gallery wall.
2) Leaf people
Time: 10 to 20 minutes
This one always gets giggles. A leaf can be hair, a beard, a dress, or a whole body.
- You’ll need: leaves, cardstock, glue stick, markers, optional googly eyes
- How to: Glue down a big leaf as the body or hair. Draw a face and add arms and legs.
- Troubleshooting: If leaves curl, press them under a book for 10 minutes first.
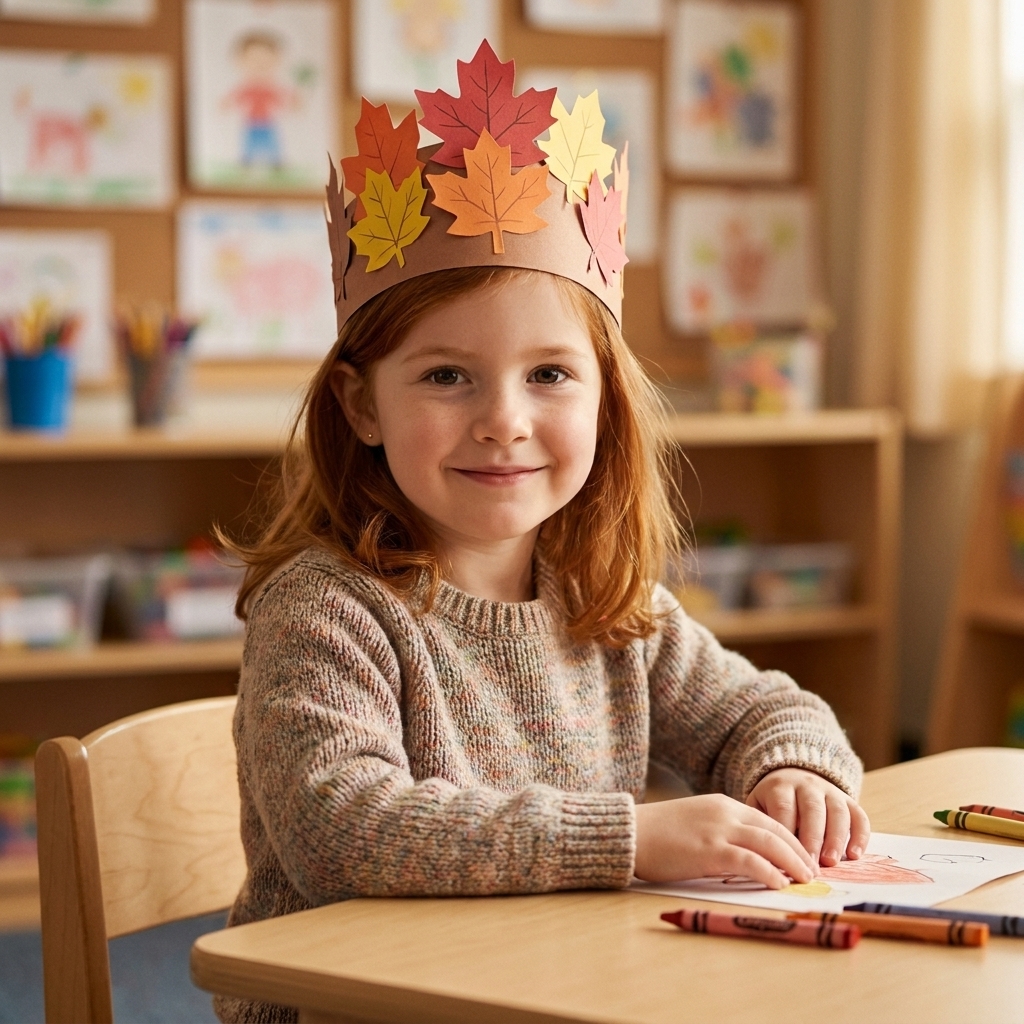
3) Leaf crown
Time: 10 to 15 minutes
Kindergarteners love anything wearable. Expect dramatic parading.
- You’ll need: long strip of paper (or two taped together), tape, glue, leaves
- How to: Fit paper band to child’s head and tape into a crown. Glue leaves all around.
- Teacher-style tip: Use tape loops for fast sticking if glue feels too slow.
4) Leaf collage scene
Time: 15 to 25 minutes
This is the simplest open-ended art: a big paper, a pile of leaves, and permission to experiment.
- You’ll need: construction paper, glue, leaves, optional grass clippings or small twigs
- How to: Invite kids to cover the page like a forest floor. Add a drawn squirrel or hedgehog if they want.
- Contain the mess: Put leaves in a shallow tray so they do not migrate across the table.
5) Leaf garland
Time: 15 to 30 minutes
Garlands feel festive, and kids love seeing their work become “decor.”
- You’ll need: pressed leaves, hole punch, yarn or twine, tape
- How to: Punch a hole near the stem end, string leaves, then tape garland up.
- Kindergarten-friendly option: Adult pre-punch holes if your punch is tough.

6) Leaf sun catchers
Time: 15 to 25 minutes (plus adult ironing)
These glow beautifully on a sunny day, and kids get excited to “test” them at the window.
- You’ll need: wax paper, pressed leaves, scissors, iron (adult), string
- How to: Place leaves between wax paper sheets, iron to seal, cut into a shape, add string.
- Safety note: Adults handle ironing, kids handle arranging leaves.
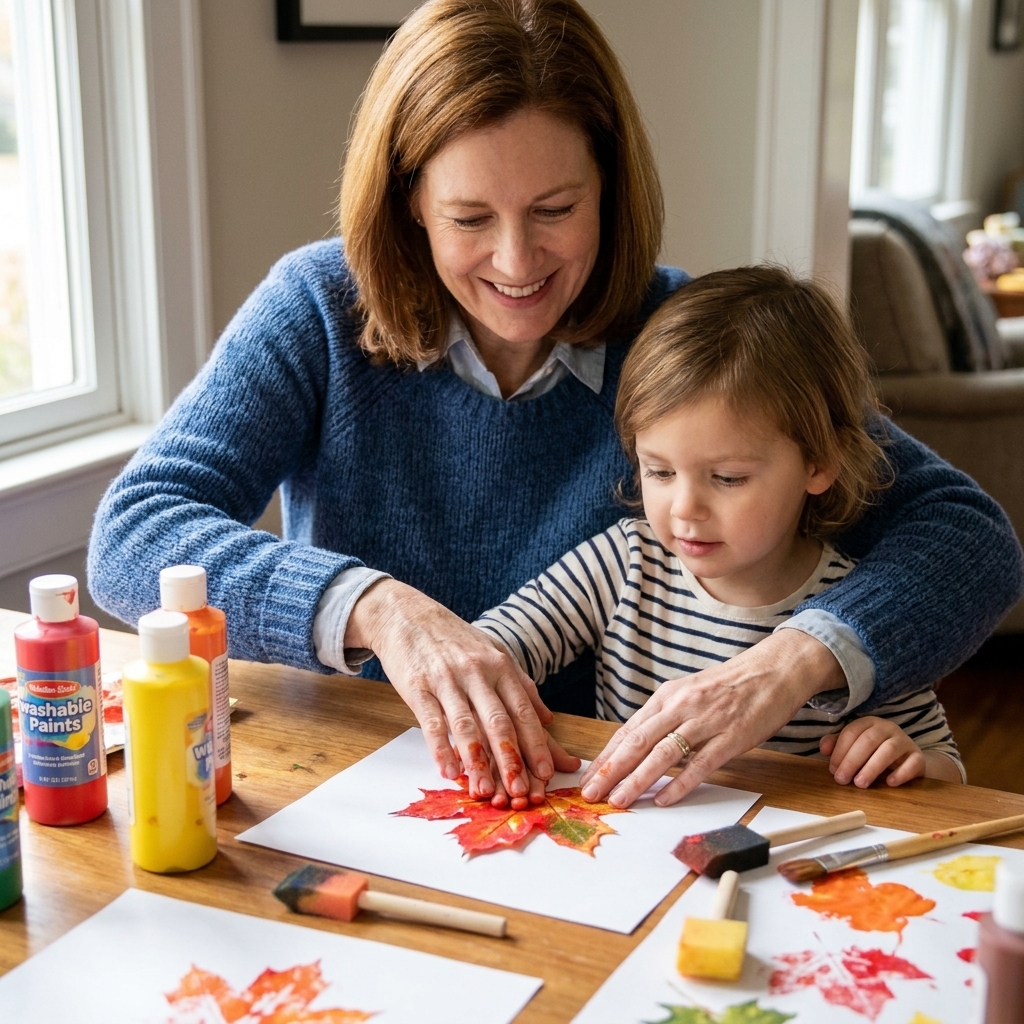
7) Leaf stamp painting
Time: 15 to 25 minutes
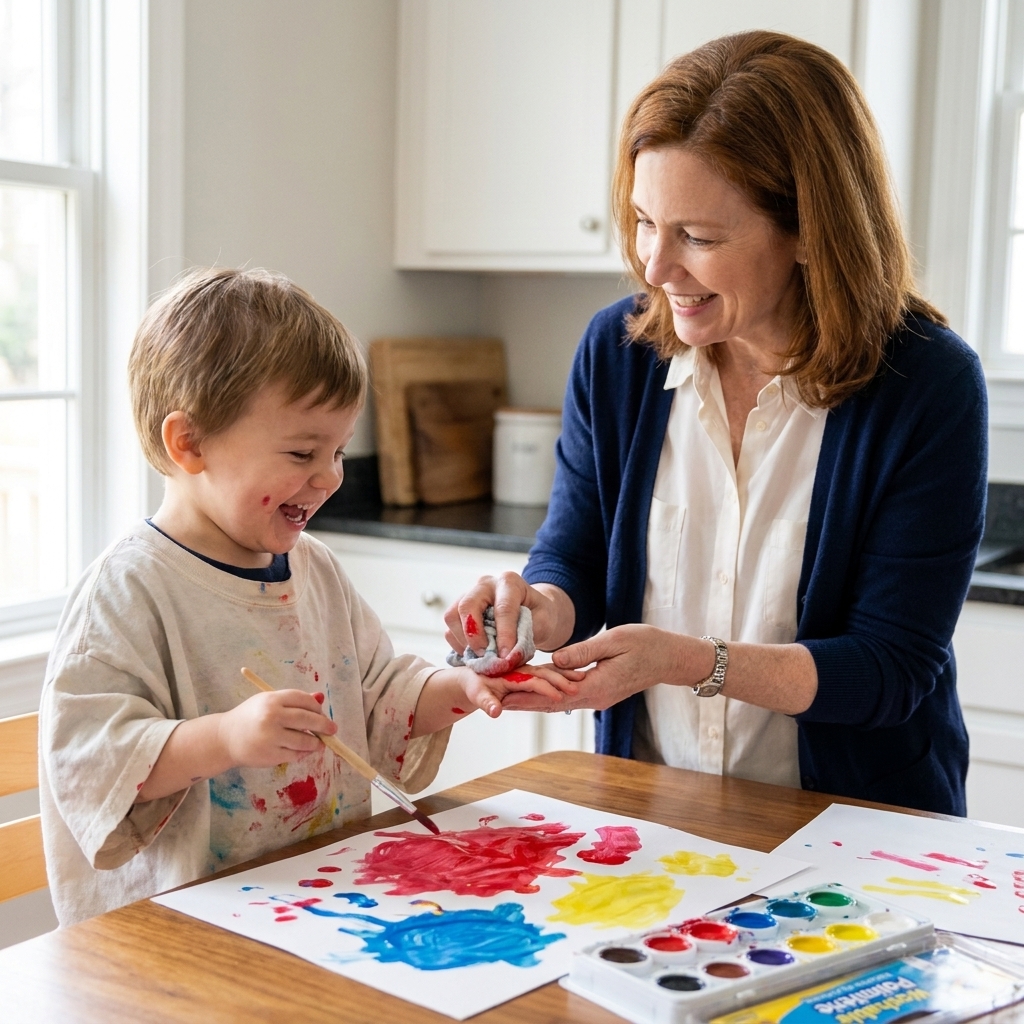
We are using leaves like stamps, which is wonderfully forgiving and a little delightfully messy.
- You’ll need: leaves (sturdier ones), washable paint, paper plates, paper
- How to: Paint the bumpy side of the leaf, press onto paper, lift.
- Pro tip: Use just a thin layer of paint or the details get blobby.
8) Leaf “specimen” page
Time: 10 to 20 minutes
This is part craft, part early science, and it feels very grown-up to kindergarteners.
- You’ll need: paper, glue, marker, leaves
- How to: Glue 2 to 4 leaves on a page. Kids dictate or write simple notes like “smooth,” “pointy,” “red.”
- Extend it: Sort by color, size, or edge type (smooth versus jagged).
9) Leaf lantern jar (battery tea light)
Time: 20 to 30 minutes (plus drying time)
This is a cozy fall craft for home, and it looks adorable on a dinner table.
- You’ll need: clean jar, Mod Podge or white school glue (thinned with a little water), brush, leaves, battery tea light
- How to: Brush glue on jar, press leaves on, brush over top to seal. Let dry, add light.
- Important: Use battery lights only. No real candles with little kids.

10) Leaf mobile
Time: 15 to 30 minutes
If you have a twig from your walk, you are basically halfway done.
- You’ll need: small stick, string or yarn, pressed leaves, tape or hole punch
- How to: Tie strings to the stick, attach leaves at different lengths, hang from a hook.
- Kindergarten hack: Use tape to attach leaves if hole punching feels tricky.
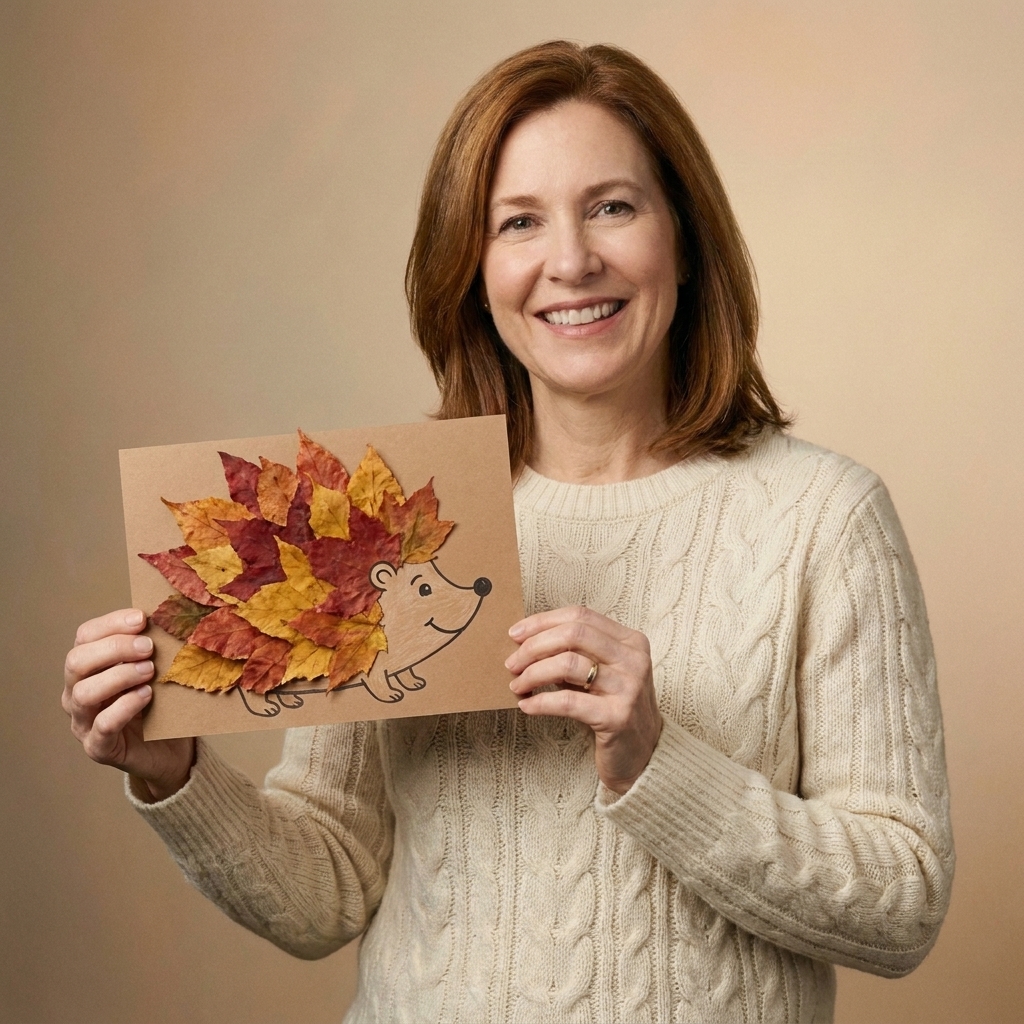
11) Leaf animals
Time: 20 to 30 minutes
Leaves make fantastic “fur” or feathers. My kids always vote hedgehog first.
- You’ll need: cardstock, glue, leaves, markers, optional googly eyes
- How to: Draw a simple animal body shape. Glue leaves as spikes or feathers. Add face details.
- Easy shapes: Hedgehog oval, owl circle, fox triangle face.
12) Leaf matching game
Time: 10 to 15 minutes
This one is a sneaky learning win, and kids think it is just a game.
- You’ll need: paper, marker, leaves, optional contact paper
- How to: Trace several leaf shapes onto paper. Kids match the real leaf to the traced outline.
- Make it sturdier: Cover the page with clear contact paper so you can reuse it.
Clean-up
Leaf crafts are charming until your floor looks like a tiny squirrel held a party. Here is my sanity-saving routine:
- Tray method: Put leaves in a shallow bin lid or baking tray to contain the scatter.
- Shake station: Before kids stand up, have them hold papers over the bin and gently shake.
- Wet wipe finale: Quick hands-and-table wipe, then done. Save the deep clean for after bedtime.
Troubleshooting
My leaves keep curling
Press them for a bit under a heavy book, even 10 to 15 minutes helps. Also, switch from liquid glue to a glue stick for lighter moisture.
The leaves are cracking
They may be too dry. Choose slightly flexible leaves, or use the wax paper method to seal them.
The glue is not sticking
If a leaf is dusty or damp, it will fight you. Pat it with a paper towel first. For collage-style projects, a thin layer of liquid glue under the leaf plus a dab on top holds best.
Make it a tradition
My favorite part of leaf crafts is that they slow everyone down. You are not just making something. You are noticing seasons change together.
If you want an easy yearly ritual, try this: take one short walk each week in autumn, collect just five leaves, then pick one craft from the list. Simple, doable, and delightfully not Pinterest-perfect.