A realistic, parent-friendly guide to toddler crafts: low-mess setup, easy materials, and simple ideas that keep little hands busy without wrecking your house.
If you have ever bought craft supplies with the best intentions and then watched them slowly migrate into a single, chaotic drawer, you are in very good company. In our house, I like to say we are one hot glue stick away from total anarchy. The goal of an independent DIY craft station is not “perfectly curated.” It is easy access, kid confidence, and cleanup that actually happens.
Below is the setup that works with real kids (mine are 3, 6, and 8), real schedules, and real life. You can copy it exactly or use it as a menu and build your own.
What makes it independent
Independence is not just about your kid being able to grab markers. It is about removing the common roadblocks that make them call for you every two minutes.
- Everything is reachable: Kids can see it, grab it, and put it back without climbing or asking.
- Choices are limited: Fewer options equals more creating. Too many supplies can freeze kids up.
- Cleanup is built in: Wipes, a small trash bin, and a clear “where it goes” system are part of the station.
- Rules are simple: A few family rules that you can repeat like a cheerful robot.
Pick the right base
You do not need fancy furniture. You need something that fits your space and your kid’s habits.
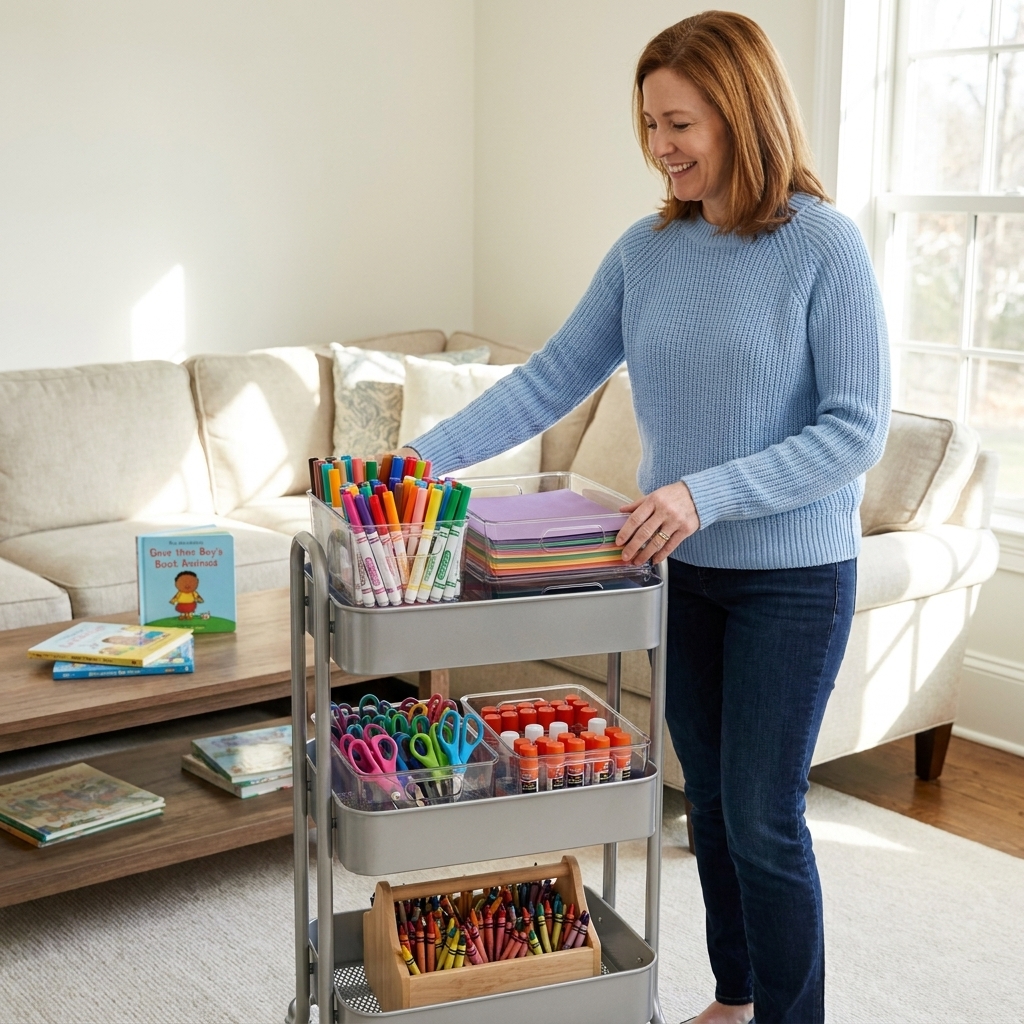
Option 1: Rolling craft cart (my favorite)
A 3-tier rolling cart is the sweet spot for everyday creativity. It is mobile, compact, and lets you keep supplies visible.
- Best for: apartments, shared spaces, and families who craft at the kitchen table.
- Watch out for: toddlers who love dumping. If you have a dumper, use bins with higher sides or lidded containers on the bottom tier.
Option 2: Low shelf with bins
This is great if you want a “craft corner” that stays put. A cube shelf with a few labeled bins works beautifully.
- Best for: playrooms, classrooms, homeschool nooks.
- Watch out for: too many bins. Start with 4 to 6 categories, not 18.
Option 3: Cabinet with one kid drawer
If you need supplies hidden, choose one drawer or one lower cabinet that belongs to the kids. Everything else can be “ask first.”
- Best for: small homes, pets who steal pom poms, families who need visual calm.
- Watch out for: supplies going “out of sight, out of mind.” Keep the kid drawer stocked with the fun basics.
Where to put it
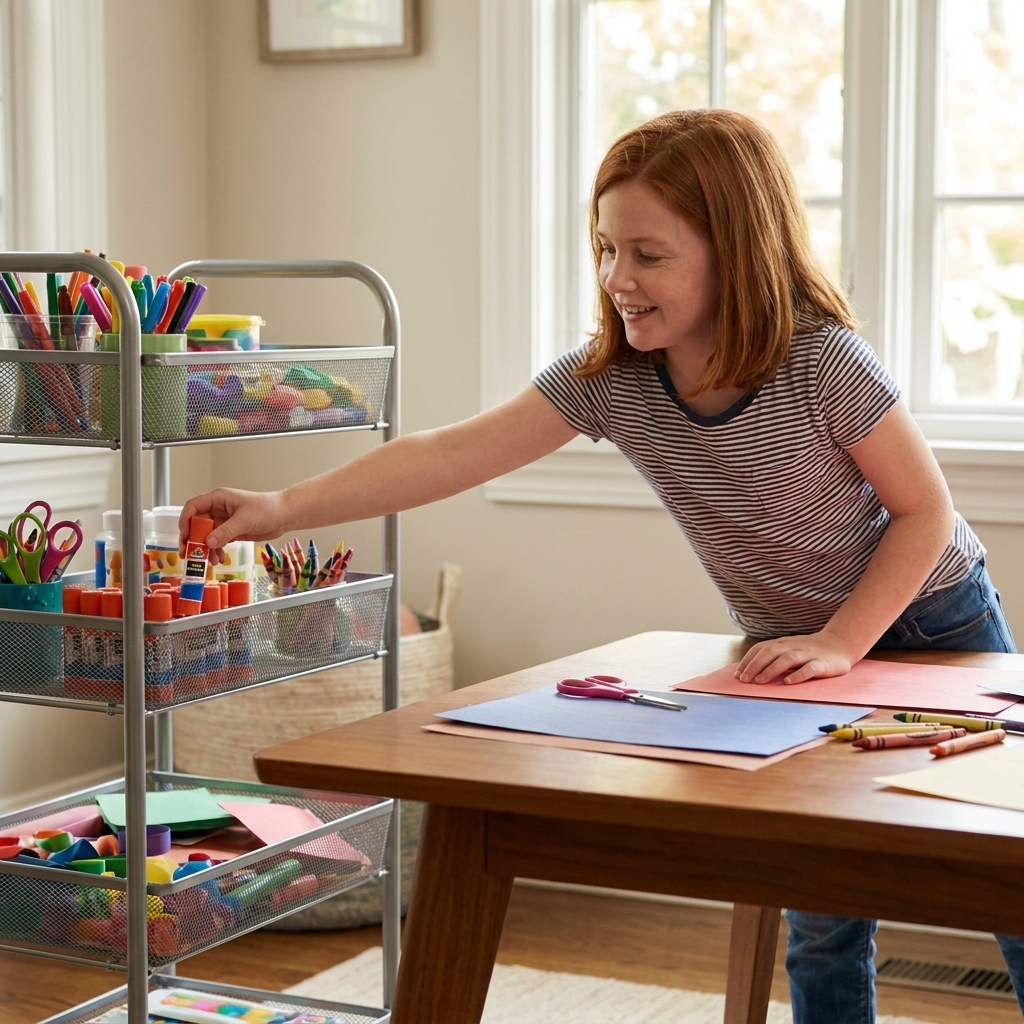
Here is the simplest rule: put the craft station where your kids already hang out. Not where you wish they hung out.
- Kitchen or dining area: Best for supervision and easy wipe-downs. Add a placemat or cheap tablecloth for instant “craft mode.”
- Living room corner: Great for after-school creating while dinner happens.
- Bedroom: Works best for older kids who can follow cleanup routines without reminders.
Also, think about floors. Hard floors are easier for glitter accidents. Carpet is doable, but you will want a large washable mat under the craft table.
Quick safety check
Nothing kills crafting joy like a preventable accident. A few boundaries up front make the whole station feel more relaxed.
- Choking hazards: For ages 3 to 4 especially, keep small items (beads, sequins, tiny pom poms, googly eyes) in an ask first bin or up high. If something can fit in a toddler mouth, treat it like a big deal.
- Non-toxic and washable: Look for non-toxic labels and choose washable supplies when you can. Your future self will thank you.
- Tools need a grown-up rule: Staplers, hole punches, and any “real” scissors work best with a quick check-in until you know your kid can handle them safely.
- Glass jars: Save them for older kids, or skip them entirely if you have climbers.
- Hot glue and sharp tools: Store out of reach. Those are not independence supplies, they are supervised supplies.
Starter supply list
If your craft station is brand new, start with a core set of supplies that covers most kid projects. You can always rotate in extras later.
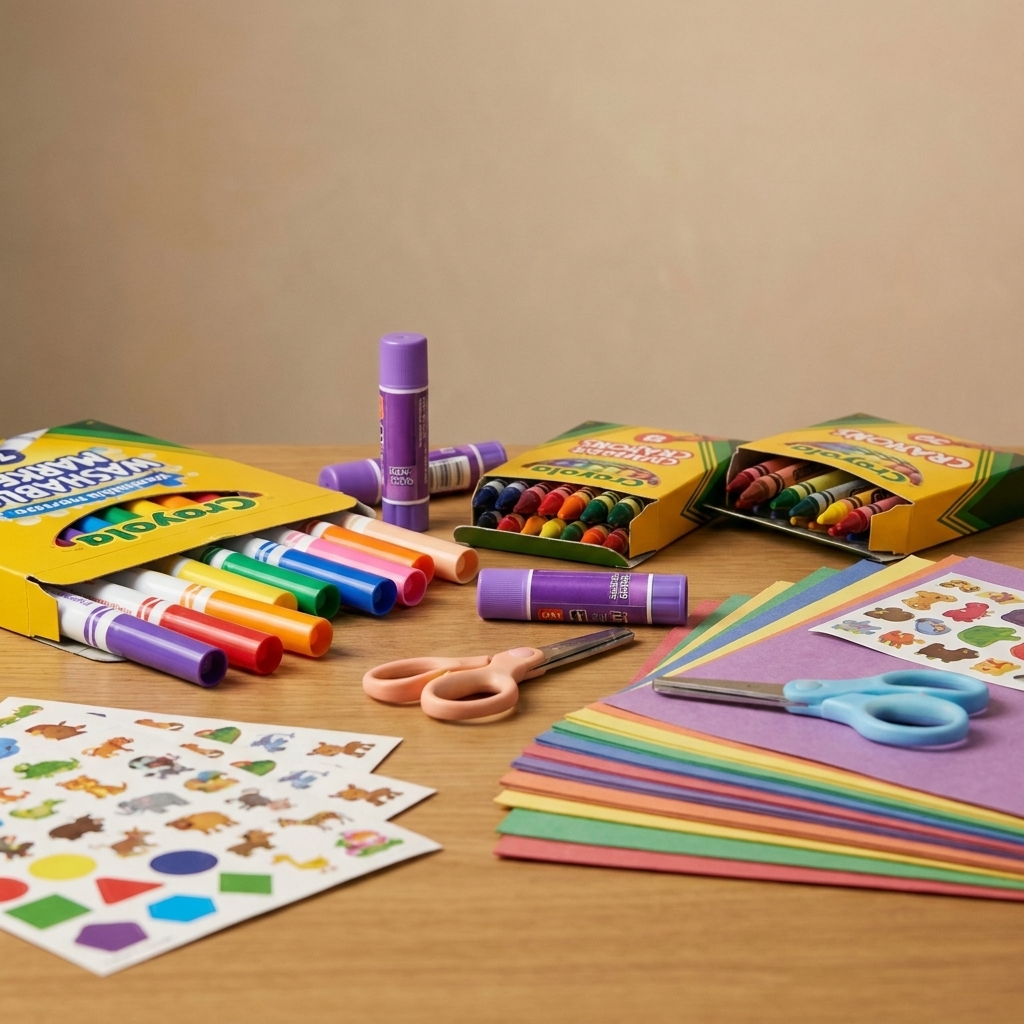
Must-haves for ages 3 to 8
- Paper variety: printer paper, construction paper, and a small stack of cardstock
- Color tools: washable markers, crayons, colored pencils
- Adhesives: glue sticks (kid-friendly), white school glue (small bottle)
- Scissors: one pair per kid if possible, plus kid-safe scissors for toddlers
- Tape: clear tape in a dispenser, painter’s tape or washi tape
- Basic add-ons: stickers, googly eyes, pom poms, pipe cleaners
- Tools: a hole punch, ruler, stapler (optional, for older kids with supervision)
Mess managers (do not skip these)
- Wipes: baby wipes or a damp washcloth in a small bin
- Trash: a small trash bin that lives right there
- Aprons or old t-shirts: one per kid, hung nearby
- Drying spot: a cookie sheet, cafeteria tray, or a “drying shelf” on a counter
My teacher tip: If you are trying to encourage independence, avoid supplies that require adult setup at first (paint palettes, hot glue, complicated kits). Start with things kids can open and use with confidence.
How to organize it
This is the secret sauce: store by action, not by category. Kids do not think “adhesives.” They think “how do I make this stick.”
Simple 3-tier cart layout
- Top tier: daily favorites
- markers, crayons, glue sticks, scissors
- small container of stickers
- wipes and a small trash bin
- Middle tier: paper and making
- paper stack in a magazine holder or shallow bin
- tape dispenser
- pipe cleaners, pom poms, googly eyes in small cups
- Bottom tier: ask first or bigger mess
- paint, glitter glue, stamp pads, beads
- extra refills (extra glue sticks, marker replacements)
Containers that actually help
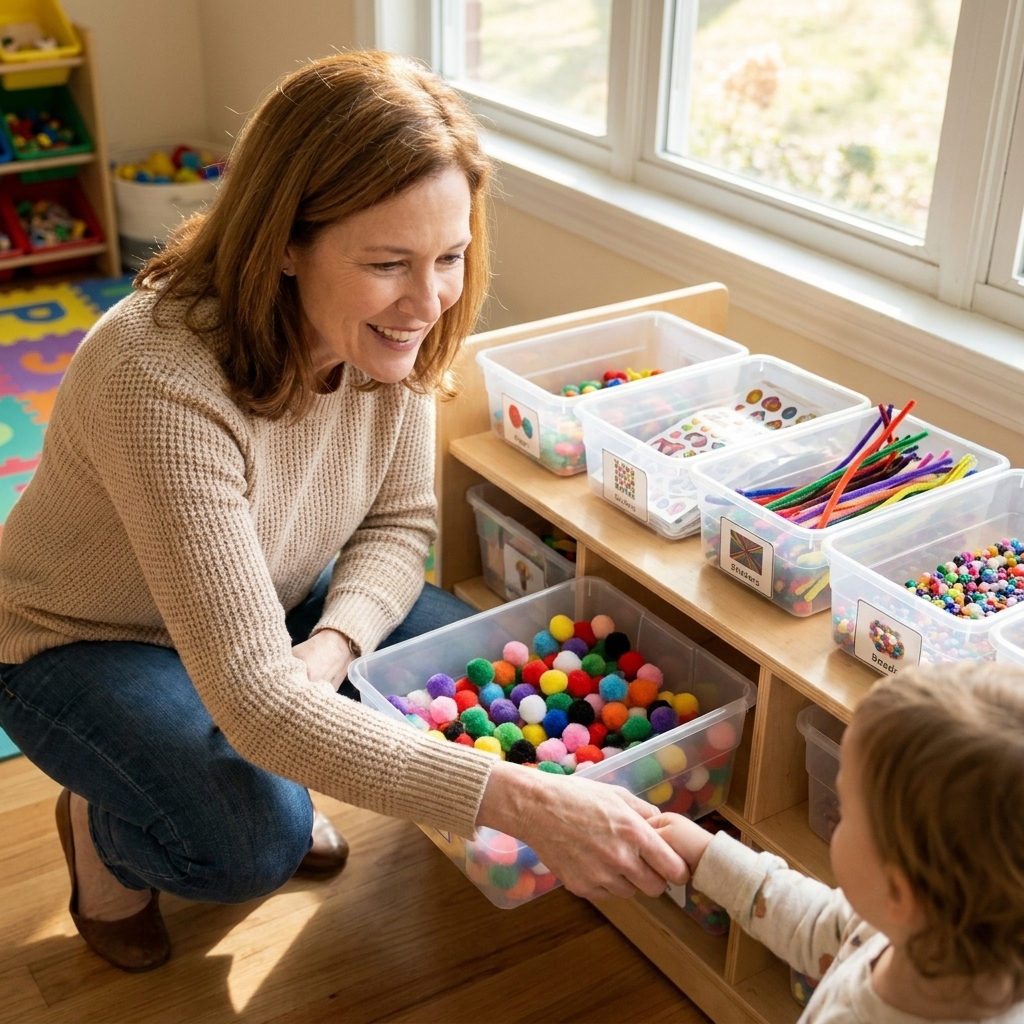
- Clear bins: kids can see what is inside, which reduces the “dump it all out and search” situation.
- Shallow bins: tall containers hide supplies. Shallow wins for independence.
- One bin per type: all stickers together, all pom poms together. If you have multiple half-bins, kids will scatter supplies between them.
Labeling: If your kids are pre-readers, use picture labels. If they are early readers, add words too. You do not need anything fancy. A piece of masking tape and a marker works.
Set simple rules
Kids thrive when the boundaries are clear and consistent. Keep rules short enough that you can repeat them without giving a lecture.
- Rule 1: Craft supplies stay at the craft spot.
- Rule 2: One bin out at a time.
- Rule 3: If you open it, you close it.
- Rule 4: We do a two-minute reset when we are done.
For my 3-year-old, I say, “One box, one project.” For my older two, “Reset the station so Future You feels happy.” (Future You is a very important member of our household.)
Teach a tiny routine
Independence is taught, not wished into existence. The first few times you will do a lot of modeling. After that, you can step back.
The 5-step Craft and Reset routine
- Choose: Pick your paper and tools.
- Create: Make your project.
- Trash: Throw away scraps.
- Wipe: Wipe the table and hands.
- Return: Put supplies back in their homes.
Make it stick: The first week, stay close and narrate what you are doing. “Markers go back in the marker cup. Caps on. Now wipe.” After a few days, ask one simple question: “What is the next step in our reset?”
Age tweaks
Ages 3 to 4: set them up for success
- Use chunky crayons and washable markers.
- Offer pre-cut paper sometimes to reduce frustration.
- Keep only one glue option out (glue stick usually wins).
- Store small items (googly eyes, beads) up high or in ask first.
Ages 5 to 7: expand choices, keep structure
- Add tape and a simple stapler if ready, with clear safety rules.
- Introduce a “project tray” to carry works-in-progress.
- Start teaching “cap, close, and return” habits.
Ages 8 and up: give responsibility
- Add a tool cup (ruler, fine-tip markers, pencil sharpener).
- Let them manage a monthly supply check (count glue sticks, replace dried markers).
- Introduce specialty supplies with clear rules (watercolors, clay, embroidery thread).
Low-cost storage
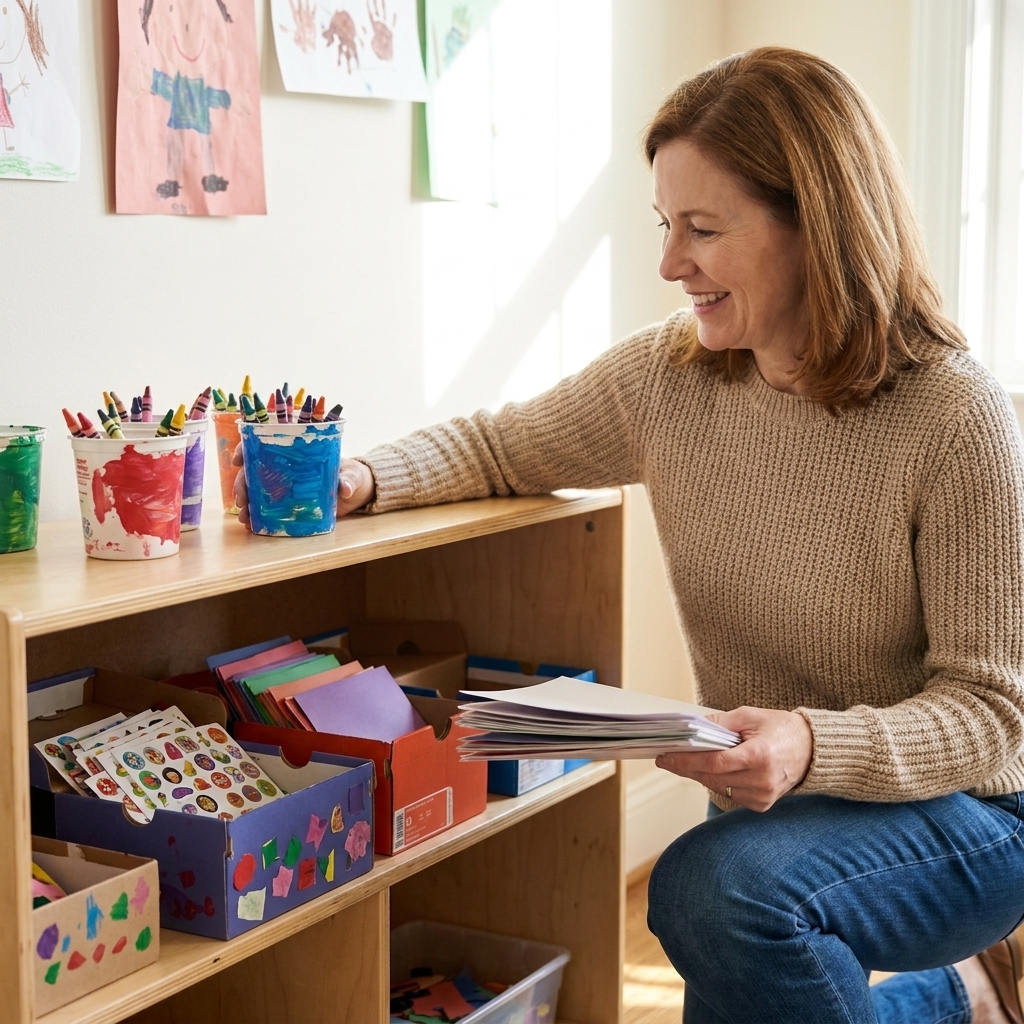
You absolutely do not need to buy matching containers. Some of my best craft station organizers started as kitchen leftovers.
- Yogurt tubs: great for crayons, pom poms, and scrap paper
- Shoe boxes: perfect for paper and sticker books
- Glass jars (older kids only): nice for markers or paintbrushes
- Mailing boxes: sturdy trays for works-in-progress
- Old muffin tin: instant sorter for small bits and pieces
If it is washable and easy to grab, it can be a craft organizer.
Handle the messy stuff
Paint, glitter, and glue are the things kids remember. They are also the things that make adults whisper, “Not today.” The trick is giving mess a container.
Create a Mess Kit bin
Put these in one lidded bin on the bottom tier or in an adult cabinet:
- watercolor set or washable paint
- paintbrushes
- cup for water (plastic)
- smock
- table covering (old shower curtain or plastic tablecloth)
When kids want paint, they grab the whole bin. When they are done, it all goes back in the bin. One grab. One return. That is the dream.
What to do with finished art
The fastest way for a craft station to feel like chaos is for projects to multiply without a plan. Ours runs on a simple three-choice system.
- Display: tape it up, hang it, or clip it to a line for a week or two.
- Keep: when the display time is up, it goes into a labeled folder or a flat bin per child.
- Recycle: if nobody wants to keep it, it gets celebrated and then it gets tossed.
If your kid struggles with letting go, take a quick photo first. You get the memory, you lose the pile.
Troubleshooting
“They dump everything out.”
Reduce what is available. Put out only 2 to 3 bins at a time and use deeper containers for the bottom tier. Also, practice “one bin out” like it is a game.
“My kids fight over supplies.”
Duplicate the high-conflict items: scissors, glue sticks, and black markers. You do not need multiples of everything, just the favorites.
“Markers lose their caps and dry out.”
Switch to fewer markers at once. Keep a smaller working set and store backups. Teach a quick cap check before returning them.
“Projects pile up everywhere.”
Add a drying tray and a project folder per child (a simple two-pocket folder works). Anything they want to keep goes in the folder after it dries.
“I still get asked for help constantly.”
Pick one skill to teach each week. Week one: opening and closing glue. Week two: cutting. Week three: putting supplies away. Independence grows one tiny habit at a time.
Simple restock plan
This part sounds boring, but it is what keeps your craft station from turning into a junk cart.
- Weekly (2 minutes): toss trash, add paper, wipe the cart handles
- Monthly (10 minutes): test markers, refill glue sticks, recycle broken crayons
- Seasonally: rotate themes (fall leaf rubbing supplies, winter paper snowflakes, spring collage materials)
If your kids are old enough, let them help. Kids love being the “supply manager” when it comes with responsibility and a tiny bit of authority.
FAQ
What is the best craft cart for kids?
Look for a sturdy 3-tier rolling cart with a handle and deeper trays so supplies do not slide off. If you have toddlers, choose a cart that feels stable and use containers that do not tip easily.
How do I keep craft supplies from taking over my house?
Give supplies a home and set a limit: the cart (or shelf) is the container. If it does not fit, you rotate it out or donate it. This one rule prevents slow craft creep.
Should I let kids have paint in an independent station?
Yes, but make it a Mess Kit with clear steps and a lid. For younger kids, keep it in an ask first spot until they can handle setup and cleanup reliably.
How do I make a craft station work for multiple ages?
Use zones. Put toddler-safe basics at the lowest level (crayons, paper, stickers) and put small or messy supplies higher or in a lidded bin for older kids.
One last reminder
Your craft station does not need to look like a catalog. It needs to invite your kids to create without waiting for the grown-up to make it “just right.” A few well-chosen supplies, a simple reset routine, and permission to be delightfully messy goes a long way.
If you set one up, I hope it becomes the happiest little corner of your day.