Start with a leaf hunt, then try 12 simple autumn crafts for kindergarten. Easy supplies, realistic steps, and tips for preserving bright fall leaves.
If my house ever gets declared a historical site, it will be because future archaeologists uncover layers of dried glue, tiny pebbles, and the occasional leaf stuck to the table. And honestly, I am fine with that.
Nature crafts are my favorite kind of kid craft because the “supply run” is just a quick backyard wander. They are low-cost, screen-free, and they make kids notice details like leaf veins, bark texture, and how many shades of green exist in one tiny patch of grass.
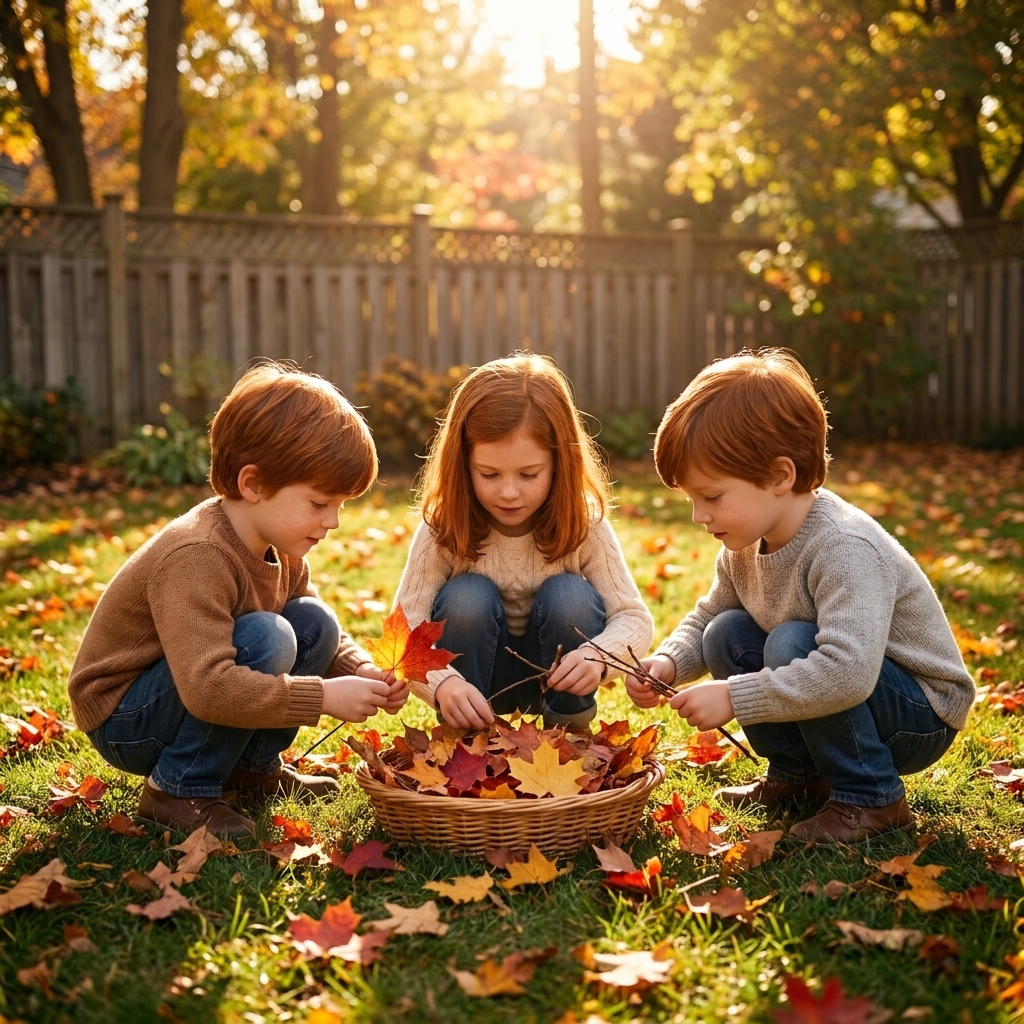
Below are 15 simple nature crafts using everyday items from your backyard, plus a few sanity-saving tips from me, Sarah, a mom of three (ages 3, 6, and 8) who has tested all the ways a pinecone can roll off a table.
Before You Start: A Quick Nature Walk Plan
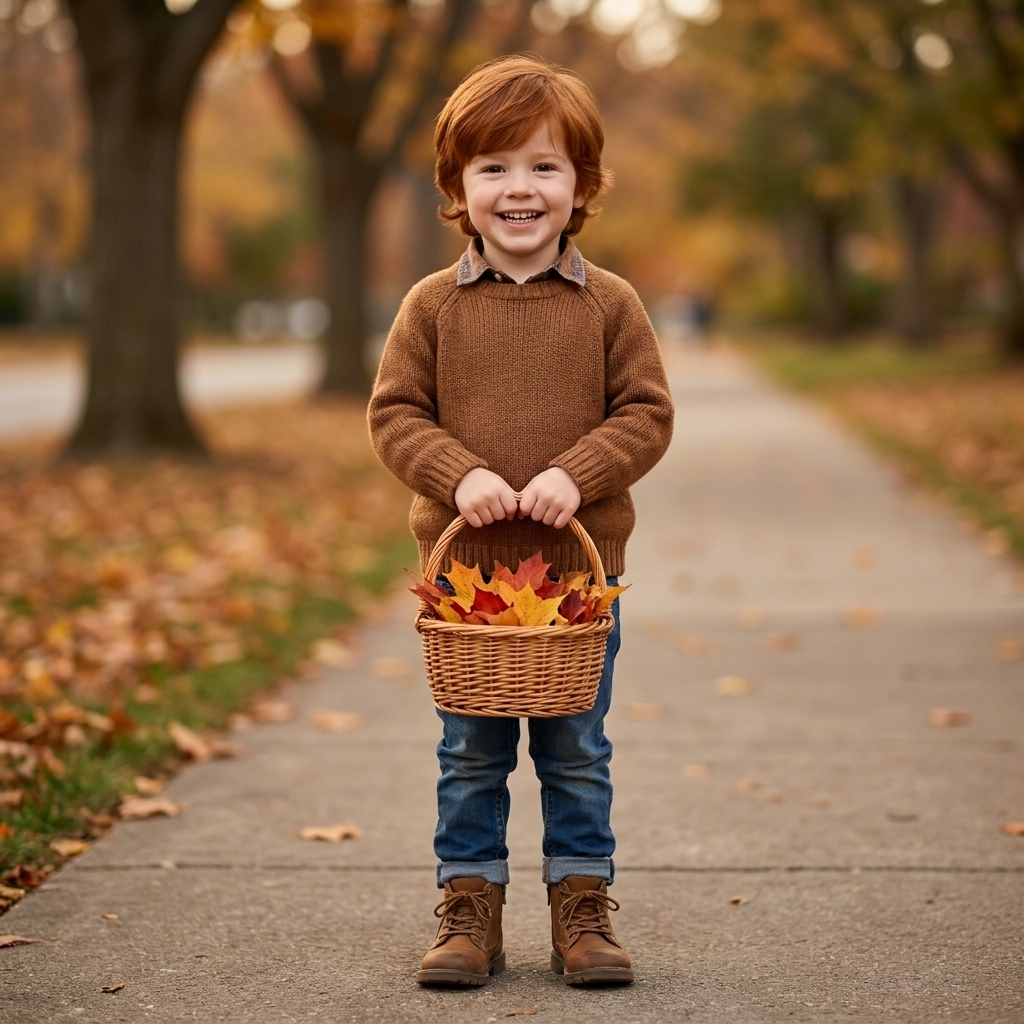
What to collect: leaves (different shapes), small twigs, pinecones, acorns, seed pods, small rocks, grass, petals (fallen is best), and a little dirt or sand.
- Bring a container: a shoebox, paper bag, egg carton, or muffin tin to sort treasures.
- Do a fast “bug check”: shake leaves and twigs outside. I like to say, “We are inviting nature, not moving it in.”
- Skip sprayed areas: avoid collecting from lawns or garden beds that were recently treated with pesticides or weed killer.
- Watch for itchy plants: steer clear of poison ivy, poison oak, poison sumac, and anything that irritates skin in your region.
- Optional prep: if leaves are damp, pat them dry. If you want to press leaves or flowers, tuck them into a heavy book for a day or two.
Kitchen table basics: white school glue, tape, scissors, washable paint, markers, crayons, cardstock or paper, and a paper plate or scrap cardboard to protect the table.
Quick swaps if you are missing supplies: No contact paper? Use clear packing tape like “lamination.” No googly eyes? Paper dots or marker eyes. No paint pens? Markers or crayons work just fine.
15 Simple Nature Crafts Using Backyard Finds
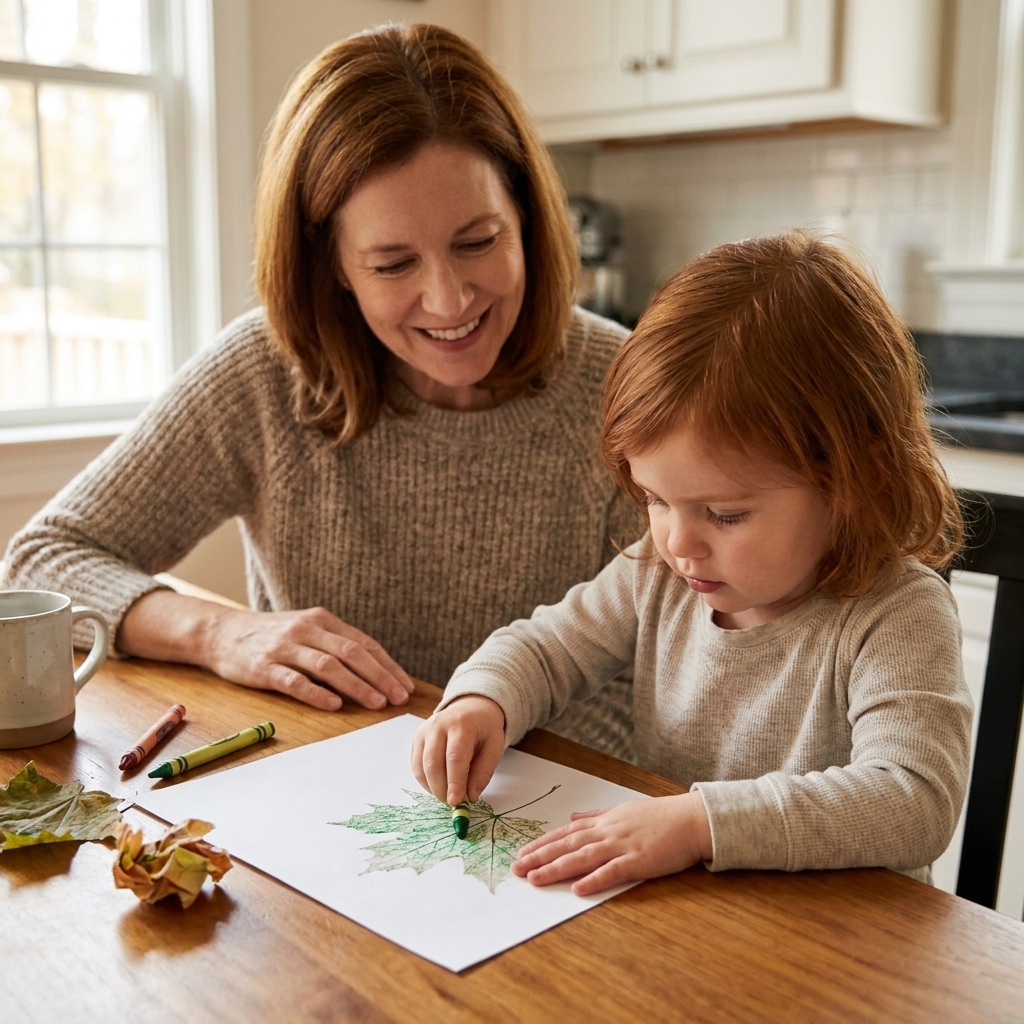
1) Leaf Rubbing Gallery
Best ages: 3 to 8+
You need: flat leaves, white paper, crayons (peeled work best)
Steps:
- Place a leaf under the paper (veins facing up if possible).
- Rub the side of a crayon over the top until the leaf appears.
- Repeat with different leaves and colors to make a “gallery wall” page.
Sarah tip: Tape the leaf to the table first for less sliding and fewer “Mom it moved!” moments.
2) Stick People Puppets
Best ages: 4 to 8+
You need: twigs, yarn or string, glue, markers, scraps of paper or felt
Steps:
- Pick one thicker stick for the body and 2 to 4 smaller sticks for arms and legs.
- Glue pieces together (tape can help hold while drying).
- Add a paper face or draw one directly on the stick.
- Wrap yarn for “clothes” or “hair.”
Troubleshooting: If glue is taking forever, use a small piece of masking tape as a temporary “brace.”
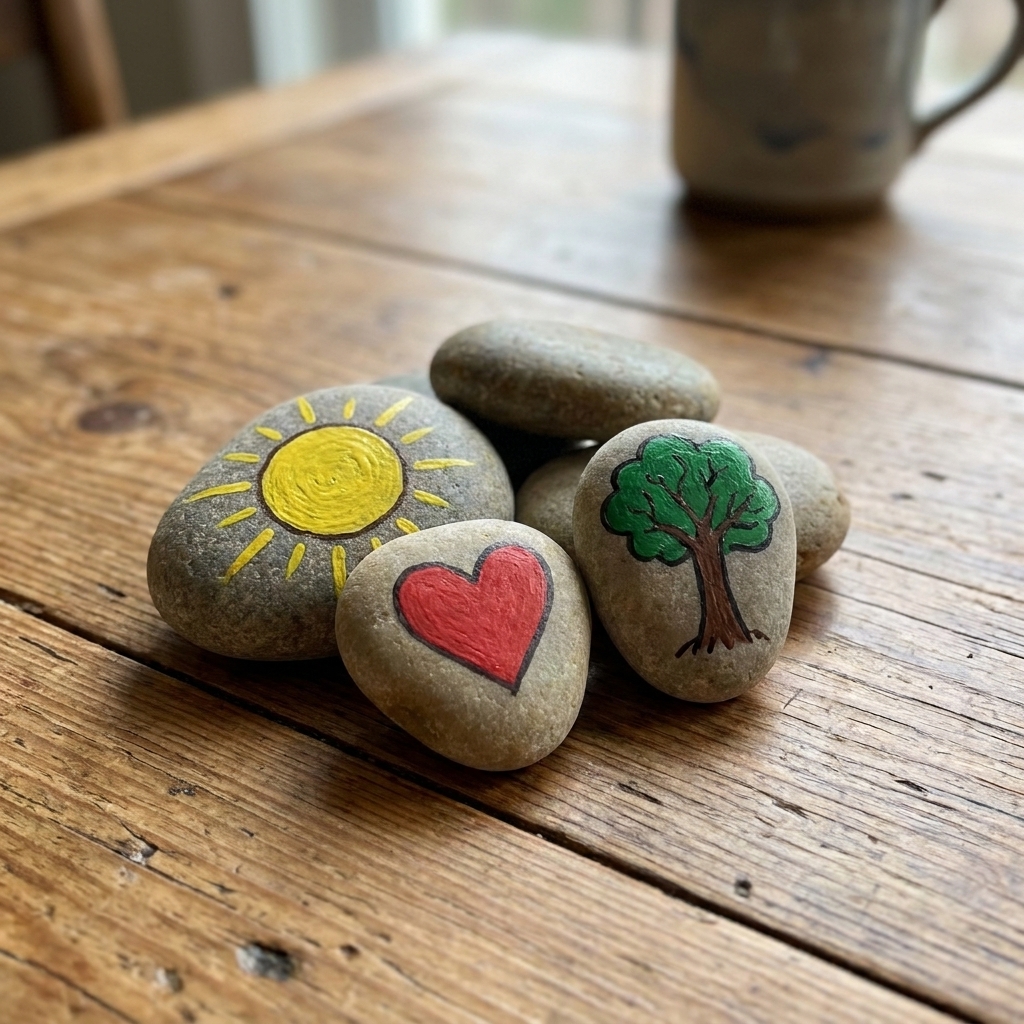
3) Painted Rock Story Stones
Best ages: 3 to 8+
You need: smooth rocks, washable paint or paint pens, clear tape (optional sealer)
Steps:
- Wash rocks and dry.
- Paint simple icons: sun, heart, tree, house, cat, rainbow, star.
- Use them to build silly stories together: “Once upon a time there was a star who lived in a tree…”
Sarah tip: For toddlers, dots and stripes are perfect. Story stones do not have to be “realistic” to be magical.
4) Nature Crown
Best ages: 4 to 8+
You need: cardstock strip or a paper plate rim, tape or stapler, leaves, tiny flowers, grass
Steps:
- Make a headband with cardstock sized to your child’s head.
- Tape leaves along the band, overlapping like shingles.
- Add small flowers or grass tufts if you have them.
Mess-friendly note: Tape works faster than glue here, and it is much less likely to end in hair emergencies.
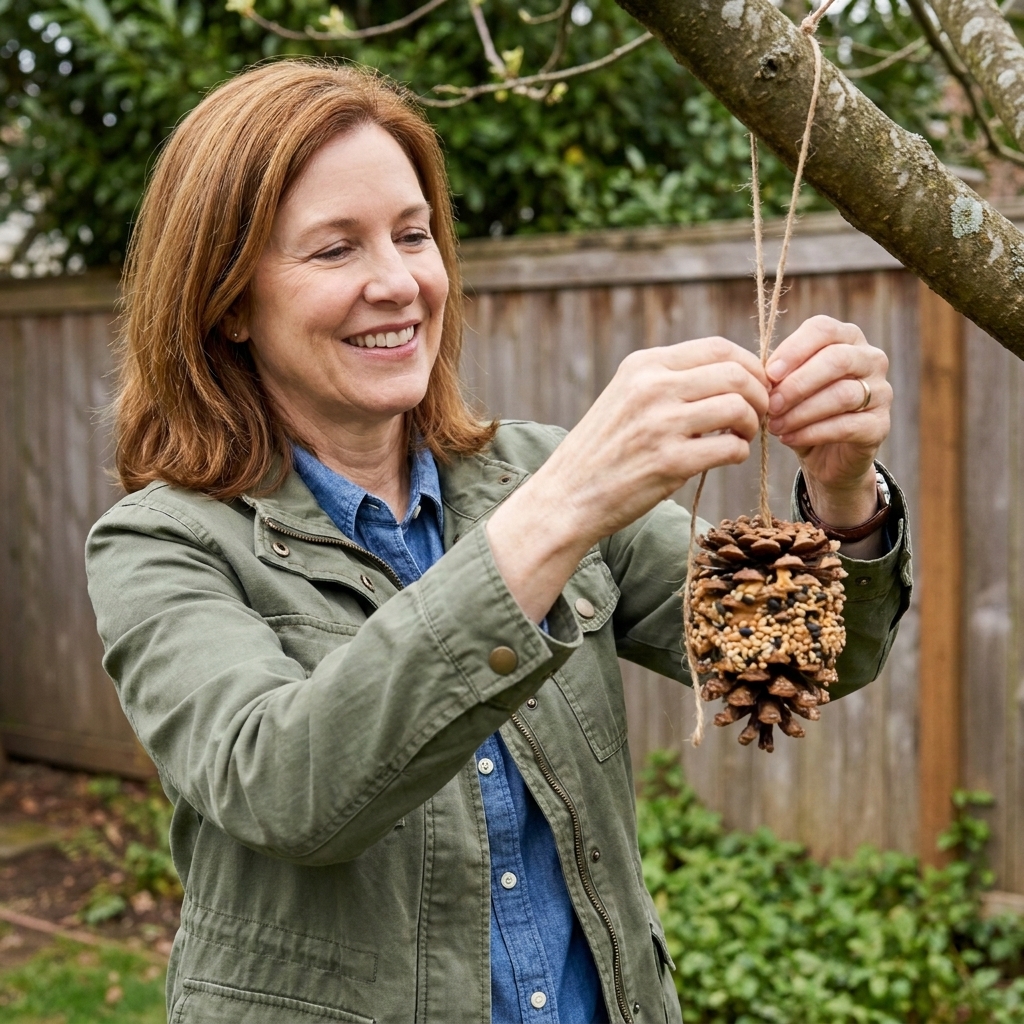
5) Pinecone Bird Feeder
Best ages: 3 to 8+ (with supervision)
You need: pinecone, string, birdseed (wild-bird seed mix works well)
Binder options: peanut butter or sunbutter, or a store-bought suet cake (grown-up help)
Steps:
- Tie string around the pinecone.
- Spread a thin layer of peanut butter or sunbutter into the pinecone cracks with a spoon.
- Roll in birdseed or sprinkle it on.
- Hang on a branch outside and watch from a window.
Important notes: Skip this if anyone in your home has a severe nut allergy, and keep hands washed after handling. In warm, rainy, or very humid weather, use a small amount and replace often so it does not spoil. If you are worried about mess or rodents, use a proper bird feeder with seed instead of a sticky binder.
Oat option: If you use oats, stick to uncooked rolled oats only and use them short-term, since they can get soggy fast.
6) Leaf Suncatcher
Best ages: 3 to 8+
You need: clear contact paper, leaves and petals, scissors
Steps:
- Cut two same-size rectangles of contact paper.
- Peel backing off one piece and place sticky side up.
- Arrange leaves and petals.
- Seal with the second piece sticky side down.
- Trim edges and stick to a sunny window.
Sarah tip: If contact paper is too sticky to manage with little hands, start with smaller shapes like hearts or circles. No contact paper? Make a tape “window” by overlapping strips of clear packing tape on paper, sticky side up, then sealing with more tape.
7) Twig Frame for a Nature Find
Best ages: 5 to 8+
You need: cardstock, twigs, glue, a photo or a leaf “specimen”
Steps:
- Cut a rectangle “frame” from cardstock (like a window).
- Glue twigs around the opening.
- Attach a pressed leaf or small photo behind it.
Dry time: Plan on 30 to 60 minutes to dry on a tray, longer if the twigs are thick.
Troubleshooting: Break twigs to size by gently bending, not cutting. It is weirdly satisfying.
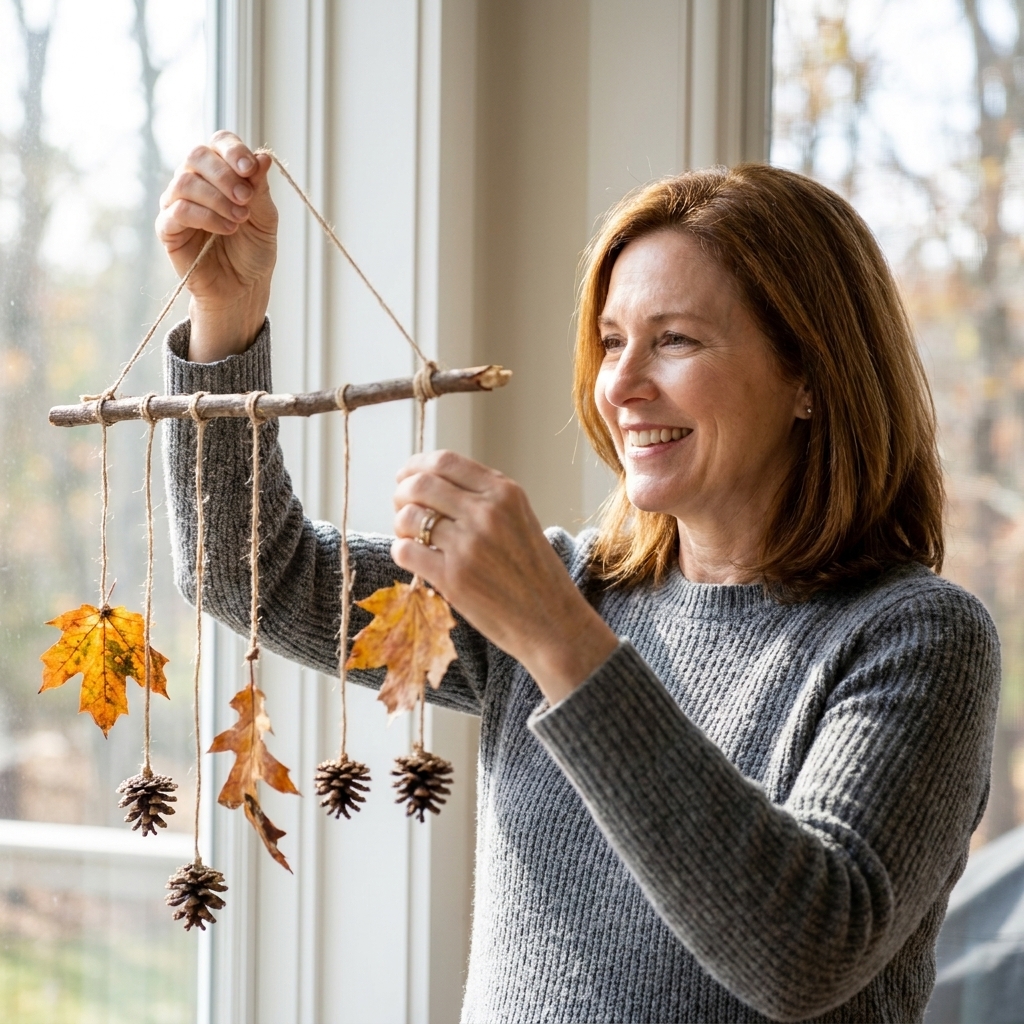
8) Backyard Nature Mobile
Best ages: 4 to 8+
You need: a sturdy stick, string or yarn, leaves, pinecones, seed pods
Steps:
- Tie shorter strings to your main stick.
- Attach nature items by tying or lightly gluing.
- Hang from a porch hook or inside near a window.
Sarah tip: Keep it lightweight. A mobile that is too heavy becomes a “bonk-mobile.”
9) Acorn Cap Paint Stamps
Best ages: 3 to 7
You need: acorn caps, paint, paper
Steps:
- Dip the flat side of an acorn cap into paint.
- Stamp on paper to make dot patterns, flower centers, or caterpillars.
- Let dry and add marker details.
Easy win: Make a “dot rainbow” by stamping rows of colors.
10) Leaf Critters
Best ages: 3 to 8+
You need: leaves, glue stick or white glue, googly eyes (optional), marker, paper
Steps:
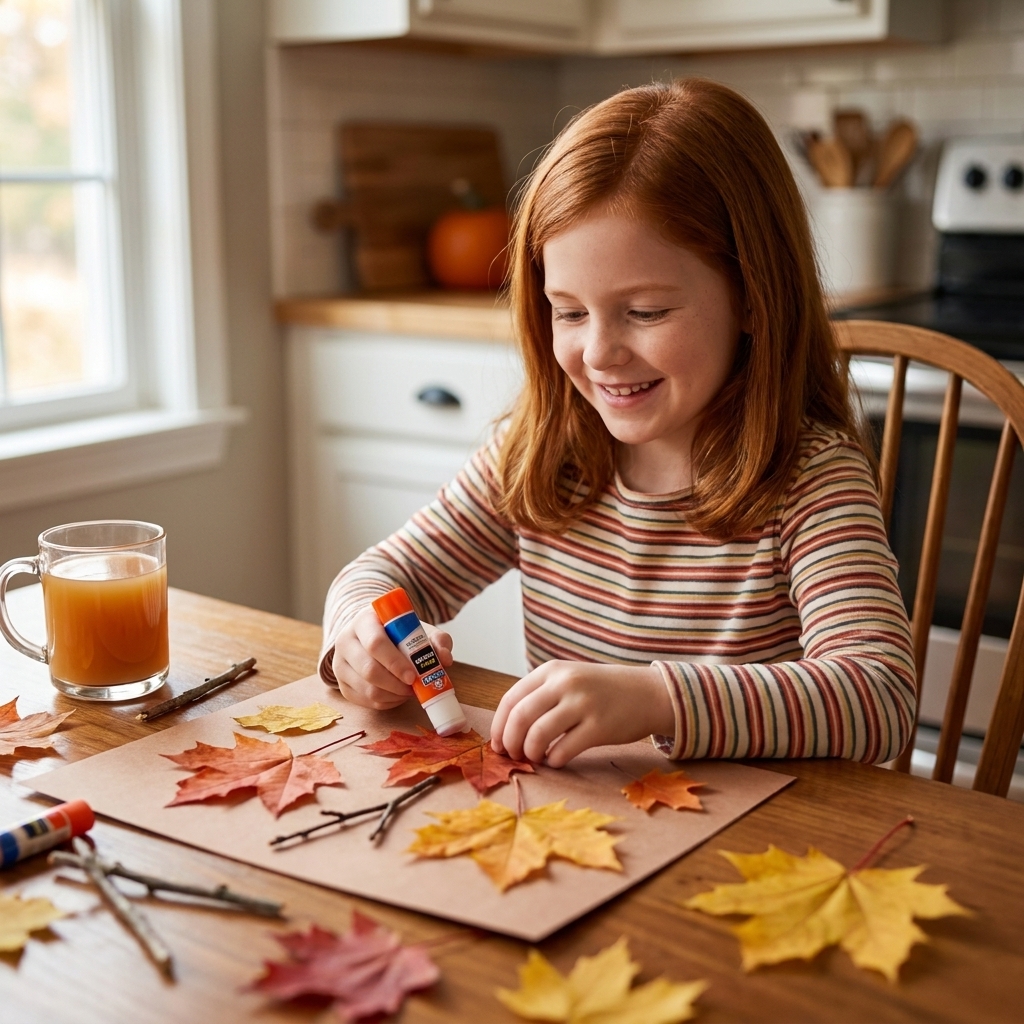
- Glue a leaf down as the critter body.
- Add eyes (or draw them).
- Draw legs, antennae, or a silly smile.
Sarah reminder: If it looks like a potato with eyes, congratulations, you made a toddler masterpiece.
11) Rock Balancing Challenge
Best ages: 4 to 8+
You need: fairly flat rocks, optional paint
Steps:
- Try stacking rocks biggest to smallest.
- Count how many you can balance before it tumbles.
- Optional: paint your “tower rocks” once you are done.
Safety note: Do this outside or on the floor, not on a high table, and keep toes clear. Rocks love drama.
Great for: patience, engineering thinking, and quiet focus.
12) Bark and Texture Rubbings
Best ages: 4 to 8+
You need: paper, crayons
Steps:
- Place paper against a tree trunk or a textured rock.
- Rub with the side of a crayon to capture the texture.
- Label it at home: “Oak tree,” “Driveway rock,” “Fence post.”
Safety note: Choose stable surfaces and skip anything prickly or crumbly.
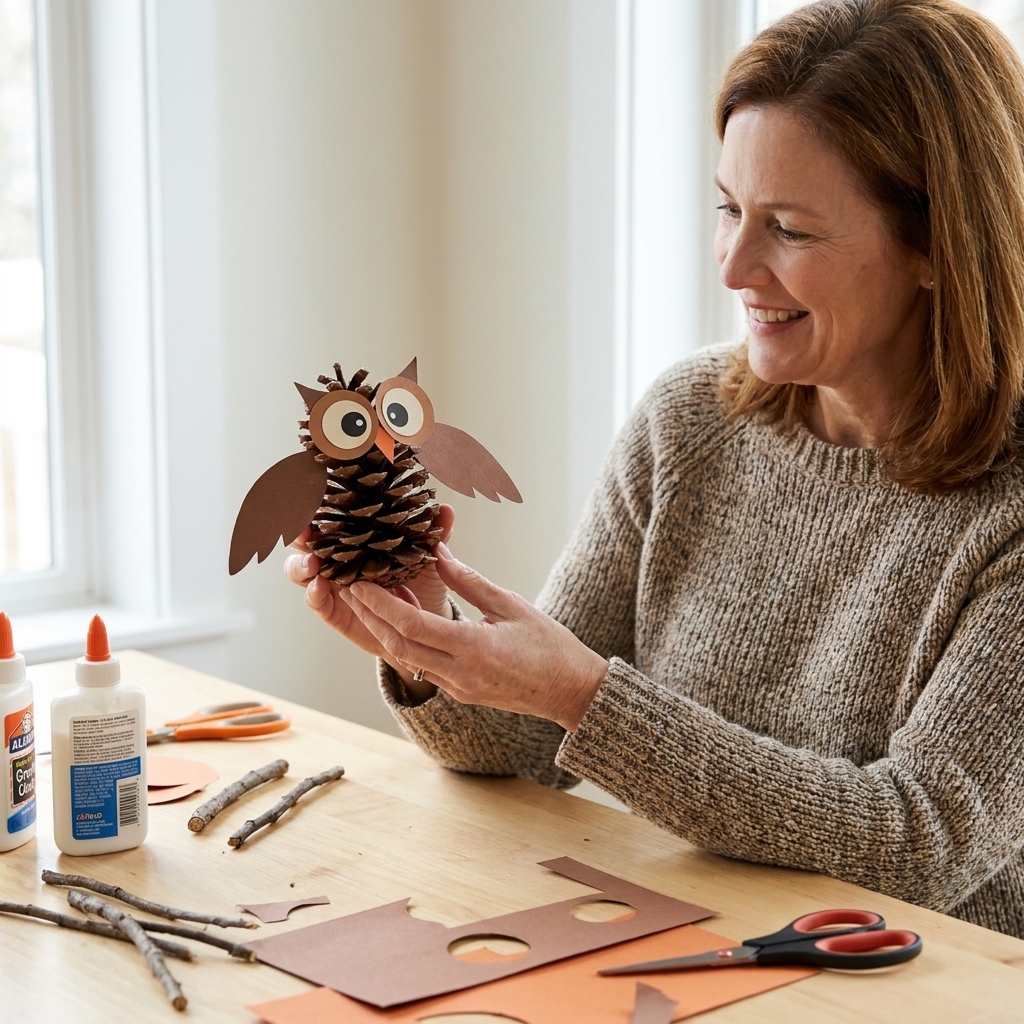
13) Pinecone Animals
Best ages: 4 to 8+ (with supervision)
You need: pinecones, paper, glue, small twigs, felt scraps (optional)
Steps:
- Pick a pinecone for the body.
- Add paper ears, a paper beak, or felt wings.
- Use small twigs for legs.
- Draw eyes or add googly eyes.
Sarah tip: Hot glue holds best, but for little kids, regular glue plus patience works. I like to build, then let it “rest” while we read a book.
Dry time: Set it aside 30 to 60 minutes before playing with it, or you will be reattaching legs all afternoon.
14) Mini Fairy House
Best ages: 4 to 8+
You need: paper plate or cardboard circle, twigs, leaves, pebbles, glue
Steps:
- Use twigs to outline “walls” on the plate.
- Add a leaf roof and pebble pathway.
- Make tiny details: an acorn mailbox, a pebble doormat, a twig “bench.”
Extend the play: Add a small toy animal as the “resident.”
15) Nature Weaving
Best ages: 5 to 8+
You need: a piece of cardboard, scissors, yarn or string, grass, long leaves, thin twigs
Steps:
- Cut small slits at the top and bottom of the cardboard.
- Wrap yarn up and down to make the loom.
- Weave grass, long leaves, and thin twigs over and under the yarn.
- Tie off the yarn ends when finished.
Troubleshooting: If the grass keeps snapping, lightly mist it with water or use wider leaves.
Make It Work for Different Ages
Toddlers (age 3-ish)
- Pick: rock painting, leaf rubbings, acorn stamping, leaf critters.
- Use thicker paper and bigger items to reduce frustration.
- Let them squeeze glue, then you “drive it home” with a quick spread.
Kindergarten and early elementary (ages 5 to 8)
- Try: nature weaving, twig frames, mobiles, fairy houses.
- Add a challenge: pattern making, symmetry, counting, or a short story to go with the craft.
Season swaps
- No flowers? Use evergreen needles, dried grasses, or interesting seed pods.
- No big leaves? Tiny leaves make excellent “confetti” for suncatchers and collages.
Easy Cleanup and Storage
- Shake first: Always shake nature finds outside before they hit your table.
- Craft tray hack: A rimmed baking sheet keeps rocks and acorns from rolling away.
- Drying spot: A spare tray or cardboard lid makes it easy to slide glue projects out of the danger zone while they dry.
- Keep a “nature bin”: One shoebox for pinecones, one for rocks, and one for leaves. You will be amazed how often kids pull it out on their own.
Nature Craft Safety Notes
- Wash hands after collecting and crafting.
- Avoid unknown berries, mushrooms, and plants that can irritate skin.
- Avoid collecting from areas that may be pesticide-treated.
- Supervise anything small enough to be a choking hazard (acorns, pebbles) with younger kids.
- If you use hot glue, it is grown-up only. I say this as someone who has absolutely hot-glued my own finger to a pinecone.
FAQ
How do you dry leaves quickly for crafts?
Pat them dry and press them in a heavy book for a day or two. If you are in a hurry, place leaves between two sheets of plain paper (or parchment), set the iron to low heat with no steam, and keep it moving for a few seconds at a time. This is a grown-up job, unless you enjoy the smell of scorched maple leaf.
What if our backyard does not have pinecones or acorns?
No problem. Swap in what you do have: small sticks, grass, seed pods, or even driveway pebbles. Most of these crafts are really “nature + glue” at heart.
How can I keep kids interested longer than five minutes?
Let them lead the collecting, then offer a simple choice: “Do you want to make a leaf critter or a rock story stone?” Two options feels empowering, and it prevents the overwhelm spiral.
If you try any of these, I would love for you to make it your own. Add glitter, skip glitter, rename the pinecone owl “Captain Fluff,” whatever brings joy. Around here, the process matters more than perfection, and the backyard is basically our craft store.