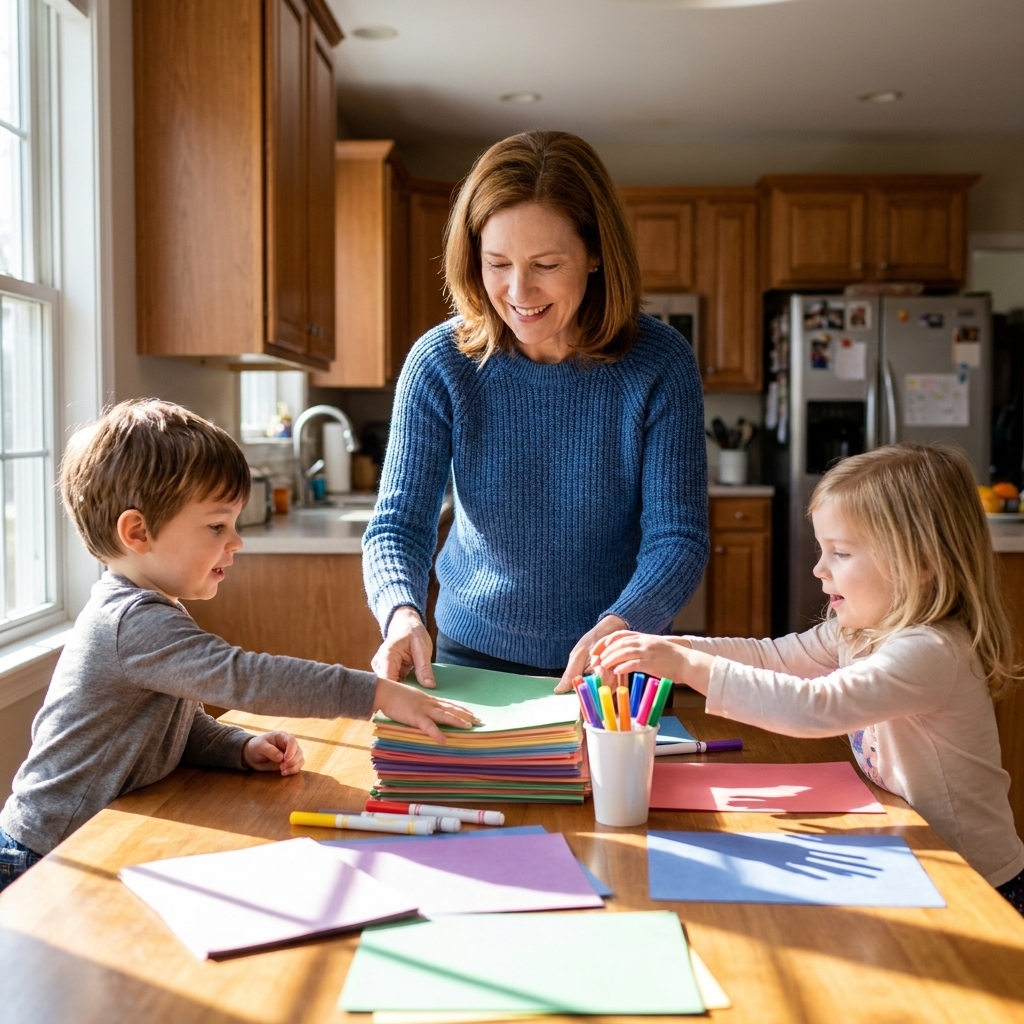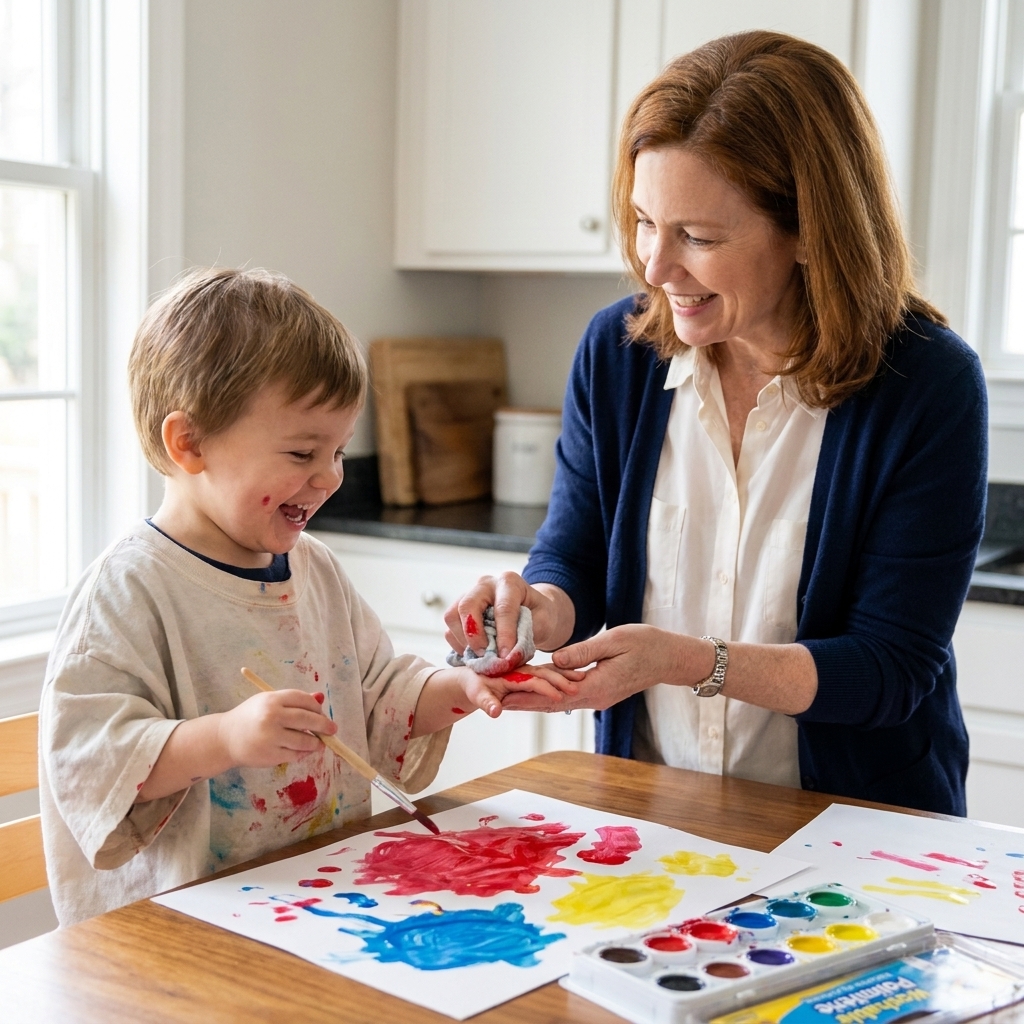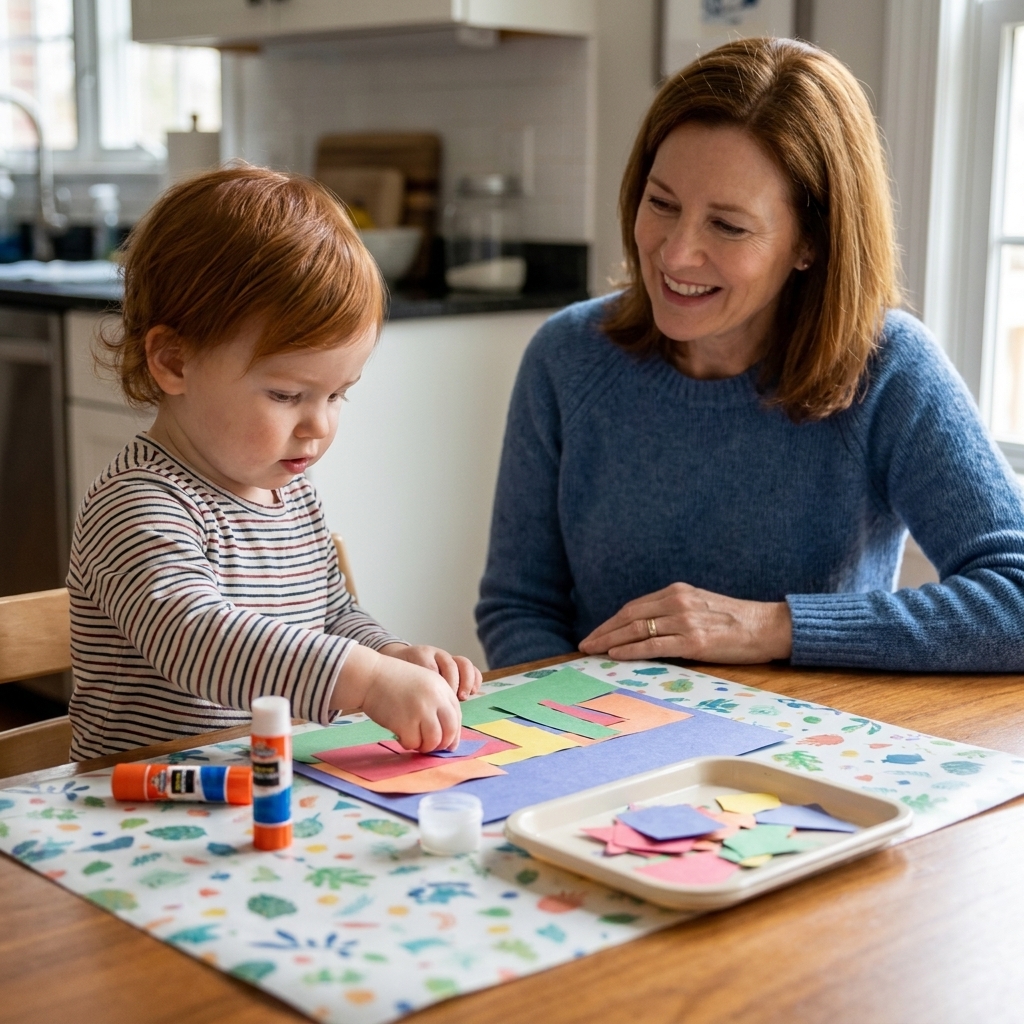
A realistic, parent-friendly guide to toddler crafts: low-mess setup, easy materials, and simple ideas that keep little hands busy without wrecking your house.
When the weather outside is doing the most, I like to keep a little “snow day craft stash” ready inside. Nothing fancy. Just the kind of supplies that can live in a shoebox and magically buy you 20 minutes to sip lukewarm coffee while your kid proudly announces, “Look! I made a blizzard!”
These ideas are toddler- and preschool-friendly, low-prep, and designed for normal homes. You know, the kind held together by hot glue and washi tape. Pick one craft, lay down an old towel or baking sheet, and call it a winter win.
Quick safety note: If your kid is still in the “everything goes in my mouth” stage, skip small pieces (pom-poms, confetti, googly eyes). And if you try shaving cream, choose fragrance-free if you can and wash hands after. Supervision is always part of the supply list.
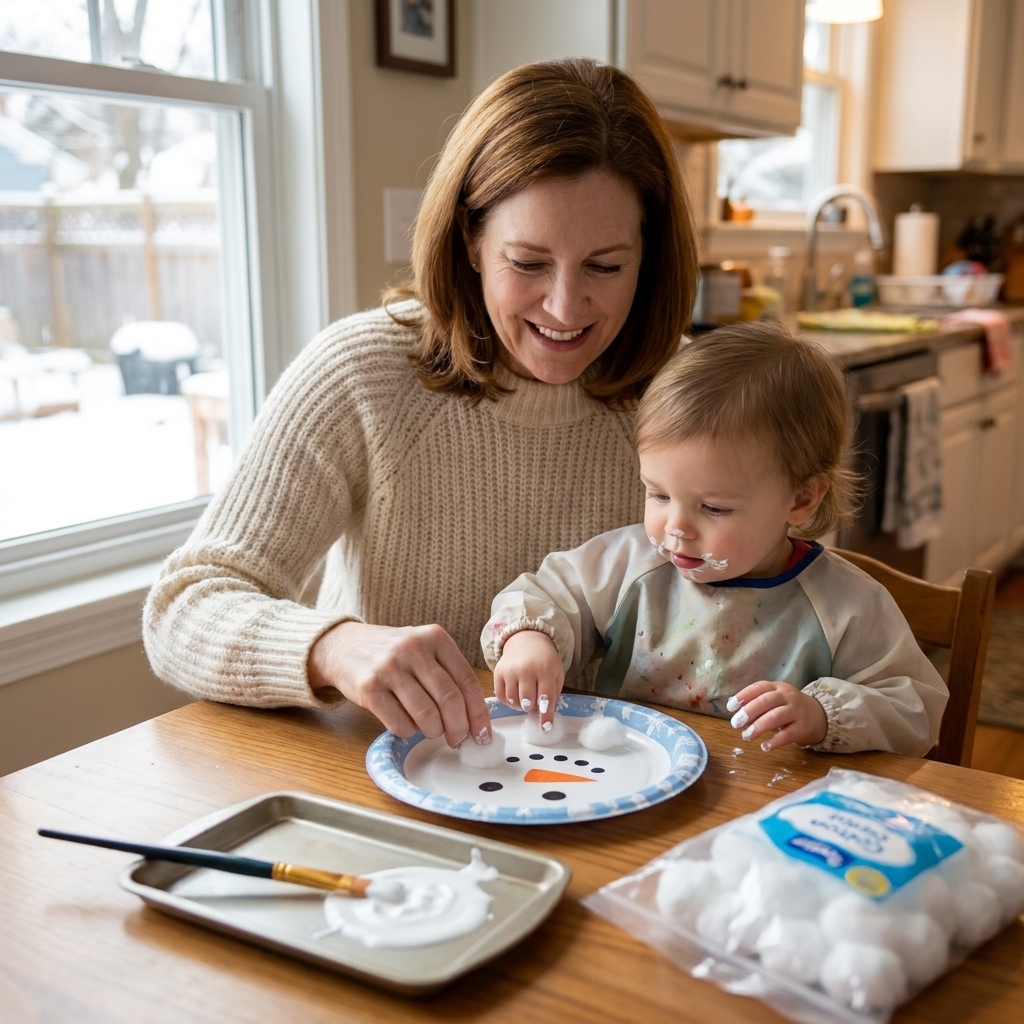
Snow Day Craft Prep
- Use a tray: A rimmed baking sheet or a plastic cafeteria tray keeps tiny bits contained.
- Swap glitter for sparkle paper: Same magic, way less vacuuming.
- Pre-portion glue: A small cup with a paintbrush is calmer than an open glue bottle.
- Match the craft to your clock: If you need a quick win, choose stickers, tape, and crayons over paint.
15 Easy Indoor Snow Day Crafts
1) Paper Plate Snowman Face
Best for: Ages 2 to 5
Time: 10 to 15 minutes
Mess: Low (medium if you paint)
You’ll need: Paper plate, white paint (optional), glue stick, black paper circles (hole-punched) or marker, orange paper triangle (or orange marker), scarf scrap or ribbon
Steps:
- Color or paint the plate white if you want a crisp “snowman” look.
- Add eyes and a smile with circles or a marker.
- Glue on an orange triangle nose.
- Add a scarf strip across the bottom.
Tip: For toddlers, let them place big sticker “coal” circles instead of drawing.
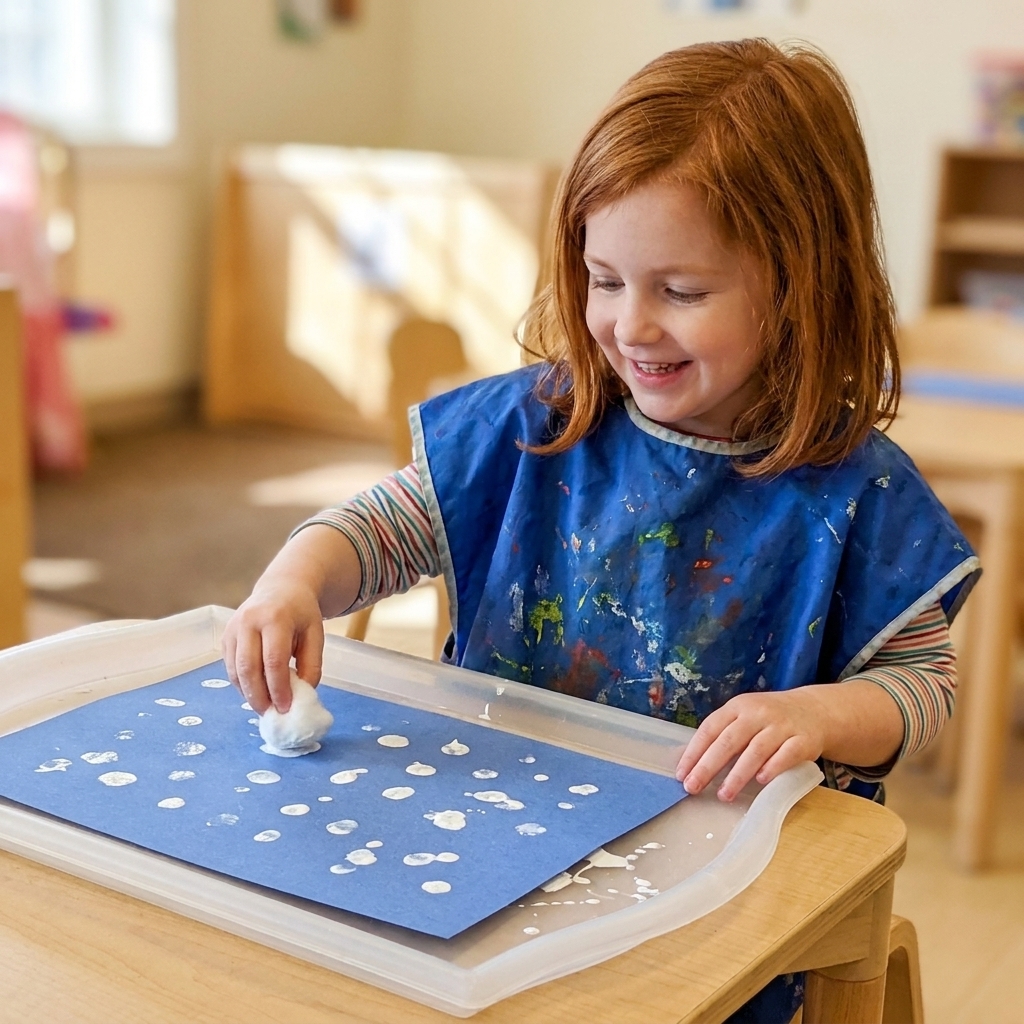
2) Cotton Ball Snowstorm Painting
Best for: Ages 2 to 5
Time: 10 minutes
Mess: Medium
You’ll need: Blue paper, cotton balls, clothespin (optional), white paint or washable tempera
Steps:
- Dip cotton balls into white paint.
- Stamp all over blue paper to make a snowstorm.
- Add a few finger-dot flakes if your kid is feeling bold.
Low-mess tip: Put paint in a shallow lid and do this on a tray.
No-paint swap: Use a white crayon or chalk on blue paper, then add cotton balls with glue stick.
3) Sticker Snowflakes
Best for: Ages 2 to 4
Time: 5 to 10 minutes
Mess: Low
You’ll need: Paper, white dot stickers (or any pale stickers), optional marker
Steps:
- Draw big snowflake “arms” (simple lines) on the paper.
- Let your child place stickers along the lines.
- Add extra stickers to make it extra frosty.
Why I love it: Great fine motor practice with almost zero cleanup.
4) Snowflake Tape Resist Art
Best for: Ages 3 to 6
Time: 10 to 20 minutes
Mess: Low (medium with paint)
You’ll need: Painter’s tape or washi tape, white paper, crayons or watercolors
Steps:
- Make a simple snowflake shape with tape on paper (crosses and diagonals work great).
- Color over everything with crayons or paint with watercolors.
- Peel up the tape to reveal bright snowflake lines.
Tip: If tape is hard to peel, start a corner for your child and let them do the satisfying pull.
5) Puffy Paint Snowman
Best for: Ages 3 to 6 (with supervision)
Time: 15 minutes plus dry time
Mess: Medium
You’ll need: Shaving cream (fragrance-free if possible), white school glue, cardstock, googly eyes (optional), buttons or paper scraps
Steps:
- Mix equal parts shaving cream and glue in a bowl.
- Scoop and spread into three stacked “snowballs.”
- Decorate with eyes, buttons, and a paper nose.
Low-mess tip: This is puffy and fun, but it is still shaving cream. Keep wipes nearby and wash hands after.
6) Toilet Paper Roll Snowman Stamp
Best for: Ages 3 to 6
Time: 10 to 15 minutes
Mess: Medium
You’ll need: Empty toilet paper roll, white paint, blue paper
Steps:
- Pinch the roll slightly to make an oval.
- Dip in white paint and stamp three ovals stacked for a snowman body.
- Once dry, add a face and buttons with marker.
Extension: Stamp a whole “snowman family” across the page.
7) Mitten Matching Craft
Best for: Ages 3 to 5
Time: 15 to 20 minutes
Mess: Low
You’ll need: Paper mittens cut out (adult pre-cut helps), stickers, crayons, glue
Steps:
- Decorate two mittens the same way (or as close as preschoolers will allow).
- Mix them up.
- Match pairs and glue each pair onto a sheet of paper.
Teacher trick: Make one pair “easy” and one pair “tricky” to build confidence.
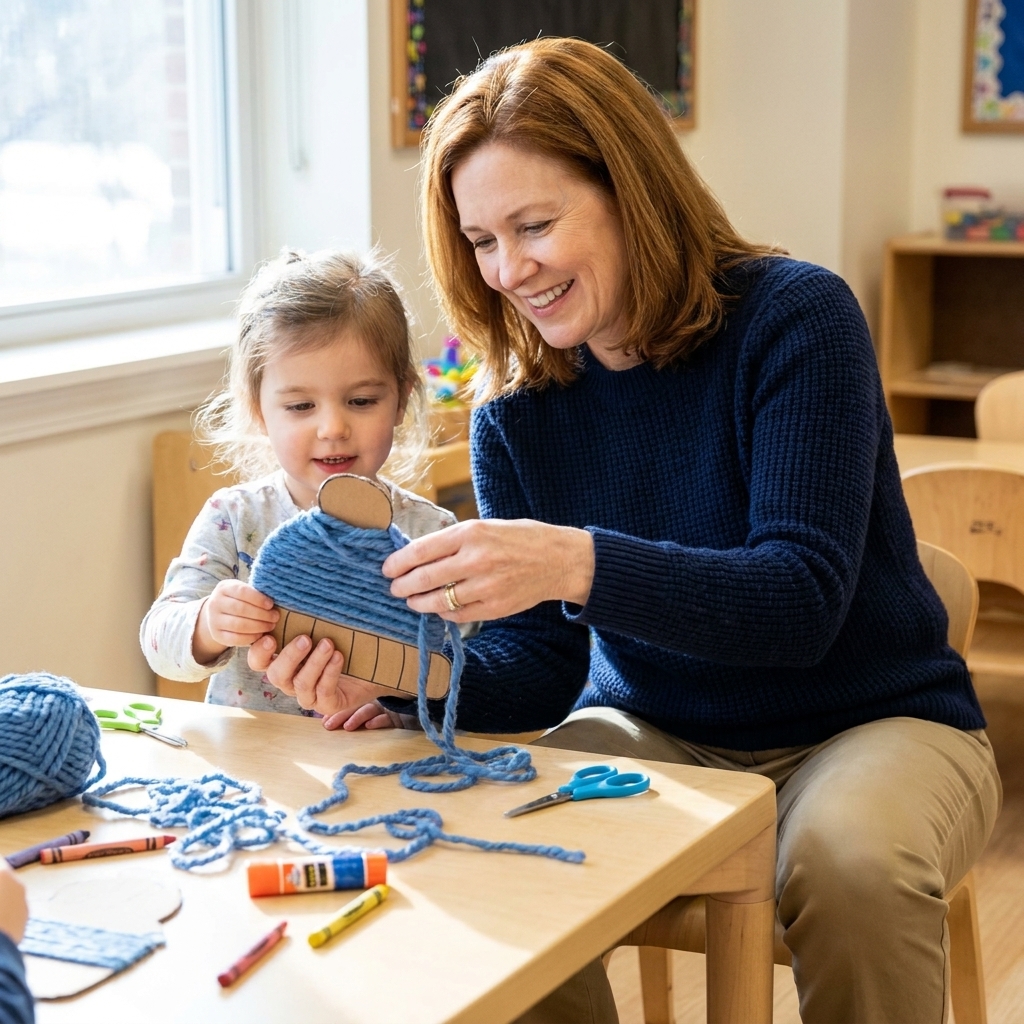
8) Yarn-Wrapped Winter Hat
Best for: Ages 4 to 6
Time: 15 to 20 minutes
Mess: Low
You’ll need: Paper hat shape, yarn, glue stick or tape
Steps:
- Tape one end of yarn to the back of the hat.
- Wrap yarn around and around until the hat is covered.
- Secure the end with tape and add a paper pom-pom.
Make it easier: Use chunky yarn and a bigger hat shape.
9) Coffee Filter Snowflakes
Best for: Ages 3 to 6
Time: 15 minutes plus dry time
Mess: Medium
You’ll need: Coffee filters, washable markers, spray bottle with water
Steps:
- Flatten a coffee filter and color it with markers.
- Mist lightly with water to blend the colors.
- Let it dry flat first (the colors blend prettier this way).
- Fold and snip simple shapes around the edges (adult help for younger kids).
- Open to reveal a colorful snowflake.
Low-mess tip: Do the misting in the sink or bathtub.
10) Snowy Tree Sponge Paint
Best for: Ages 2 to 5
Time: 10 to 15 minutes
Mess: Medium
You’ll need: Green paper, white paint, sponge piece, brown crayon
Steps:
- Draw a simple tree trunk with brown crayon.
- Use a sponge to dab green “pine” shapes.
- Use fingertips or cotton balls to add white snow on top.
Process over perfection: If the tree becomes a green blob, congratulations, you have a “snowy forest.”
11) Tissue Paper Snowflake Window Art
Best for: Ages 3 to 6
Time: 15 to 20 minutes
Mess: Low
You’ll need: Contact paper or clear packing tape, tissue paper squares, paper snowflake frame
Steps:
- Stick contact paper (sticky side up) to the table and tape the corners down so it does not curl.
- Let kids place tissue squares all over.
- Seal with a second sheet of contact paper.
- Trim into a snowflake-ish shape and hang in a window.
Confession: I have used packing tape in a pinch. It is not perfect, but it works.
12) Pom-Pom Blizzard Collage
Best for: Ages 2 to 5 (supervised)
Time: 10 to 15 minutes
Mess: Medium
You’ll need: Blue or gray paper, white pom-poms, glue stick or liquid glue
Steps:
- Spread glue across the page in big swoops.
- Sprinkle pom-poms like a blizzard.
- Tap off extras into a bowl to reuse.
Low-mess tip: If pom-poms roll everywhere, use torn white paper bits instead.
13) Ice Skate Lacing Card
Best for: Ages 4 to 6
Time: 15 to 20 minutes
Mess: Low
You’ll need: Cardstock skate shape, hole punch, yarn or shoelace with taped tip
Steps:
- Cut out a big ice skate shape from cardstock.
- Punch holes up the “boot.”
- Let your child lace yarn through the holes.
Why it’s great: Quiet, focused fine motor work when everyone is a little stir-crazy.
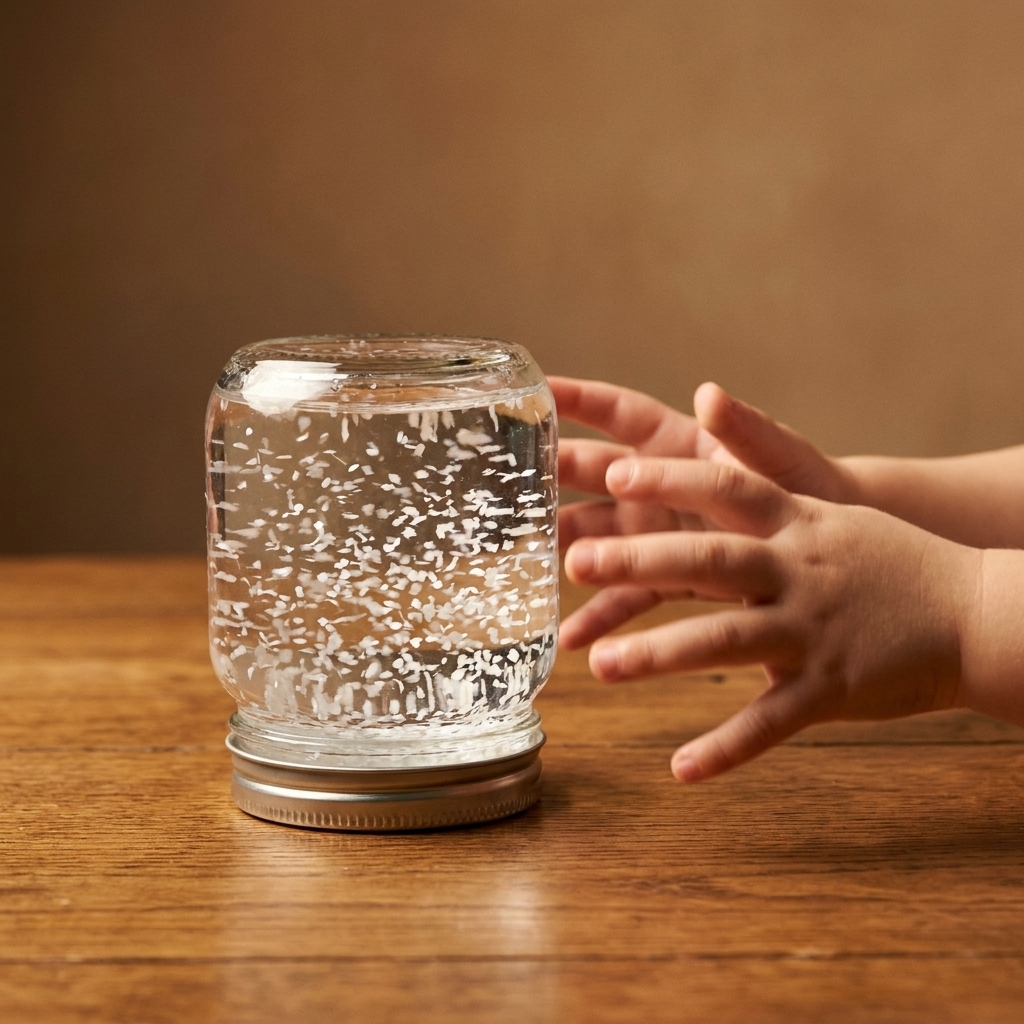
14) Snow Globe in a Jar
Best for: Ages 5 to 6 (with adult sealing and close supervision)
Time: 10 minutes plus seal time
Mess: Medium (and potentially wet)
You’ll need: Clear jar with lid, water, glycerin (optional), white confetti or tiny white pom-poms, a reliable sealant (two-part epoxy or waterproof silicone)
Steps:
- Fill the jar with water, leaving a little space at the top.
- Add glycerin to slow the “snow” (optional). Start with about 1/4 teaspoon per cup of water, then adjust next time if you want it slower.
- Add a small pinch of confetti or tiny pom-poms.
- Adult step: Seal the inside rim of the lid with two-part epoxy or waterproof silicone, close tightly, and let it cure fully.
- Leak-test in the sink: turn it upside down for a few seconds and check for drips before handing it over.
- Shake and watch the snow fall.
Safety note: Avoid this one for mouthy kids. Once it is sealed and cured, it can be a great calm-down shelf item, but small pieces and water are not worth the stress for younger toddlers.
15) Indoor Snowball Toss
Best for: Ages 2 to 6
Time: 10 minutes
Mess: Low
You’ll need: White paper, painter’s tape, a laundry basket or big bowl
Steps:
- Crumple paper into “snowballs.”
- Tape a throwing line on the floor.
- Toss snowballs into a basket.
- Count points, colors, or turns for a gentle learning boost.
Mess-friendly win: When you are done, the cleanup is part of the game.
Quick Supply List
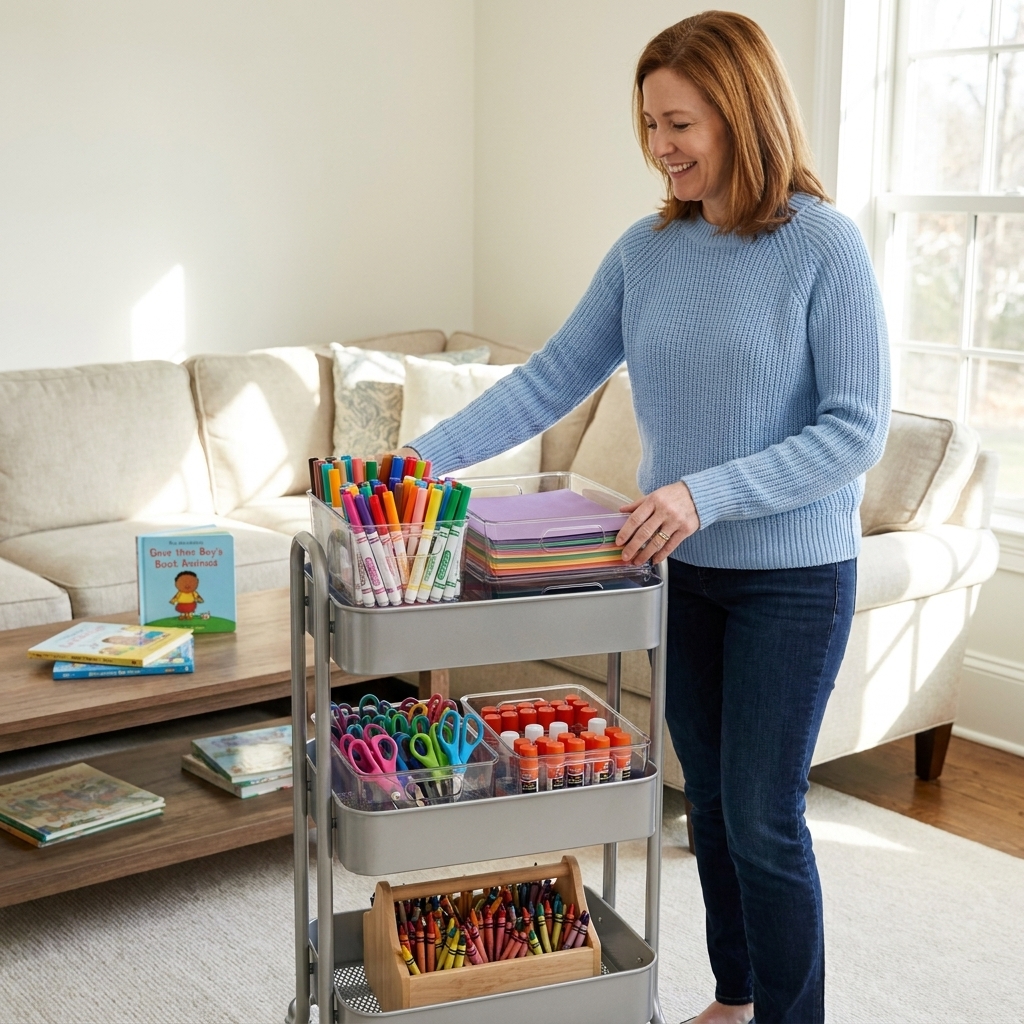
If you want to stock a tiny winter craft bin, this is my realistic short list:
- Paper plates and construction paper (blue, white, black)
- Glue sticks plus one bottle of school glue
- Washable markers and crayons (a white crayon is surprisingly useful)
- Cotton balls and a small bag of pom-poms
- Painter’s tape or washi tape
- Yarn scraps
- Googly eyes (optional, but always delightful)
- Shaving cream (for one brave day)
FAQ
What if my toddler puts everything in their mouth?
Skip small items like pom-poms, confetti, and googly eyes. Stick with jumbo crayons, sticker sheets, paper plate crafts, and tape-resist coloring. Supervision matters, and it is okay to save the tiny stuff for later.
How do I keep crafts from taking over my whole house?
One tray per child, one “drying spot” (a counter corner or a shelf), and one rule: if it does not fit on the tray, we are not using it today. This has saved my table more times than I can count.
What are the best truly low-prep snow day crafts?
Sticker snowflakes, mitten matching, indoor snowball toss, and cotton ball snowstorm painting are my fastest wins with the biggest payoff.
What if I do not have paint?
You can still do a lot with crayons, markers, tape, stickers, torn-paper collages, and cotton balls. White crayon on blue paper is an instant snowstorm, no paint required.
One Last Reminder
If your snowman looks like a lopsided marshmallow and your snowflakes are basically circles, you are doing it exactly right. Little kids learn through trying, squishing, stamping, and giggling. The process matters more than perfection. Always.