Fifteen low-prep, low-mess winter crafts to keep little hands busy indoors. Simple supplies, clear steps, and gentle tips for real-life crafting.
If your eye twitches at the words glitter and wet paint, come sit by me. My house is held together by hot glue and washi tape, and I have learned the hard way that December is not the month for crafts that need three days to dry.
These ornaments are truly mess-free in the ways that matter most: no glitter, no paint, and no “oh no, it’s on the dog” surprises. Just simple materials like paper, felt, beads, pipe cleaners, and a few good stickers. Most of these are kid-doable with minimal help for many kids ages 6 and up. Little kids can join in with some pre-cutting and supervision.
Before you start: my mess-free ornament rules
- Pre-cut for littles. For ages 3 to 5, I cut shapes ahead of time and let them do the sticking, peeling, and threading.
- Use a tray. A rimmed baking sheet under the project keeps beads and tiny bits from rolling into another dimension.
- Choose one hanger system. Ribbon loops, pipe cleaner hooks, or ornament hooks. Decide once, then everything gets hung the same way.
- Write names and dates. Permanent marker on the back. Future-you will thank you.
- Quick safety note. Small parts (beads, buttons, bells) are choking hazards, and pipe cleaners can poke. Keep these projects supervised, skip tiny bits for kids under 3, and use blunt kid scissors when possible. If your house has curious pets, assume every dropped bead is a snack.
20 mess-free DIY Christmas ornaments
Each idea includes what you need and quick steps. Mix and match based on your kids’ ages and attention spans.
1) Paper strip swirl ornament
You need: construction paper, scissors, stapler or tape, hole punch, ribbon
How: Cut 6 to 10 paper strips (about 1 inch wide). For a rounder “ball,” use a mix of short and long strips. Stack strips and staple one end. Curve strips outward and gather the other ends to form a sphere shape, then staple. Punch a hole and add ribbon.
2) Cupcake liner rosette ornament
You need: cupcake liners, glue stick or double-sided tape, button or pom pom, ribbon
How: Flatten liners, fold like a fan, then pinch the center. Wrap a small piece of tape around the pinched middle to hold it, then fan it into a circle and tape the ends together. Layer two rosettes for fullness. Add a center button, then tape on a ribbon loop.
3) Sticker collage ball (paper)
You need: cardstock circles, holiday stickers, marker, ribbon
How: Cut a big circle (or use a paper plate trimmed down). Kids cover it in stickers. Add a face, patterns, or their name. Punch a hole, add ribbon.
4) Foam shape tree ornament
You need: craft foam sheets, foam stickers, ribbon, scissors
How: Cut a simple tree shape from foam. Decorate with foam stickers. Poke a hole at the top and tie ribbon through.
5) Felt mitten ornament (no-sew)
You need: felt, safety scissors, glue dots or fabric tape, ribbon
How: Cut two mitten shapes. Stick them together around the edges, leaving the top open. Tuck a ribbon loop inside the top, then seal the final bit of the edge.
Toddler win: Let them decorate with felt hearts or “buttons” made from foam stickers.
6) Pipe cleaner candy cane
You need: red and white pipe cleaners, ribbon
How: Twist one red and one white pipe cleaner together. Bend into a candy cane shape. Tie on a ribbon bow or make a hanging loop.
7) Bead and pipe cleaner star
You need: pipe cleaners, pony beads
How: Thread beads onto a pipe cleaner, leaving about 2 inches bare at each end. Bend into a five-point star, then twist the ends together to close. Use any remaining tail to form a small loop for hanging, then twist to secure.

8) Wooden bead snowman
You need: 3 wooden beads (different sizes if possible), string or thin ribbon, black marker, small scarf ribbon
How: Thread beads largest to smallest. Draw a face and buttons with marker. Tie a tiny ribbon scarf between beads. Double-knot the top into a hanger.
9) Cinnamon stick bundle ornament
You need: cinnamon sticks, twine, mini pine sprig (real or faux), small jingle bell (optional)
How: Bundle 3 cinnamon sticks with twine. Double-knot tightly, then tie a bow and leave extra twine for hanging. Tuck in a pine sprig.
Bonus: Smells like Christmas without a single drop of paint.
10) Mini book page tree (upcycled)
You need: an old damaged book or junk mail paper, scissors, glue stick, tape, ribbon
How: Roll paper into a cone and tape it closed. Cut small strips of page paper and wrap around the cone in layers like branches. A glue stick stays tidy and dries fast. Tape a ribbon loop inside the cone tip.
Best for: Older kids who like fussy little details.
11) Washi tape ornaments (paper or foam)
You need: cardstock or foam shapes, washi tape, scissors, ribbon
How: Cut shapes like trees, circles, or stars. Let kids cover with washi tape strips, then trim edges. Punch a hole, add ribbon.
My note as a mom: This is the craft that makes kids feel like design geniuses.
12) Popcorn and cranberry garland mini-strand
You need: popped popcorn (plain), fresh cranberries (optional), yarn or kitchen twine, blunt tapestry needle
How: String popcorn (and cranberries, if using) into a short loop or heart shape. Tie off with yarn for hanging.
Mess-free tip: Do it over a tray. Popcorn sheds crumbs, and cranberries can leak and stain, so consider skipping cranberries if you are crafting on anything you love.
Toddler note: For kids under 5, skip the needle. Pre-thread the yarn and let them slide popcorn on by hand, or use O-shaped cereal instead.
13) Origami heart ornament (easy fold)
You need: square origami paper, tape, ribbon
How: Fold paper into an origami heart using an easy pattern, then tape a ribbon loop to the back.
Help level: Great for ages 7+ or younger kids who love step-by-step directions.
14) Photo ornament in a plastic fillable ball
You need: clear plastic fillable ornament ball, small photo, ribbon
How: Cut a photo strip slightly shorter than the ornament height. Roll it and slip inside so it opens into a cylinder. Add a ribbon hanger.

15) Button tree ornament (no glue option)
You need: buttons (green or any colors), pipe cleaner, star bead (optional)
How: Thread buttons onto a pipe cleaner, widest at bottom. Bend into a triangle tree shape and twist to secure. Add a bead at the top and bend a loop for hanging.
16) Paper chain ornament (mini wreath)
You need: green paper strips, stapler or tape, small red paper circles, ribbon
How: Make a tiny paper chain, then connect ends into a circle wreath. Add a few red “berries” (paper circles) with tape. Tie on a ribbon bow and hanger.
17) Puzzle piece wreath (upcycled)
You need: old puzzle pieces, cardstock ring base, double-sided tape, ribbon
How: Cut a ring from cardstock. Stick puzzle pieces around it using strong double-sided tape. Add a ribbon bow and hanger.
Optional: If you want color, use pre-colored puzzle pieces. Still no paint.
18) Paper snowflake ornament (fold and snip)
You need: white paper, scissors, hole punch, ribbon
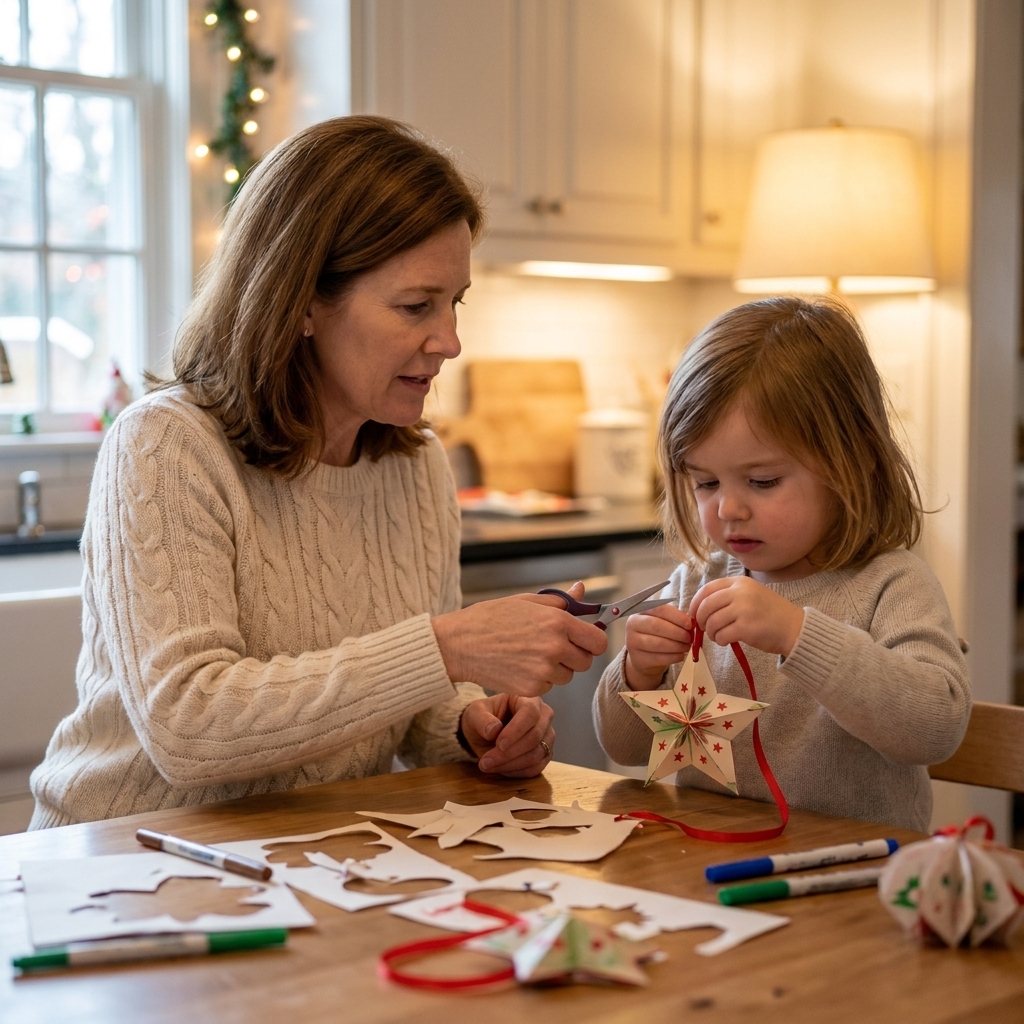
How: Fold paper into a triangle wedge and snip shapes. Unfold to reveal the snowflake. Punch a hole in one point and add ribbon.
Kid-friendly tweak: For ages 3 to 5, pre-fold and let them do a few safe snips.
19) Fabric scrap tassel ornament
You need: fabric scraps or ribbon pieces, cardboard, twine
How: Wrap fabric strips around a small piece of cardboard. Slide off, tie at the top with twine, then snip the bottom to create a tassel. Add a hanging loop.
20) Air-dry clay tags (markers only)
You need: store-bought air-dry clay, cookie cutters, drinking straw, markers, ribbon or twine
How: Press clay flat, cut shapes, poke a hanging hole with a straw. Let dry completely (often overnight, and up to a couple of days if thick or humid), then decorate with markers only. Add ribbon or twine and double-knot for hanging.
Need it today? Swap the clay for pre-made kraft gift tags or thick cardstock tags. Kids can decorate with stickers and markers and you can hang them right away.
How to keep it truly mess-free
- Skip liquid glue when you can. Glue sticks, glue dots, and double-sided tape are your best friends for “no spill” crafting.
- Pre-make ribbon loops. Cut and tie a bunch of ribbon hangers first so kids can just attach.
- Use a bead bowl. A small bowl inside a larger bowl helps keep beads from escaping.
- Set a time limit. I literally set a 20-minute timer. Stopping while it is still fun is the secret.
- Match the hanger to the weight. For heavier ornaments (cinnamon bundles, clay tags), use twine or a doubled ribbon and a tight double-knot.
Age tweaks
Ages 3 to 4
- Choose: pipe cleaner candy canes, sticker collage, washi tape shapes, pre-cut felt mittens.
- Adult does: cutting, hole punching, knot tying, and anything involving beads or small buttons.
Ages 5 to 6
- Choose: paper strip swirl, paper chain wreaths, snowflakes with pre-folding, bead stars with larger beads.
- Adult helps: securing staples, starting tricky bends, and making strong hanger knots.
Ages 7 to 9+
- Choose: origami hearts, wooden bead snowmen, puzzle piece wreaths, photo fillable ornaments, book page trees.
- Kid can do: most steps solo, including planning patterns and writing names and dates.
Quick supply list
If you want to knock out a whole set of ornaments in a week, here is what I keep in my December craft bin:
- Construction paper and cardstock
- Washi tape
- Holiday stickers
- Pipe cleaners
- Pony beads and a few wooden beads
- Ribbon or twine
- Glue dots or double-sided tape
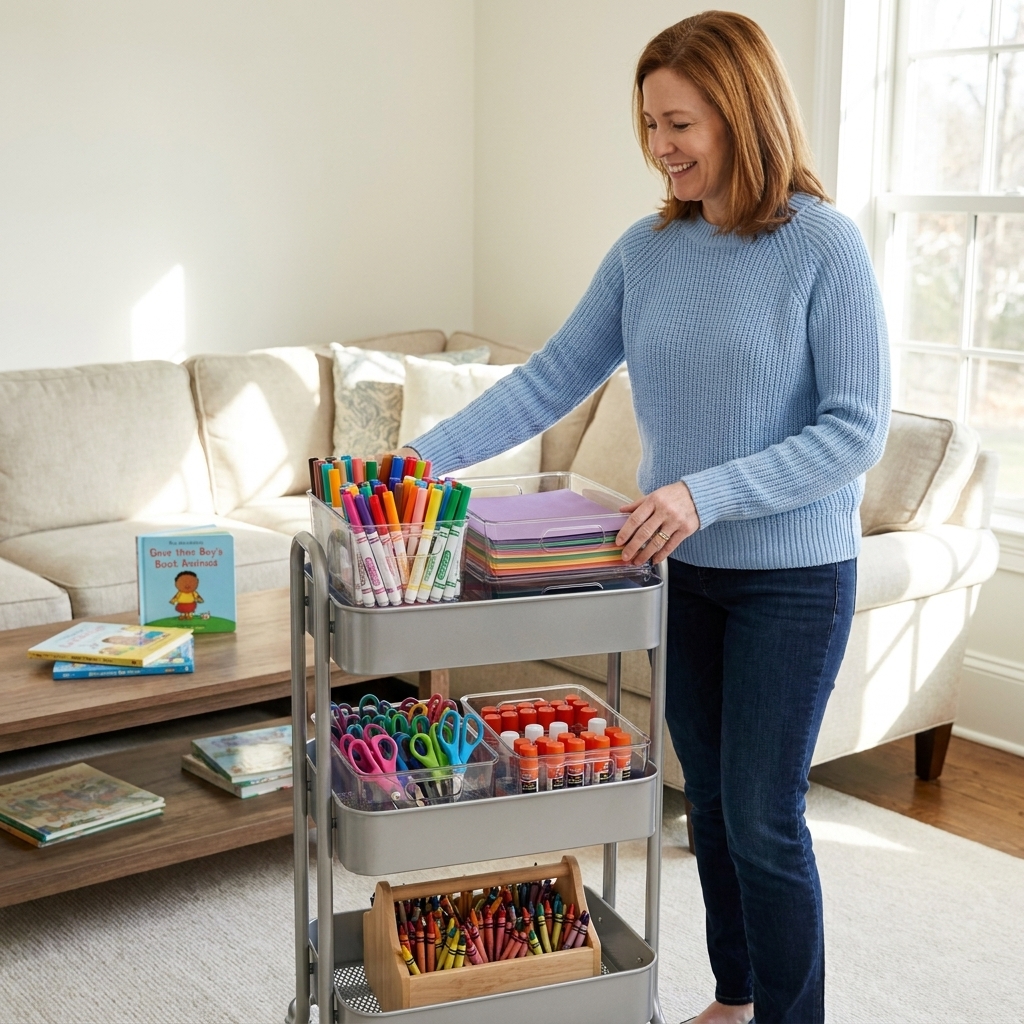
- Safety scissors and a hole punch
- Clear plastic fillable ornament balls (optional, but a big kid-pleaser)
FAQ
What counts as “mess-free” here?
No glitter and no wet paint. I also avoided messy dye, ink pads that smear, and anything that needs a drying rack. A few projects use glue sticks, glue dots, or tape, which are as tidy as kid crafting gets. A couple involve crumbs or natural materials, so I call those “tray-friendly” rather than “white-carpet-friendly.”
Can these be classroom-friendly?
Yes. For groups, I recommend: washi tape shapes, sticker collage ornaments, pipe cleaner candy canes, paper chain wreaths, and paper snowflakes. They are quick to prep and easy to clean up.
How do I make ornaments sturdy enough to last?
Use cardstock (not thin paper) when possible, reinforce hang holes with a small piece of tape, and store finished ornaments in a shoebox with tissue paper. For paper ornaments you love, a quick layer of clear packing tape on the back can add strength without much fuss.
If you try any of these, I hope you lean into the joyful chaos of kids making something truly theirs. Lopsided ornaments are basically a holiday tradition at my house, and honestly, those are the ones I treasure most.