A realistic, parent-friendly guide to toddler crafts: low-mess setup, easy materials, and simple ideas that keep little hands busy without wrecking your house.
If your calendar is shouting “Mother’s Day is this weekend” and your child’s hands are… well, always mysteriously sticky, you’re in the right place. Handprint and footprint crafts are my favorite last-minute keepsakes because they’re personal, fast, and honestly, they make moms and grandmas cry in the good way.
I taught kindergarten for eight years, and now I test everything on my three kids (ages 3, 6, and 8). Translation: I’ve made every possible printing mistake and found the simple tricks that give you crisp little prints instead of a smeary mystery blob.
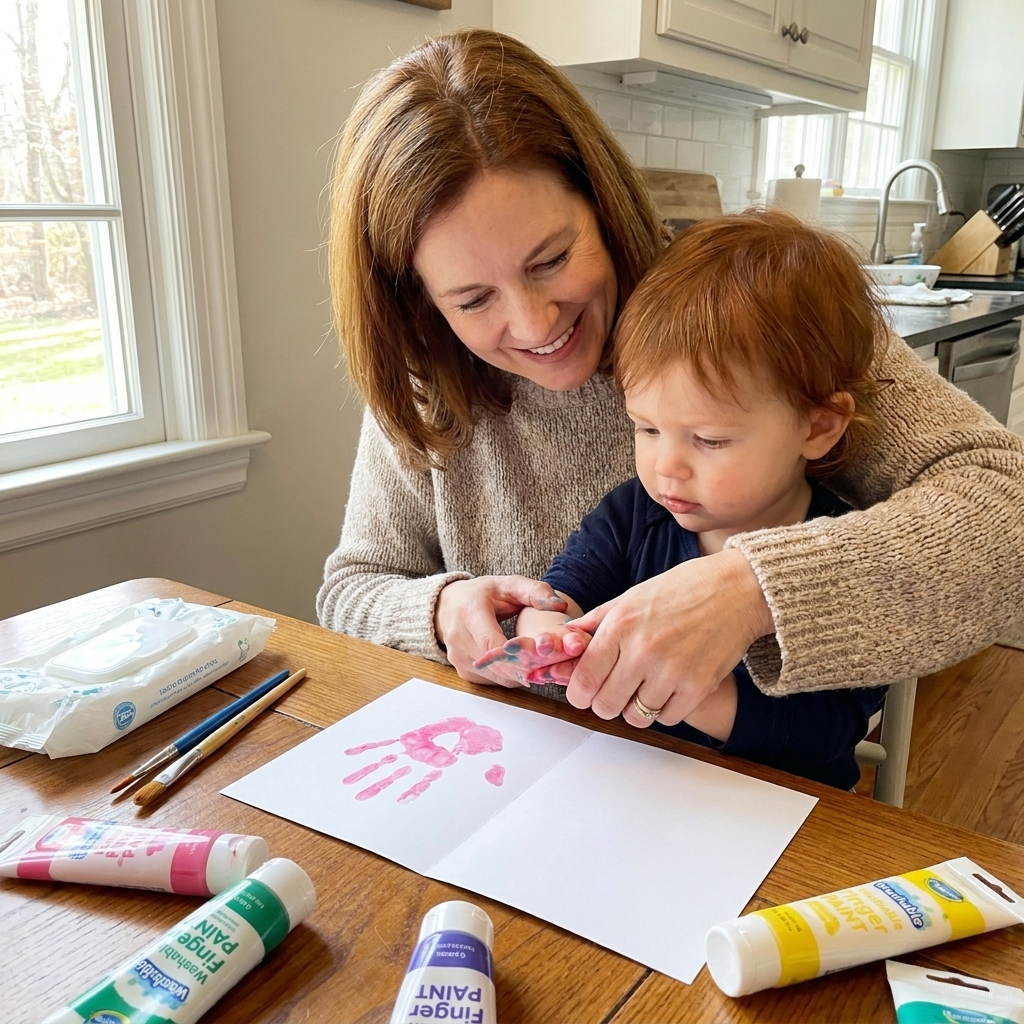
Before You Start: My “Clean Print” Setup
Great prints happen before the paint ever touches a palm. Here’s the quick prep that saves the day.
Pick the right surface
- Best for beginners: heavy cardstock or mixed media paper (roughly 175 to 216 gsm, often labeled 65 to 80 lb cover).
- For canvas: choose a smooth canvas panel, not heavily textured fabric.
- Avoid: thin printer paper, which buckles and smears easily.
Make a printing station (2 minutes)
- Cover the table with a trash bag, then one layer of paper towel or butcher paper on top (it grips better).
- Place your paper on a hard, flat surface. Not carpet. Not a squishy bed. Squish equals smear.
- Keep wipes, a damp washcloth, and a dry towel within arm’s reach.
- Dress kids in an old T-shirt. I keep one that I call the “craft uniform.” It has seen things.
- If you’re worried about staining, lay down an extra layer of scrap paper under your project and wash hands sooner rather than later.
Choose kid-friendly paint
For skin printing, I strongly recommend washable tempera. It prints well and cleans up without a battle.
Save acrylic for canvas or wood projects where you are not painting directly onto skin. Even paints labeled washable can still cling to skin, stain fabrics, or mark porous surfaces, so keep it off clothing and soft furniture.
If your child puts hands in mouths often (hello, toddlers), skip paint on skin and use the “paint the paper” method below.
Paint the Paper Method
This is my go-to for mouthy toddlers, sensitive skin, or anyone who does not want paint on hands.
- On a paper plate or tray, roll or brush a thin, even layer of washable tempera paint.
- Use a foam brush or mini roller to spread that paint onto your cardstock where you want the print.
- With a clean, dry hand or foot, press down onto the painted area for about 1 to 3 seconds.
- Lift straight up. Then wipe and wash hands.
It feels backward, but it works. And your kid stays mostly clean, which is a Mother’s Day gift in itself.
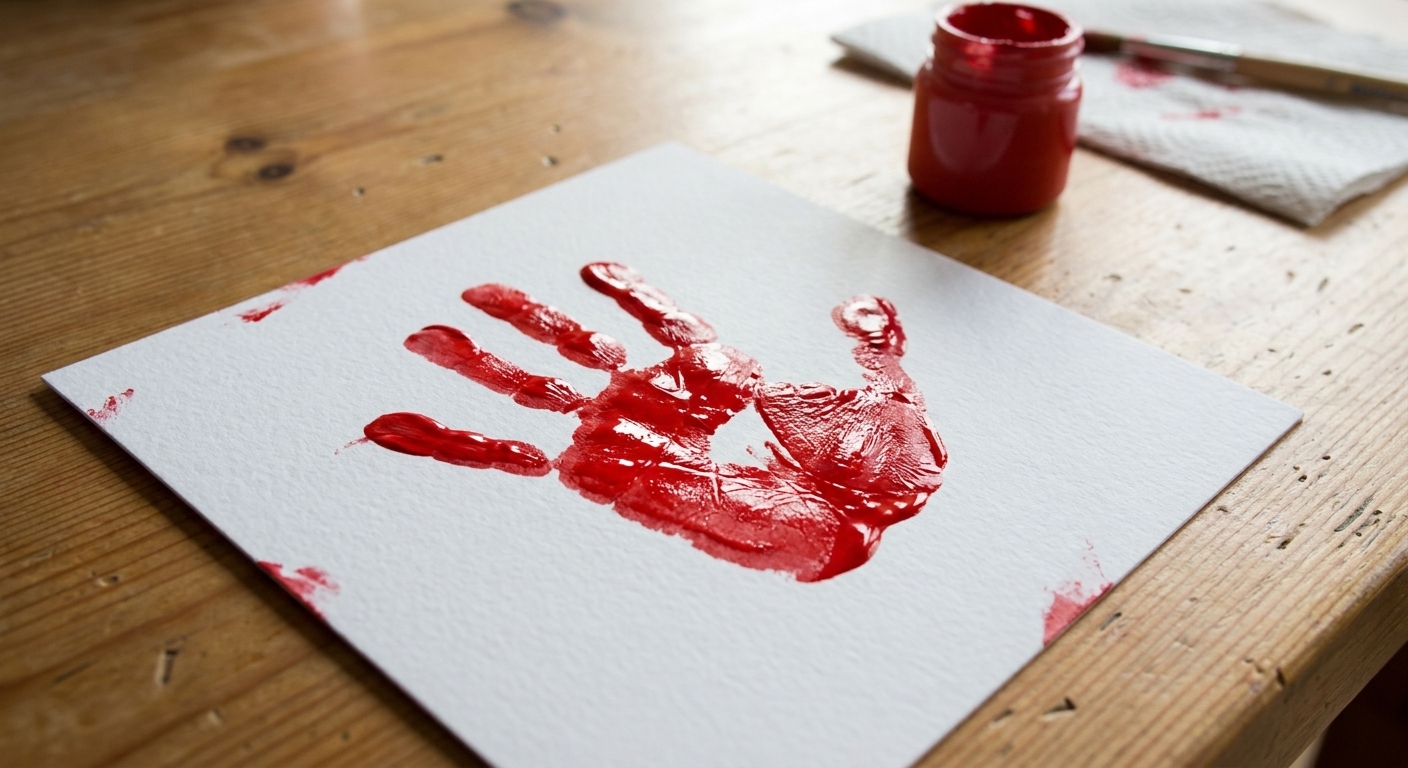
How to Get Perfect Handprints (No Smudges)
Tip 1: Use less paint than you think
The biggest cause of smudging is too much paint. You want an even, thin layer, not globs. A print should look like skin texture, not frosting.
Tip 2: Roll paint on with a foam brush or mini roller
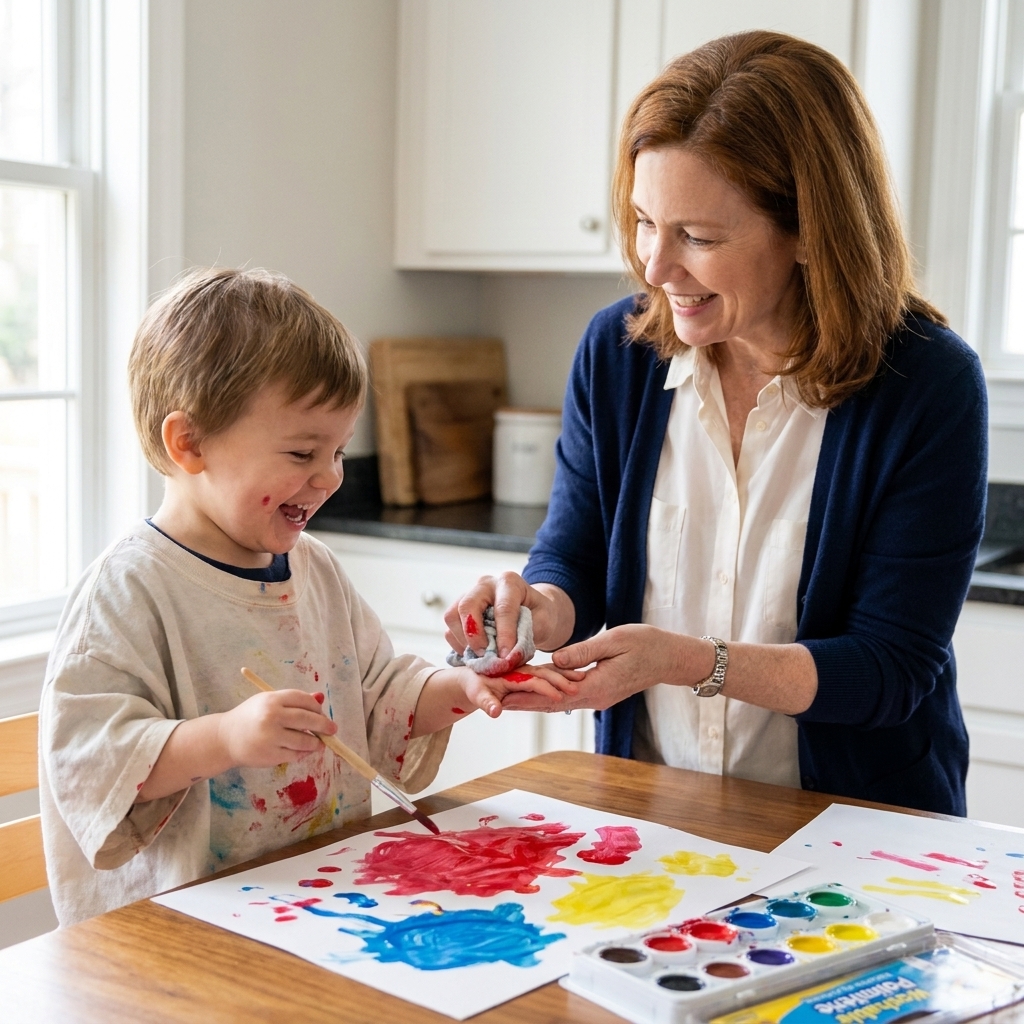
Instead of dipping hands, I like to paint the child’s hand with a foam brush. It’s calmer, cleaner, and gives you control.
- Paint the palm first, then each finger.
- Make sure paint reaches the edges of the hand, especially the pinky side.
Tip 3: Press the paper onto the hand (my classroom trick)
For wiggly kids, flip the script: place the child’s hand palm-up on the table, then press the paper down onto their hand. This prevents the “hand skates across the page” smear.
Tip 4: Hold the wrist, not the fingers
If you grab fingers, kids instinctively curl them. Gently support at the wrist and guide the hand down like a stamp.
Tip 5: One press, then straight up
Press firmly for about 1 to 3 seconds, then lift straight up. No rocking. Rocking is the enemy of crisp prints.
Tip 6: Get fingers to show up
If the fingers are faint, it’s usually because they didn’t press evenly.
- After placing the hand, use one finger to gently press each child finger down once.
- For tiny hands, spread fingers slightly before pressing.
How to Get Great Footprints
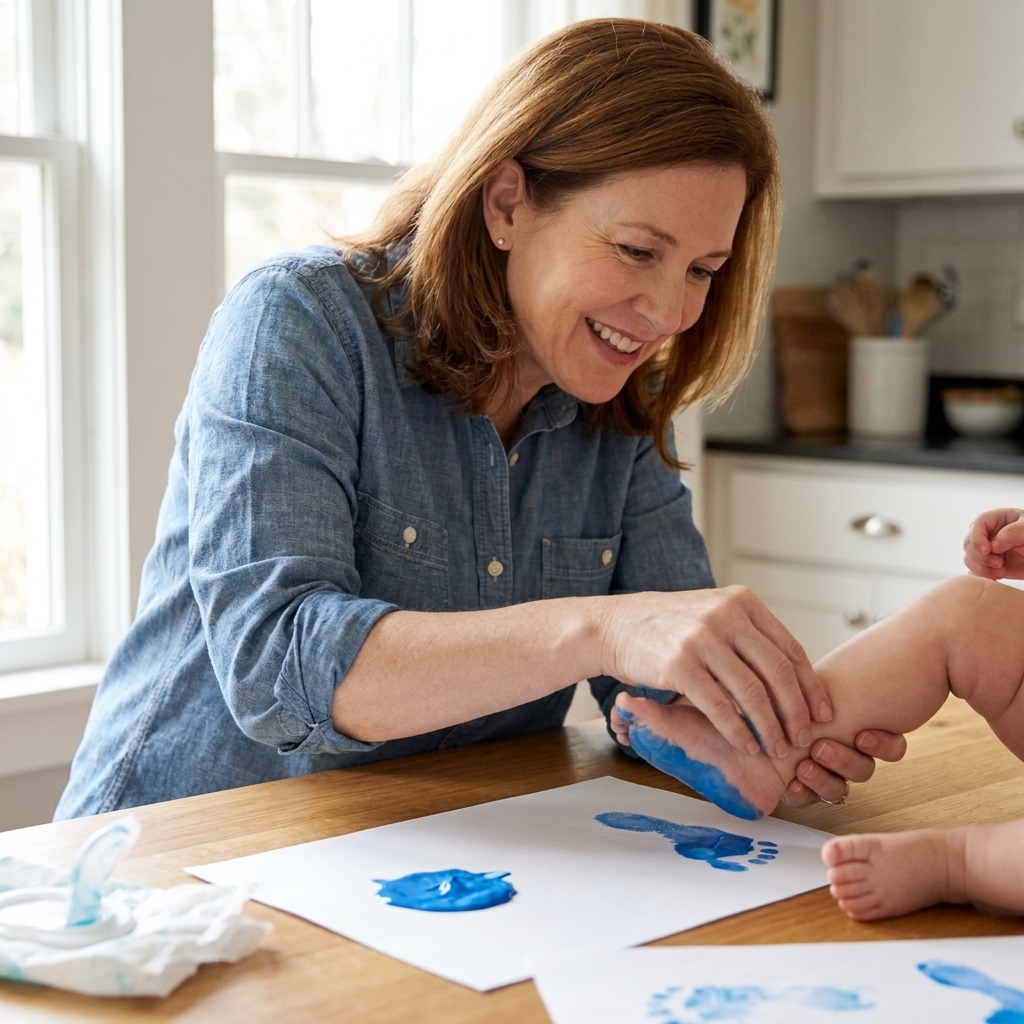
Footprints can be easier than handprints for some kids, and harder for the ticklish crowd. Here’s what works at my house.
Best method: sitting print
- Sit your child on a chair with one foot resting on your knee.
- Paint the sole with a foam brush.
- Press the paper onto the foot, or gently press the foot onto the paper while holding the ankle steady.
Trick for ticklish kids
Give them a job. Have them hold a special “printing pillow” (a regular throw pillow) or squeeze a small stuffed animal. Busy hands help calm wiggly feet.
For babies
With infants, support the heel and gently press the toes down one by one. Baby toes love to curl up at the worst possible moment.
Fast Fixes for Common Problems
Problem: The print is too blobby
- Use less paint.
- Switch to heavier paper.
- Brush paint onto the hand instead of dipping.
Problem: Fingers are missing
- Before lifting, press each finger down gently.
- Make sure paint is on the fingertips, not just the palm.
Problem: Smears when we lift
- Lift straight up, no sliding.
- Try pressing the paper onto the hand instead of the hand onto paper.
Problem: Kid will not cooperate
You have options. You can:
- Do one print and call it a day.
- Switch to a painted background and add a handprint later when they’re calmer.
- Use a hand tracing as a backup. Moms still love it, I promise.
Problem: Paint won’t wash off
If you used washable paint and it’s still clinging, try soap plus a little cooking oil, then rinse. Keep oil away from eyes and mouths, and rinse well so no one slips. Also, nail brushes are magical for getting paint out of little fingernail corners. (And yes, some pigments can still stain, so wash promptly.)
5 Last-Minute Mother’s Day Keepsakes
All of these can be done in one sitting, even the day before. Choose one, keep it simple, and remember: the process matters more than perfection.
1) Handprint Heart Card
Best for: ages 3 to 8 (and toddlers with help)
- Fold cardstock in half for a card.
- Make two handprints side-by-side so the thumbs form a heart shape in the middle.
- Once dry, write a message inside.
Sweet line to add: “All my love fits right here.”
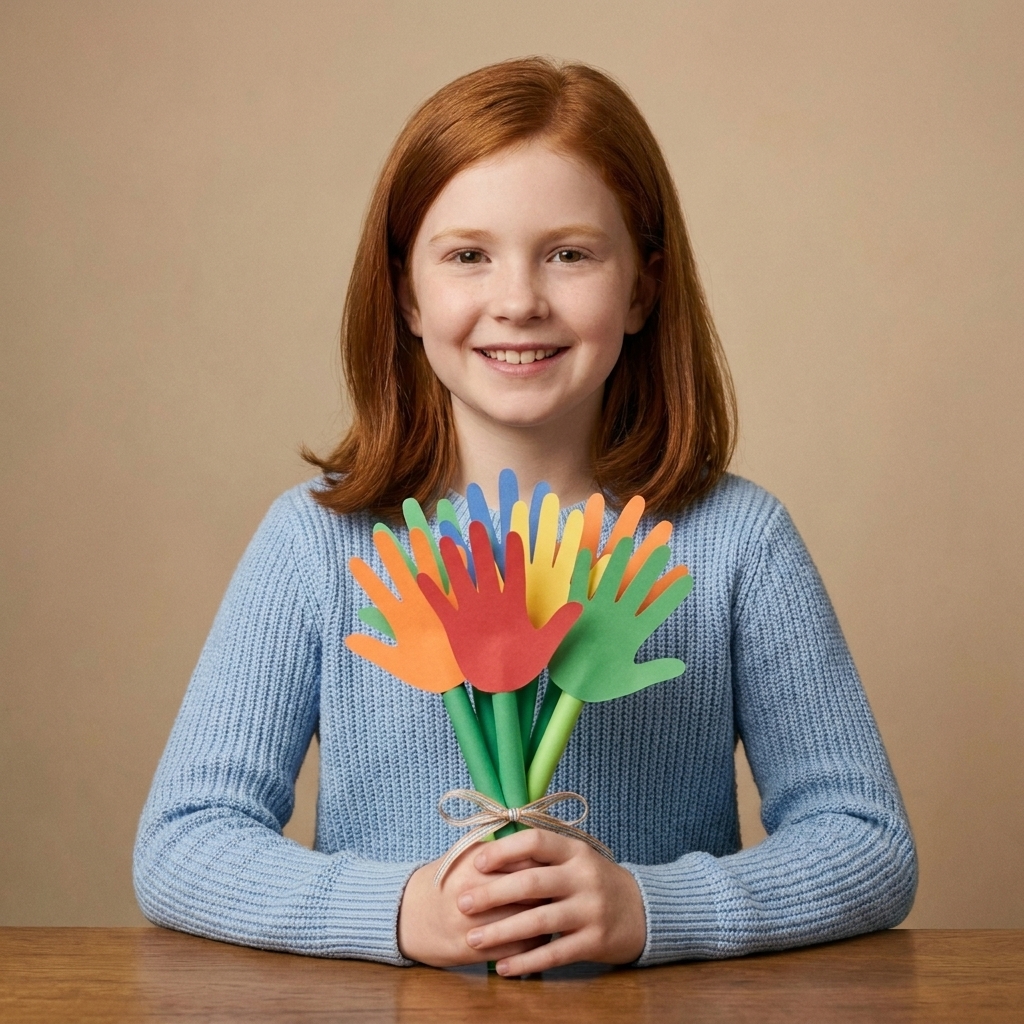
2) “Bouquet” Handprint Flowers
Best for: classroom-style gifting, siblings, or multiples
- Make several handprints in bright colors on white paper.
- After drying, cut them out.
- Glue each handprint onto green paper stems, or attach to craft sticks.
- Bundle and tie with ribbon or yarn.
3) Footprint Butterfly
Best for: babies and toddlers
- Make two footprints angled outward so the heels touch, creating butterfly wings.
- Add a simple body with marker or glued paper.
- Dot paint or fingerprints for wing spots.
Tip: Do footprints first, then add details once fully dry to avoid smearing.
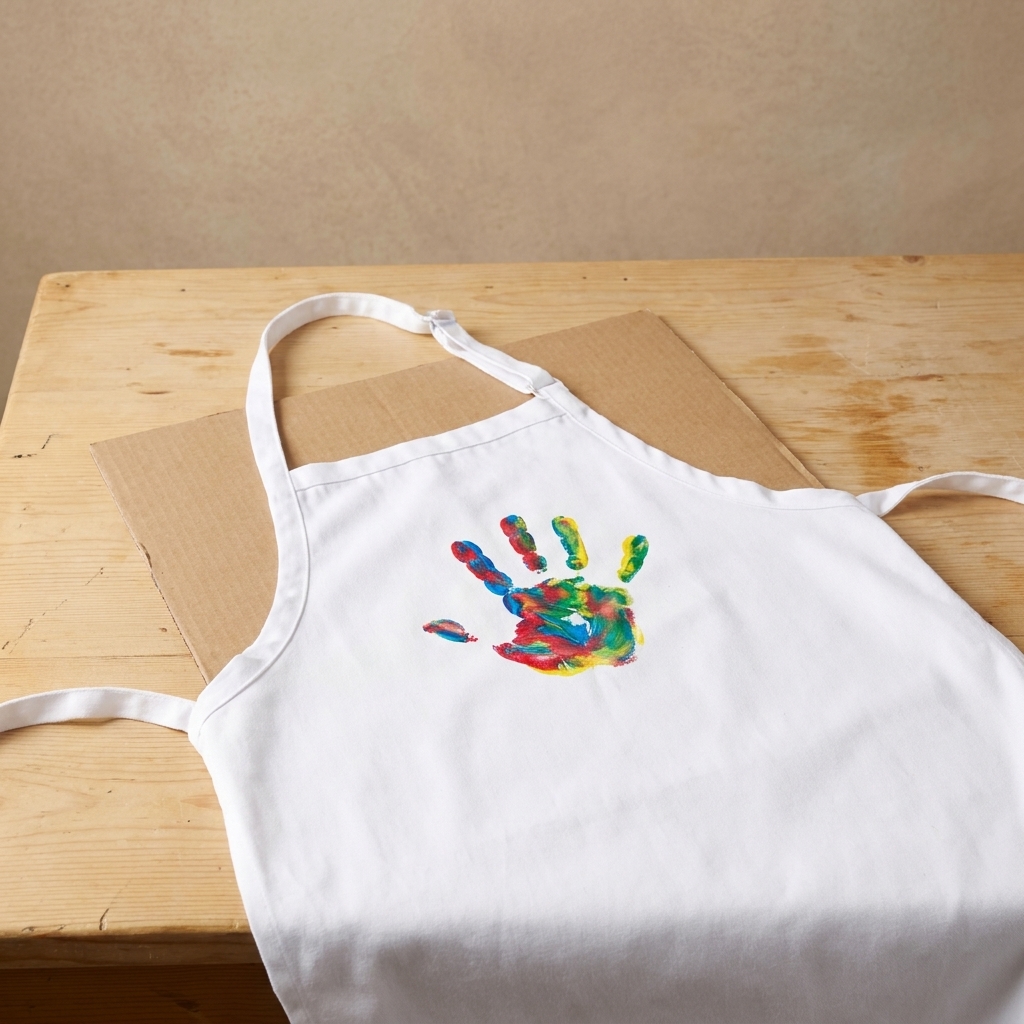
4) Handprint Apron
Best for: kids 3+ with an adult doing the pressing
- Use a plain cotton apron.
- Slip cardboard inside the apron to prevent bleed-through.
- Use fabric paint (not tempera) and make one centered handprint.
- Let it dry and cure fully, then heat-set if your paint instructions require it.
- Wait to wash until the cure time on the label is up.
5) “I Love You” Handprint Sign
Best for: older preschool through elementary
- Paint one handprint on cardstock.
- After it dries, write a short list around it: “I love you because…”
- Let your child dictate their reasons. The funnier, the better.
This is one of those keepsakes moms pull out years later and laugh-cry over.
Low-Mess Option
If you need something even simpler, do a hand tracing on nice paper, let your child decorate it with stickers, then add “Happy Mother’s Day” and the year. It is not paint, but it still hits the keepsake sweet spot.
Make It Gift-Ready Fast
Drying without smudges
- Lay flat to dry. Don’t stack projects.
- Speed it up with a fan across the room.
- Hair dryer works in a pinch, but use low heat and keep it moving.
Quick finishing touches
- Write the child’s name and the year on the back (future you will be grateful).
- Pop it in a simple frame, or mount it on construction paper like a mat.
- If gifting paper art, slide it into a page protector or large envelope so it stays clean.
Safety and Comfort
- Use non-toxic, washable paint for skin printing, and wash hands promptly after.
- Keep paint away from eyes and mouth. If your child still explores with their mouth, paint the paper instead of the hand.
- If your child has sensitive skin, test a tiny dab on the wrist first and wash promptly after.
- Supervise closely. Crafting is fun, but little siblings and open paint cups are a suspense movie.
FAQ
What’s the best paint for handprints?
For most families, washable tempera paint is the easiest for skin printing. It prints well and cleans up without a battle. For canvas or fabric, use the paint made for that surface and follow the label instructions.
How do I get handprints from a toddler who won’t sit still?
Paint the hand quickly with a foam brush, then press the paper onto the hand while you hold the wrist. Have wipes ready and keep it light. One good print is a win.
Can I fix a bad handprint?
Sometimes. If it’s slightly smudged, turn it into a flower, a heart, or add extra details intentionally. If it’s truly a blob, let it dry and try again on a fresh sheet with less paint.
How long should I wait before framing?
For paper prints with washable paint, I wait at least a few hours, or overnight if it’s thick. If it feels cool or tacky, it’s not ready yet.
One Last Reminder
Your child’s handprint does not need to be perfect to be priceless. If you get one sweet little palm with a missing pinky or a slightly crooked thumb, that’s not a fail. That’s proof a real kid made it, in a real home, with love and maybe a little paint under the fingernails.
If you make one of these Mother’s Day keepsakes, I hope it becomes the kind of memory you pull out year after year.