A realistic, parent-friendly guide to toddler crafts: low-mess setup, easy materials, and simple ideas that keep little hands busy without wrecking your house.
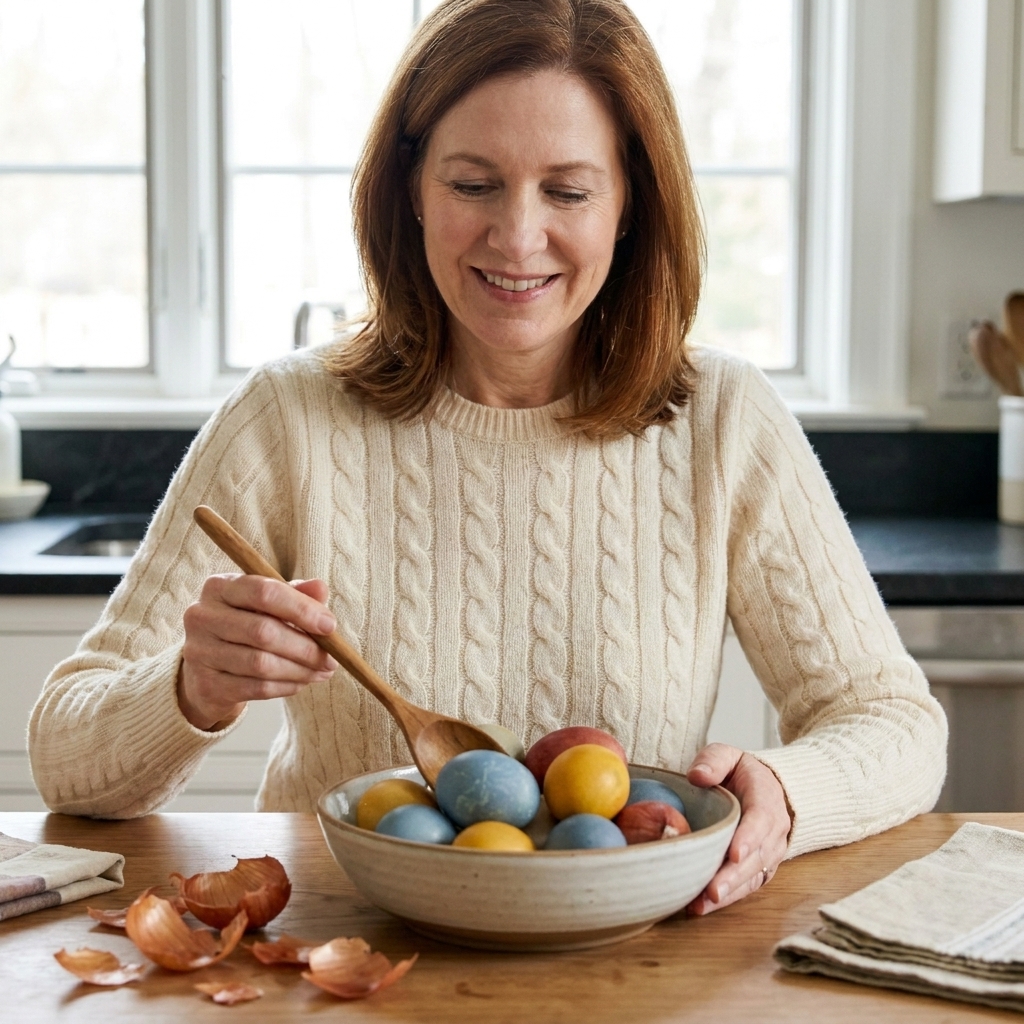
If your house is anything like mine in March, there is a mysterious bag of onion skins on the counter, a carton of eggs you keep hiding from your own children, and at least one kid asking, “Can we do the messy craft now?” Natural egg dye is my favorite kind of holiday magic because it feels like a kitchen science experiment that ends with something beautiful.
We are using everyday scraps and spices to make dye baths, then letting time do the heavy lifting. The results are softer and earthier than store-bought tablets, and honestly, that is part of the charm.
Quick safety notes (because we are working with kids and food)
- Use hard-boiled eggs. If you are not sure whether your eggs will be eaten later, treat them as decoration only.
- Refrigerate dyed eggs and do not leave them out longer than 2 hours total. For egg hunts (especially outdoors or on warm days), be conservative. If an egg sat out, toss it.
- Do not eat cracked eggs. If a shell cracks during dyeing or hunting, use that egg for decoration only.
- Adult handles hot liquids. Kids can tear cabbage, measure spices, and gently lower eggs in once the dye is warm, not boiling.
- Watch for staining. Natural dyes can still tint hands and counters. Cover your work surface and pop kids into old shirts.
What you need
Supplies
- Hard-boiled eggs (white eggs show brighter colors, brown eggs give moodier, earthier tones)
- 2 to 4 small pots or saucepans
- Fine mesh strainer (helpful but not required)
- Bowls or jars for dye baths
- Spoons or tongs
- Paper towels or a cooling rack for drying
- Gloves (optional, but nice for little “I must touch everything” hands)
Two ingredients that help
- White vinegar: helps the dye bond to the shell (this is the main one)
- Salt (optional): some families swear it deepens color, but consider it an experiment, not a requirement
My basic ratio: For each dye bath, plan on 2 cups water + 1 tablespoon white vinegar. Then add your coloring ingredient (more on that below).
Hard-boiled eggs, quickly
If you already have your eggs ready, skip this. If not, here is the no-drama version: put eggs in a pot, cover with cool water by about an inch, bring to a gentle boil, then turn off the heat, cover, and let sit 10 to 12 minutes. Move eggs to an ice bath until fully cool. Cool eggs peel less accidentally and crack less during dyeing.
The kid-friendly method
- Make the dye liquid. Put your coloring ingredient and water in a pot.
- Simmer. Bring to a gentle simmer for about 15 to 30 minutes until the liquid looks deeply colored.
- Cool a bit and strain. Let it cool until it is warm, not steaming-hot. Strain out solids into a bowl or jar.
- Add vinegar. Stir in 1 tablespoon vinegar per 2 cups dye.
- Dye the eggs. Lower eggs into the dye. Make sure they are fully submerged. For fewer cracks, use cooled eggs and warm (not hot) dye.
- Settle, then leave them alone. For the first minute or two, nudge the egg gently with a spoon to prevent a pale “resting spot,” then let it soak.
- Wait. For light color, check at 10 to 20 minutes. For deeper color, refrigerate the eggs in the dye for 2 to 12 hours.
- Dry. Lift eggs out with a spoon and set on a rack or paper towel. Do not rub while wet or you can streak the color.
- Optional shine. Once dry, put a tiny bit of oil on a paper towel and buff gently for a soft shine.
My biggest tip: time is your best dye booster. If your first dip looks pale, pop the whole bowl in the fridge and check again after dinner.
Color chart
Amounts are flexible. Natural dye is forgiving, so do not stress about being exact. I am giving “real life kitchen” measurements that work in my pots.
Blue to purple: red cabbage
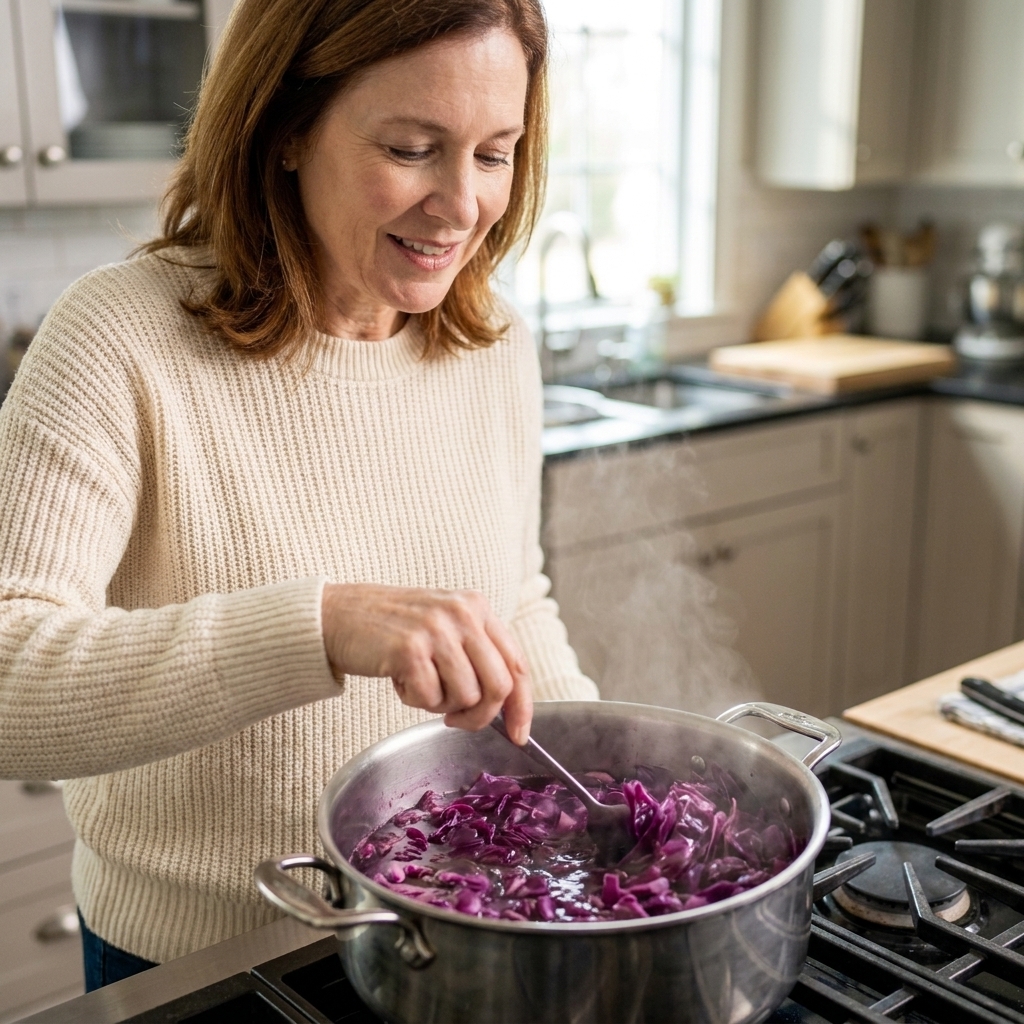
- Use: 3 to 4 cups chopped red cabbage + 4 cups water
- Color: pale blue to denim blue on white eggs, stormy purple-gray on brown eggs
- Time: 30 minutes for a soft blue, overnight for deeper tones
- Fun science note: cabbage is pH-sensitive. More vinegar shifts the dye toward purple or pink. A less acidic bath leans bluer. This is a great chance to say, “We are basically doing chemistry in our pajamas.”
Sunny yellow: turmeric
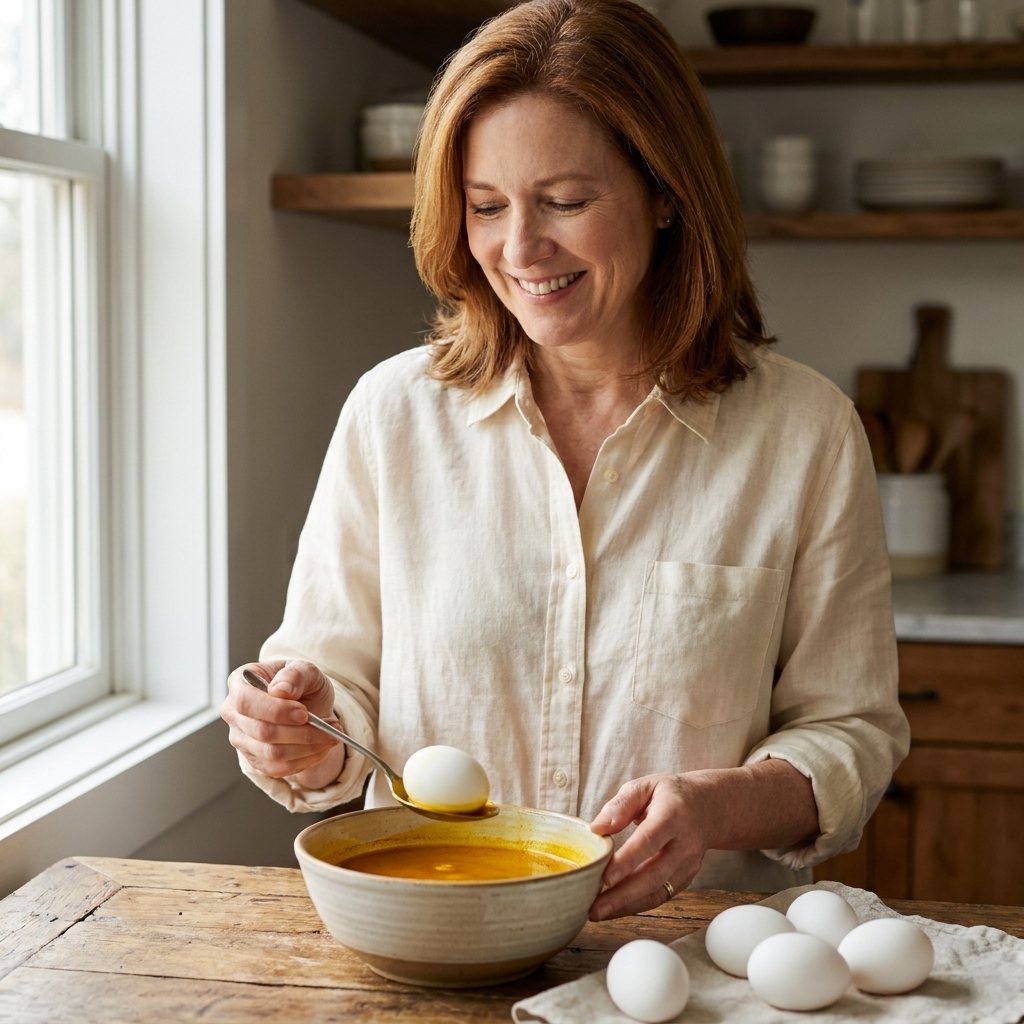
- Use: 2 to 3 tablespoons ground turmeric + 4 cups water
- Color: bright buttery yellow
- Time: 10 to 30 minutes for strong color, longer for a deeper mustard
- Heads up: turmeric stains like it has a tiny personal grudge against countertops. Cover your surface.
Rusty orange to copper: yellow onion skins
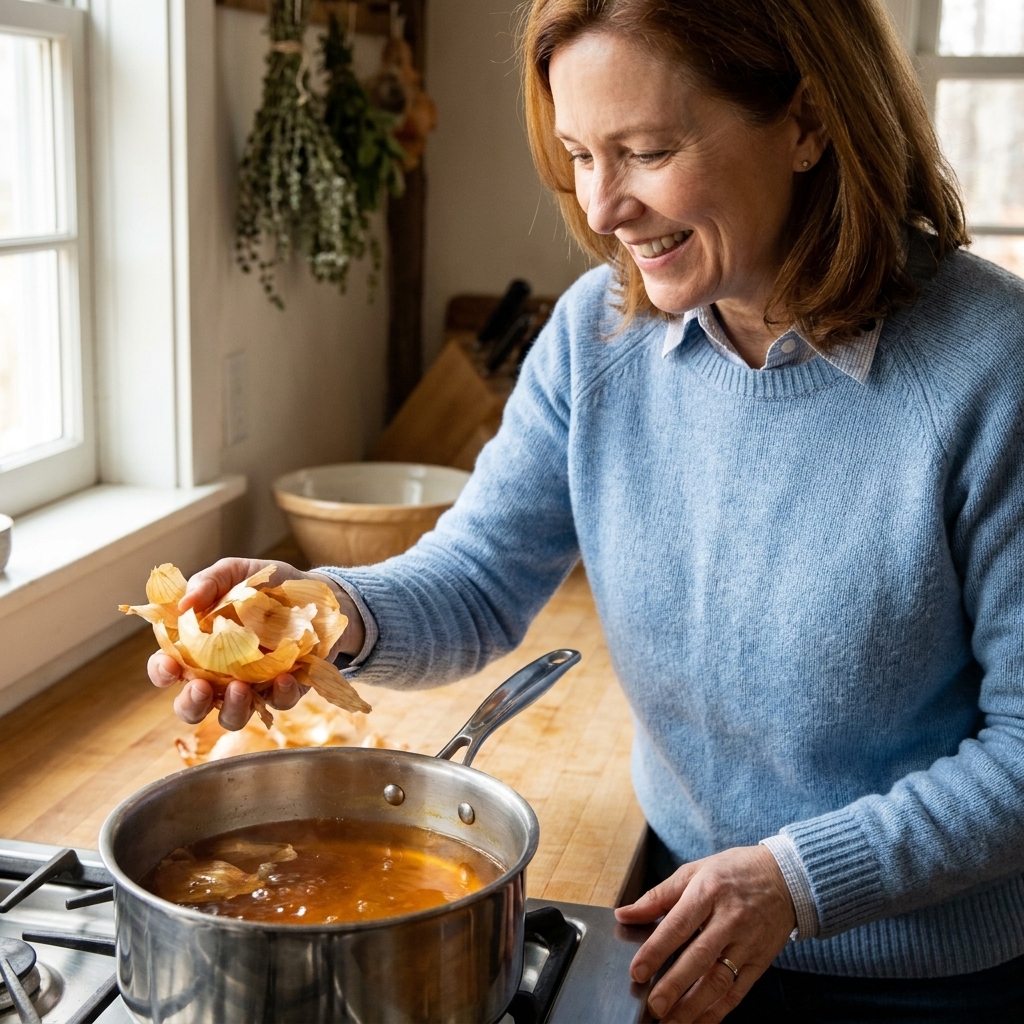
- Use: skins from 6 to 8 yellow onions + 4 cups water
- Color: warm amber, copper, and orange-brown
- Time: 20 minutes to see color, 2 to 8 hours for richer tones
- My favorite: wrap onion skins around the egg with a piece of old nylon or cheesecloth for a marbled, earthy pattern.
Brick red to burgundy: red onion skins
- Use: skins from 6 to 8 red onions + 4 cups water
- Color: pinky tan through burgundy (varies a lot by onion)
- Time: longer soaks help, especially overnight
Soft pink: beets (fresh or canned)
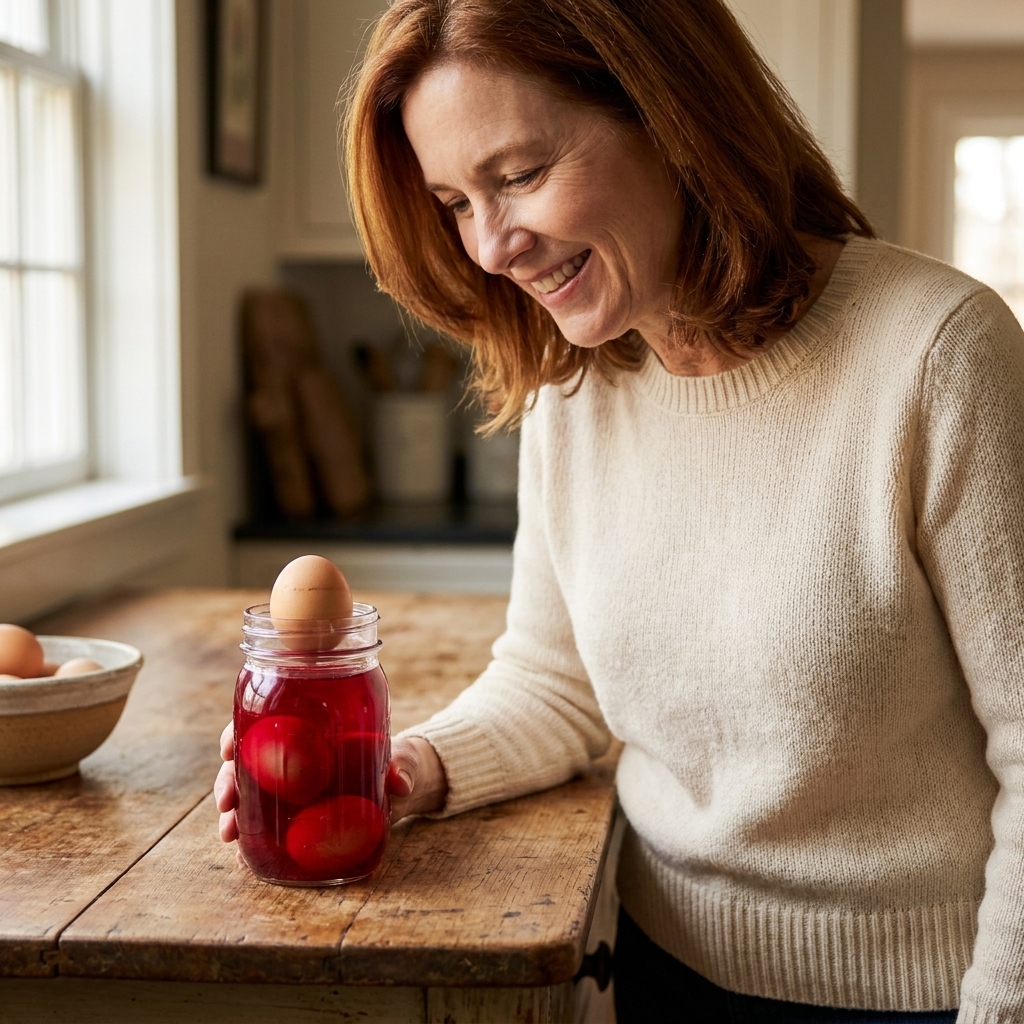
- Use: 2 cups chopped beets or 1 to 2 cups beet juice + 2 to 4 cups water
- Color: blush pink to rosy coral
- Time: 30 minutes to overnight
- Tip: beets can look dramatic in the dye bath but dry lighter, so let them soak longer than you think.
Green (teal-leaning): spinach or parsley
- Use: 2 to 3 cups spinach or parsley + 4 cups water
- Color: very pale green to soft sage (often reads as gray-green)
- Time: overnight is your friend here
- Real talk: green is the trickiest naturally. If your kid demands “NEON GREEN,” save yourself and use store dye or paint wooden eggs.
Tan to light brown: coffee or black tea
- Use: 2 cups strong brewed coffee or tea (no need to simmer long)
- Color: warm tan and speckly brown
- Time: 30 minutes to overnight
Brighter color tips
- Start with white eggs if you want clear pastels and brights.
- Let eggs soak in the fridge. Time deepens color more reliably than extra boiling.
- Make your dye strong. More cabbage, more skins, more spice equals bolder color.
- Handle eggs with a spoon or tongs. Less touching means fewer fingerprints and blotches.
- Strain dyes for smooth color or leave bits in for speckles. Both are cute, so you cannot lose.
Easy natural patterns
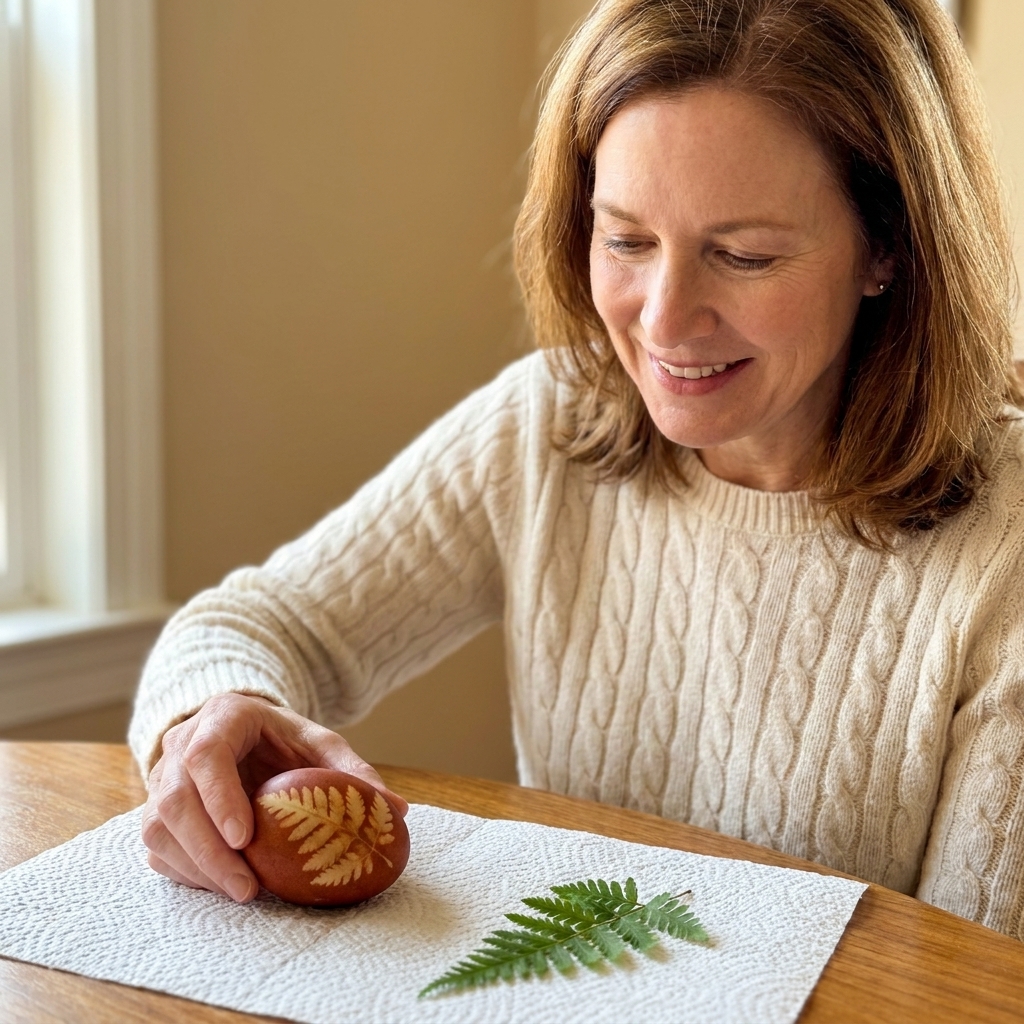
1) Leaf prints
Press a small leaf or parsley sprig against the egg, wrap snugly with a piece of nylon stocking (tie a knot or use a twist tie), then dye as usual. When you unwrap, you get a sweet little silhouette.
2) Rubber band stripes
Wrap rubber bands around the egg before dyeing for simple lines. Works especially well in cabbage blue and onion skin copper.
3) Speckles on purpose
Leave some spice sediment in the bowl, especially turmeric, and let kids gently roll the egg once or twice while it soaks. Instant speckle effect, very forgiving.
Why vinegar matters
Eggshells are mostly calcium carbonate. Vinegar is an acid. When you add a little vinegar to the dye bath, it helps slightly etch the shell’s surface so the plant pigments can grab on better. You do not need a ton. Too much vinegar can sometimes make colors look duller, so start with the basic ratio and adjust next batch if you want.
Troubleshooting
“My eggs are coming out pale.”
- Soak longer, ideally in the fridge for a few hours.
- Make a stronger dye bath with more ingredient.
- Try white eggs for brighter results.
“The dye looks dark but the egg dries lighter.”
- Totally normal, especially with beets.
- Let it soak longer and avoid rubbing while wet.
“My eggs have blotches.”
- That can be from oils on the shell or from touching while drying.
- Try a gentle rinse in cool water before dyeing, then dry well.
- Strain the dye for more even color.
“My kid touched the egg a million times and now it is smudged.”
Welcome to Craft Joy Club. Let it dry completely, then do a second dip for 10 minutes. Smudges often blend right in.
Make it a full activity
- Prediction game: have kids guess what color each ingredient will make before you start.
- Color notebook: write down soak times and results. Next year, you will feel like a wizard.
- Mix and layer: dye an egg yellow with turmeric, let it dry, then dip it in cabbage dye for a greenish teal experiment.
FAQ
Do natural dyes work on brown eggs?
Yes, and they are gorgeous. Think deeper, moodier, more muted colors. Turmeric becomes more golden, cabbage can look more purple-gray, and onion skins turn very rich.
Can we eat the eggs after natural dyeing?
If the eggs were hard-boiled, kept refrigerated, and not left out longer than 2 hours total, they are generally fine to eat. Natural dyes may add a mild flavor sometimes (especially tea or spices). If an egg was used for an outdoor hunt, sat out on a counter for hours, or cracked, treat it as decoration and skip eating it.
How long do dyed eggs last in the fridge?
A common kitchen rule is up to 1 week for hard-boiled eggs stored in the fridge. If the shells crack during dyeing or hunting, use them sooner.
Do I need to boil the eggs in the dye?
No. You can, but I prefer dyeing already hard-boiled eggs because it gives you more control (and fewer surprise cracks). Warm dye plus a long soak does the job beautifully.
Cleanup tips from a mom whose house is held together by hot glue and washi tape
- Cover the table with a recycled plastic tablecloth or opened grocery bags.
- Set up a “wet zone” (dye bowls) and a “dry zone” (cooling rack).
- Keep a bowl of soapy water nearby for quick finger dips.
- Embrace a little chaos. If the kids had fun and you made memories, you did it right.
When you are done, line your dyed eggs up in a carton and let the kids admire their “kitchen rainbow.” It is one of those simple holiday moments that feels like it will stick.