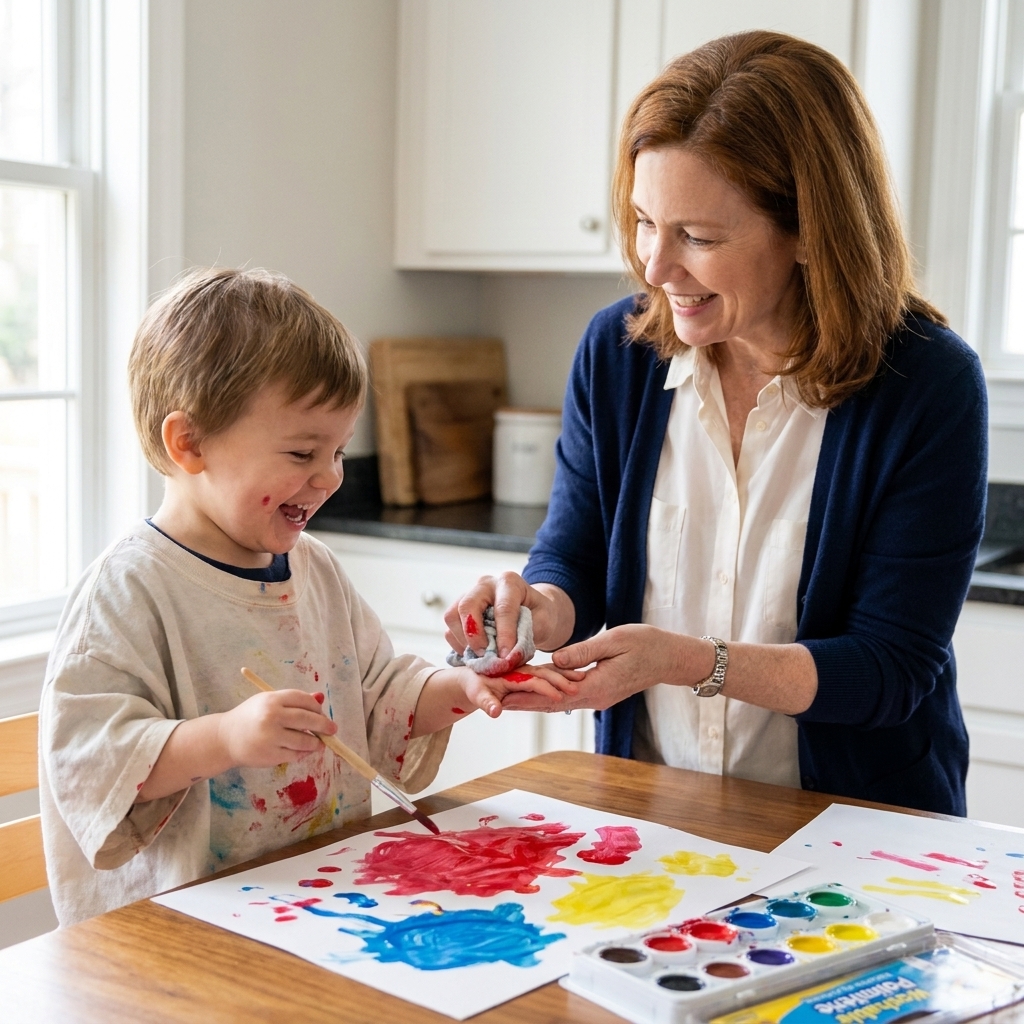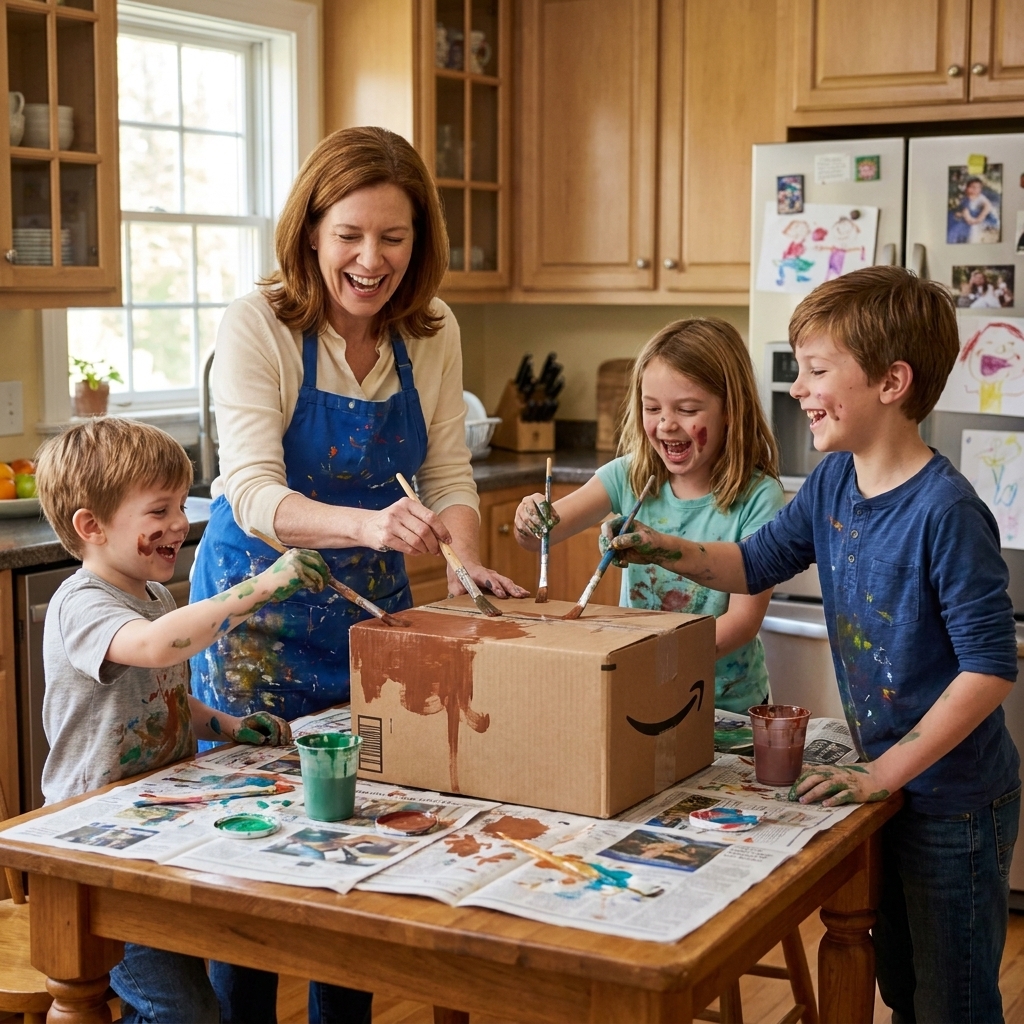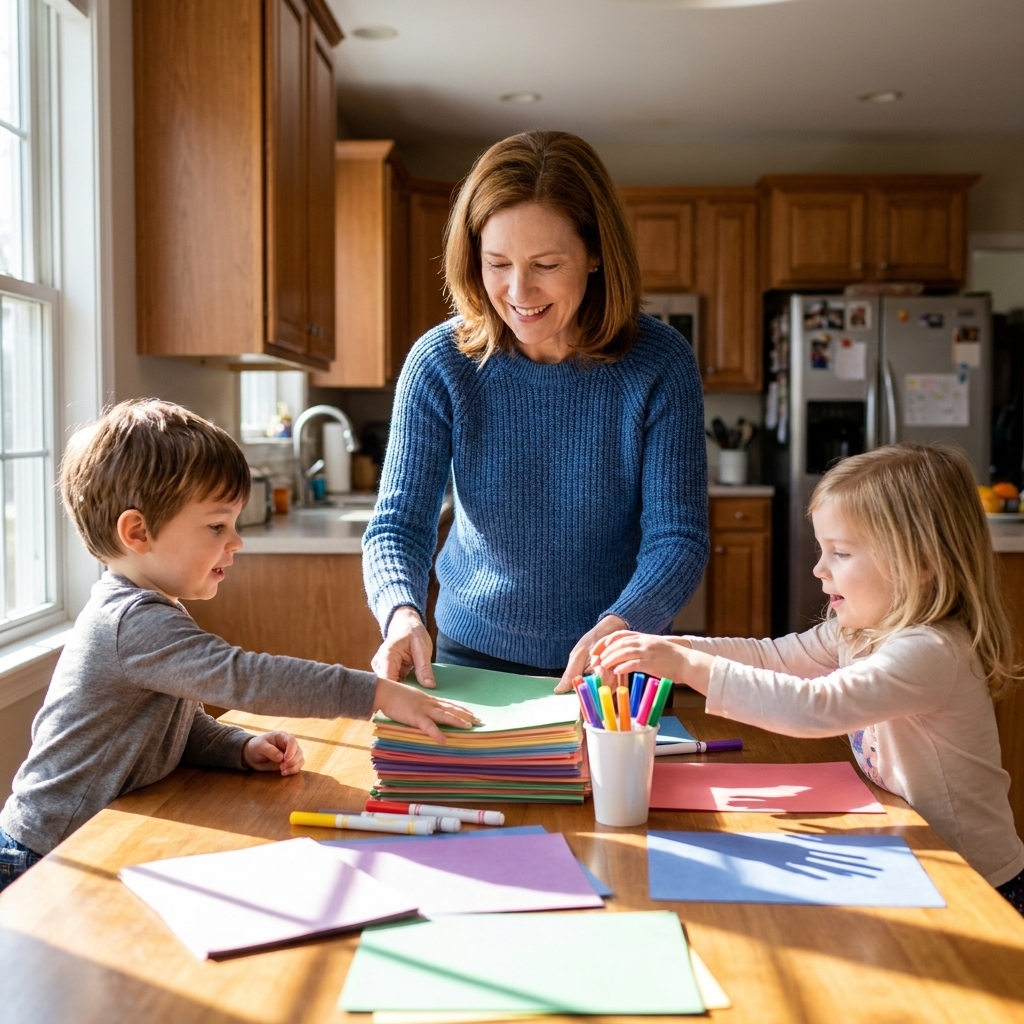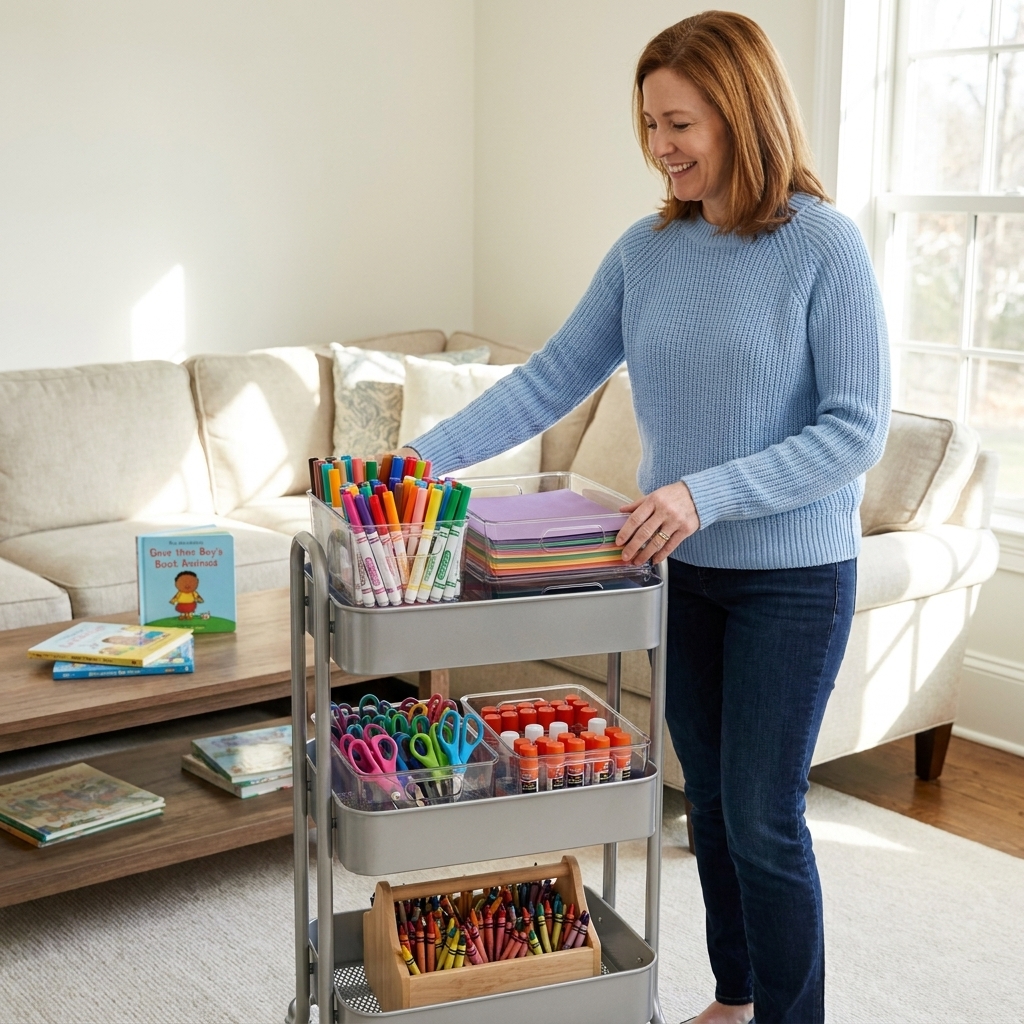
A realistic, mess-friendly guide to setting up an independent craft station for kids, including what to stock, simple safety rules, and how to organize it so...
Tweens are in that sweet spot where they want their room to feel more “them,” but they also want the freedom to do it themselves. These screen-free DIYs are designed for ages 10 to 12, with just enough challenge to feel grown-up, but not so complicated that you end up doing the whole thing while they “supervise.”
I’m also building these around real life: basic supplies, upcycled options, and projects that still look cool even if the lines are not perfect. Because honestly, my house is held together by hot glue and washi tape, and we are all thriving.
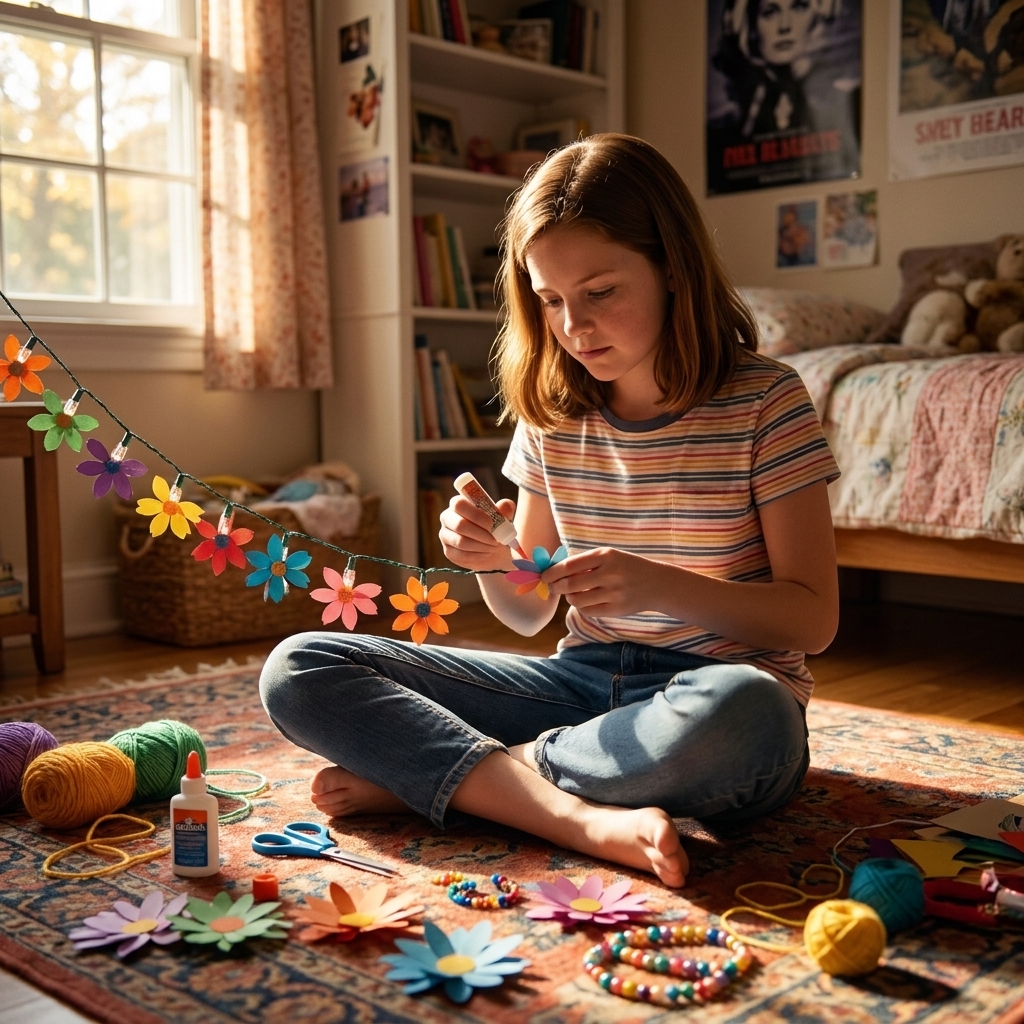
Before you start
These projects go best when your crafter feels in charge. My favorite approach is: you set up the space, they run the project.
Quick prep checklist
- Cover the work surface: flattened cardboard box, old tablecloth, or a paper grocery bag cut open.
- Make a drying zone: a spare shelf, windowsill, or a tray that can be moved out of the way.
- Put adhesives in a tool caddy: glue stick, clear tape, washi tape, and if you allow it, a low-temp glue gun.
- Music helps: a playlist makes it feel like a project, not a chore.
Clean-up in 5 minutes
- Trash sweep: one bag for scraps, one spot for “usable leftovers.”
- Cap and close: paints, glue, markers, and tape go back in the caddy.
- Wipe and walk away: baby wipes or a damp cloth for the table, then hands.
- Move wet items: everything still drying goes straight to the drying zone so it does not “wander.”
Safety note (because I’m a former kindergarten teacher and it’s in my DNA)
If your tween uses a glue gun, go for low-temp and teach the “resting stand” rule. If they are cutting thick cardboard or any wood, an adult should handle heavy-duty cutting.
Wall and adhesive note
Any tape or adhesive can be unpredictable on painted walls depending on the finish, humidity, and how long it stays up. Have them test a small spot first, and remove tape slowly at a low angle if anything starts to lift.
Project 1: Washi tape gallery wall
This is the fastest way to make a room look intentional. Bonus: it is often renter-friendly and commitment-phobe friendly.
Time: 20 to 40 minutes
Difficulty: Easy
Cost: $ to $$
Supplies
- Washi tape (2 to 4 rolls)
- Printed photos, postcards, drawings, or magazine pages
- Scissors
- Pencil and a ruler (optional but helps)
Steps
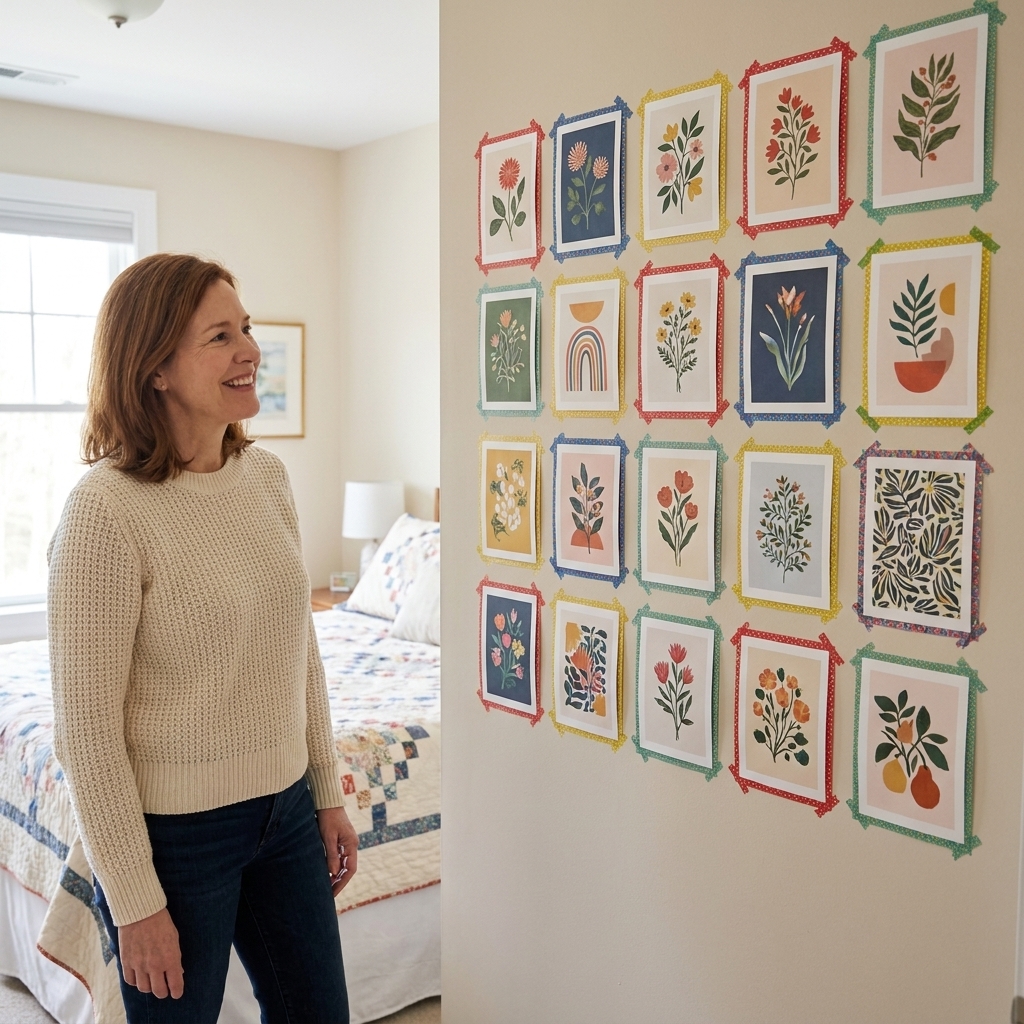
- Pick a layout: grid (clean and modern) or stair-step (more playful).
- Plan spacing: lay everything on the floor first. Aim for 1 to 2 inches between pieces.
- Tape the art up lightly: use small loops of tape on the back, or painter’s tape if your walls are delicate.
- Create tape frames: outline each piece with washi tape. Press edges down firmly.
- Add one surprise element: a taped-on dried flower, a mini bunting line, or one piece rotated slightly.
Make it tween-approved
Let them choose a color palette: neutrals, pastels, or bold rainbow. If they do nothing else “matching” in their room, matching washi tape will still make it feel pulled together.
Troubleshooting
- Tape will not stick? Wipe the wall with a dry cloth and try again. Some walls are dusty.
- Tape wrinkles? Pull it up gently and re-lay it, or intentionally overlap pieces for a scrappy look.
- Worried about removal? Take it down within a few weeks if your walls are delicate, and always peel slowly at a low angle.
Project 2: Magazine bead curtain
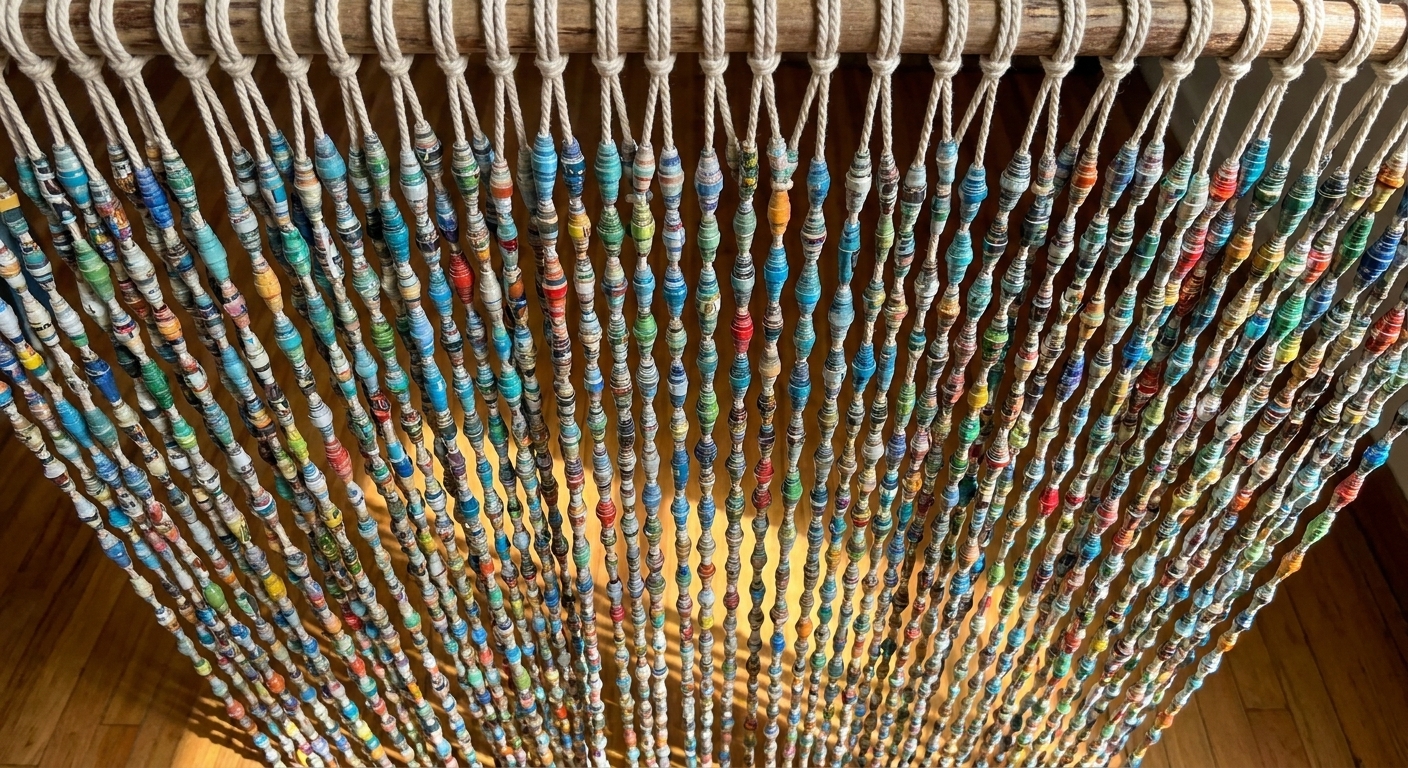
This one is pure screen-free zen. Rolling beads is oddly satisfying, and it turns junk mail into decor.
Note: This is best as a wall hanging or for a low-traffic doorway. In a busy doorway it can tangle, get noisy, and take a beating unless you space and weight the strands.
Time: 60 to 120 minutes (you can split it into sessions)
Difficulty: Medium (repetitive, not hard)
Cost: $
Supplies
- Old magazines, catalogs, or colorful paper
- Glue stick or white glue
- Scissors
- Skewer or thin straw (for rolling)
- String, embroidery floss, or fishing line
- A stick or dowel, or a sturdy hanger for the top
- Optional: clear-drying Mod Podge or clear glue for sealing
Steps
- Cut triangles: cut long skinny triangles about 8 to 10 inches long, with the wide end about 1 to 2 inches across. Wider end makes a bigger bead.
- Roll: place the skewer at the wide end and roll tightly toward the point.
- Glue the tip: dab glue at the point to seal. Slide bead off to dry.
- Seal (optional but sturdier): paint a thin layer of Mod Podge over finished beads and let dry.
- String your strands: tie a knot, add beads, then knot again at the bottom.
- Attach to dowel: tie strands across the top stick. Hang on a hook or over a door.
Troubleshooting
- Beads unraveling? Use a tiny bit more glue on the final tip and hold for 10 seconds.
- Strands tangle? Space knots evenly across the dowel and add a slightly heavier bead at the bottom for weight.
- Too noisy for a doorway? Use fewer strands, make it shorter, or hang it on a wall instead.
Project 3: No-sew pillow cover
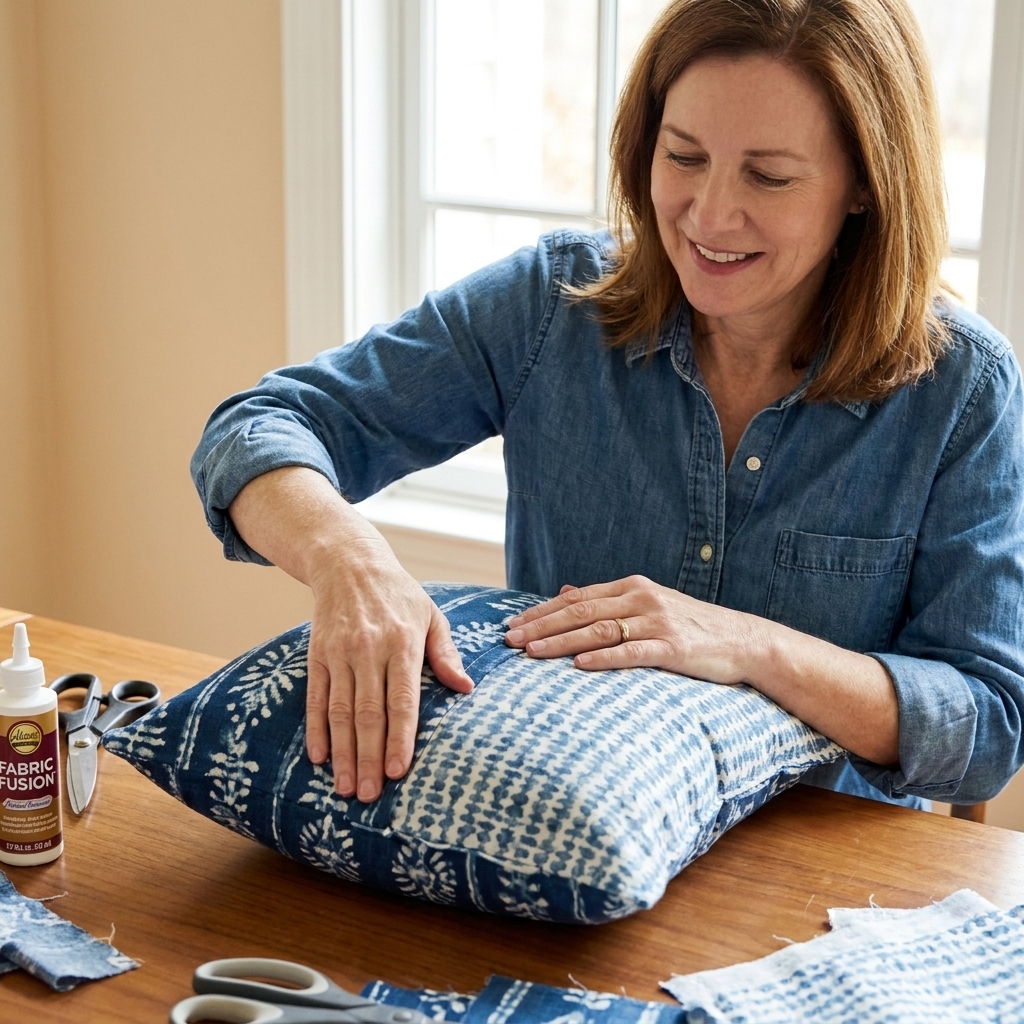
Tweens love a room refresh, and swapping a pillow is a big visual change without rearranging furniture for three hours.
Time: 30 to 60 minutes + dry time
Difficulty: Easy
Cost: $ to $$
Supplies
- Fabric (old T-shirts, flannel, or a pillowcase you can cut up)
- Existing pillow form or old bed pillow
- Fabric glue (best for strength and comfort)
- Scissors
- Optional: iron-on patches, fabric markers, lace trim
Quick note about hot glue
Hot glue can feel like the fast option, but on fabric it can get brittle, make scratchy hardened edges, and soften if the pillow gets hot (sunny window, car, dryer). If this pillow will be used daily or ever washed, stick with fabric glue.
Steps
- Measure: wrap fabric around the pillow and add about 1 inch extra on each side.
- Cut two rectangles: one for the front, one for the back.
- Decorate the front first: patches, trim, marker doodles, whatever their vibe is.
- Glue around three edges: put right sides together and glue two long sides and one short side. Leave one short side open.
- Flip and stuff: turn right side out, insert pillow.
- Close the opening: fold raw edges inward and glue shut.
Make it feel designer
Pick one theme: sports colors, retro smileys, minimal black-and-white, or nature tones. Tweens love having a theme, even if the rest of the room disagrees.
Project 4: Painted pot and plant corner
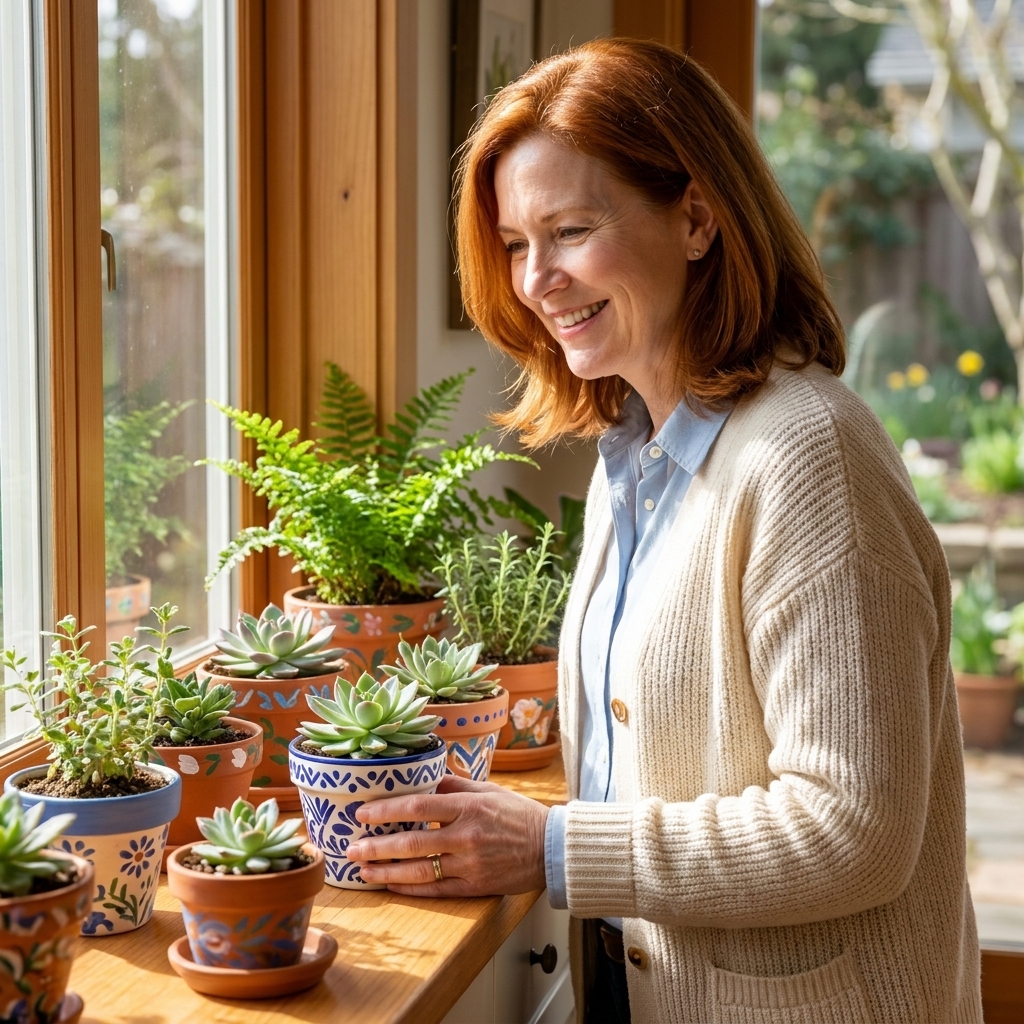
This is decor that also feels like a responsibility upgrade. If your tween likes making “aesthetic corners,” this one hits. Think: a painted pot, a small lamp, and one favorite print taped up nearby. Instant little zone.
Time: 30 to 45 minutes + dry time
Difficulty: Easy
Cost: $ to $$
Supplies
- Terracotta pot (2 to 6 inches wide)
- Acrylic paint and paintbrushes
- Clear sealer (optional)
- Small plant (pothos, spider plant, succulent) or faux plant
- Soil and tray or saucer
- Optional: painter’s tape for crisp lines
Steps
- Wipe the pot: remove dust.
- Plan the pattern: stripes, checkerboard, squiggles, color-blocking.
- Paint base coat: let dry.
- Add details: use tape for straight lines or freehand for a fun look.
- Seal (optional): especially if watering will splash.
- Plant it: add soil and plant, then place on a saucer.
Troubleshooting
- Paint looks streaky? Two thin coats beats one thick coat every time.
- Water marks? Use a saucer and wipe drips quickly. Sealer helps.
Project 5: Cardboard neon sign
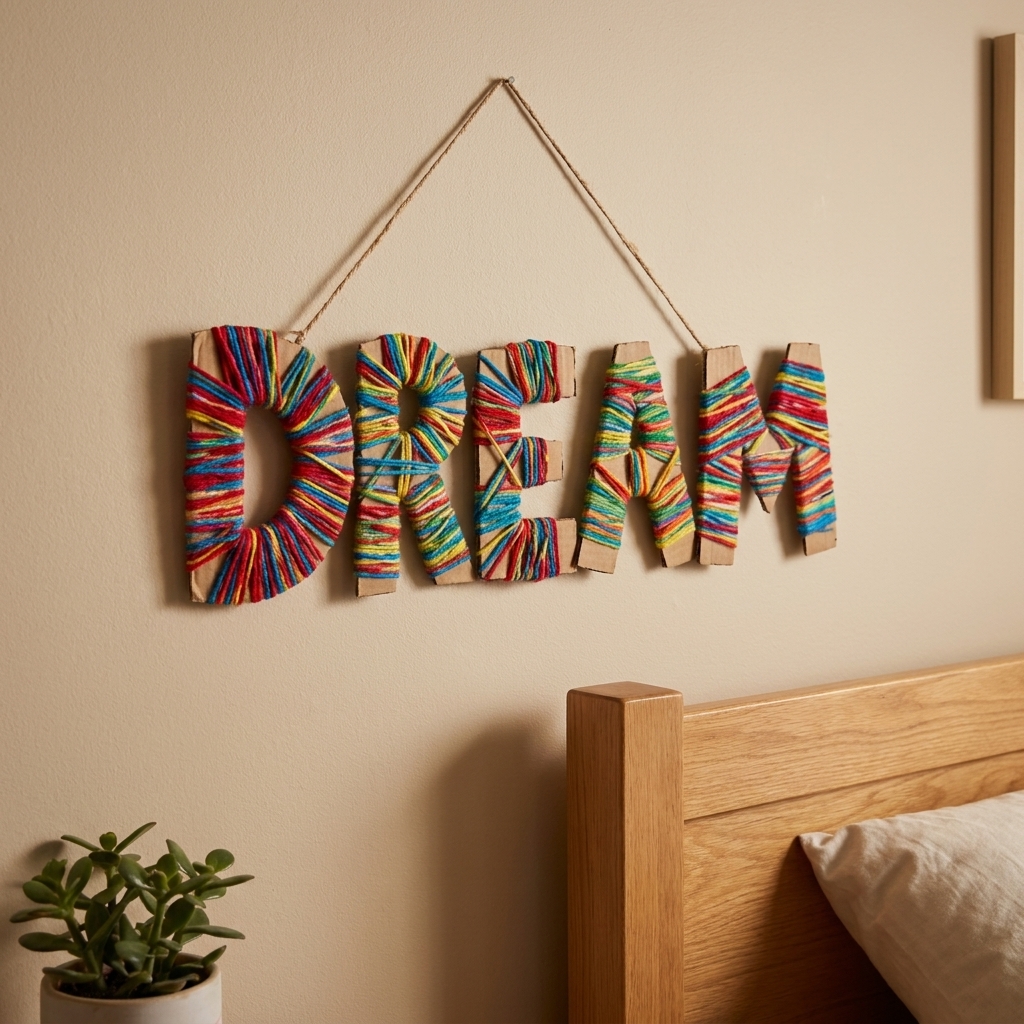
It looks like a trendy wall sign, but it’s made from cardboard, paint, and yarn. Screen-free, budget-friendly, and surprisingly dramatic on a wall.
Time: 30 to 60 minutes + dry time if painting
Difficulty: Easy
Cost: $
Supplies
- Cardboard (cereal boxes for small signs, shipping boxes for bigger)
- Pencil and scissors (adult help for thick cardboard)
- Yarn in bright colors or chunky string
- White glue or a glue gun
- Acrylic paint (optional for background)
- Hole punch and string for hanging
Steps
- Choose a shape: lightning bolt, heart, star, initials, or a simple word like HI.
- Draw and cut: cut the shape from cardboard.
- Paint the base (optional): black makes colors pop.
- Wrap yarn: start with a glue dot, wrap tightly, add glue every few wraps.
- Finish the end: tuck and glue.
- Hang: punch two holes near the top and tie string.
Pro tip
If your tween wants it to look extra crisp, cut two identical shapes and glue them together before wrapping for a thicker, more store-bought look.
Project 6: Photo string board
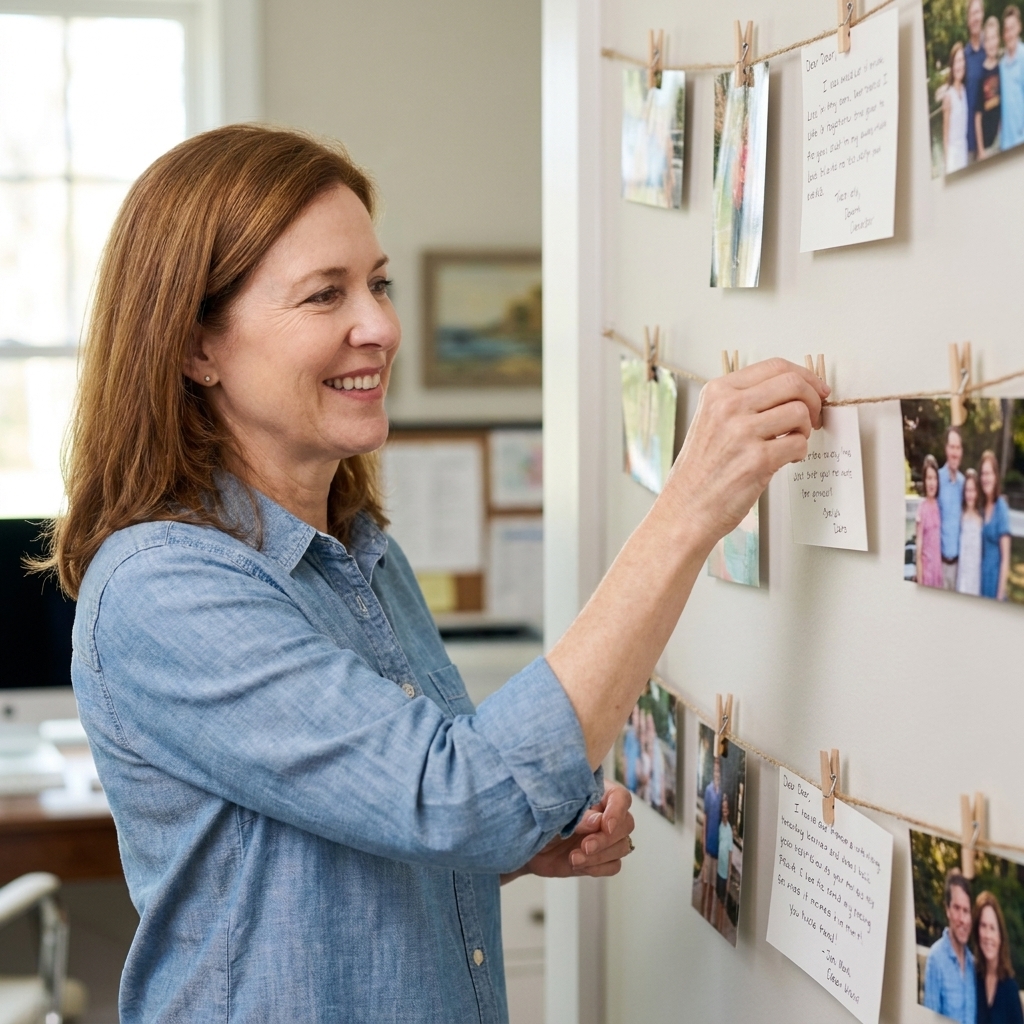
This is the classic memory wall, but updated. It gives them a spot for photos, ticket stubs, and little drawings from friends.
Time: 30 to 60 minutes
Difficulty: Easy
Cost: $ to $$
Supplies
- Corkboard, canvas, or sturdy cardboard
- Twine or string
- Mini clothespins
- Pushpins, stapler, or hot glue (choose based on your base)
- Optional: paint, stickers, or washi tape for decorating edges
Steps
- Decorate the base: paint the border, add stickers, or washi tape around the edges.
- Add string rows: attach twine in 3 to 5 horizontal rows, pulled snug.
- Anchor based on your base: corkboard works with pushpins, canvas works well with staples (adult help) or hot glue, and sturdy cardboard usually does best with hot glue or staples.
- Clip items: photos, notes, tiny art, and mementos.
- Hang it up: use Command strips (check weight limits) or a nail with adult help.
Troubleshooting
- String sagging? Pull tighter and add an extra anchor point in the middle.
- Clips too heavy? Use fewer items per row or switch to stronger clothespins.
Project 7: Thrift flip lamp shade
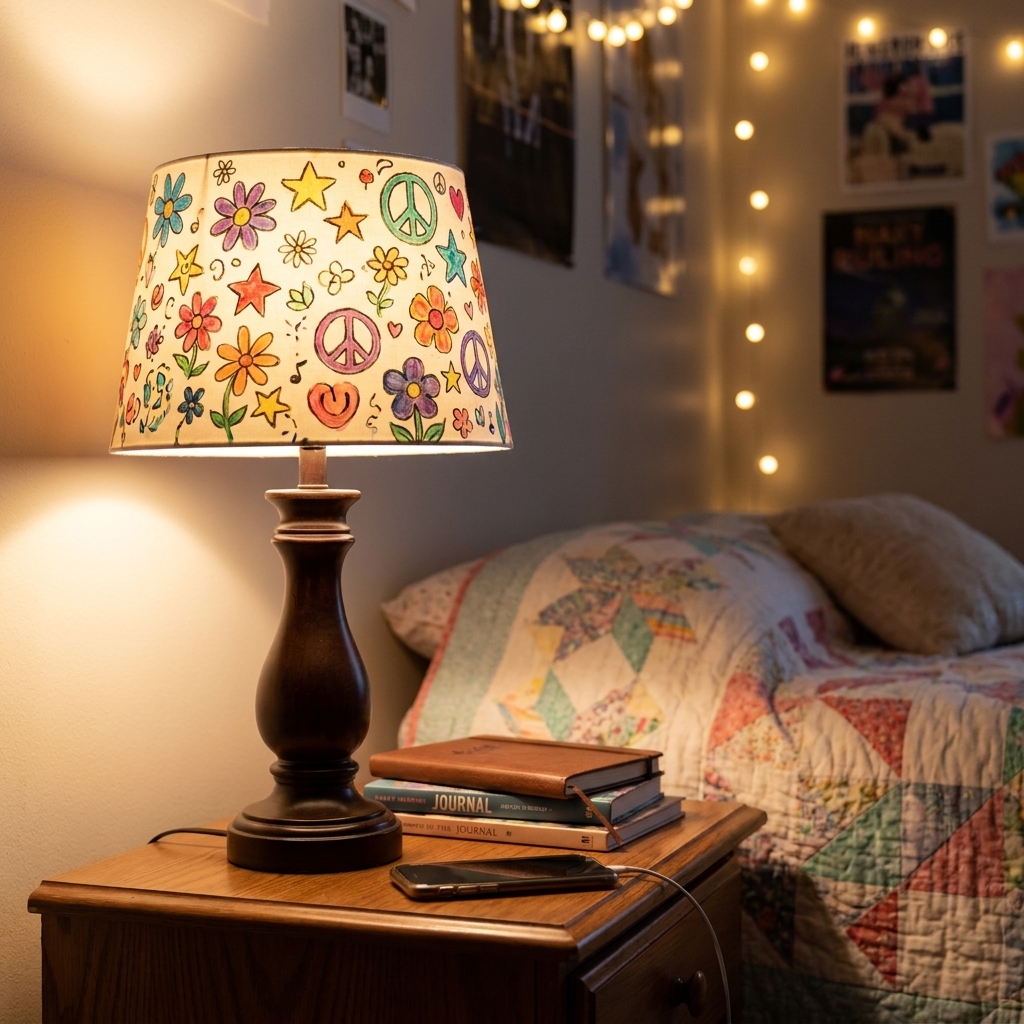
If you already have a lamp, changing the shade changes the whole room vibe. This works best on a plain, light-colored shade.
Time: 30 to 60 minutes + cure time
Difficulty: Easy (with safety rules)
Cost: $ to $$
Supplies
- A basic lamp shade (thrift store finds are perfect)
- Acrylic paint or fabric paint
- Foam brush or small paintbrush
- Pencil for sketching
- Optional: stencils, painter’s tape
Safety rules (read these)
- Use LED bulbs only. Skip incandescent and halogen bulbs.
- Follow the lamp’s wattage guidance (even with LED) and make sure there is plenty of clearance between bulb and shade.
- Do not paint the inside of the shade. Keep paint light and breathable, especially near the top and bottom openings.
- Let it cure fully before using the lamp, at least overnight.
- Adult check: an adult should confirm the bulb is LED and seated properly before the lamp is used again.
Steps
- Wipe the shade: remove dust.
- Light sketch: simple shapes work best: waves, daisies, stars, checkerboard.
- Paint in thin coats: let dry between coats.
- Keep the openings clean: avoid thick paint buildup near the top and bottom rim.
- Let it cure: wait overnight before turning the lamp on so it is fully dry.
Important note
Stick to painting the shade only. Do not paint electrical parts, and if anything smells hot or looks scorched later, unplug the lamp and replace the shade.
Help them do it themselves
This is the hardest craft supply to find: restraint. Here’s what works in my house.
- Offer two choices, not ten: “Do you want stripes or checkerboard?” keeps momentum.
- Ask before fixing: “Want a tip, or do you like it that way?” is tween magic.
- Use timers for drying: 15 minutes of drying time is a great moment to tidy the space.
- Celebrate the display: when it goes on the wall, it becomes real. That matters at this age.
FAQs
What are good room decor crafts for 10 to 12 year olds to do alone?
Washi tape gallery walls, photo string boards, painted pots, and cardboard yarn signs are the most independent-friendly. They have clear steps and forgiving materials.
What if my tween says crafts are babyish?
Try reframing it as room design or a DIY upgrade. Let them pick the color palette and the final placement. Ownership is the difference.
How do I keep this low-mess?
Choose washi tape, paper beads, or string boards first. For paint projects, put paint on a paper plate, keep baby wipes nearby, and set a clear drying zone so wet items do not wander.
How can I make these budget-friendly?
Start with upcycling: magazines, cardboard, old T-shirts, and a thrifted lamp shade. Washi tape and twine are inexpensive and stretch across multiple projects.
One last mom-to-tween reminder
If your tween makes something and immediately says, “Ugh, it’s crooked,” take a breath and remind them: most cool room decor has a little wonky personality. The goal is a room that feels like them, not a catalog.
If you try any of these, I hope you’ll lean into the messy joy and let your kid lead. I’ll be over here, reloading the hot glue gun like it’s my part-time job.