A realistic, mess-friendly guide to setting up an independent craft station for kids, including what to stock, simple safety rules, and how to organize it so...
If your recycling pile has a few empty Amazon boxes doing that slow, guilty stare at you, I have good news: you are one roll of tape (and maybe an optional hot glue stick) away from an instant toy shop. Cardboard is forgiving, cheap (free!), and magical in that kid way where a “box” is never just a box.
I’ve tested these with my own trio (ages 3, 6, and 8), and the goal is always the same: quick wins, sturdy enough for real play, and absolutely no “Pinterest-perfect” pressure. If the tape is crooked, congratulations, you are doing it correctly.
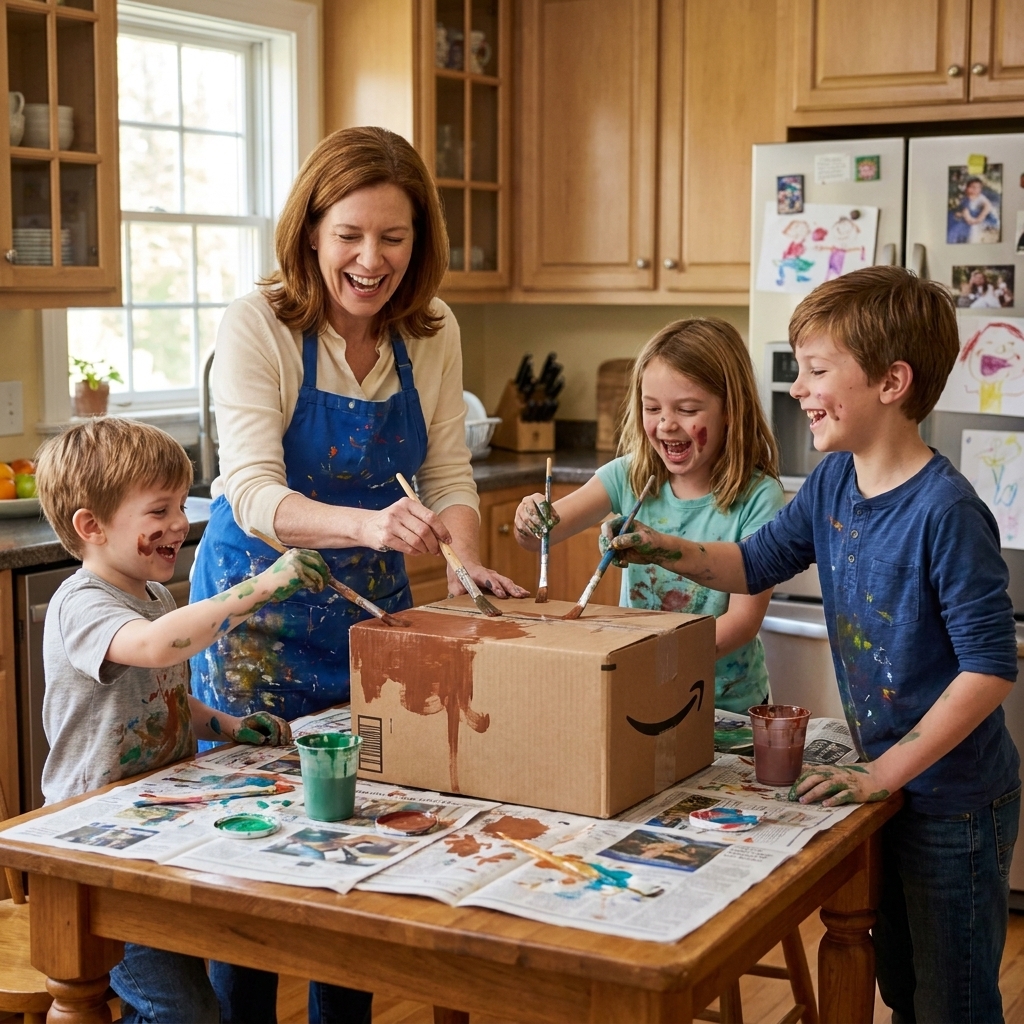
Before you start: my kid-safe cardboard toolkit
You do not need fancy supplies. You do need a plan for cutting cardboard without sacrificing your sanity.
Basic supplies
- Cardboard boxes in a mix of sizes (cereal boxes are great for small parts)
- Packing tape for strength and masking tape for kid-friendly decorating
- Glue: white school glue for decor, hot glue for adult-only “structural engineering” (optional)
- Markers, crayons, paint (optional, because sometimes the “brown box aesthetic” is the vibe)
- Safety scissors for thin cardboard and a box cutter for adults only
- Ruler and a pencil for quick measuring
- Extras: bottle caps, paper towel rolls, yarn, stickers, washi tape, scrap paper
Quick box check
- Skip sketchy boxes: avoid boxes that held chemicals or anything oily or leaking.
- Watch for staples: pull them out before kids get involved.
- Peel labels if you want: not required, but it helps tape and paint stick better.
Safety basics from my house
- Adults cut anything thick or load-bearing. Kids can decorate, tear tape, and help press pieces together.
- Watch the edges: if the cardboard is rough, run a strip of tape along it like a soft bumper.
- Ventilation for paint and let projects dry fully before heavy play.
My “make it last” trick
For toys that will get serious mileage, wrap key joints with packing tape like you are bandaging a cardboard athlete. Corners, tabs, and anything that will be lifted should get extra tape.
10 upcycled cardboard box toys to build today
Each idea below includes a quick build, an age range, and a little “real life” tip from my house where the floor is often… artistically crunchy.
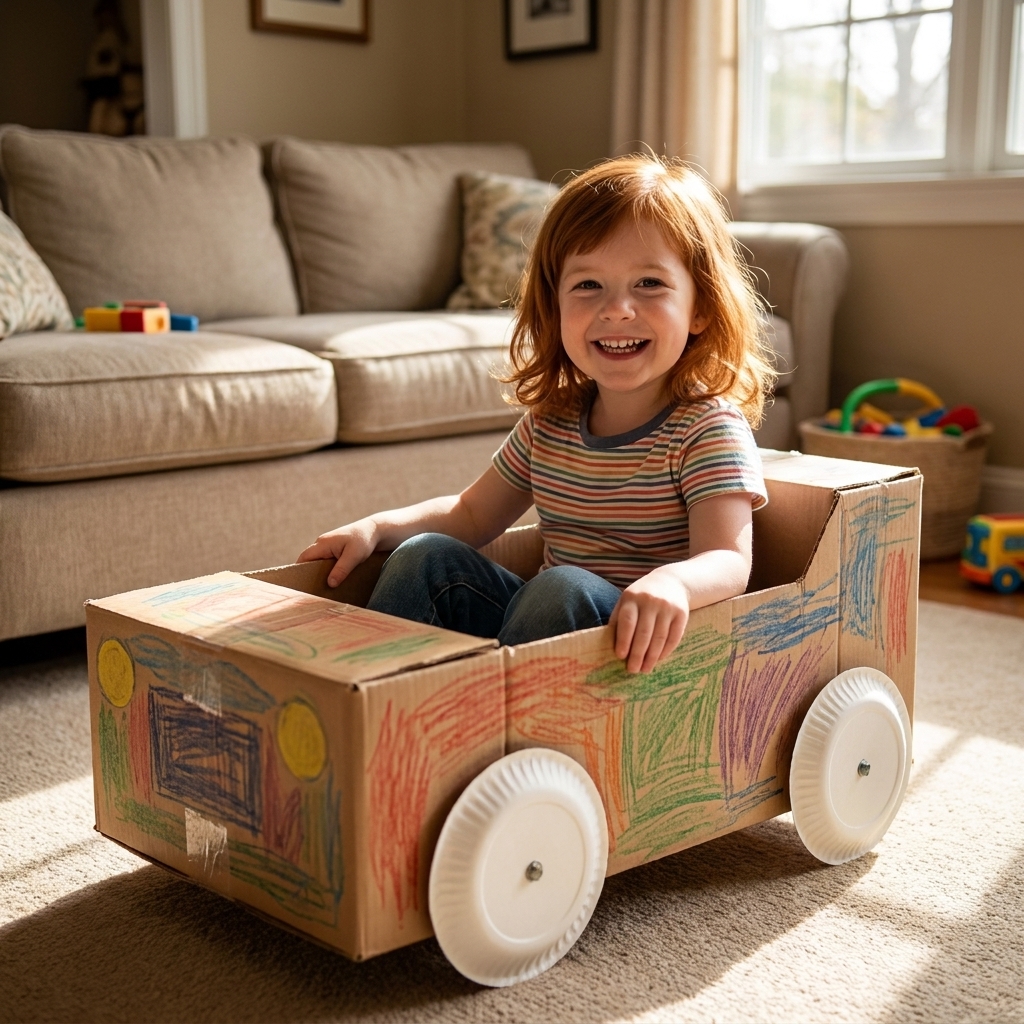
1) Cardboard box car
Best for: ages 2 to 8
Time: about 15 to 30 minutes
What you need: medium to large box, tape, markers, 4 paper plates (optional), string or ribbon (optional)
- Step 1: Sit the box so the opening is on top. If a kid is going to sit in it, reinforce the bottom seams from the inside and outside with packing tape.
- Step 2: Cut a “door” flap on each side (optional). Tape the cut edges to prevent scratches.
- Step 3: Add a windshield opening (optional but helpful) by cutting a wide rectangle on the front panel for visibility and airflow.
- Step 4: Draw headlights, a steering wheel, and a dashboard. Paper plates taped on the sides make instant wheels.
- Step 5: Add a “license plate” made from scrap cardboard for dramatic name choosing.
Sarah tip: If your child insists it needs to be towable, punch two holes in the front, thread string through, and knot inside. Also, this is a floor-scooting car, not a staircase vehicle. Set that rule early.
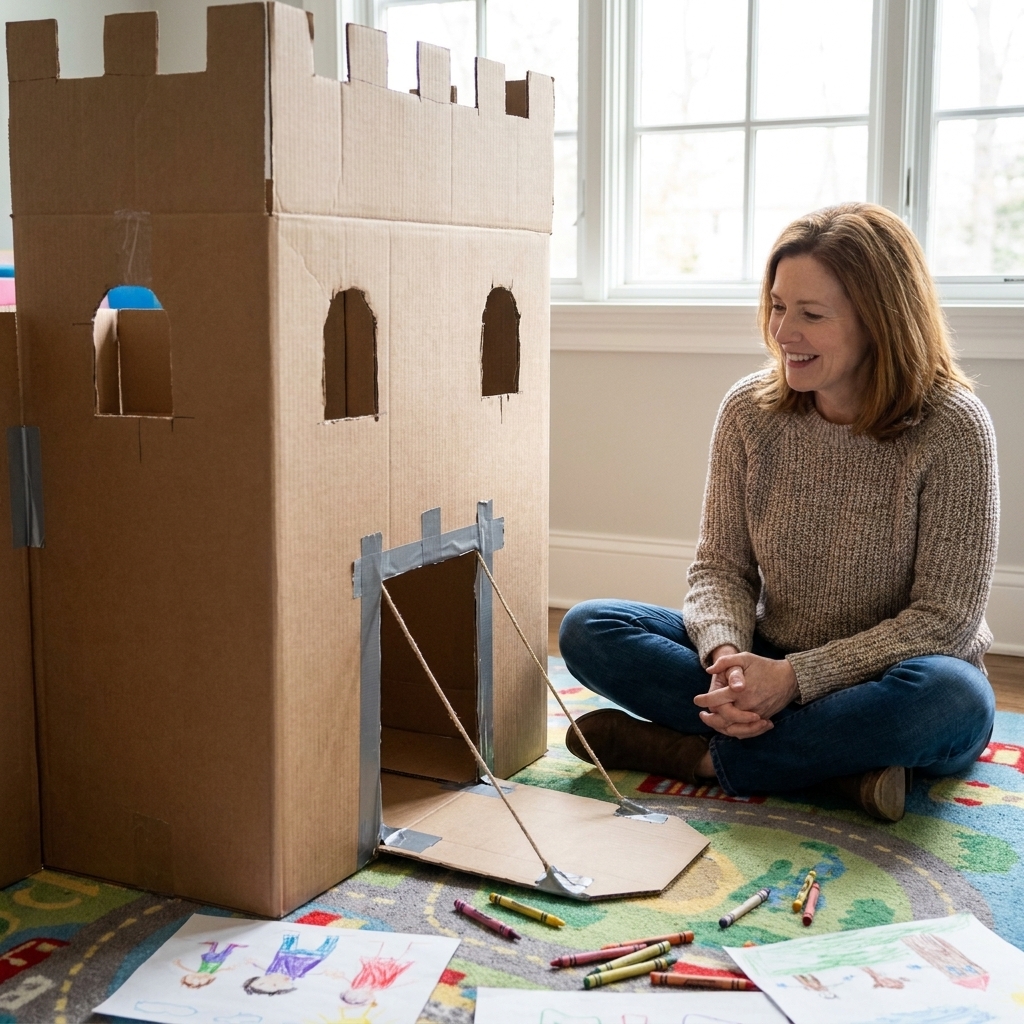
2) Castle or fort
Best for: ages 3 to 9
Time: about 20 to 45 minutes
What you need: large box, scissors/box cutter, tape, markers or paint, yarn (optional)
- Step 1: Stand a large box upright. Decide which side is the “front.”
- Step 2: Cut a big door opening near the bottom. Save the cut-out piece.
- Step 3: Turn that cut-out into a drawbridge by taping it along the bottom edge like a hinge. Reinforce the hinge with a few extra strips, including one strip folded over the edge.
- Step 4: Cut simple “castle teeth” along the top edge. Add windows and brick lines with a marker.
- Step 5 (optional): Add yarn “chains” for the drawbridge by poking two holes and tying knots.
Sarah tip: If you have multiple boxes, tape them together into a whole kingdom. My 8-year-old calls this “real estate development,” and honestly, he’s not wrong.
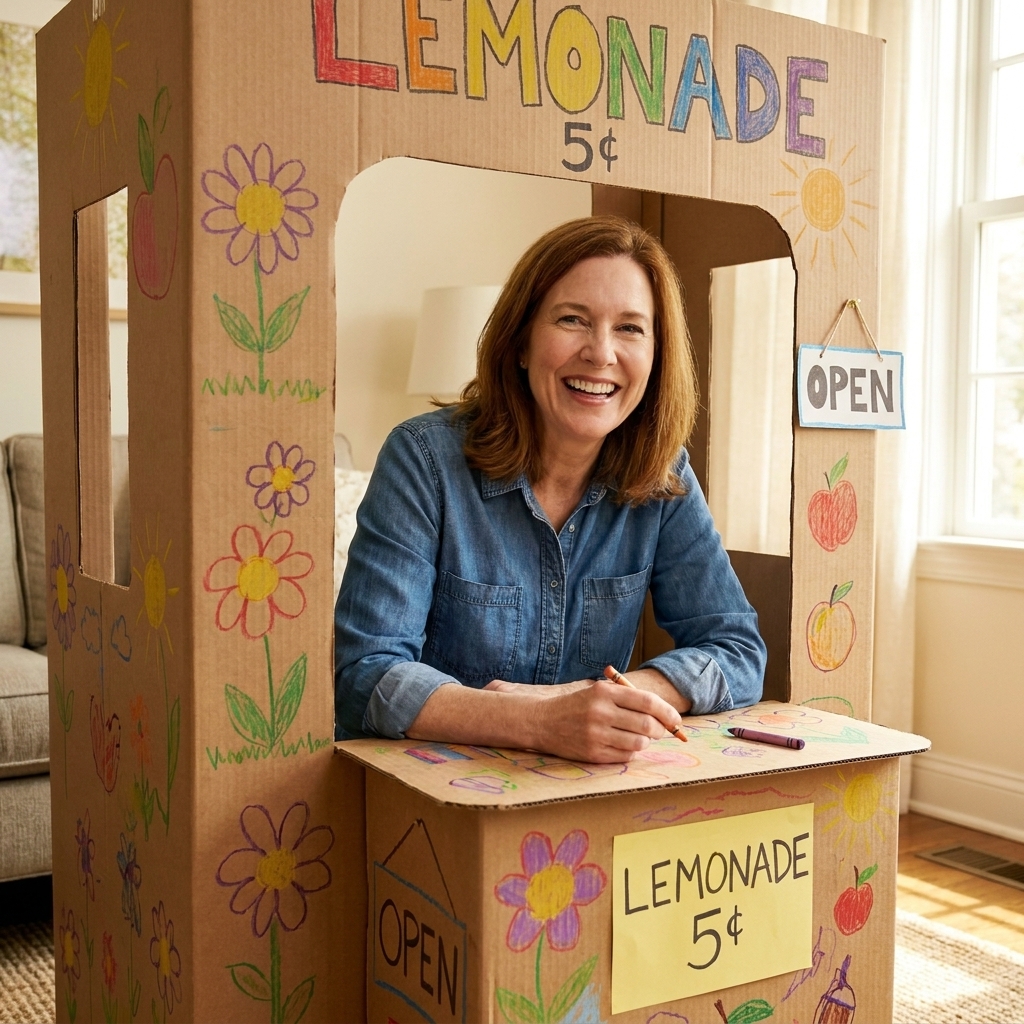
3) Play shop window
Best for: ages 3 to 8
Time: about 15 to 25 minutes
What you need: large box, tape, paint or markers, paper bags or scrap paper
- Step 1: Lay the box on its side so one big face becomes the “front.”
- Step 2: Cut a large rectangle window, leaving a 2 to 3 inch border for strength.
- Step 3: Fold down the cut flap to make a counter, or tape in a strip of cardboard as a shelf.
- Step 4: Decorate for the shop theme: bakery (paper “cupcakes”), vet (stuffed animals), cafe (paper cups).
Sarah tip: Skip anything fussy. A simple sign drawn on scrap paper taped above the window works perfectly and keeps the build time under 20 minutes.
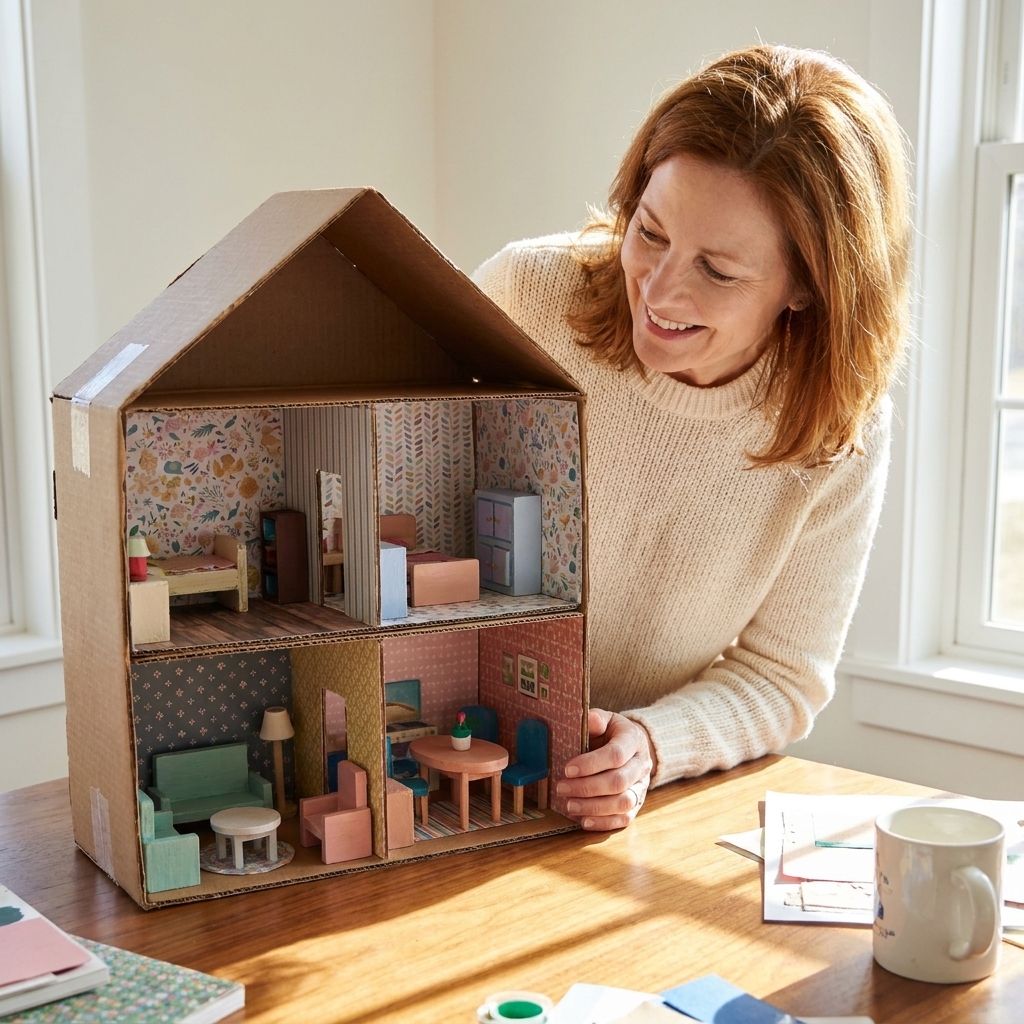
4) Dollhouse or figure house
Best for: ages 4 to 9
Time: about 30 to 60 minutes
What you need: sturdy box, extra cardboard for floors, tape, glue, scrap fabric or wrapping paper
- Step 1: Stand the box upright like a building.
- Step 2: Cut out the front panel to “open” the house (leave side walls and top for stability).
- Step 3: Make floors by sliding in cardboard rectangles and taping them to the side walls.
- Step 4: Add wallpaper using wrapping paper, grocery bags, or old magazine pages.
- Step 5: Create simple furniture from small boxes and folded cardboard.
Sarah tip: For a toddler-safe version, do fewer cut-outs and skip tiny accessories. Big rooms, chunky furniture, and lots of imagination is the sweet spot.
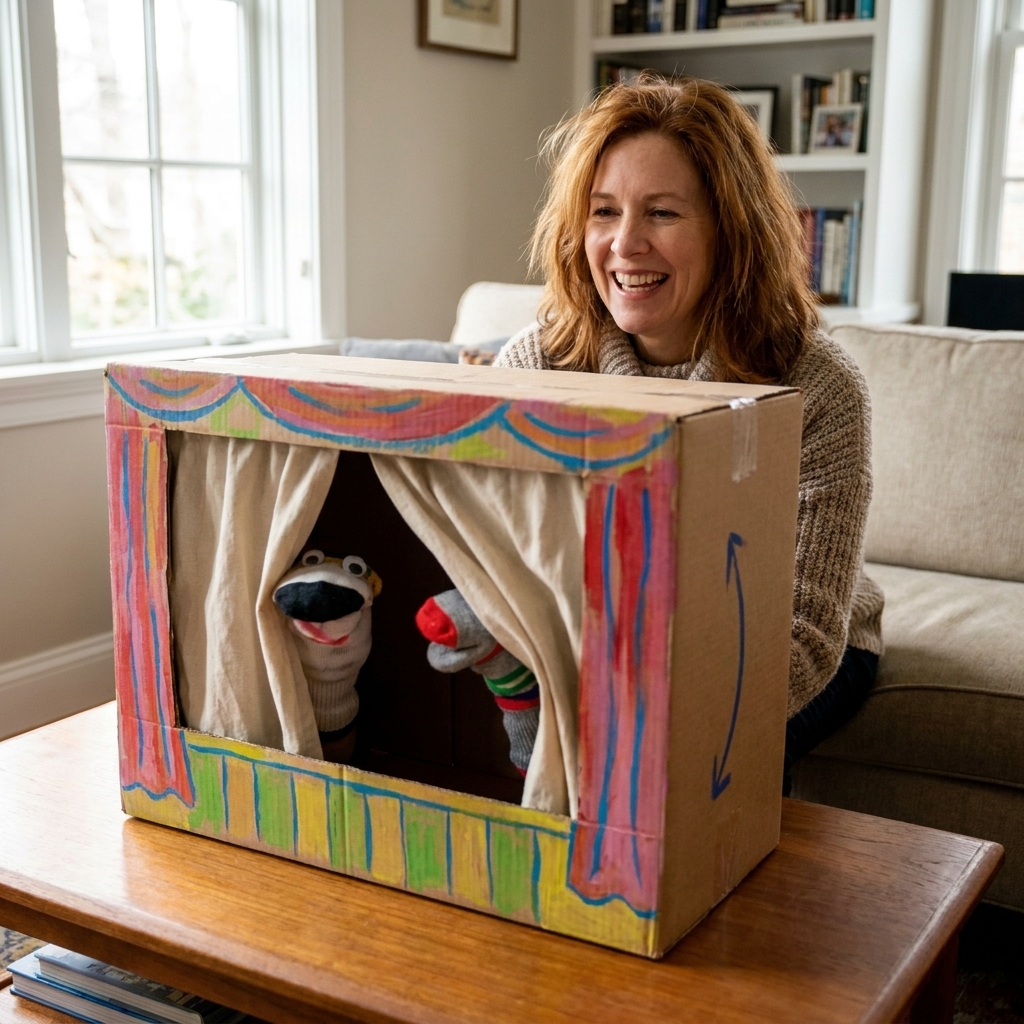
5) Puppet theater
Best for: ages 3 to 8
Time: about 20 to 40 minutes
What you need: large box, scissors/box cutter, tape, fabric scarf or dish towel (optional)
- Step 1: Stand the box upright.
- Step 2: Cut a wide window near the top for the stage opening.
- Step 3: Cut a smaller “backstage” opening in the back panel so hands can operate puppets.
- Step 4: Tape fabric across the top edge as a curtain, or just draw curtains with markers.
Sarah tip: Paper bag puppets and socks are perfect. Also, your child will absolutely make you buy tickets with pretend coins, so be prepared.
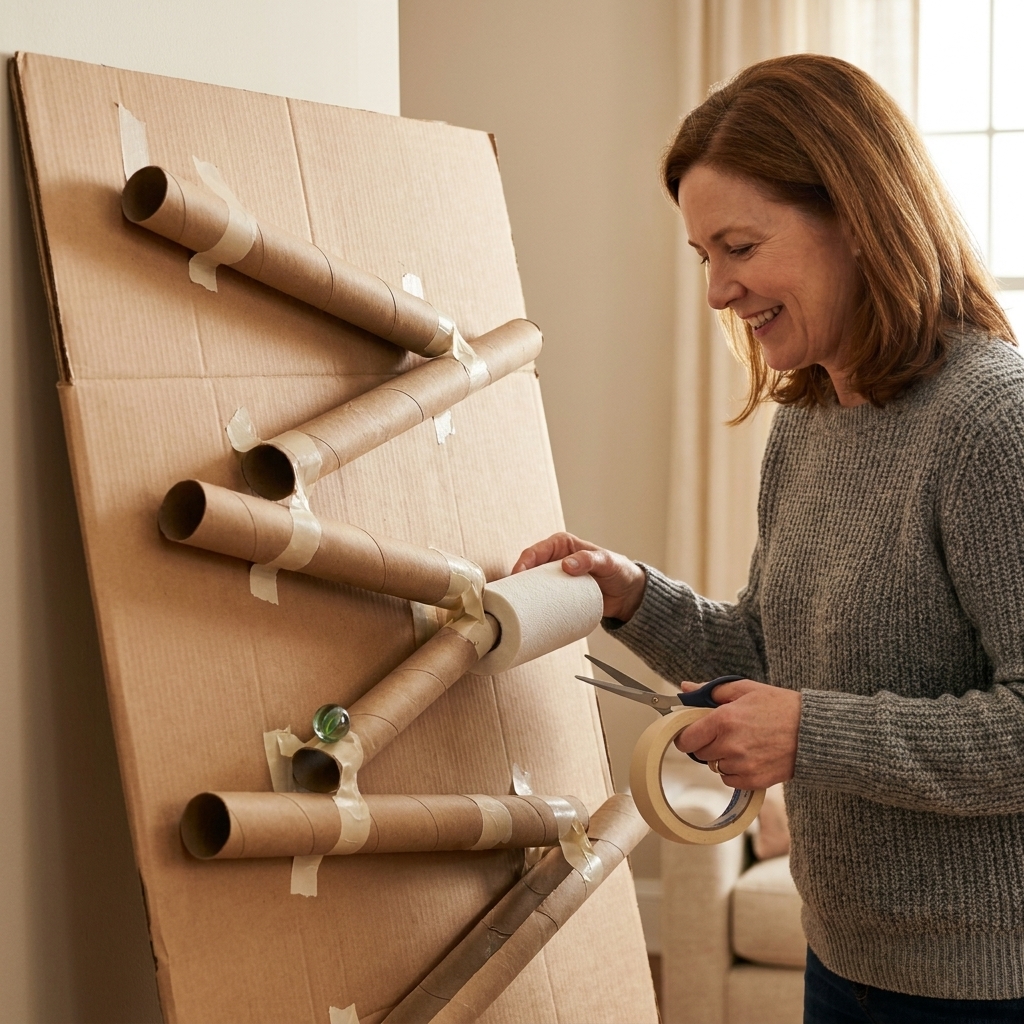
6) Marble run (or pom-pom run)
Best for: ages 3+ with pom-poms, ages 6+ with marbles and close supervision
Time: about 20 to 45 minutes
What you need: a large flat cardboard piece, paper towel rolls, tape, scissors
- Step 1: Use a flattened box as your backing board.
- Step 2: Cut paper towel rolls in half lengthwise to make channels.
- Step 3: Cover the cut rims with tape (masking tape works) to soften the edges.
- Step 4: Tape channels in a zigzag down the board, overlapping ends like little ramps.
- Step 5: Add a “catch box” at the bottom.
Sarah tip: Pom-poms are the safest “marbles” for little kids and still super satisfying. Marbles are a choking hazard and are not appropriate for kids under 3. If you do marbles, make it older-kid only, supervise closely, and store marbles out of reach afterward.
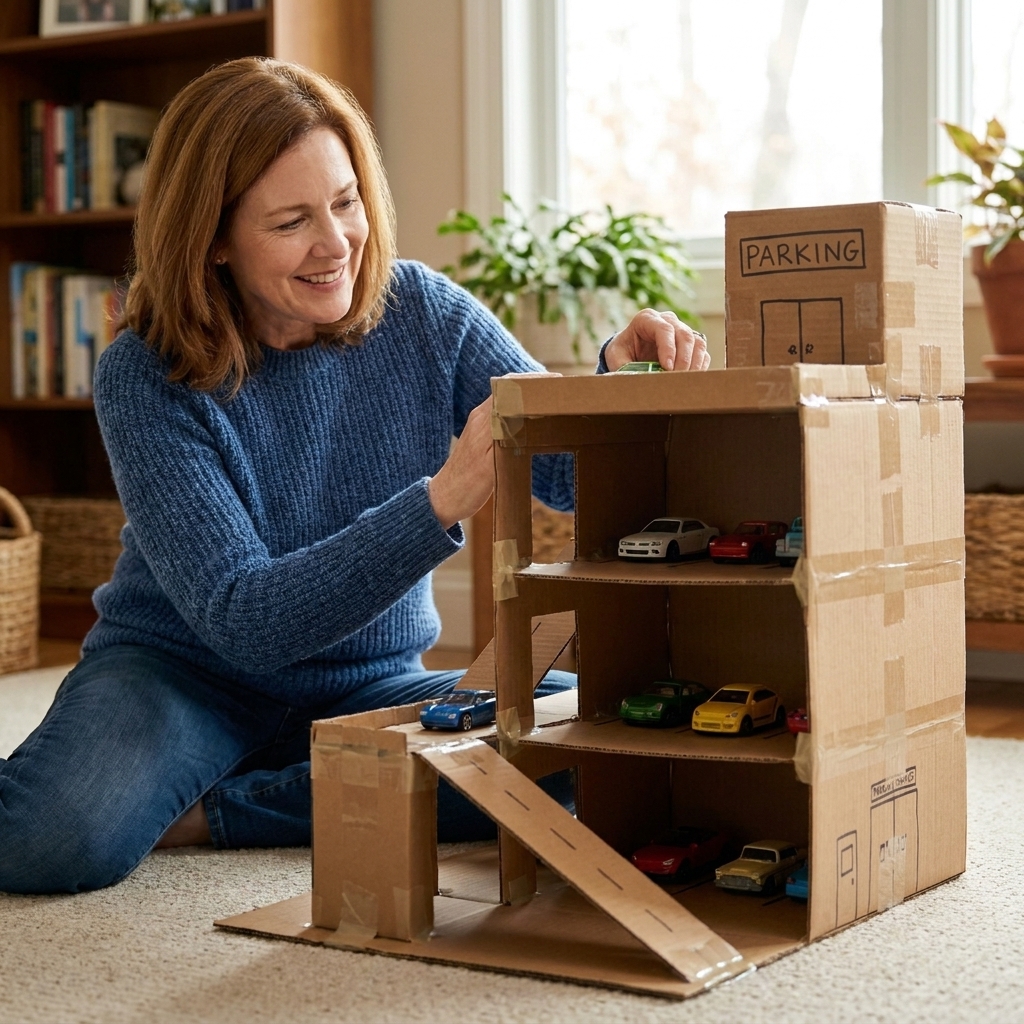
7) Parking garage
Best for: ages 3 to 8
Time: about 25 to 45 minutes
What you need: medium box, extra cardboard strips, tape, markers
- Step 1: Turn the box on its side so the opening is the front.
- Step 2: Create levels by taping cardboard “floors” inside the box.
- Step 3: Make ramps from long cardboard strips folded slightly for strength.
- Step 4: Draw parking spots and arrows. Cut a little slot on the top level for a pretend ticket booth if your child is into details.
Sarah tip: If ramps keep collapsing, double the cardboard and tape the edges like a spine. Cardboard loves structure almost as much as kids love crashing cars.
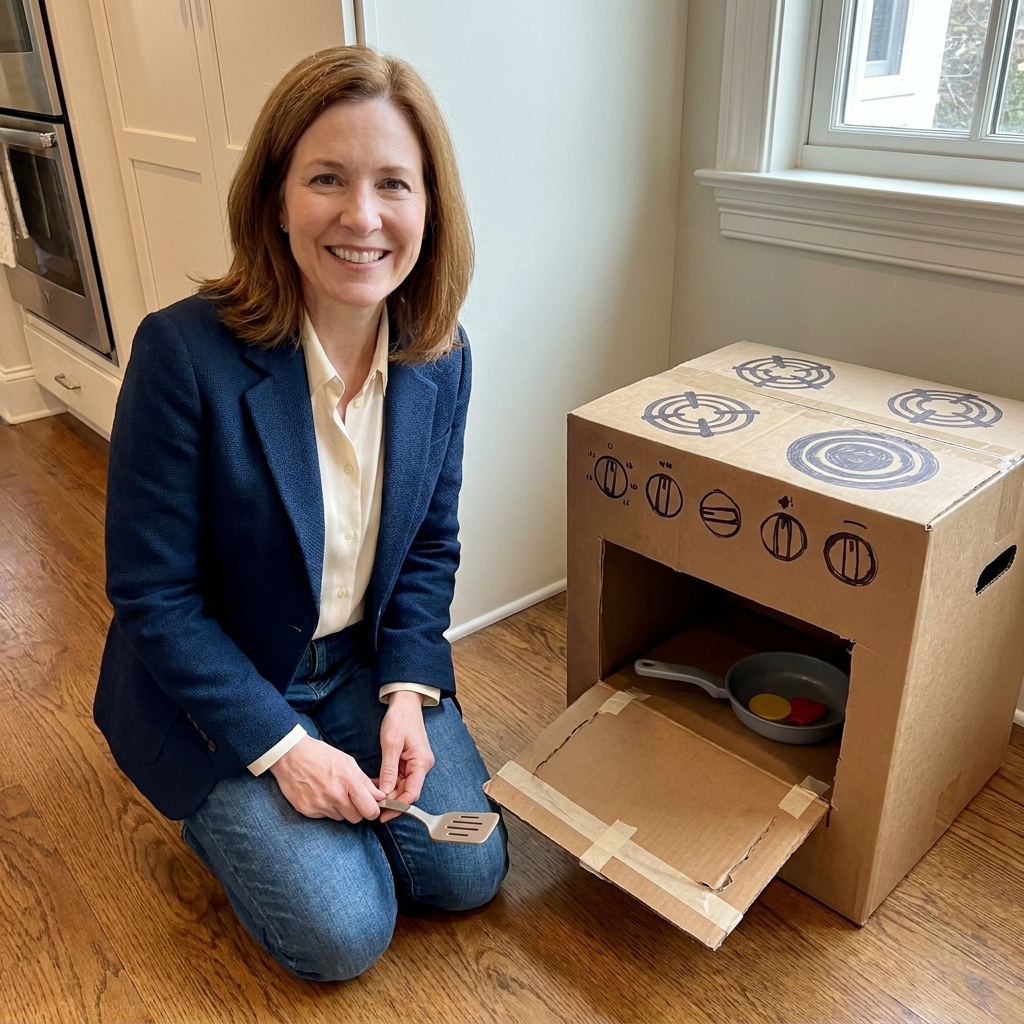
8) Cardboard kitchen
Best for: ages 3 to 8
Time: about 20 to 40 minutes
What you need: medium to large box, bottle caps, markers, tape, aluminum foil (optional)
- Step 1: Stand the box upright.
- Step 2: Draw an oven door and knobs. Bottle caps taped or glued on make great knobs.
- Step 3: Cut the oven door on three sides so it opens. Tape along the hinge side for durability.
- Step 4: Add a “stovetop” with drawn burners, or foil circles for a shiny effect.
Sarah tip: Keep it simple: one “oven” is enough for hours of play. My kids will cook imaginary pizza whether the knobs spin or not.
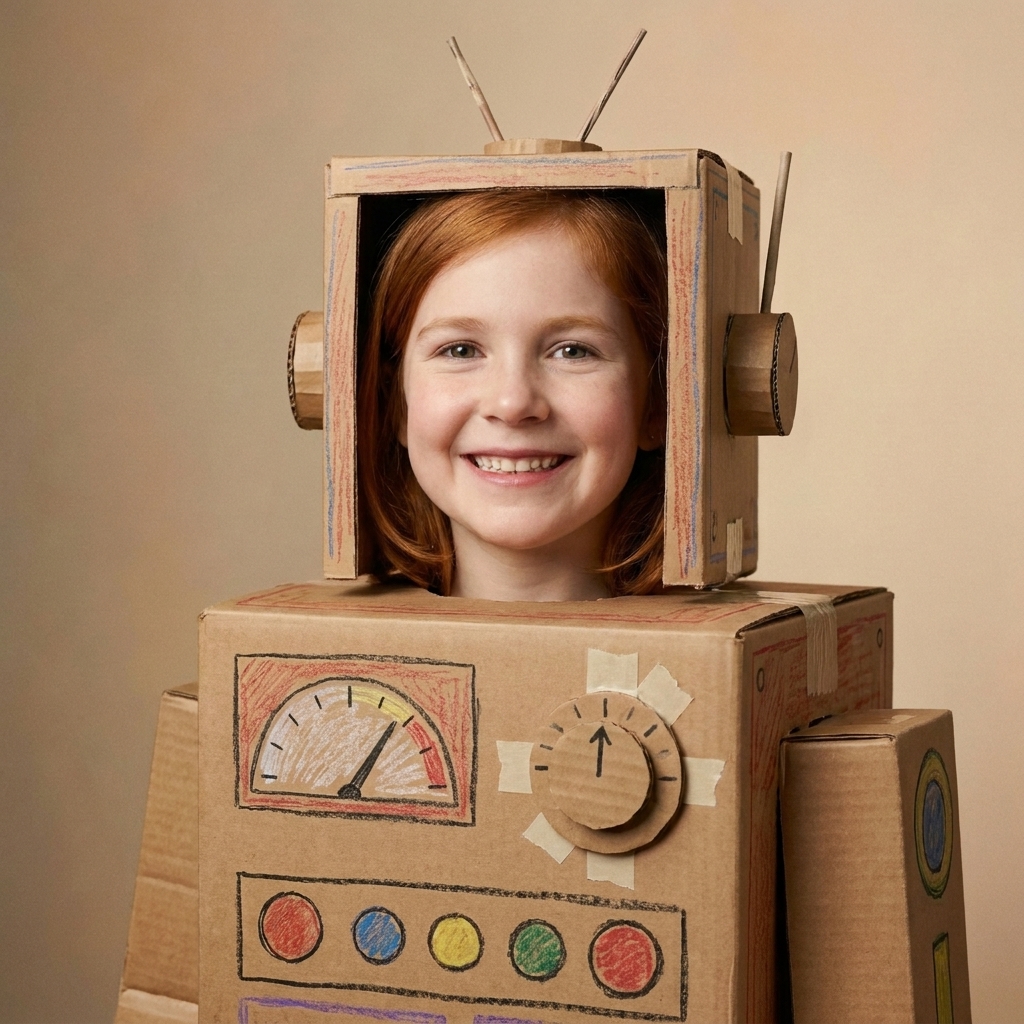
9) Robot, dino, or animal costume
Best for: ages 3 to 9
Time: about 20 to 45 minutes
What you need: medium box, tape, scissors/box cutter, markers or paint, egg carton (optional)
- Step 1: Cut head and arm holes in a box for a simple box costume.
- Step 2: For a dinosaur: add a tail from a folded cardboard strip and spikes from an egg carton or triangle cut-outs.
- Step 3: For a robot: add “buttons” with paper circles and a cardboard antenna.
- Step 4: Tape all inside edges around holes so they are soft against skin.
Sarah tip: If the box is too scratchy or stiff, have kids wear a long-sleeve shirt underneath. Also, accept that your robot may need a snack break and a bathroom break immediately.
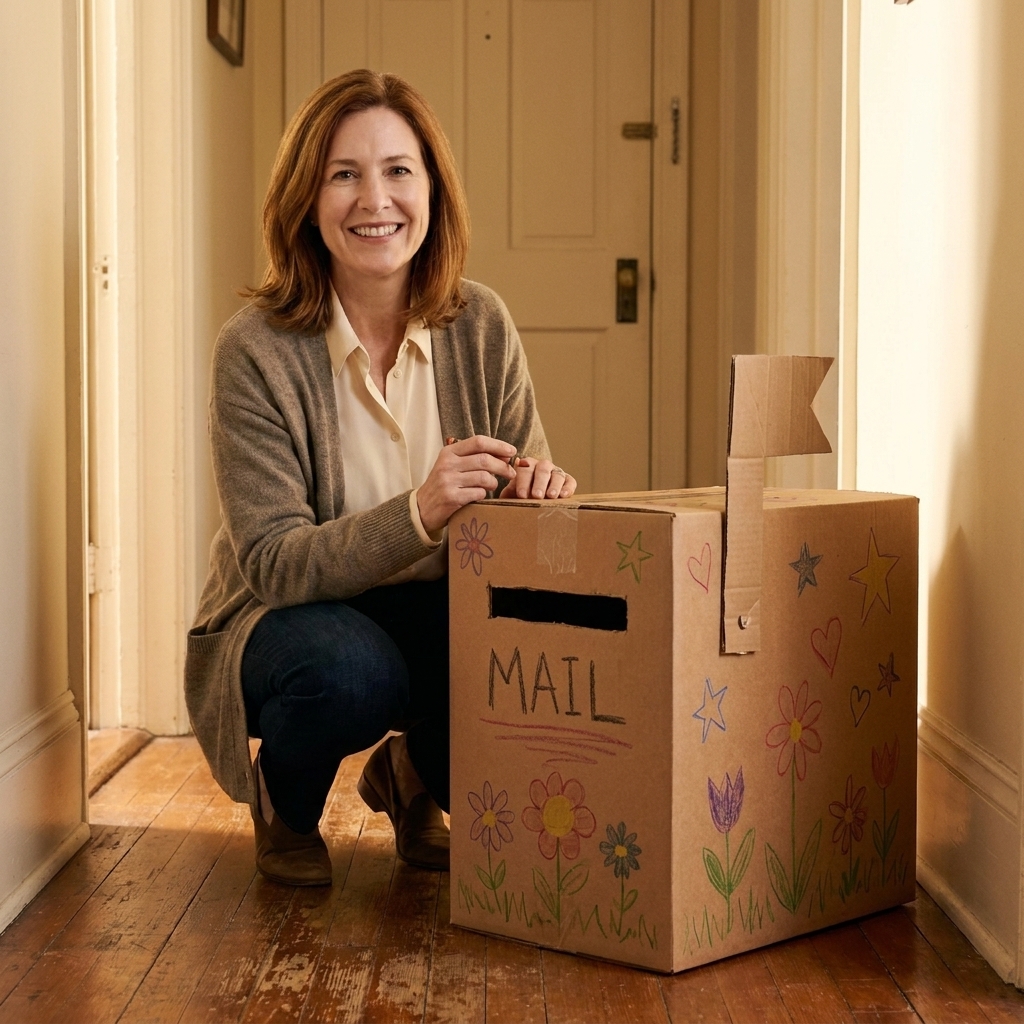
10) Mailbox or post office
Best for: ages 3 to 8
Time: about 15 to 30 minutes
What you need: small to medium box, tape, scissors, scrap paper, envelopes (optional)
- Step 1: Cut a mail slot in the top or front of a box.
- Step 2: Create “mail” from scrap paper. Kids can draw pictures, write names, or make pretend bills (my condolences).
- Step 3: Add a flip-open door on one side to retrieve the mail, or leave the box top open.
- Step 4: Set up delivery routes around the house with a basket of letters.
Sarah tip: This is sneaky learning. Your 6 to 8-year-olds will practice writing and sounding out names without realizing it, because they are very busy being postal workers.
Decorating without the overwhelm
If you have kids like mine, decorating can go from calm to “we used every marker we own” in under three minutes. Here are my sanity-saving options:
- Washi tape details: stripes, “buttons,” road lines, window frames. Instant upgrades.
- Sticker stations: Put stickers in a bowl and let kids go to town. Great for toddlers.
- Paper skin: Wrap parts of the box with grocery bags or old wrapping paper for quick color.
- One-color rule: Let each kid pick one marker color for outlines. The toy looks cohesive and nobody argues over the “good” marker.
Bonus sanity tip: If you are doing big cuts, do them in the garage, outside, or over a drop cloth. Cardboard confetti has a way of multiplying.
Troubleshooting
The walls keep bending
Add internal braces: tape a rolled cardboard tube inside corners like a support beam.
Flaps will not stay shut
Use a tape hinge. Tape one side first, then close and tape the seam from the outside.
The toy is wobbly
Widen the base by taping an extra cardboard “foot” underneath, especially for tall castles and theaters.
My child ripped off all the parts
That’s normal. Rebuild together with fewer attachments and more tape. You are not failing, you are prototyping.
Cleanup and storage
- Designate a “cardboard parking spot” in a corner or closet so big builds do not take over the whole house.
- Use a laundry basket for accessories like puppets, pretend food, or toy cars.
- Flatten what you can: many ramps and marble runs can be gently untaped and stored flat.
FAQ
What kind of cardboard works best?
Corrugated shipping boxes are the best for toys because they hold shape and take tape well. Thin cereal-box cardboard is great for details like knobs, signs, and ramps that do not bear weight.
How do I make cardboard toys sturdier without hot glue?
Packing tape and tabs are your best friends. Cut small slits and create fold-over tabs, then tape over the tabs. You can also double up cardboard by taping two layers together with the corrugation running in different directions.
Can toddlers do cardboard box crafts?
Yes, with adult cutting and simple choices. Toddlers can scribble with crayons, stick on stickers, and help tape. For “painting” without stress, give them a big brush and a cup of water and let them paint water onto the cardboard for a no-mess sensory version, or use washable tempera paint. For play, choose big, simple builds like a car, mailbox, or shop window and skip small pieces.
Do I need to paint the cardboard?
Nope. Kids often love it plain. If you do paint, a quick coat of washable tempera works well. Just give it drying time before play so it does not transfer to hands and couches.
One last reminder from Craft Joy Club
If your cardboard car has one wheel higher than the other and your castle looks like it survived a dragon attack, you nailed it. These toys are about imagination, teamwork, and giving kids a place to create their own stories. The process matters more than perfection, and the best toy in the room is the one your kid helped make.