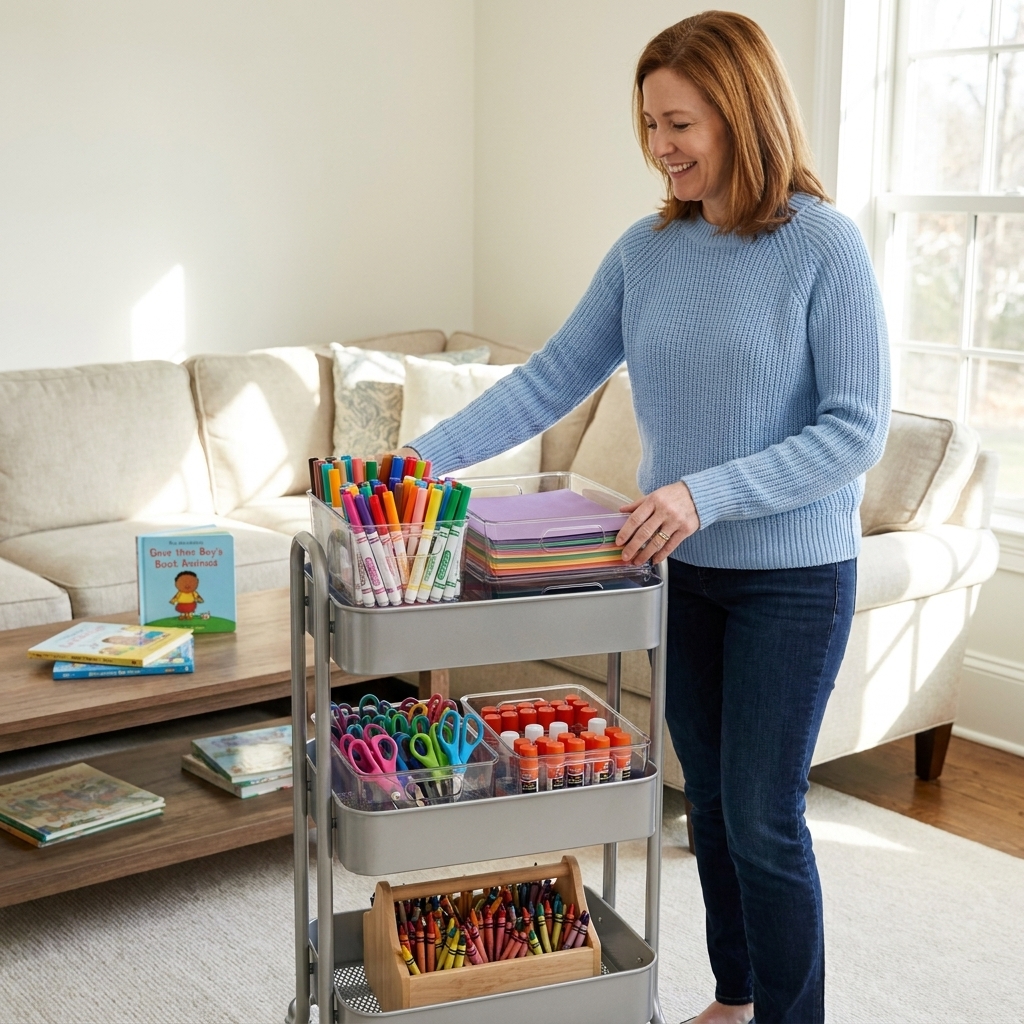
A realistic, mess-friendly guide to setting up an independent craft station for kids, including what to stock, simple safety rules, and how to organize it so...
Every February, the same question pops up in my house: do we grab a box of classroom valentines and call it good, or do we make our own?
As a former kindergarten teacher and current mom of three (3, 6, and 8), I can tell you this: store-bought cards are convenient, but DIY valentines can be cheaper, more personal, and honestly easier than they look when you pick the right projects and keep the add-ons simple.
Quick classroom checklist before you buy or make anything: confirm class size, whether names are required, and any rules about candy, allergens, or favors (some classes avoid liquids like bubbles).
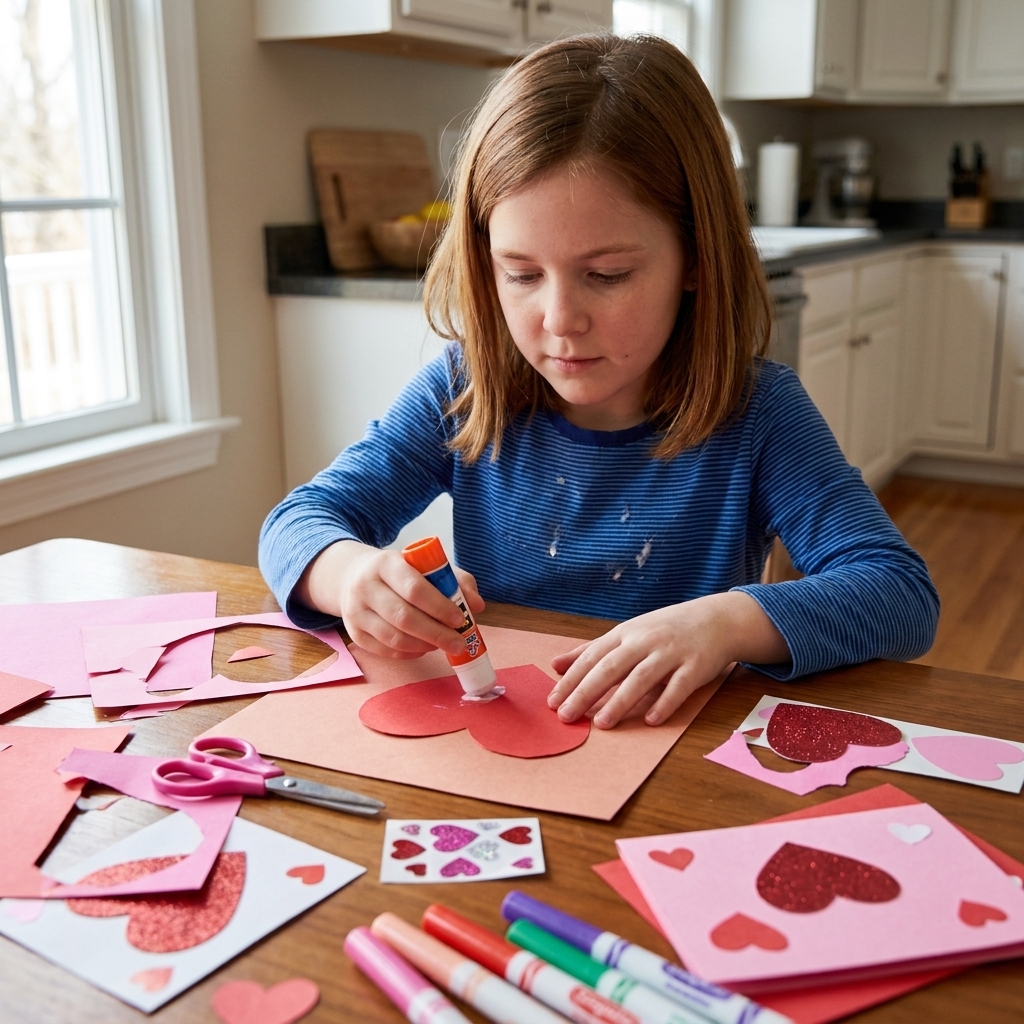
Store-bought vs. DIY: what you are really paying for
Cost
Store-bought: Many classroom boxes come with about 24 to 32 cards. If you add candy or trinkets (because kids love the extras), the total can climb quickly.
DIY: If you already have paper, markers, and glue, the per-card cost can be very low. If you are starting from scratch with cardstock, paint, tape, and favors, DIY can add up. But if you keep it simple, it often wins on budget, especially when you are making 20 to 30 at once.
Effort (the part parents worry about)
Store-bought: Fast to buy, but you still have to write names and sign them. And if the box includes tiny stickers, it can turn into a whole fiddly chore.
DIY: The effort depends on the craft. The key is choosing designs that are assembly-line friendly. Think: one main step kids can do, one step you can prep, and a simple way to personalize.
Kid joy factor
Store-bought: Fine, but often forgettable.
DIY: Kids feel proud handing out something they made. Even the “imperfect” ones. Especially the imperfect ones.
Before you start: a stress-free plan
- Pick one design. Two designs sounds fun until you are cutting hearts at 9:47 p.m.
- Prep one thing. I usually cut paper shapes while dinner cooks, then set up a “craft tray” for the kids.
- Use a drying zone. A cookie sheet or flattened cardboard box keeps gluey valentines off the table and out of the dog’s reach.
- Write names last. Do the crafting first, then add “To/From” when everything is dry and stacked.
5 quick DIY valentines
These are designed for real life: minimal supplies, kid-friendly steps, and easy to make in bulk. I added rough timing because that is what I always want to know.
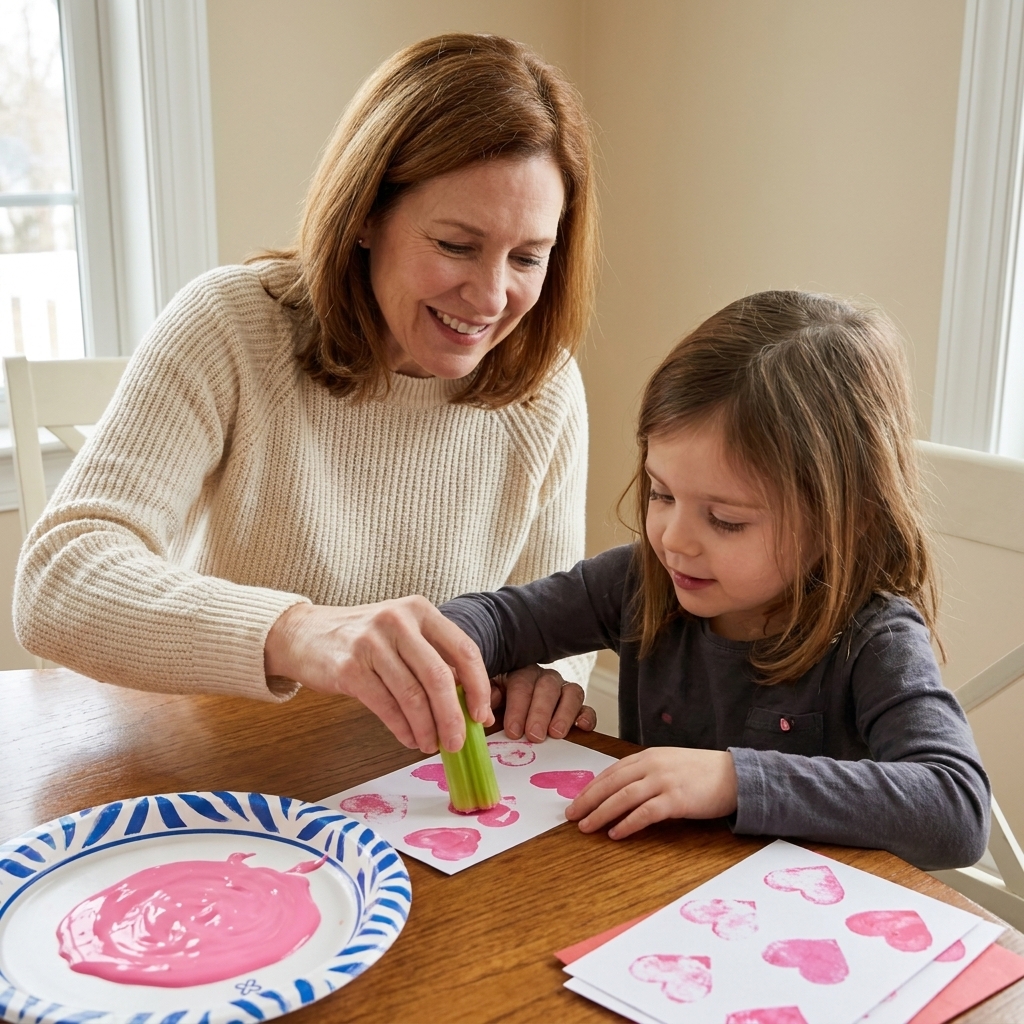
1) Heart stamp cards (the celery trick)
Best for: Ages 3 to 8 (toddlers with help).
Why it beats the box: It is fast, cute, and no two cards look the same.
Time: About 20 to 40 minutes for a class set, plus drying time.
Supplies
- Cardstock or construction paper cut into card size
- Washable paint (pink/red/purple)
- 1 stalk of celery
- Paper plate for paint
- Markers
How to make it
- Fold cardstock into simple cards or keep as flat postcards.
- Cut the celery so you have a clean, flat end. If your celery end looks more oval than heart-shaped, trim a small V-notch at the top center to create a clearer heart.
- Pour a little paint onto a plate.
- Dip the celery end and stamp hearts all over the front.
- Let dry fully (usually 10 to 20 minutes), then add a quick message like “You make my heart happy!”
Bulk tip: Make a “stamp station” and a separate “message station” so kids can rotate while paint dries.
2) Tape-resist watercolor hearts
Best for: Ages 5 to 9.
Why it beats the box: It looks fancy, but it is secretly just tape and paint. My kind of magic.
Time: About 30 to 45 minutes, plus drying time.
Supplies
- Watercolor paper or thick cardstock
- Painter’s tape or washi tape
- Watercolors and brush
- Black marker
How to make it
- Tape a heart outline on each card (or tape a big heart in the center).
- Paint over and around the tape with watercolors.
- Let it dry completely so it does not smudge (plan on 20 to 30 minutes).
- Peel tape to reveal crisp heart lines, then write a message.
Bulk tip: Pre-tape the hearts for younger kids. They can do the painting and feel like art geniuses.
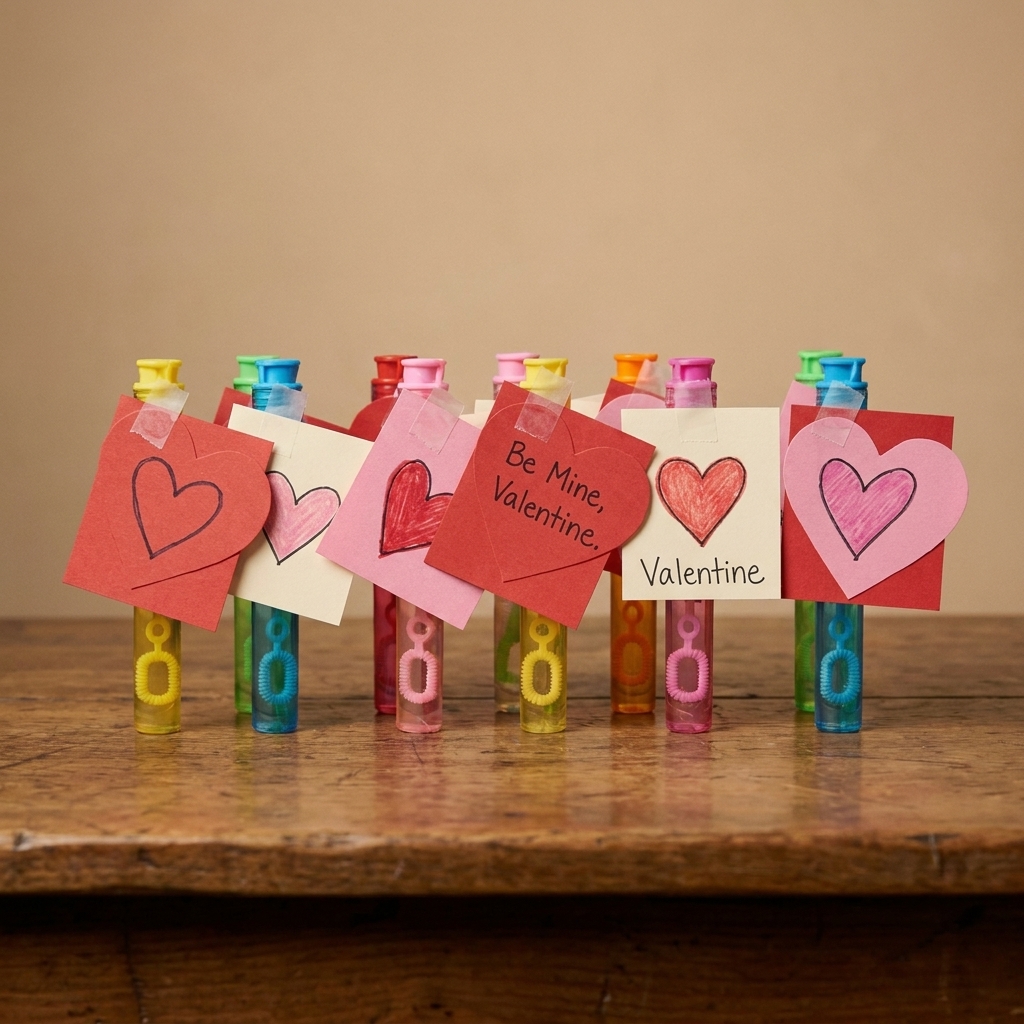
3) “You blow me away” bubble wands valentine
Best for: Ages 4 to 9.
Why it beats the box: It is basically one tag plus one item. Super quick, and kids love bubbles.
Time: About 15 to 25 minutes for a class set.
Supplies
- Mini bubble wands (party favor size)
- Cardstock
- Scissors
- Stapler or tape
- Marker
How to make it
- Before you commit to bubbles, double-check classroom rules. Some schools avoid liquids or anything that can leak.
- Cut cardstock into tags about the size of a juice box label.
- Write “You blow me away, Valentine!” and add “From” name.
- Staple or tape the tag to the bubble wand container.
Bulk tip: Make one tag “master,” then trace and cut a stack while kids decorate the fronts.
4) Button heart cards
Best for: Ages 6 to 10 (and great for classrooms).
Why it beats the box: It uses what you already have. If your junk drawer has buttons, you are basically holding valentine gold.
Time: About 30 to 60 minutes, plus full dry time.
Supplies
- Cardstock
- Buttons (red, pink, white, mixed colors)
- School glue or tacky glue
- Marker
How to make it
- Draw a heart outline on the front of each card.
- Fill the heart with buttons, gluing them down.
- Let dry flat for at least an hour before stacking. Overnight is even better if you are using heavier buttons.
- Write “You are one of a kind!” or “I like you a button!”
Troubleshooting: If buttons slide around, use less glue and let the card sit untouched for 10 minutes before moving it.
5) Paper chain heart valentines
Best for: Ages 3 to 8 (with age-appropriate cutting help).
Why it beats the box: It is quick, forgiving, and uses scraps. Also, it feels like making mini party decor.
Time: About 20 to 35 minutes.
Supplies
- Construction paper scraps
- Scissors
- Glue stick or tape
- Marker
How to make it
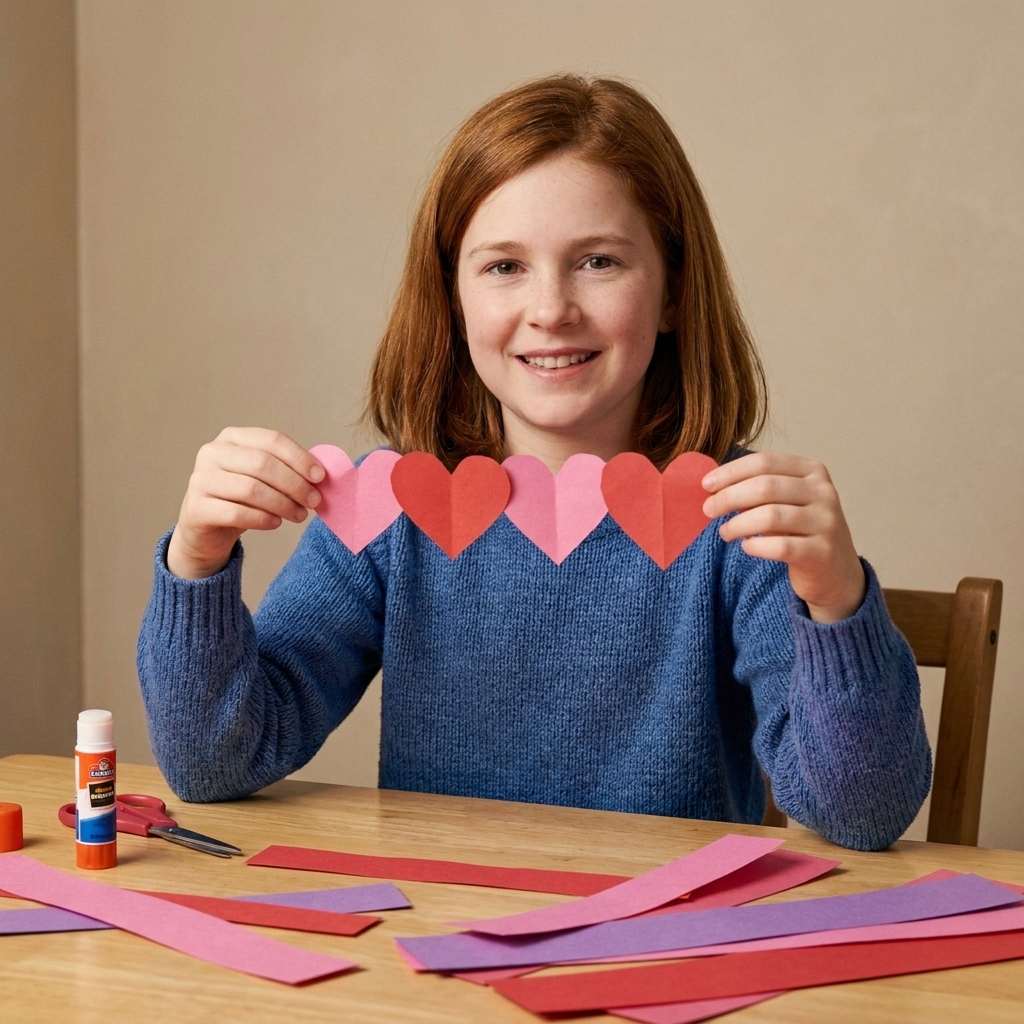
- Cut paper into strips (about 1 inch wide).
- Loop one strip into a heart by pinching the bottom point and bringing the top ends together.
- Glue or tape the ends, then write a name or message on the heart.
- Optional: Link hearts into a tiny chain, or keep each one as a single heart valentine.
Bulk tip: Pre-cut strips and put them in a bowl. Kids can assemble hearts while you handle the glue checkpoints.
Quick comparison
- Choose store-bought if you are in a time crunch, your kid is not feeling crafty, or you need a guaranteed no-mess plan.
- Choose DIY if you want a calmer, more meaningful activity at home, you are watching the budget (especially if you already have supplies), or your child loves making things to give away.
- Choose a hybrid if you want the easiest win: buy a simple pack of blank notecards and let kids decorate them with stamps, stickers, or markers.
And just in case you need to hear it: if your valentines have fingerprints, mismatched hearts, or a little too much glue, they are perfect. That is the real kid-made sparkle.
FAQ
How many valentines should I make for a class?
Most classrooms ask for one per student, plus a couple extras for the teacher, aides, or new friends. If you are unsure, making 2 to 4 extra saves stress.
What is the least messy DIY valentine?
The bubble wand tags and paper chain hearts are the cleanest. Stamping and watercolor are fun, but they do need a wipeable surface and a drying zone.
How far in advance can we make DIY valentines?
Paper-based valentines keep great for a week or more. For paint, watercolor, and glued-on items like buttons, make them early enough that everything can dry fully before you stack or bag them. If you are attaching bubbles or other favors, you can prep tags early and assemble the final week so nothing leaks, gets lost, or violates classroom rules.