Start with a leaf hunt, then try 12 simple autumn crafts for kindergarten. Easy supplies, realistic steps, and tips for preserving bright fall leaves.
Fall is basically nature handing us free craft supplies. If you have a kindergartener (or a whole gaggle of them), you already know the sweet spot: quick setup, simple steps, and a finished project before someone wanders off to investigate a suspicious-looking stick.
These 12 fall nature crafts are designed for 5- and 6-year-olds, using mostly leaves and twigs with a few easy add-ons you probably already have. And yes, I fully support the “process over perfection” approach. My house is held together by hot glue and washi tape, so no judgment here.
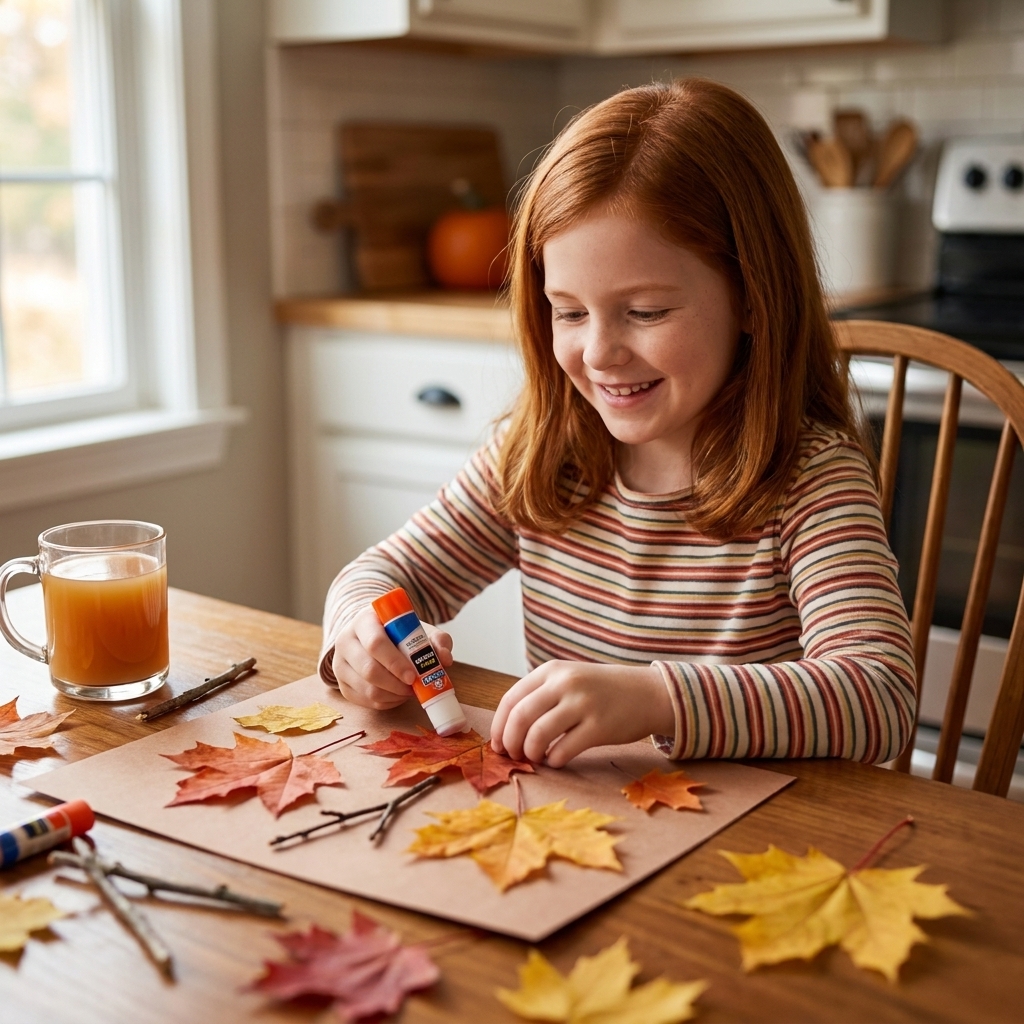
Quick collecting tips
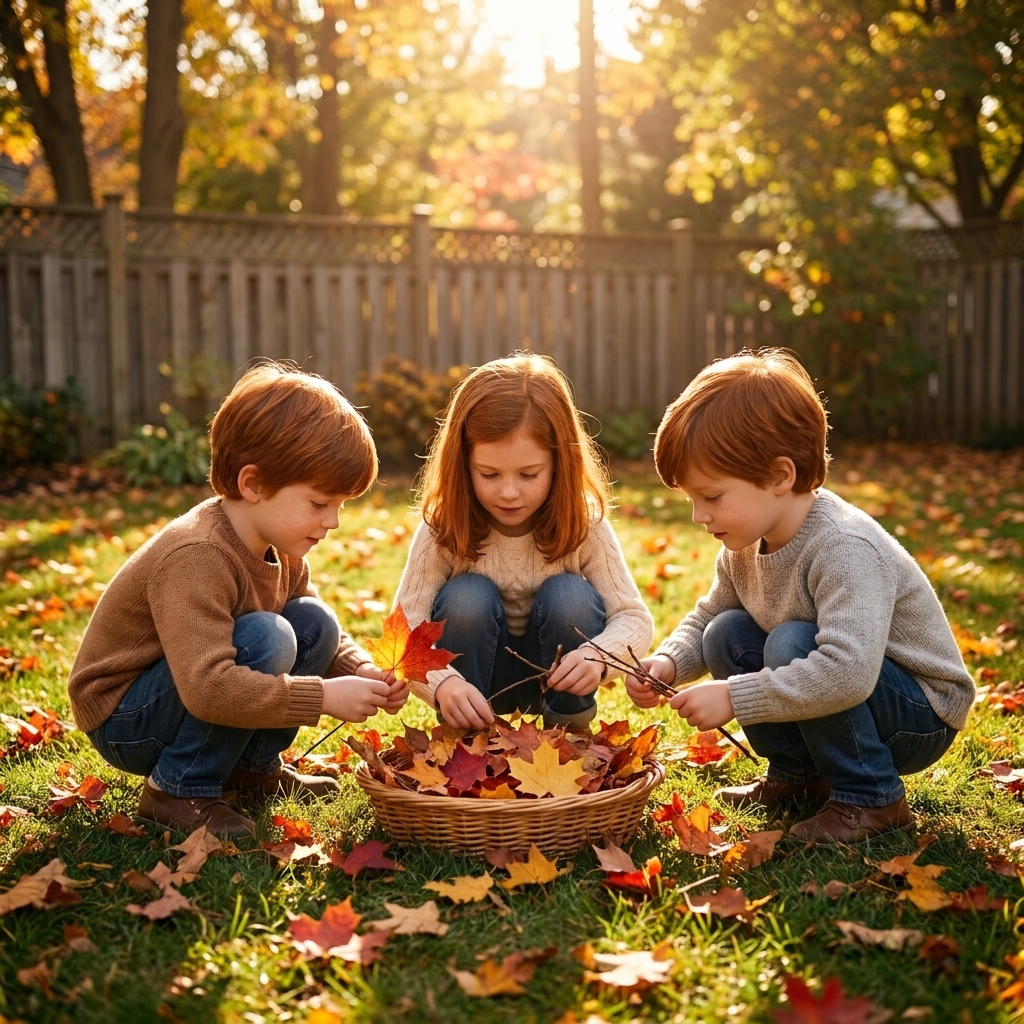
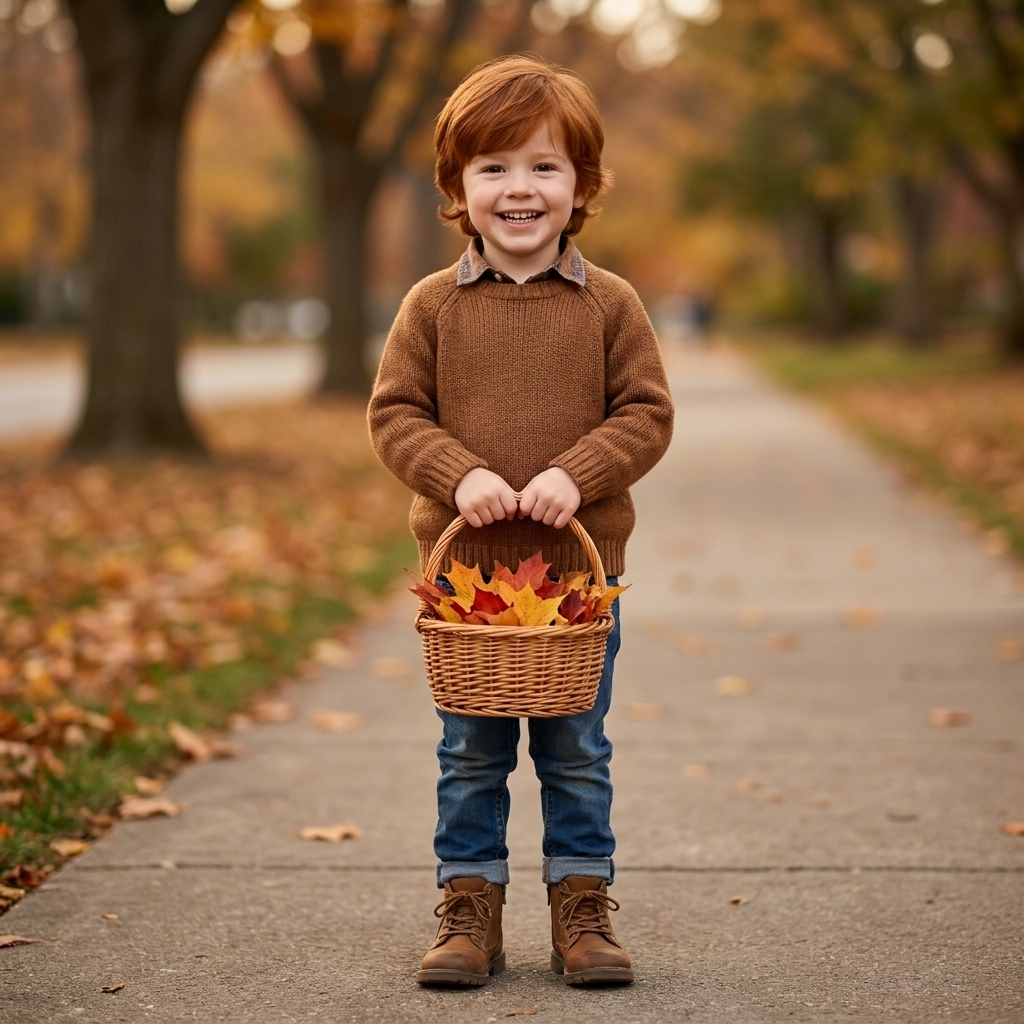
- Bring a bag and a rule: one small bag each, and we only take what’s already on the ground.
- Choose variety: a few big leaves, a handful of small leaves, thin twigs, and a couple of “treasure items” like acorn caps or pinecones.
- Leaf pressing shortcut: if leaves are a little curly, press them inside a heavy book for 30 to 60 minutes while you set up. If they are damp, sandwich them between scrap paper or coffee filters first, and plan on a longer press so you do not end up with a book that smells like a swamp.
- Best glue strategy for little hands: white school glue for paper, glue sticks for quick sticking, and an adult with hot glue for anything 3D.
12 easy fall nature crafts
1) Leaf rubbings
Why it works for kindergarteners: fast results, minimal frustration, and every leaf looks “right.”
You’ll need: paper, peeled crayons (or crayons on their side), a few flat leaves.
- Place a leaf under the paper, vein-side up if possible.
- Hold the paper still and rub crayon across the top.
- Try layering colors or rubbing multiple leaves on one page.
Kindergarten tip: tape the leaf to the table first so it does not scoot away mid-rub.
Time: 5 to 10 minutes. No drying time.
2) Leaf people
You’ll need: leaves, twigs, paper, glue, marker, optional googly eyes.
- Glue down one big leaf as the “body.”
- Add twigs for arms and legs.
- Use a marker to draw a face, or glue on googly eyes.
Extension: ask your child to name their leaf person and tell you what their “job” is. Kindergarten storytelling gold.
Time: 10 to 15 minutes. Light drying time.
3) Twig shapes and letters
You’ll need: small twigs, paper or cardboard, glue.
- Sort twigs by size.
- Create simple shapes first (triangle, square, rectangle).
- Try letters made of straight lines (A, E, F, H, K, L, T). If your child is feeling brave, add M and N, which are harder than they look.
Kindergarten tip: pre-snap or pre-cut a few twigs so kids can make corners without wrestling a branch. You can also draw the letter lightly in pencil first as a road map.
Time: 10 to 20 minutes. Moderate drying time.
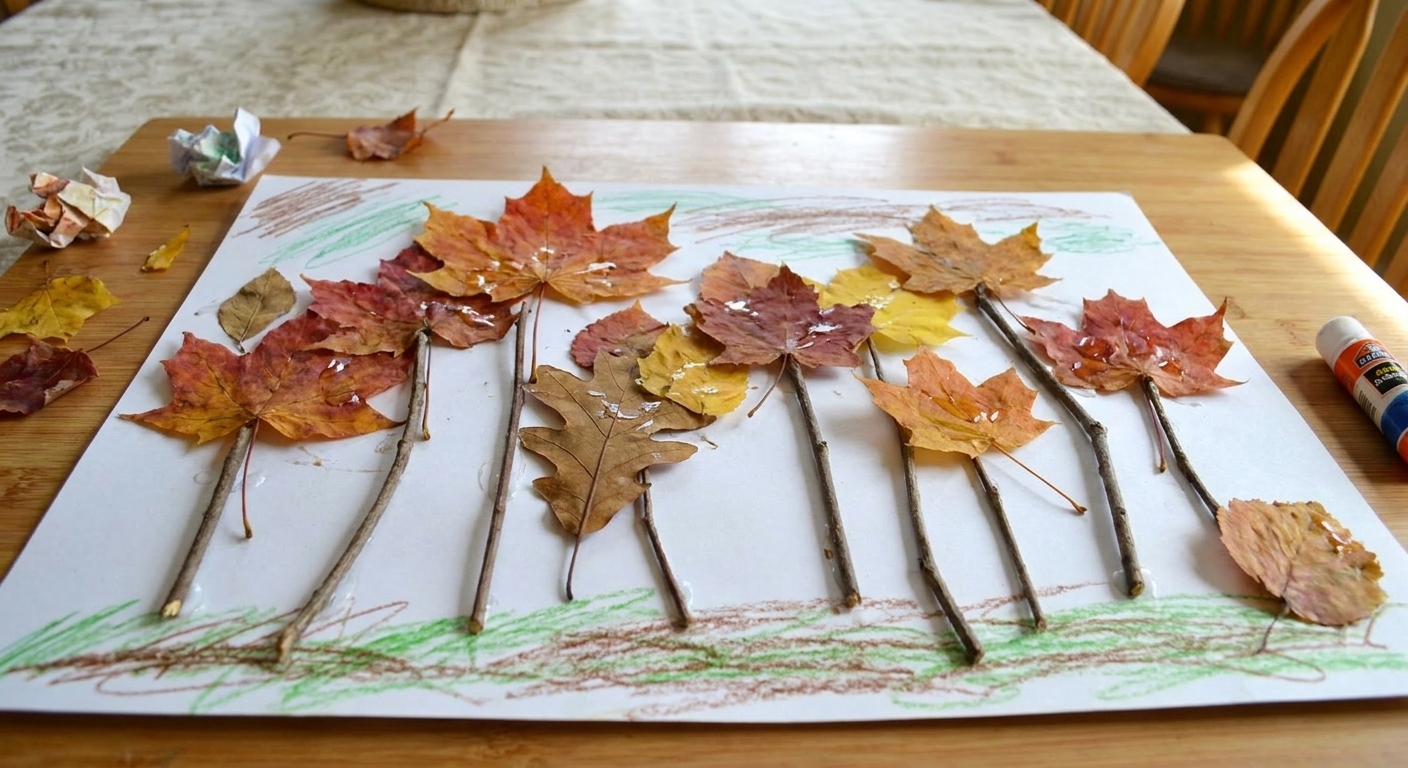
4) Leaf collage forest
You’ll need: paper, glue, assorted leaves, optional crayons or paint for background.
- Color or paint a quick sky and ground (2 minutes, truly).
- Glue leaves as trees, bushes, and forest floor.
- Add twigs as tree trunks or fallen branches.
5) Leaf crowns
You’ll need: a strip of cardstock or a paper bag cut into a strip, tape or stapler, leaves, glue.
- Fit the strip around your child’s head and tape or staple into a band.
- Glue leaves along the band like a crown.
- Let it dry for a few minutes before wearing.
My sanity tip: use a thin line of glue. Too much glue turns the crown into a slippery leaf slide.
Time: 10 to 15 minutes plus a few minutes to set.
6) Pretend insect hideout picture
You’ll need: paper, glue, small twigs, tiny leaves, optional hole punch and yarn for hanging.
- Glue a few twigs in a crisscross pattern like a little shelter.
- Add tiny leaves as roof shingles.
- Draw little bugs around it (ladybugs, ants, beetles).
Kindergarten win: you get art plus a gentle science chat about where bugs might hide in fall.
Time: 10 to 20 minutes. Moderate drying time.
7) Pinecone paint and roll
You’ll need: a pinecone, washable paint, paper, tray or baking sheet.
- Pour a little paint onto a tray.
- Roll the pinecone through paint.
- Roll it across paper to make textured patterns.
Cleanup tip: do this in a rimmed baking sheet. Contained mess is my love language.
Time: 10 minutes plus drying time.
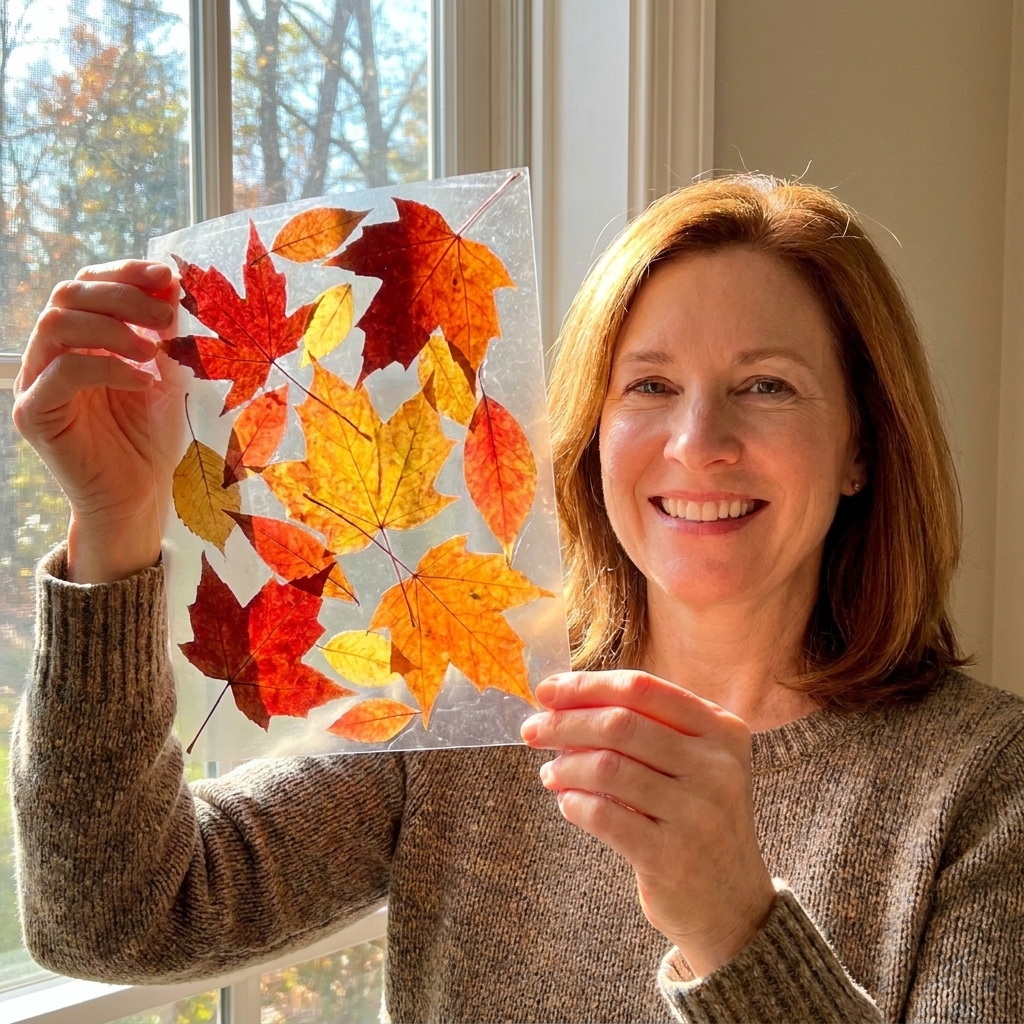
8) Leaf suncatcher
You’ll need: clear contact paper, tissue paper (optional), flat leaves, scissors.
- Cut a piece of contact paper and place sticky-side up.
- Arrange leaves (and a few tissue paper bits if you want extra color).
- Seal with a second piece of contact paper.
- Trim edges and tape to a window.
9) Acorn cap mosaics
You’ll need: acorn caps, paper or cardboard, glue, marker.
- Draw a simple shape outline (heart, pumpkin, letter of their name).
- Glue acorn caps inside the outline like a mosaic.
- Let dry, then color the background if desired.
Kindergarten tip: set a timer for 10 minutes and call it done. These are surprisingly absorbing.
Time: 10 to 20 minutes. Drying time needed.
10) Simple weaving on cardboard
You’ll need: a piece of cardboard, scissors, yarn or string, paper strips or ribbon, plus a few thin leaves and twigs for decorating.
- Cut small notches along the top and bottom of the cardboard.
- Wrap yarn up and down to create simple warp strings (adult setup helps).
- Weave paper strips or ribbon through the strings for an easier win, then tuck in a leaf or two as accents.
Keep it simple: kinder weaving is “over-under-ish.” If it turns into “over-over-under,” it is still weaving.
Time: 15 to 25 minutes. No drying time.
11) Leaf garland
You’ll need: twine or yarn, tape, optional hole punch, leaves.
- Press leaves briefly if they are curled.
- Easiest method: tape the leaf stems to the yarn with small pieces of tape.
- If you use a hole punch: reinforce the spot with a small piece of tape first, then punch through the tape and leaf together to help prevent tearing.
- Hang and admire your very seasonal decorating skills.
Time: 10 to 20 minutes. No drying time.
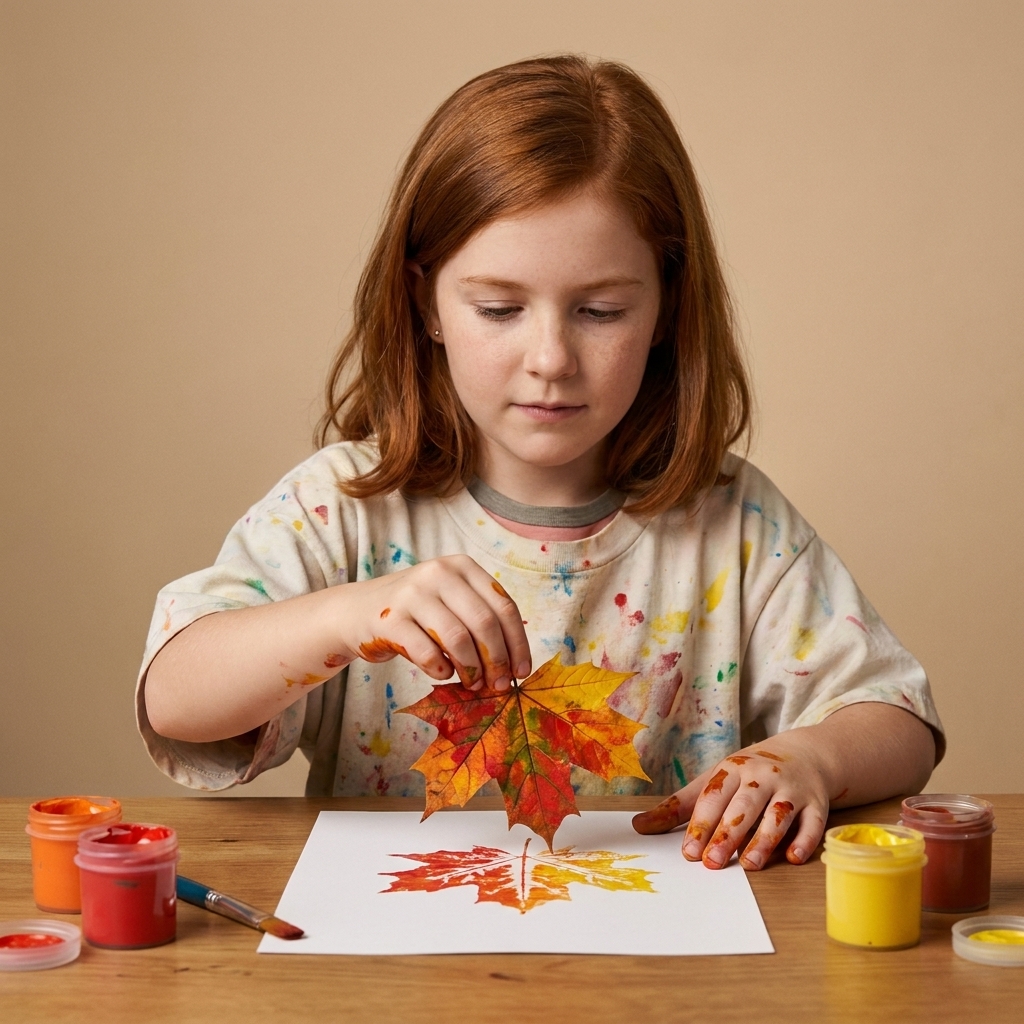
12) Nature prints
You’ll need: washable paint, paintbrush or sponge, leaves, twigs, paper.
- Brush paint onto the bumpy side of a leaf.
- Press onto paper and lift to reveal the print.
- Dip twig ends into paint to make dots, berries, or raindrops.
Kindergarten tip: use just 2 to 3 paint colors. Too many options can turn into decision fatigue fast at this age.
Time: 10 to 15 minutes plus drying time.
Easy setup tray
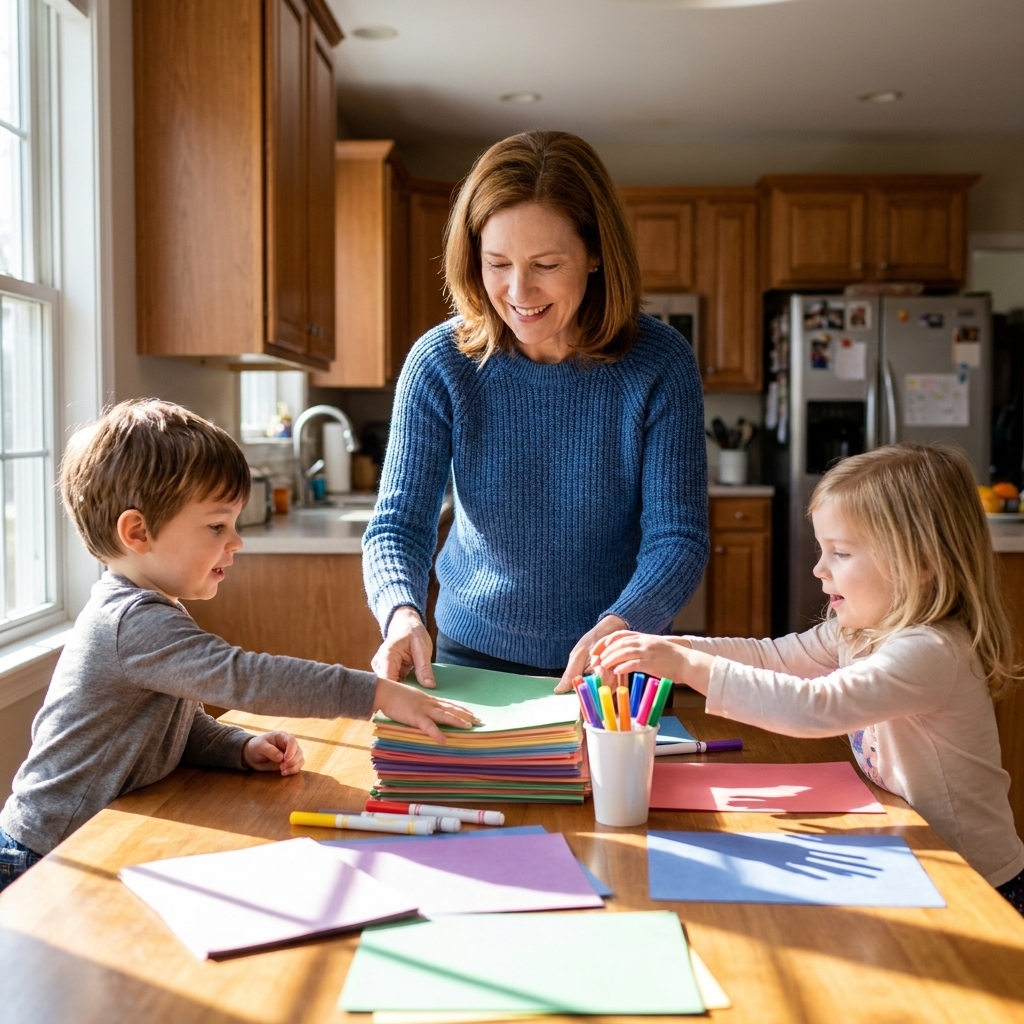
If you want this to feel calm instead of chaotic, set up a one tray per child system.
- 1 sheet of paper or cardboard
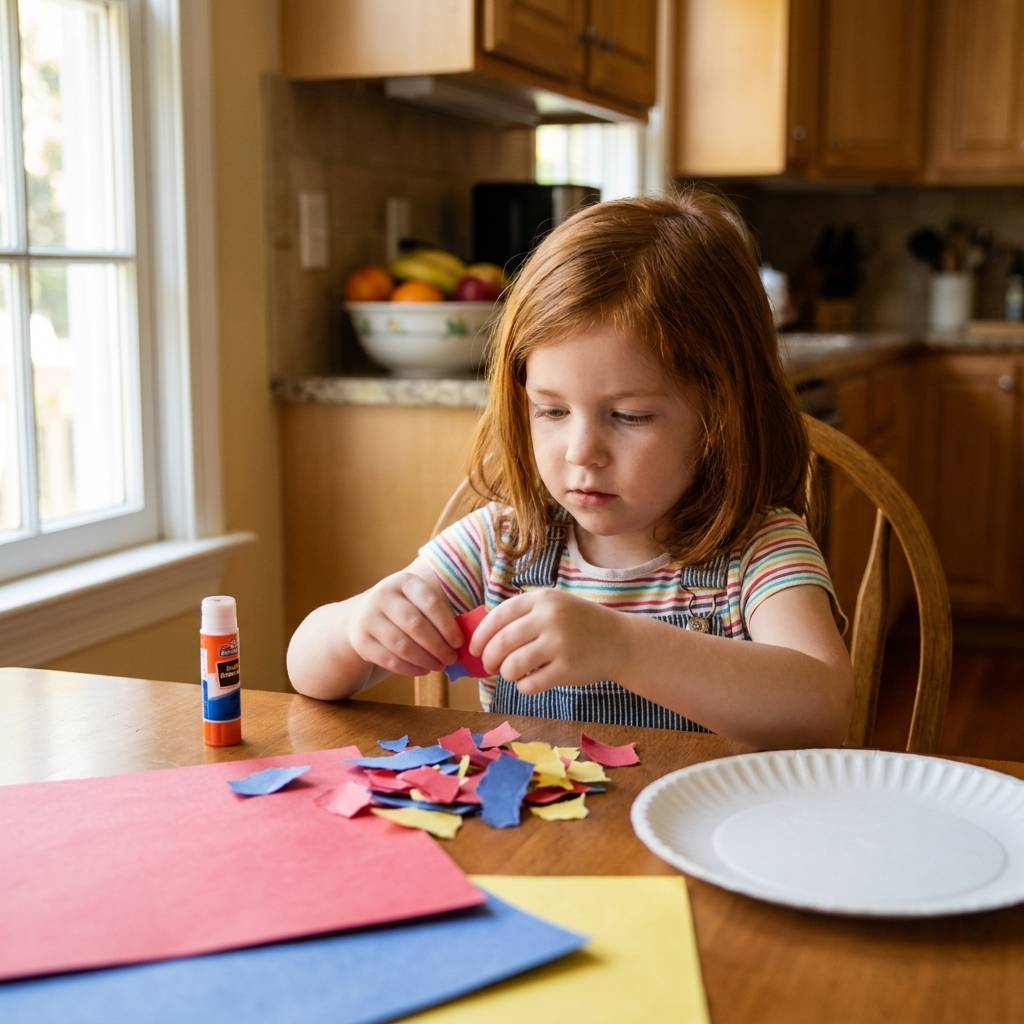
- 1 glue option (glue stick or white glue)
- 1 crayon or marker set
- Small pile of leaves and twigs (already chosen)
- Baby wipes or a damp washcloth
Optional but magical: a cafeteria tray or baking sheet under everything. It keeps nature bits from migrating across the entire table and into someone’s sock.
Classroom-friendly swaps: no contact paper? Use clear packing tape in strips to “laminate” a suncatcher. No cardstock for crowns? Paper grocery bags work great, and painter’s tape is surprisingly helpful for quick fixes.
Safety notes
- Wash hands after collecting and avoid unknown plants. If you are not sure what it is, skip it.
- Watch for common irritants: poison ivy, poison oak, and poison sumac are frequent fall troublemakers in many regions. If your area has them, do a quick refresher before you head out.
- Check for critters in pinecones and leaf piles. A quick shake outside works wonders.
- Use adult-only hot glue for any craft that needs sturdy 3D sticking.
- Watch small items like acorns and caps around younger siblings.
FAQ
How do you keep leaves from getting crunchy and breaking?
For the crafts above, lightly pressing leaves in a book helps. If you need them to stay flexible longer, use them the same day you collect them and avoid very dry, brittle leaves. If leaves are damp, press them between scrap paper and give them more time so they flatten without soaking your pages.
What if it’s raining and we cannot collect nature items?
No problem. Use what you have: a few saved leaves from a previous walk, pinecones from a bin, or even grocery store eucalyptus or small branches (trimmed by an adult). You can also do leaf rubbings with any flat leaf you can find.
What’s the best fall craft for a classroom of kindergarteners?
Leaf rubbings, leaf collages, and leaf crowns are my top picks for groups. They are forgiving, fast, and easy to adapt for different skill levels. If you need something that can go home immediately with minimal mess, garlands and rubbings are the low-drama MVPs.