Mess-friendly paper cutting crafts that strengthen little hands fast. Includes safety setup, troubleshooting, and 12 fun scissor skill activities.
If my house ever gets declared a historic landmark, it will be because of two things: hot glue and washi tape. And honestly, paper scraps. Lots and lots of paper scraps.
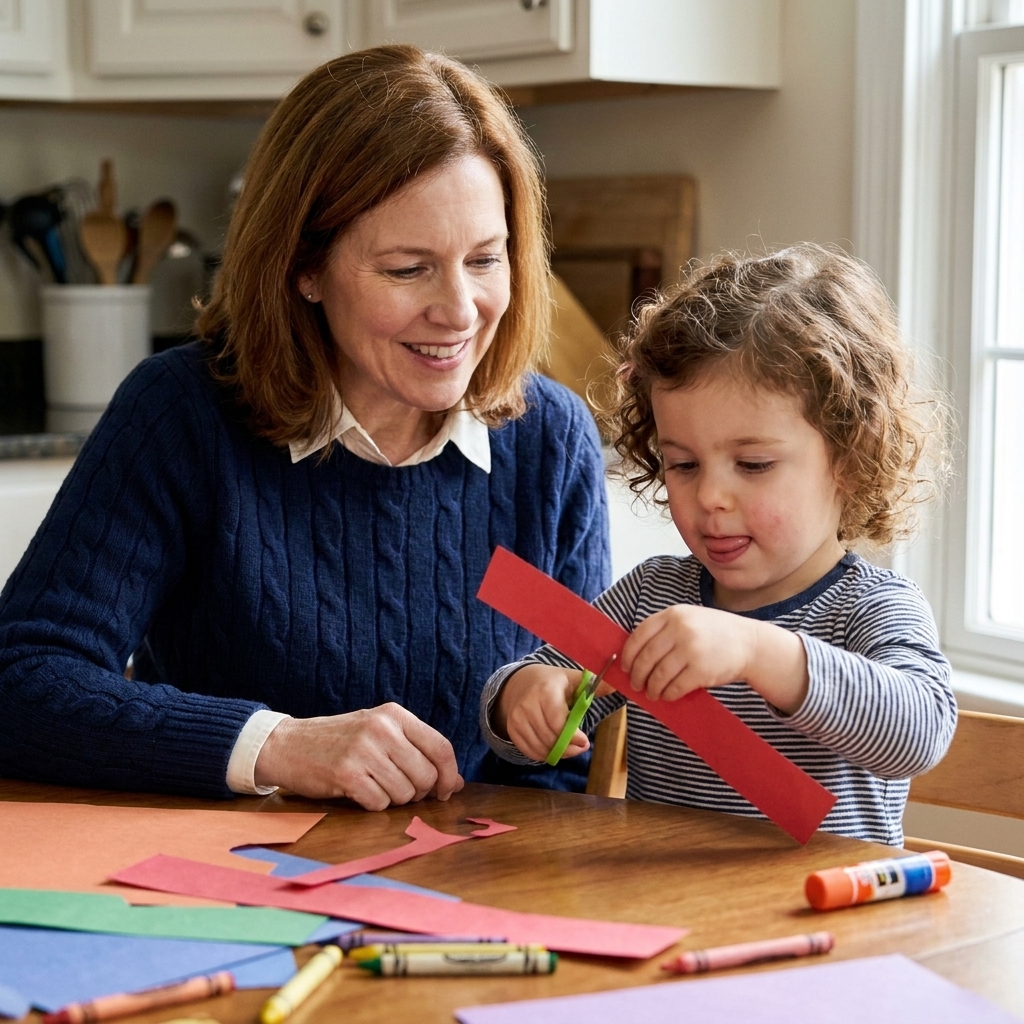
Paper crafts are my favorite kind of fine motor practice for preschoolers because they are low-cost, low-pressure, and ridiculously effective. Tearing, pinching, folding, and squeezing glue help build the small muscles kids use for pencil control, scissors skills, buttons, zippers, and all those big-kid tasks that sneak up fast.
Below you will find my tried-and-true paper activities for ages 3 to 5, with simple steps, easy swaps for different ages, and my best teacher-mom tips for keeping the process joyful (not Pinterest-perfect).
What is fine motor?
Fine motor skills are the small movements made by the muscles in the hands and fingers, working together with the eyes. In preschool, we are aiming for strength, control, and coordination.
- Strength: the ability to pinch, squeeze, and press (hello, glue bottle).
- Dexterity: moving fingers separately and precisely (picking up tiny paper bits).
- Bilateral coordination: using both hands together (one hand holds, the other tears).
- Hand-eye coordination: putting pieces where the brain wants them to go.
Paper is sneaky like that. It feels like play, but it is a full hand workout.
Quick setup
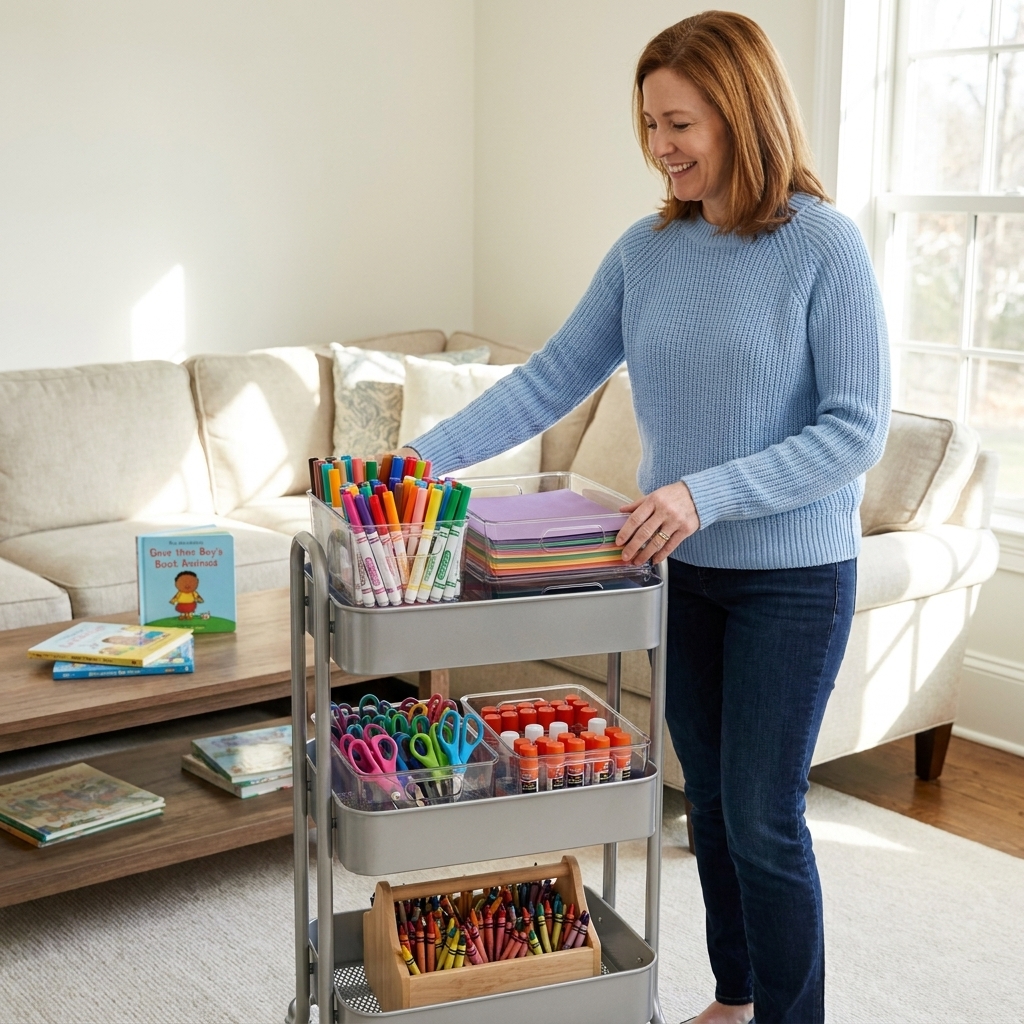
My favorite materials
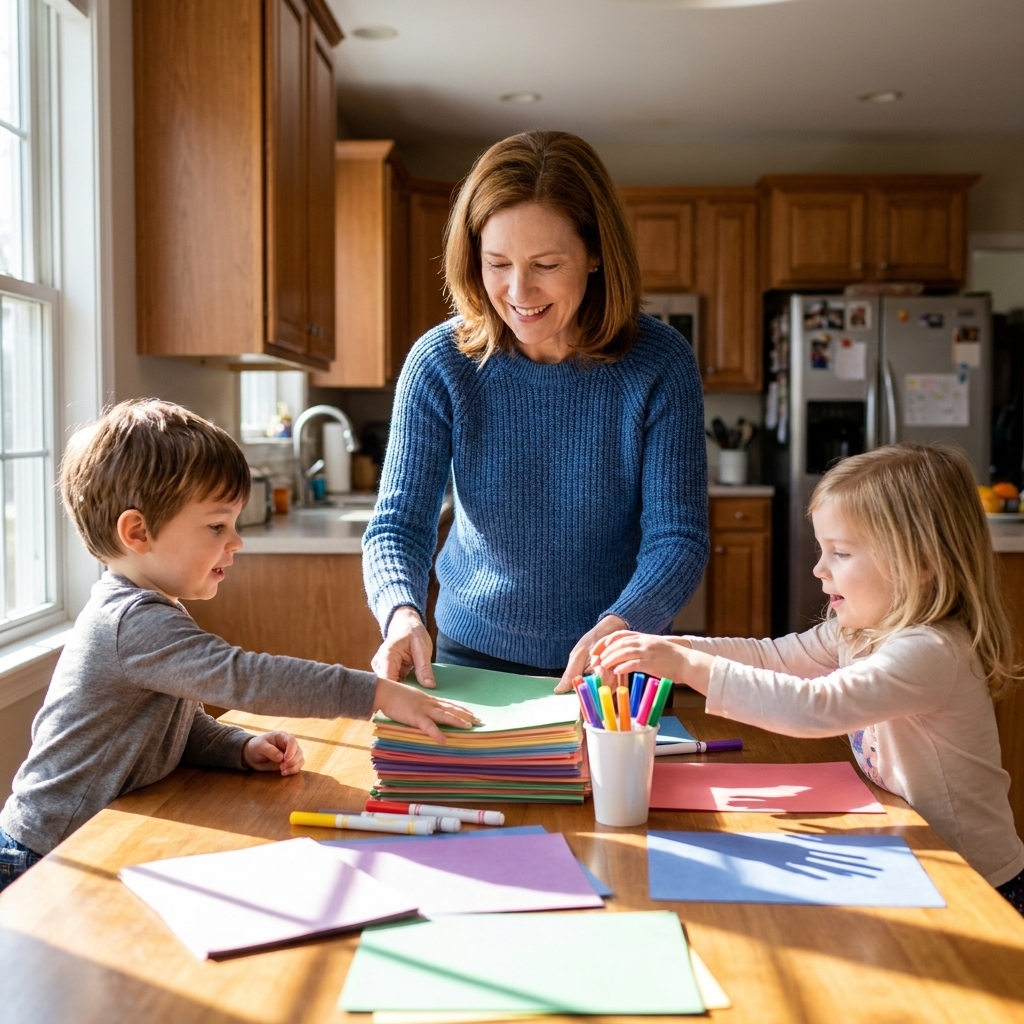
- Construction paper, printer paper, junk mail, old magazines
- Glue sticks and/or white school glue
- Washable markers or crayons
- Paper plates or a shallow tray (for “tiny pieces” crafts)
- Optional: hole punch, stickers, washi tape, cotton swabs
Two sanity-saving tricks
- Paper tray rule: tearing happens over a tray or plate. It keeps bits contained and makes cleanup fast.
- One glue option at a time: glue stick for beginners, liquid glue for kids ready for more control.
Materials that can frustrate kids: super stiff cardstock can be hard for younger 3-year-olds to tear, and very glossy magazine pages sometimes need extra glue to stick well.
Safety note: Preschoolers still explore with their mouths sometimes. Paper bits, tape, and small stickers can be a choking risk. Use non-toxic supplies, supervise closely, and skip tiny pieces with kids who still mouth objects.
My “scrap bin” tip: Keep a small box or zip-top bag for paper scraps. When you have two spare minutes, tear a little stash into “ready-to-go” pieces so crafting feels doable on a regular Tuesday.
Paper tearing
Tearing is gold for strengthening little hands. It also teaches kids to stabilize with one hand while the other hand does the work.
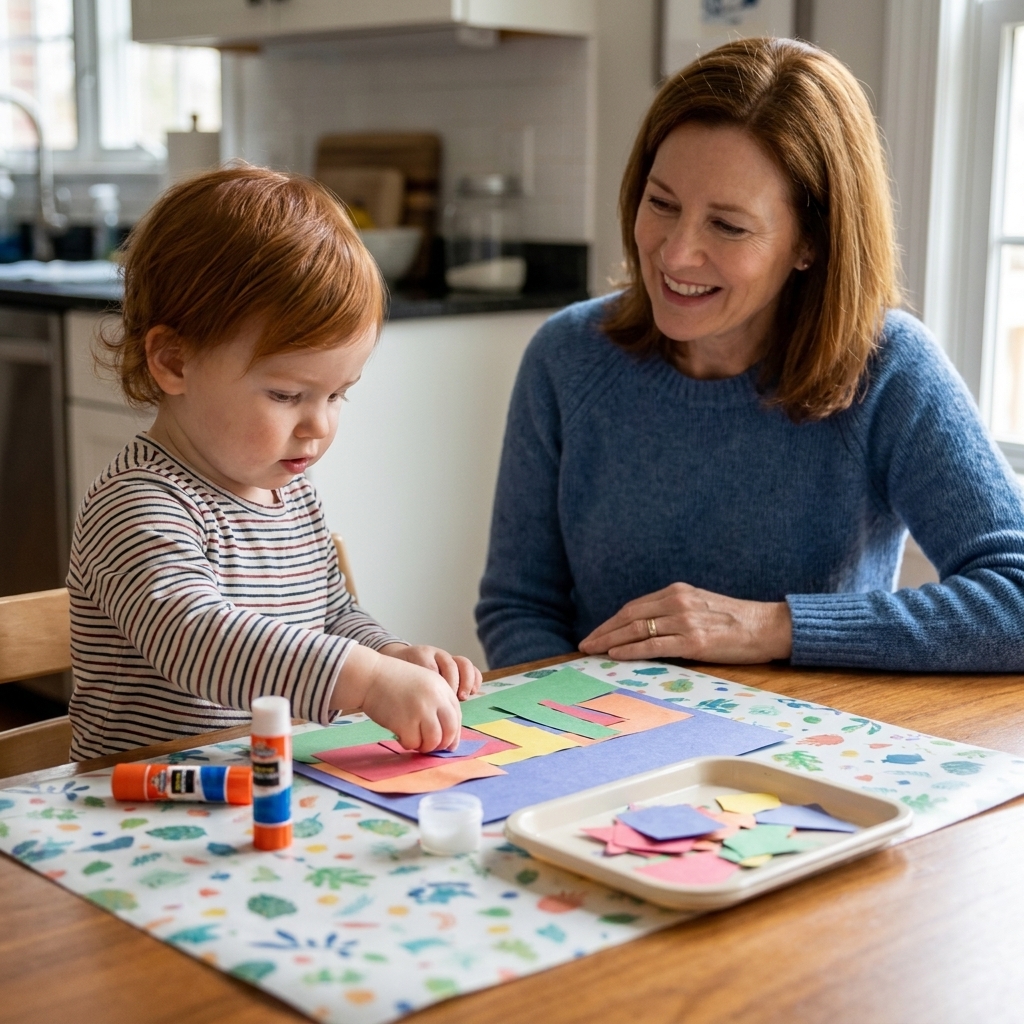
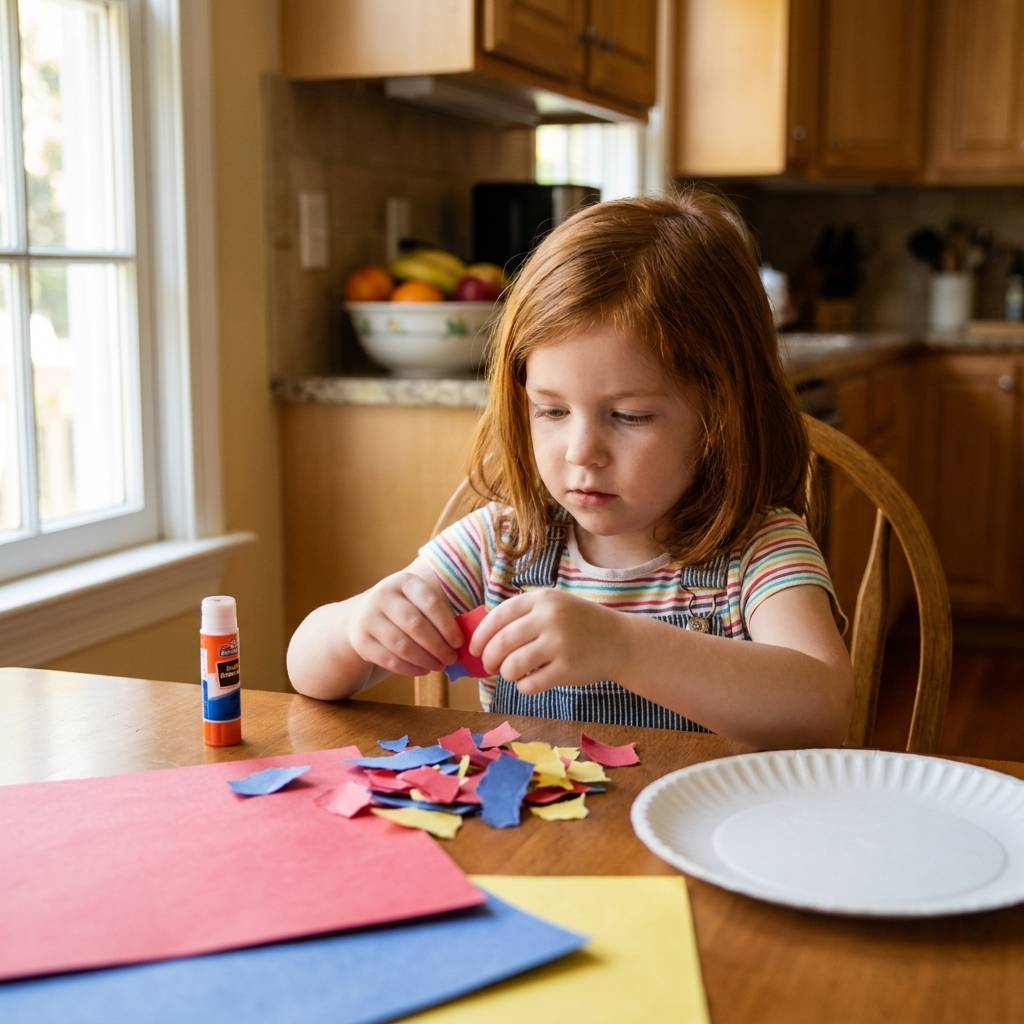
1) Tear-and-paste color collages
Ages: 3 to 5 (beginner-friendly)
Supplies: construction paper, glue stick, a base page (white paper or a paper plate)
- Pick a theme: “all blue,” “rainbow,” “ocean,” “dinosaurs,” anything your child loves.
- Tear paper into pieces. For 3-year-olds, bigger pieces are perfect. For 5-year-olds, invite smaller “confetti” tears.
- Glue the base using a glue stick.
- Press pieces down. Encourage “tap-tap-tap” with fingertips to help pieces stick and to build fingertip strength.
Teacher tip: If pieces curl, flip them over and rub firmly with fingertips. That pressing motion is part of the fine motor win.
2) Paper “confetti” sprinkle art
Ages: 4 to 5 (or a closely supervised, not-mouthy 3-year-old)
Supplies: scrap paper, liquid glue, cotton swab or paintbrush
- Tear paper into tiny pieces over a tray.
- Draw a simple shape on the base page (heart, star, pumpkin).
- Paint glue inside the shape with a cotton swab.
- Pinch and sprinkle paper bits onto the glue.
- Press gently with fingertips to secure.
Skill boost: That thumb-and-index pinch supports the pincer grasp, which later helps with pencil control and other “tiny tool” skills.
3) Tear-a-sticker rescue
Ages: 3 to 5 (high engagement)
Supplies: stickers, paper scraps, glue stick
- Stick a few stickers on the base page.
- Tell your child the stickers are “stuck in a paper storm.”
- Tear paper scraps and glue them around the stickers like a frame or “hide-and-seek” scene.
Why it works: Some kids resist open-ended art, but will happily complete a “mission.”
Folding
Folding asks for careful alignment, pressing, and control. It is also a wonderful patience-builder, in a gentle, preschool-friendly way.
4) Fold-and-press road maps
Ages: 3 to 5
Supplies: one sheet of paper, crayons or markers
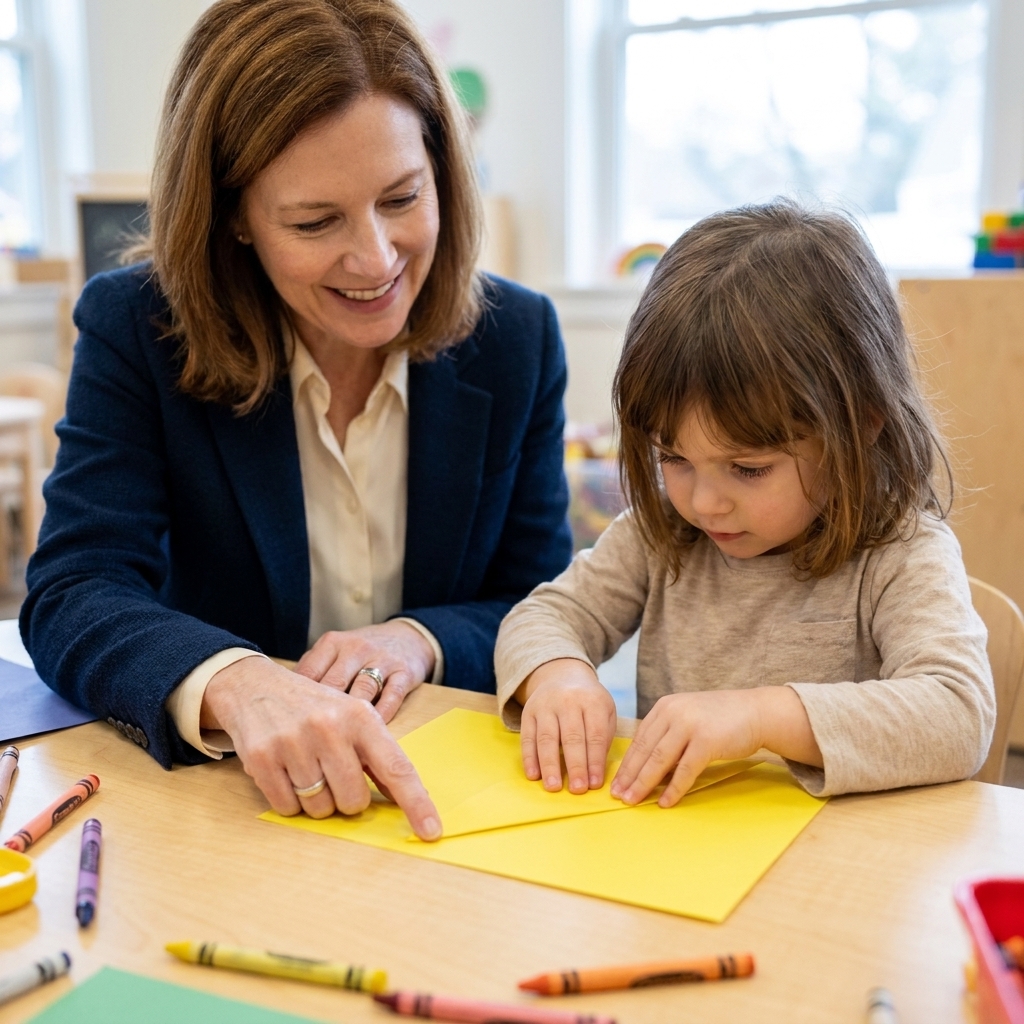
- Fold the paper in half. Help align edges.
- Press the crease using a finger “iron” (index finger slides along the fold).
- Unfold and draw roads along the crease lines. Add houses, trees, and parking spots.
- Drive small cars along the roads.
Fine motor bonus: Crease-pressing can help build hand strength and control, and drawing on lines builds precision.
5) Mini paper fans
Ages: 4 to 5
Supplies: paper strips (about 2 inches wide), optional stickers
- Decorate the strip (stickers are excellent finger practice).
- Fold accordion-style: fold forward, flip, fold back, repeat.
- Pinch the bottom and tape it with one small piece of tape or washi tape.
If folding is hard: Pre-crease the first two folds and let your child continue the pattern.
6) Folded snack pockets
Ages: 3 to 5
Supplies: paper squares, glue stick, small paper “snacks” (drawn circles, triangles)
- Fold a square into a triangle.
- Glue along two edges, leaving the top open like a pocket.
- Slide in tiny paper snacks with a pincer grasp.
Play idea: Open a paper “snack shop” for stuffed animals.
Gluing
Glue is one of my favorite OT-inspired preschool tools. Occupational therapists often use similar hands-on tasks to build strength and control. At home or in the classroom, we are aiming for controlled squeezing and purposeful placement, not the whole bottle dumped at once (we have all been there).
Glue stick vs liquid glue
- Glue sticks: best for beginners and big pieces. Less frustration.
- Liquid school glue: best for dotting, lines, and more precise control for older preschoolers.
7) Dot-glue line following
Ages: 4 to 5
Supplies: liquid glue, paper scraps, marker
- Draw a simple path on paper: straight lines, zigzags, or a spiral.
- Have your child place glue dots on the line, one dot at a time.
- Stick small paper squares onto each dot.
Make it easier: Use a thick marker line and bigger paper squares.
8) Paper mosaic pictures
Ages: 4 to 5
Supplies: pre-cut or torn squares, glue stick or liquid glue, base page
- Draw a simple picture outline (fish, flower, rainbow).
- Fill it with paper squares like tiles.
- Encourage your child to rotate pieces to fit (that twisting motion can help build finger strength and coordination).
Low-prep version: Rip up junk mail into squares and call it “treasure tiles.”
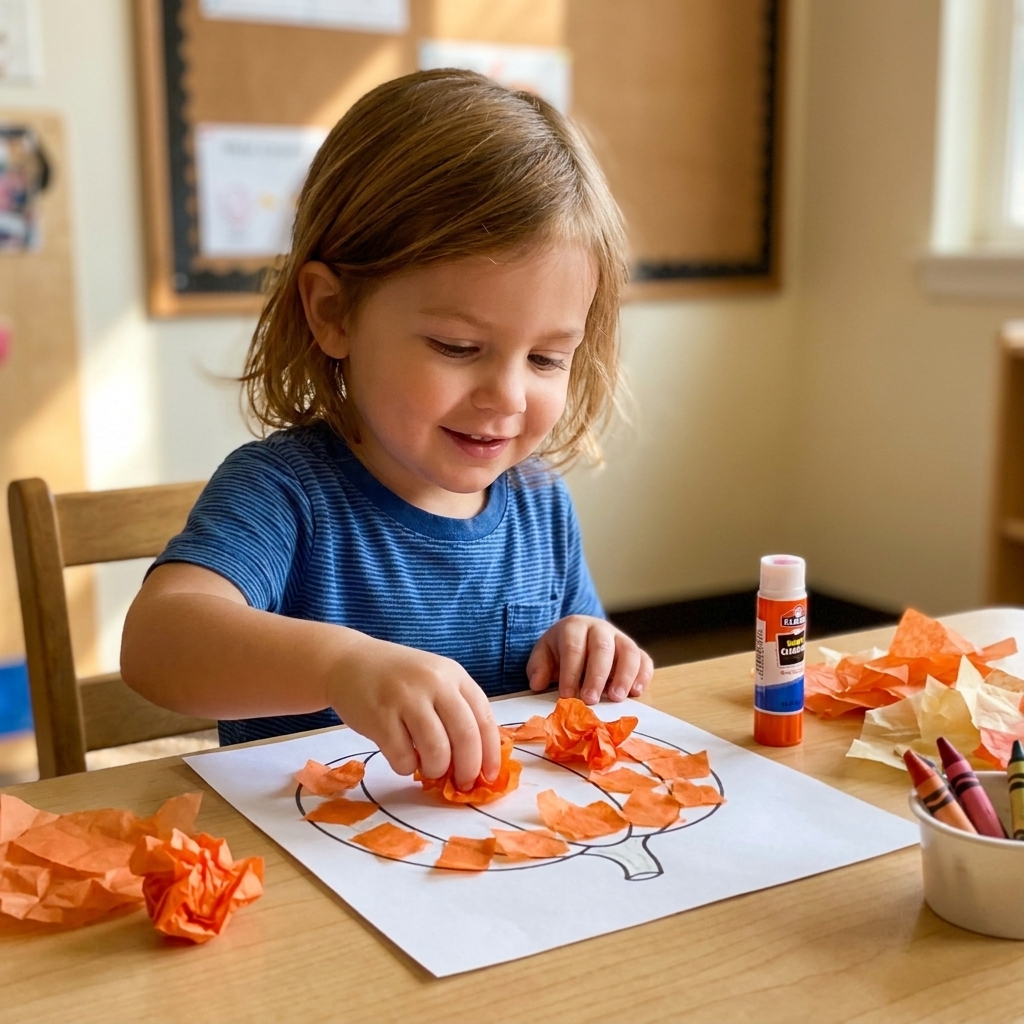
9) Glue-and-scrunch tissue paper flowers
Ages: 3 to 5
Supplies: tissue paper squares, glue, a drawn flower outline
- Draw a flower with a big center circle.
- Put glue in the center.
- Pinch the middle of a tissue square and scrunch it into a little puff.
- Repeat to fill the flower.
Why I love it: Scrunching is a fantastic strength builder, especially for kids whose hands tire easily.
Keep it fresh
Make any paper craft a fine motor boost
- Use a hole punch for “paper confetti” (adult holds paper, child punches).
- Add stickers (peeling backings is serious finger work, and a good moment for supervision).
- Try glue with a cotton swab for controlled application.
- Use tweezers to pick up tiny paper squares (best for older 4s and 5s).
- Build in midline reaching: place materials slightly across your child’s body midline (not just “to the side”) so they naturally reach across to grab pieces.
Seasonal ideas
If your kids are anything like mine, adding a holiday or season theme instantly boosts buy-in.
Spring: Tear-and-paste rain clouds
- Tear gray paper for clouds, blue paper for raindrops.
- Glue raindrops in a vertical line pattern for extra control.
Summer: Folded paper sailboats
- Fold a rectangle into a simple sail shape.
- Glue onto blue paper “water” made from torn strips.
Fall: Tissue scrunch pumpkins
- Scrunch orange tissue into a pumpkin outline.
- Add torn green paper for the stem and leaves.
Winter: Paper strip snowflakes
- Glue paper strips into loops and stack them into a snowflake shape.
- Great for squeezing and placement without tricky cutting.
Adjust by age
Age 3
- Use bigger paper pieces and shorter steps.
- Offer glue sticks first.
- Model tearing slowly: “Hold, pinch, pull.”
- Aim for 5 to 10 minutes of crafting time.
Age 4
- Introduce smaller tears and simple folding patterns.
- Try glue dots with supervision.
- Encourage matching: “Find another red piece.”
Age 5
- Challenge with tiny mosaics and line-following glue dots.
- Add tools: tweezers, hole punch, mini stapler with help.
- Invite planning: “What will you build with these scraps?”
What to expect
Uneven tears, crooked folds, and “how did the glue get there?” moments are all completely normal. Preschool is practice, not performance.
Also, hand dominance is still developing for many kids at this age. You might see them switch hands mid-craft. That is typical. Focus on comfort and participation, and let consistency come with time.
Common struggles
“My child can’t tear paper.”
Start with thinner paper like junk mail or printer paper. Show the “pinch with two thumbs” trick: thumbs together near the edge, then pull apart. If frustration rises, pre-tear a small starter slit.
“Glue is everywhere.”
Use a glue stick for a week or two, then reintroduce liquid glue with a clear rule: “Small dots, not puddles.” I sometimes put a tiny puddle of glue on a paper plate and have kids dab it with a cotton swab.
“Pieces won’t stick.”
More pressure, not more glue. Teach the “press and count to three” trick. Also, if paper is glossy (magazines), a bit of extra glue helps.
“They lose interest fast.”
That is normal. Preschool attention spans are short. Stop while it is still fun. You can always come back later and add more pieces.
Learning boosts
- Colors: “Can you find three green pieces?”
- Counting: “Let’s glue five raindrops.”
- Shapes: tear triangles, fold rectangles, make circles from scrunched tissue.
- Early writing: glue along a child’s name written in thick marker.
FAQ
Are paper crafts good for fine motor skills?
Yes. Tearing can help build hand strength, folding supports precision and coordination, and gluing builds control through squeezing and pressing.
What are the best fine motor activities for 3-year-olds?
Big tear-and-paste collages, tissue paper scrunch art, and simple one-fold projects work beautifully. Keep steps short and use glue sticks.
How long should a preschool craft take?
For ages 3 to 5, 5 to 20 minutes is typical depending on the child and the day. Short and happy beats long and stressful every time.
Do I need special paper?
Nope. Construction paper is great, but junk mail, old wrapping paper, and magazine pages can be perfect. My favorite supply is whatever is already in the recycling bin.
A reminder
If your child’s collage looks like a tornado visited a glue factory, you are doing it right. These paper crafts are about building confident hands, not perfect crafts. Save one favorite piece for the memory box, recycle the rest, and celebrate the fact that you just helped your preschooler get stronger, steadier, and a little more ready for the next big kid skill.