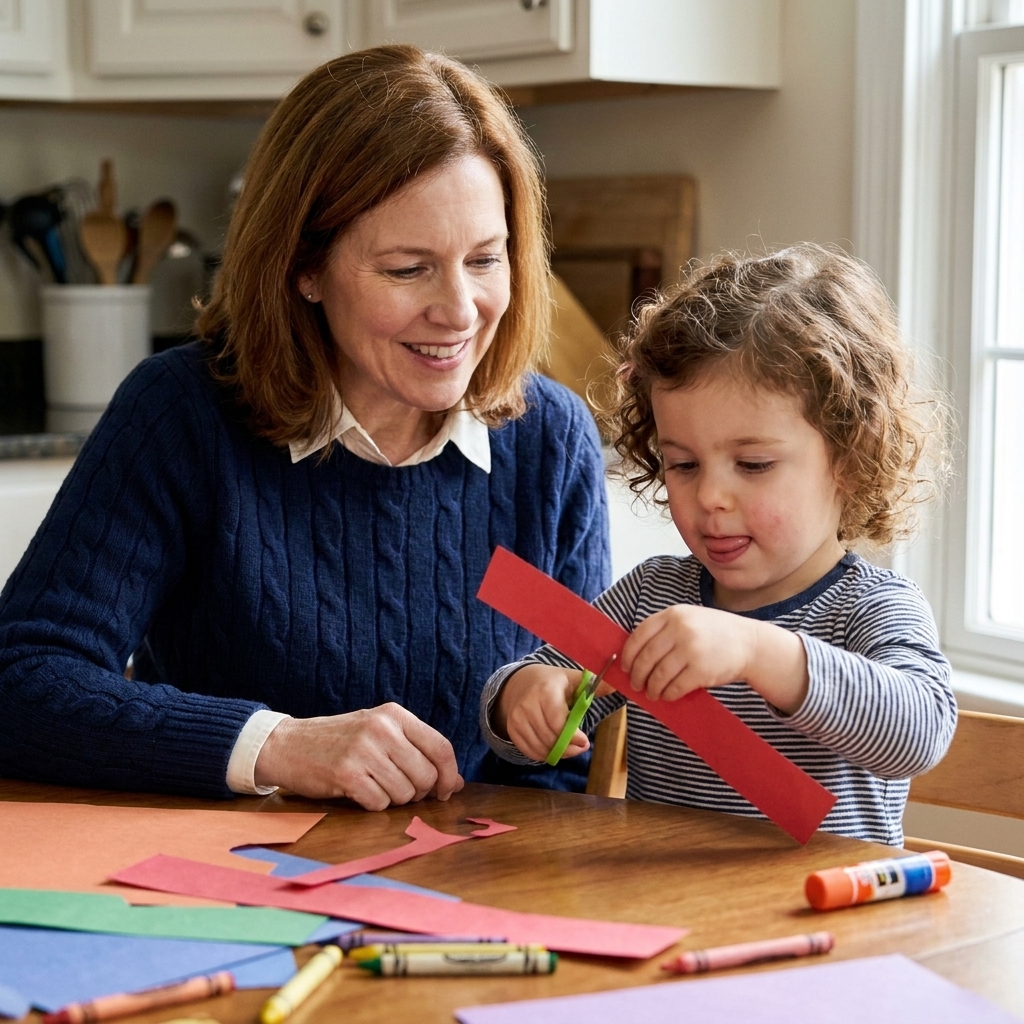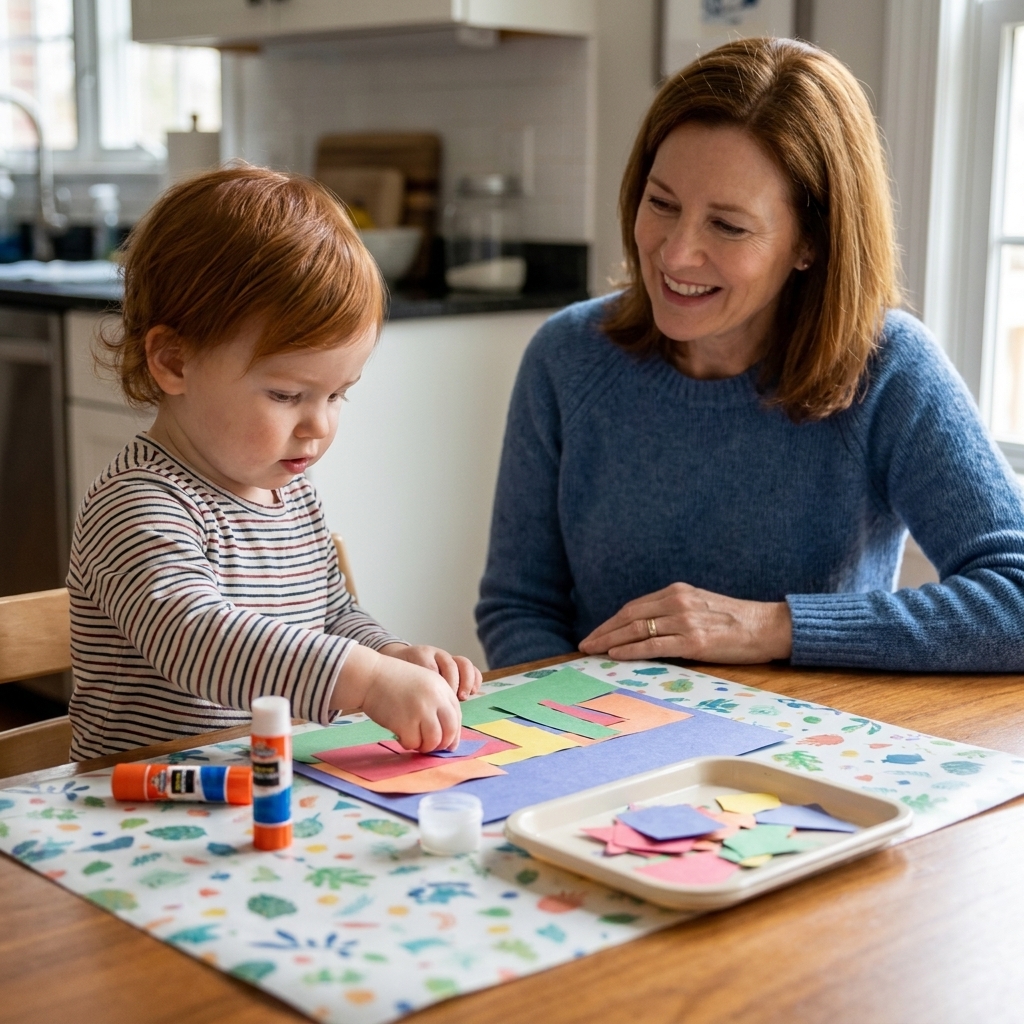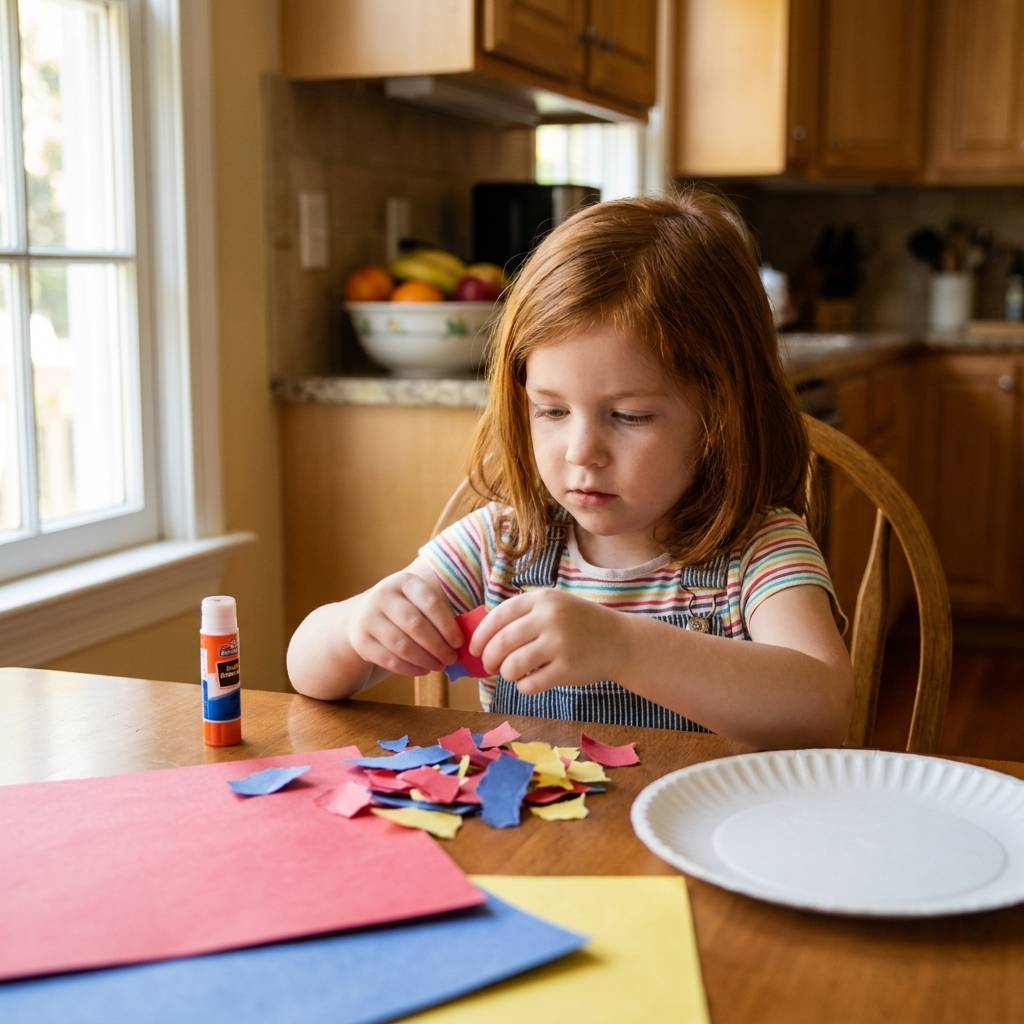
Step-by-step paper tearing, folding, and gluing activities for 3- to 5-year-olds that strengthen little hands and boost early learning.
Confession from my kitchen table: paper plates are basically my secret crafting superpower. They are cheap, sturdy, and forgiving when little hands are still learning scissors and glue control. Below are 20 easy paper plate animal crafts you can make with preschoolers and kindergarteners using basic supplies you probably already have.
Basic supplies (use what you have)
You do not need a Pinterest-perfect cart of materials. This list covers almost every animal below.
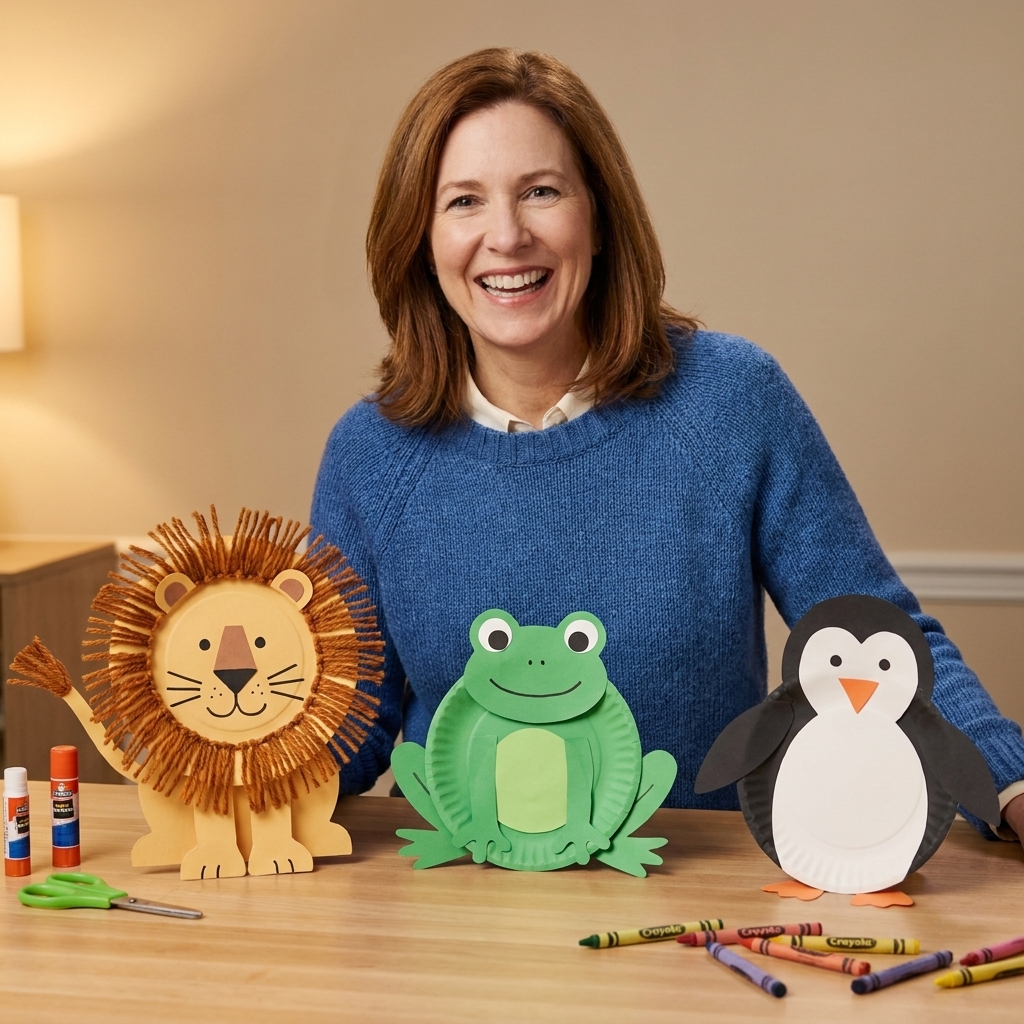
- Paper plates (9-inch works great, but any size is fine)
- Glue stick or white school glue
- Child-safe scissors
- Markers, crayons, or paint
- Construction paper or cardstock scraps
- Googly eyes (optional) or draw-on eyes
- Tape or stapler (helpful for quick assembly)
- Pipe cleaners, yarn, cupcake liners, coffee filters (optional fun add-ons)
Real-life setup tip: Cover your table with newspaper or a wipeable tablecloth, and keep wet paper towels or baby wipes nearby.
My sanity-saving tip: Put out one plate at a time. When kids can see the whole stack, suddenly everyone needs twelve plates right now for reasons.
Quick timing note: Most of these take about 10 to 20 minutes, plus drying time if you paint. If you need a same-day, take-home craft, markers and crayons are your best friends.
Quick prep
- Pre-cut option: For ages 3 to 4, pre-cut small pieces (ears, beaks, fins). Let them do the gluing and decorating.
- Draw-first option: For ages 5 to 6, draw simple shapes on paper scraps and let them cut on the lines.
- Big-kid bonus: For ages 7 to 8, challenge them to add habitats (pond, jungle, ocean) on a second plate as a backdrop.
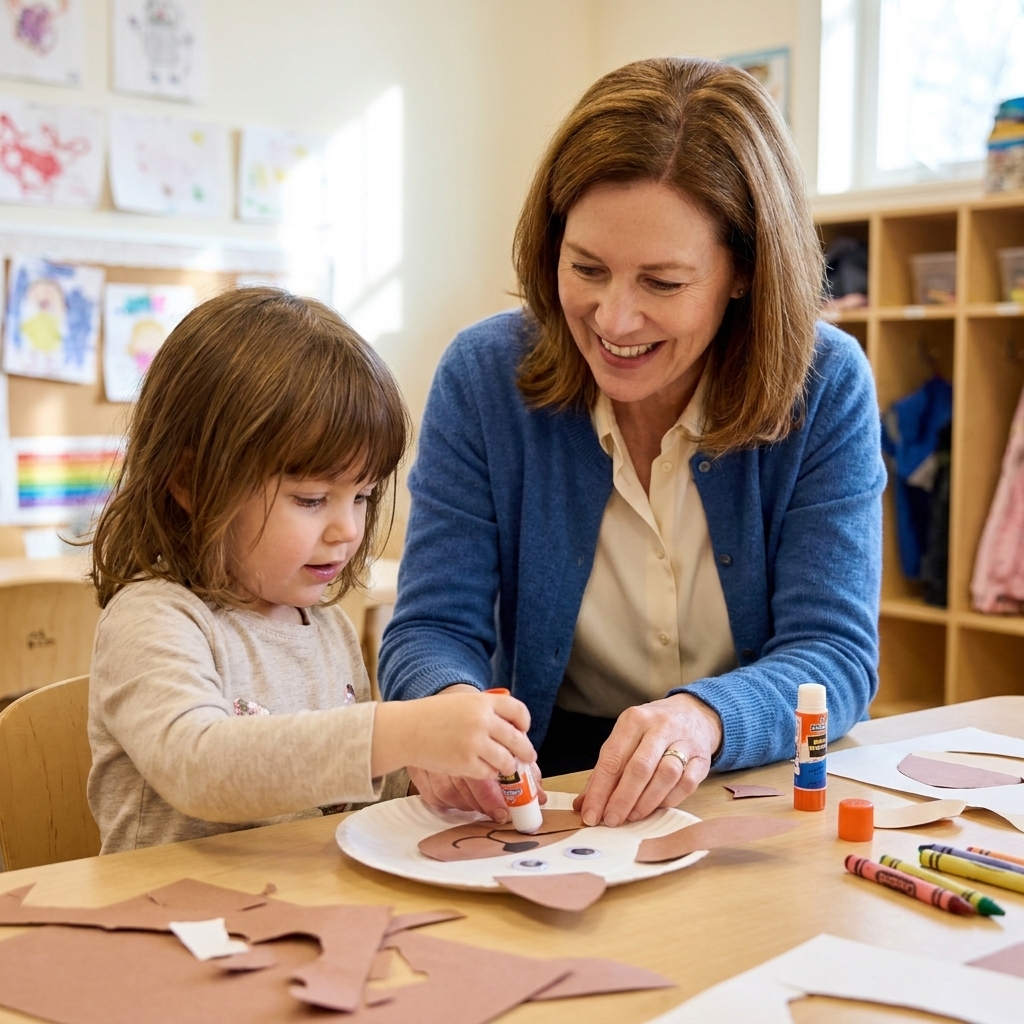
20 easy paper plate animal crafts
1) Lion
Supplies: paper plate, yellow or tan paint/crayons, orange or brown construction paper, glue, scissors.
Steps:
- Color or paint the plate yellow/tan.
- Cut a mane: fringe strips from orange/brown paper (or use torn paper for a sensory-friendly version).
- Glue the mane around the edge of the plate.
- Add eyes, a triangle nose, and whiskers (drawn or thin paper strips).
2) Elephant
Supplies: paper plate, gray paint/marker, gray paper scraps, glue, scissors.
Steps:
- Color the plate gray.
- Cut two big ears (think rounded “C” shapes) and glue to the sides.
- Cut a long trunk strip, curl the end around a marker, and glue to the center.
- Add eyes and two little white tusks if you want.
3) Giraffe
Supplies: paper plate, yellow/orange paper or paint, brown marker, glue, scissors.
Steps:
- Color the plate yellow.
- Use a brown marker to add spots.
- Cut two small horns (ossicones) and two ears, then glue to the top edge.
- Add a cute little muzzle area with a lighter paper oval.
4) Zebra
Supplies: paper plate, black marker or black paper, glue, scissors.
Steps:
- Leave the plate white (or color it white).
- Add black stripes with marker, or glue on thin black paper strips.
- Cut triangle ears and a black nose oval.
- Add a short mane using fringed black paper along the top.
5) Monkey
Supplies: paper plate, brown paper, tan paper, glue, scissors, marker.
Steps:
- Cover or color the plate brown.
- Cut a tan oval for the face area and glue in the center.
- Add two round ears on the sides.
- Draw a smile and nostrils, or add a little paper mouth.
6) Panda
Supplies: paper plate, black paper, glue, scissors, marker.
Steps:
- Leave the plate white.
- Cut two black ear circles and glue at the top.
- Cut two black eye patches (oval-ish) and glue around where the eyes go.
- Add a small black nose and draw a tiny mouth.
7) Polar bear
Supplies: paper plate, white paint (optional), cotton balls (optional), glue, scissors, black marker.
Steps:
- Leave the plate white or paint it white for extra brightness.
- Glue on small white ears (paper or felt).
- Add a black nose and eyes.
- Optional: glue cotton balls around the edge for fluffy fur.
8) Fox
Supplies: paper plate, orange paper/paint, white paper, glue, scissors, black marker.
Steps:
- Color the plate orange.
- Cut two triangle ears (orange) and two smaller inner ear triangles (white).
- Cut a white chest/cheek shape (a big rounded “W”) and glue to the bottom half.
- Add a small black nose and eyes.
9) Owl
Supplies: paper plate, brown paper or paint, cupcake liners or paper circles, glue, scissors.
Steps:
- Color the plate brown (or any owl color your child insists is correct).
- Glue two cupcake liners or paper circles for big eyes.
- Add a small triangle beak in the middle.
- Optional: layer paper “feathers” (small ovals) across the belly.
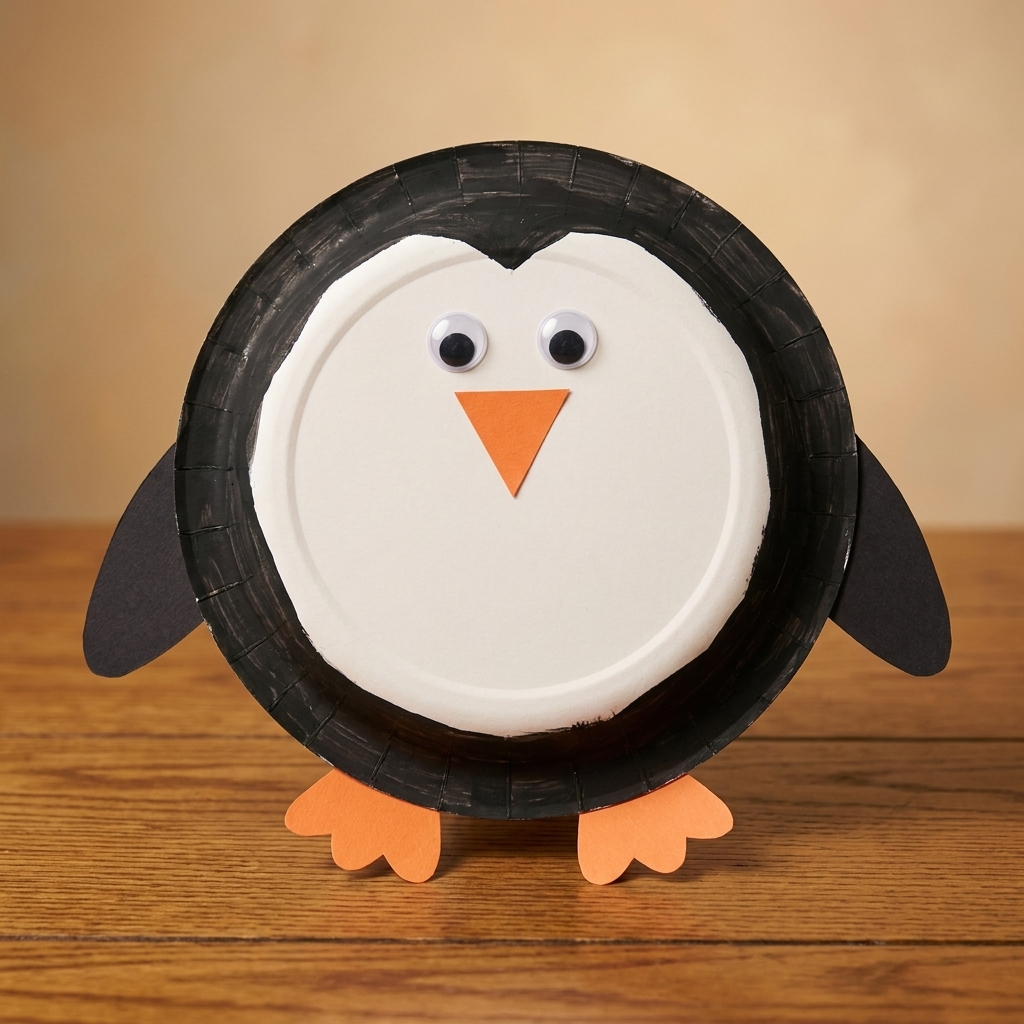
10) Penguin
Supplies: paper plate, black paper or paint, white paper, orange paper, glue, scissors.
Steps:
- Cover the outer plate area with black (paint or paper).
- Glue a large white oval belly in the center.
- Add an orange beak and feet.
- Optional: add flippers with black paper on the sides.
11) Frog
Supplies: paper plate, green paint/marker, green paper, glue, scissors, marker.
Steps:
- Color the plate green.
- Make eye bumps: fold two small green strips and glue them at the top so they pop up.
- Glue circles on top for eyes (or draw them).
- Add a wide smile and an optional red tongue strip.
12) Ladybug
Supplies: paper plate, red and black paint/paper, glue, scissors.
Steps:
- Paint the plate red.
- Cut a black half-circle head and glue at the top.
- Add black spots with paper circles, or fingerprints using paint.
- Optional: add pipe cleaner antennae behind the head.
13) Bee
Supplies: paper plate, yellow paint/marker, black paper/marker, white paper wings, glue, scissors.
Steps:
- Paint or color the plate yellow and add black stripes.
- Cut two white wings and glue to the back or sides.
- Add eyes and a smile.
- Optional: add black pipe cleaner antennae.
14) Butterfly
Supplies: two paper plates, markers/paint, glue, scissors, pipe cleaner.
Steps:
- Cut one plate in half for wings (two halves).
- Decorate wings with markers, paint, or stickers.
- Make a butterfly body from a paper strip (or a toilet paper tube if you have one).
- Glue wings to the body and add pipe cleaner antennae.
15) Turtle
Supplies: paper plate, green paper, marker, glue, scissors.
Steps:
- Color the plate green or brown for a shell.
- Draw simple shell patterns (hexagons, swirls, lines).
- Cut a head, four legs, and a tail from green paper.
- Glue pieces peeking out from under the plate edge.
16) Fish
Supplies: paper plate, scissors, paint/markers, glue.
Steps:
- Cut a triangle out of the plate edge.
- Flip the triangle around so the point faces outward, then glue it back on as the tail fin.
- Decorate with scales (markers, tissue paper squares, or sequins).
- Add an eye and a little mouth.
17) Octopus
Supplies: paper plate, paint/markers, paper strips or curled ribbon, glue, scissors.
Steps:
- Paint or color the plate a fun octopus color.
- Cut eight paper strips for tentacles and curl with a pencil.
- Glue tentacles to the back, along the bottom edge of the plate.
- Add big eyes and optional suction cups using paper dots.
18) Shark
Supplies: paper plate, gray paper/paint, white paper triangles, glue, scissors, marker.
Steps:
- Cut the plate in half and use one half as the shark body.
- Color it gray.
- Use the straight cut edge as the mouth: glue white triangle teeth all along that straight edge.
- Add a dorsal fin triangle on top and an eye.
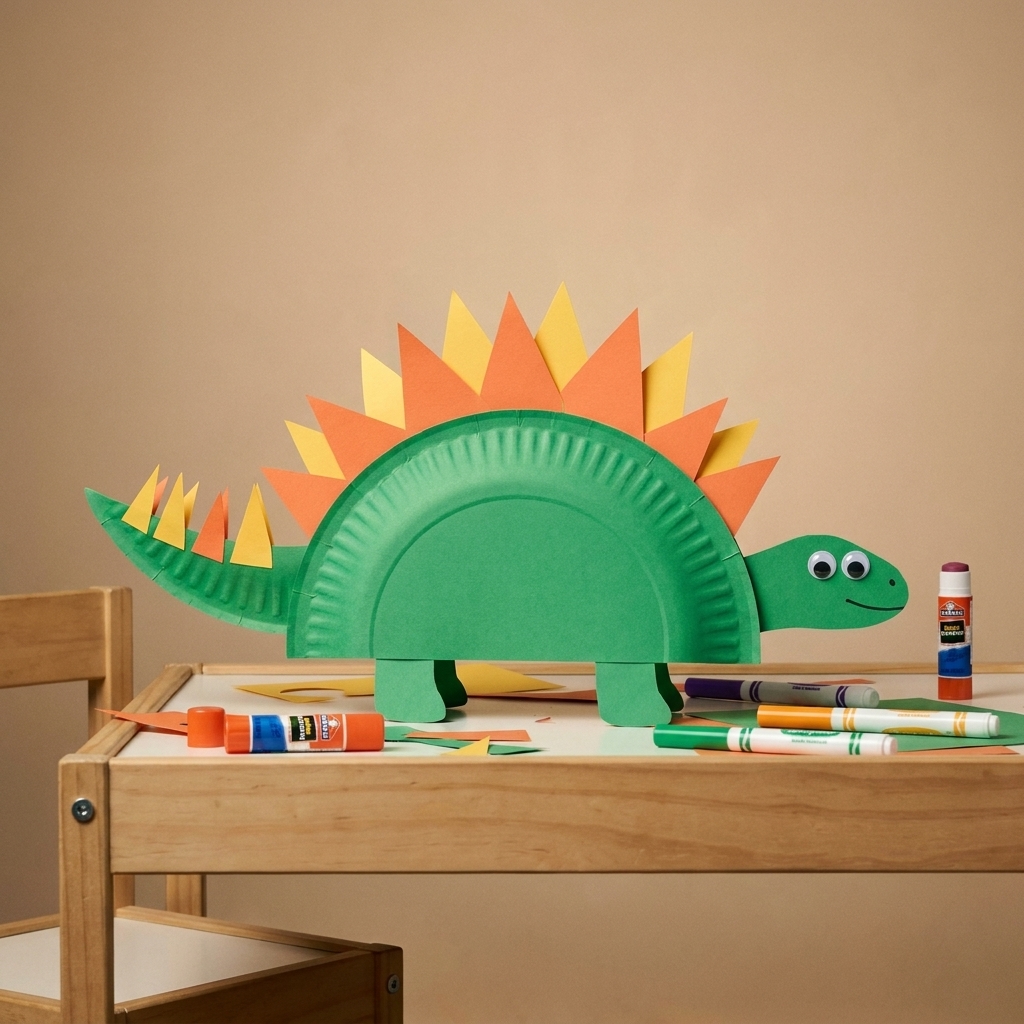
19) Dinosaur (Stegosaurus)
Supplies: paper plate, green paint/marker, paper triangles or rounded shapes, glue, scissors, marker.
Steps:
- Use a full plate as the dinosaur body and color it green.
- Cut triangles or rounded shapes from paper for the back plates.
- Glue the back plates along the top edge.
- Add a head and tail from paper scraps, plus a silly dino smile.
20) Ram or sheep
Supplies: paper plate, cotton balls, black paper, glue, scissors, marker.
Steps:
- Stretch glue over the plate and cover with cotton balls for fluffy wool.
- Cut a face shape from black paper (oval) and glue in the center.
- Add ears and eyes.
- For a ram: curl paper strips for horns and glue near the top of the face.
Low-mess tips
- Use glue sticks for most steps. Save white glue for cotton balls and heavier pieces.
- Try “one color at a time” with paint. Put out one paint color, paint, clean, then switch.
- Contain the scraps with a small bowl or empty berry container. Kids love feeding scraps into it.
- Staples are okay when patience is running low. I call it “teacher magic.”
Safety note
Adult supervision helps, especially with scissors, staplers, and anything poky like pipe cleaners. If you are crafting with kids under 3, skip small add-ons like googly eyes and use drawn-on details instead to avoid choking hazards.
Easy learning add-ons
If you want to sneak in a little learning without making it feel like homework:
- Animal habitats: Ask, “Does this animal live in the ocean, forest, desert, or on a farm?”
- Letter sounds: “F is for frog.” Have kids trace the letter on the back.
- Counting: Count spots on the ladybug or stripes on the bee.
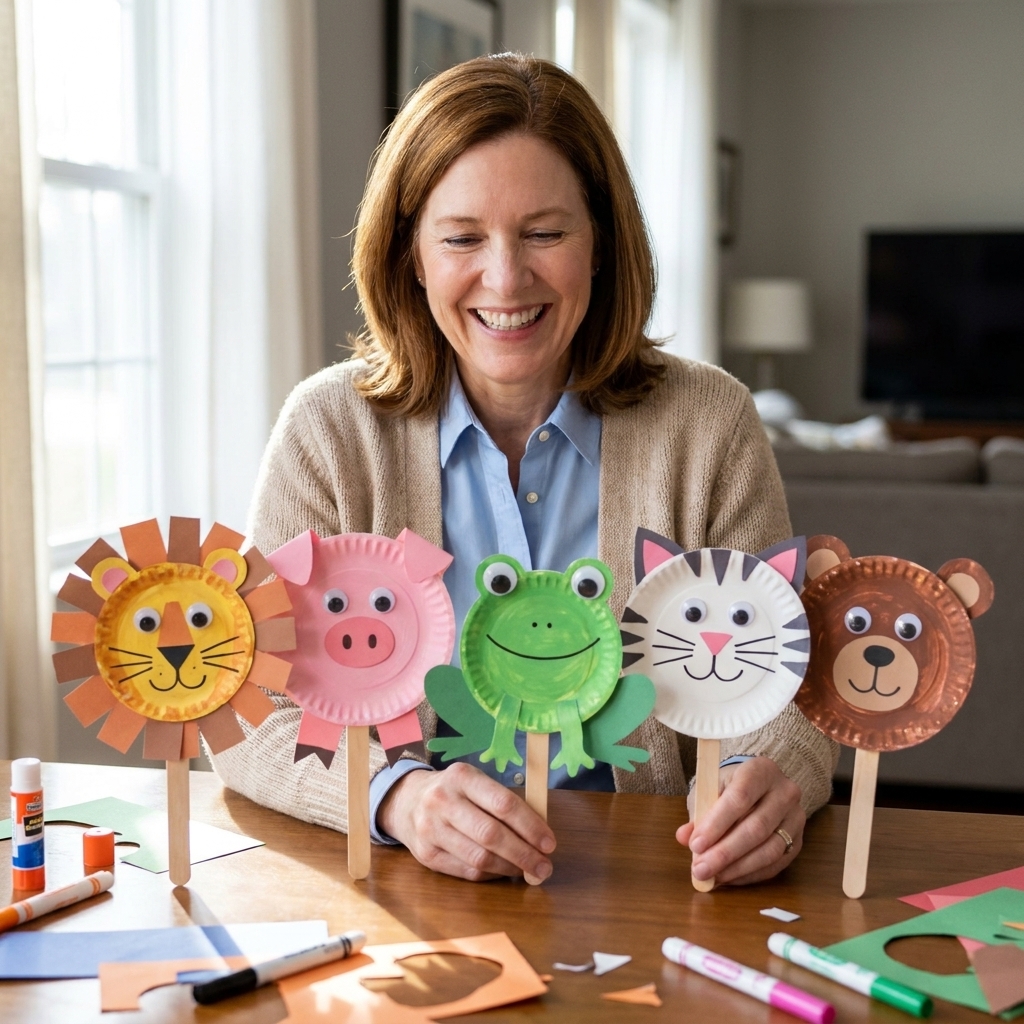
- Storytelling: Turn finished animals into puppets by taping a craft stick to the back.
FAQ
What age are these crafts best for?
Most are perfect for ages 3 to 6 with a little adult help for cutting. Kids 7 to 8 can do almost all of the steps independently and will usually add extra details.
What if I do not have googly eyes?
Totally fine. Draw eyes with marker, or punch/cut circles from paper. Sometimes the drawn-on eyes look even cuter and more expressive.
How do I keep paper plates from getting soggy with paint?
Use a thin layer of paint and let it dry flat. If your plates are extra flimsy, markers or crayons are the easiest no-sog option.
Can I prep this for a classroom or party?
Yes. Pre-cut the small pieces (ears, beaks, fins) and set each animal up in its own little pile or tray. Kids can rotate stations or everyone can make the same animal together.
Your turn
If you try a few of these, line them up on a bookshelf or tape them to the wall for an instant “zoo.” And if your giraffe ends up purple and your penguin has three eyes, that is not a mistake. That is childhood, and it is wonderful.