Mess-friendly paper cutting crafts that strengthen little hands fast. Includes safety setup, troubleshooting, and 12 fun scissor skill activities.
In my house, scissors are a little like glitter. Magical, necessary, and best introduced with a plan. If you have a 3- to 6-year-old who wants to cut everything, you are in the right place. Scissor skills are not just a craft thing. They build hand strength, coordination, focus, and those tiny muscles kids use later for writing.
This guide walks you through a realistic progression of scissor readiness, plus 10 cutting crafts you can rotate through as your child grows from “snip enthusiast” to “shape-cutting pro.” The ages here are general milestones, not a test. Some kids move faster, some take longer, and some may need extra support because of fine-motor differences, vision, or motor-planning needs. That is all normal, and the process matters more than perfection.

Before you start: safety and setup
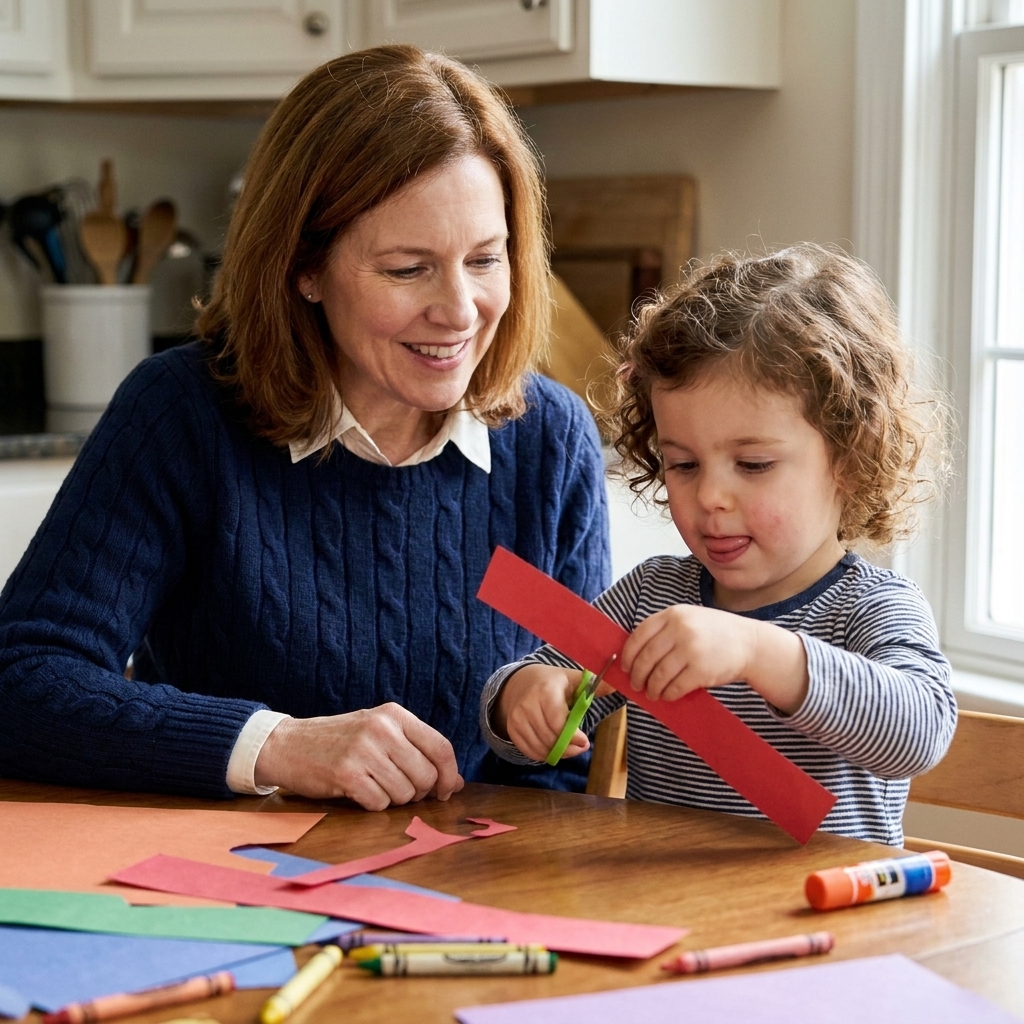
- Choose the right scissors: Blunt-tip child scissors for beginners. Spring-loaded or self-opening scissors can be helpful for some 3-year-olds and for kids who benefit from extra support. Some children keep using them longer, and that is fine. Use what makes cutting feel successful.
- Thumbs up: Teach “thumb in the tiny hole, fingers in the big hole.” If elbows fly up and paper tears, check the grip first.
- Paper position: The “helper hand” holds the paper and turns it. The scissor hand stays steady. This is a key skill for curves later.
- Seated, feet supported: Sitting at a table with feet on the floor (or a stool or box) helps control.
- Use short sessions: 5 to 10 minutes is plenty at first. Stop while it is still fun.
- Supervise closely: Scissors are a tool, not a toy. Our rule is simple: scissors stay at the table.
- Teach three safety habits: Walk with scissors pointed down, pass scissors closed and handle-first, and store them out of reach when you are done.
My favorite low-stress helper line: “I will hold the paper, you do the cutting.” This supports without taking over.
Scissor readiness: what to look for (ages 3 to 6)
Age ranges are approximate. Your child might be ahead in one area and still building in another. That is normal.
Ages 3 to 4: snips and strength
- Uses two hands together (cutting hand plus helper hand)
- Can make snips into paper without folding it
- Begins to open and close scissors rhythmically
- Enjoys “cutting practice” even if the results look like confetti
Ages 4 to 5: straight lines and control
- Can cut across a strip of paper
- Follows a thick line with some accuracy
- Can stop and start (not just continuous chomping)
- Turns paper with the helper hand when prompted
Ages 5 to 6: curves, corners, and simple shapes
- Follows curved lines and zigzags
- Cuts around corners with slower, smaller snips
- Can cut out simple shapes like circles, squares, and hearts with practice
- Begins to plan cuts (where to start, how to turn)
If scissors feel frustrating, build hand strength with play first: playdough pinching, squeezing a spray bottle, using tongs, peeling stickers, and ripping paper (yes, ripping counts as pre-cutting strength work).
10 cutting crafts by skill stage (ages 3 to 6)
Each activity includes a target skill, simple materials, and a small “grown-up tip” to keep it joyful and doable.
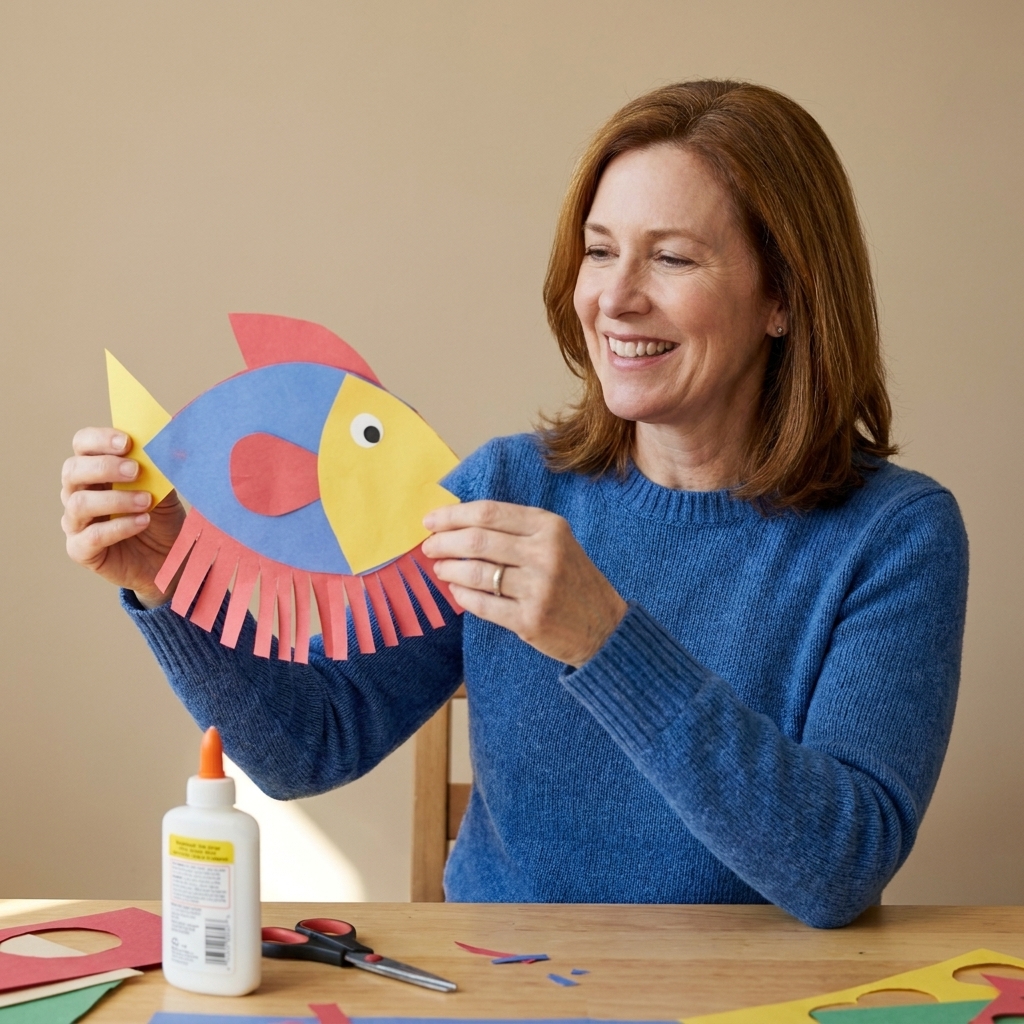
1) Fringe Fish (snips)
Best for: ages 3 to 4
Skill focus: Snipping with control, stopping before a line
Materials: Construction paper, marker, glue stick, optional googly eye
Steps:
- Cut a wide strip of paper (grown-up prep is fine).
- Draw a bold “stop line” about 1 inch from the top long edge.
- Your child makes snips from the bottom edge up to the stop line to create fringe.
- Roll the uncut top portion into a tube and glue. Add an eye and draw scales.
Troubleshooting: If they cut past the stop line, call it “extra fancy seaweed fringe” and keep going.
2) Playdough Haircuts (snips and strength)
Best for: ages 3 to 5
Skill focus: Repeated open-close motion, strengthening the cutting hand
Materials: Playdough, child scissors, optional plastic toy people
Steps:
- Roll playdough into “snakes” for hair.
- Place on top of a playdough head or a toy figure’s head.
- Let your child snip “haircuts.”
Grown-up tip: This is a great first stop for kids who are nervous about paper. The resistance builds confidence.
3) Sticker Snip Strips (snips with a goal)
Best for: ages 3 to 4
Skill focus: Snipping toward targets
Materials: Paper strips, dot stickers or any small stickers, marker
Steps:
- Place stickers in a line down a strip of paper.
- Draw a thick line between each sticker as a cutting guide.
- Your child snips between stickers to “rescue” each sticker square.
Why kids love it: Every snip earns a tiny prize they can stick somewhere.
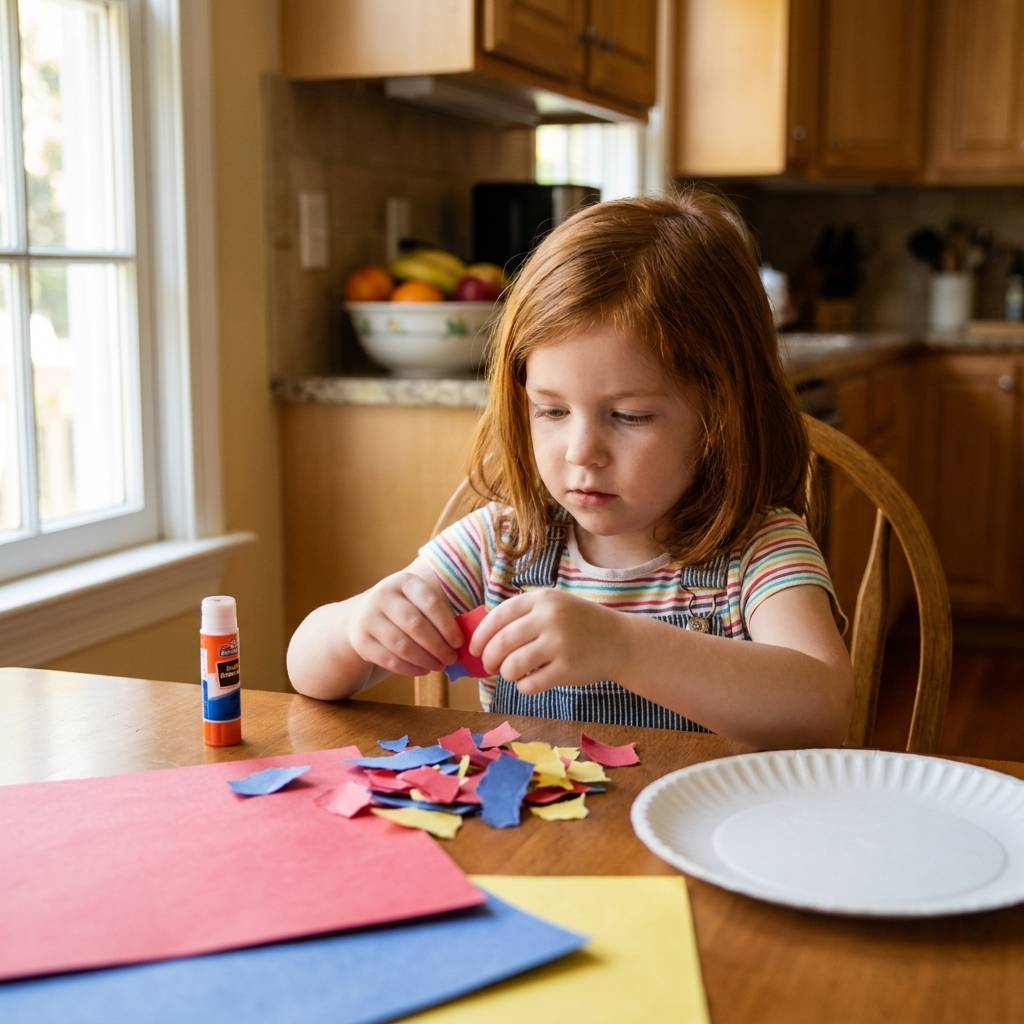
4) Confetti Collage (free cutting)
Best for: ages 3 to 5
Skill focus: Comfort with scissors, bilateral coordination
Materials: Scrap paper, glue stick, a base paper (cardstock or paper plate)
Steps:
- Offer scraps and let your child cut them into bits (any size).
- Glue the “confetti” onto a base to make a picture or abstract art.
Mess-friendly tip: Put a shallow box lid under the work to catch runaway confetti.
5) Road Tape Snip and Stick (short straight cuts)
Best for: ages 4 to 5
Skill focus: Cutting short straight lines, spacing, planning
Materials: Black paper, gray paper, washi tape or masking tape, scissors, toy cars (optional)
Steps:
- Make “roads” on black paper using tape strips.
- Have your child cut small rectangles from gray paper for buildings or parking lots.
- Stick pieces down to build a town.
Parent confession: Yes, my house is held together by washi tape. This is one of the reasons.
6) Line Leader Cards (straight and zigzag lines)
Best for: ages 4 to 6
Skill focus: Following a path, slowing down for corners
Materials: Index cards or cardstock strips, marker
Steps:
- Draw thick lines: straight, wavy, zigzag, and “stairs.”
- Invite your child to “drive the scissors on the road.”
Make it easier: Wider lines and shorter strips.
Make it harder: Narrower lines, longer paths, gentle curves.
7) Spiral Sun Catcher (curves)
Best for: ages 5 to 6
Skill focus: Curved cutting, continuous control
Materials: Paper plate, marker, crayons or paint, string
Steps:
- Decorate a paper plate.
- Draw a spiral from the outside edge toward the center.
- Help your child start the cut, then let them follow the spiral line.
- Punch a hole and hang with string.
Grown-up tip: If the spiral breaks, it becomes two spirals. Still pretty. Still counts.

8) Corner Monsters (turning at angles)
Best for: ages 5 to 6
Skill focus: Stopping and turning paper at corners
Materials: Construction paper squares, scissors, glue, markers, googly eyes (optional)
Steps:
- Show your child how to cut from one corner toward the center (stop), then turn the paper and cut again to make triangle “teeth.”
- Glue teeth onto a paper “monster” face.
- Add eyes and silly expressions.
Skill win: Corners teach kids to pause and reposition instead of forcing the scissors around a turn.
9) Paper Chain Zoo (consistent straight cuts)
Best for: ages 4 to 6
Skill focus: Cutting uniform strips, stamina
Materials: Colored paper, ruler (optional), glue stick or tape
Steps:
- Draw several thick lines across a sheet to create long strips (or pre-cut strips for younger kids).
- Your child cuts on the lines to make strips.
- Loop and glue or tape into a chain.
- Add paper ears and a face to turn the chain into a snake, caterpillar, or “zoo animal.”
Parent-friendly note: This one is quietly excellent for kids who need lots of repetition without it feeling like practice.
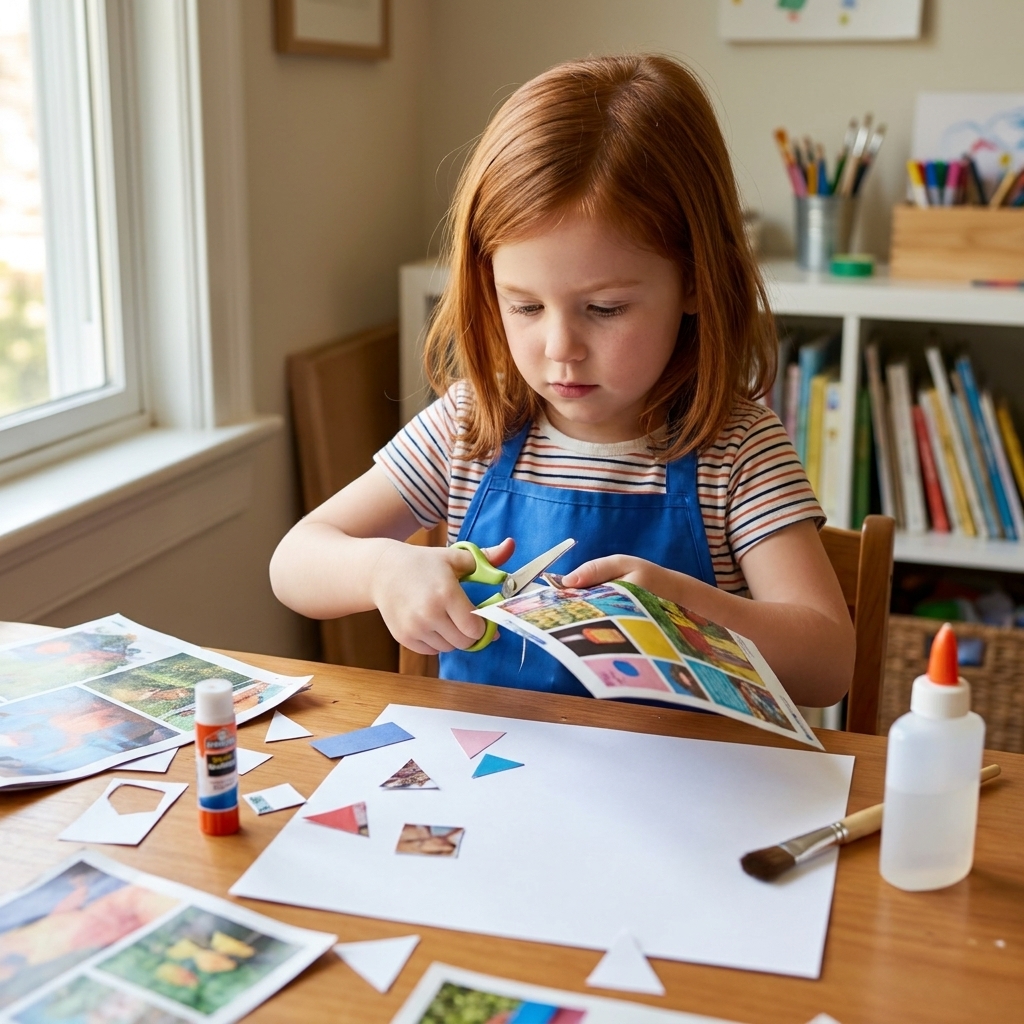
10) Shape Hunt Collage (simple shapes)
Best for: ages 5 to 6
Skill focus: Cutting out circles, squares, triangles, hearts
Materials: Old magazines or junk mail, scissors, glue, paper
Steps:
- Pick 2 to 4 shapes to “hunt” for.
- Help your child find pictures with clear edges (a clock for a circle, a window for a rectangle).
- Cut them out and glue into a shape collage.
Upcycle win: This uses what you already have. My favorite kind of supply.
How to help without taking over
- Start the cut, then hand it back: For thick cardstock or tricky starts, make the first snip and let your child continue.
- Hold the paper, not the scissors: It keeps the skill in their hands.
- Use “tiny bites” language: When kids rush curves, say, “Tiny bites with the scissors.”
- Praise the strategy: “I noticed you turned the paper at the corner” lands better than “good job.”
- Offer a break before a rescue: If frustration spikes, pause for a drink of water, then return.
Common scissor problems (and what usually fixes them)
My child bends the paper instead of cutting
Try sturdier paper (construction paper), check the grip, and shorten the paper strip so it is easier to manage.
The scissors get stuck
Thick materials can be too much at first. Switch to thinner paper, or use scissors that open more easily. A small dab of adult help to start the cut can also make a big difference.
My child uses two hands on the scissors
That is a common early stage. Give them smaller scissors that fit their hand, and let the helper hand hold the paper instead. If it continues, try playdough haircuts for strength building.
They cut way off the line
Make the line thicker, slow the task down (shorter lines), and move up gradually. Accuracy often improves after kids master the open-close rhythm.
What scissors should I buy for a 3 to 6 year old?
- Ages 3 to 4: Blunt-tip preschool scissors. Spring-assisted scissors can be a helpful support for some kids, and it is okay if your child prefers them longer than a “phase.”
- Ages 4 to 6: Blunt-tip kid scissors that fit comfortably. Look for a soft grip and a blade length that is not too long for small hands.
If your child is left-handed, true left-handed scissors can reduce frustration. A quick way to tell: with left-handed scissors, the blades are reversed so the top blade is on the left, which helps lefties see the cutting line and cut more smoothly.
If cutting is consistently hard or tiring, adaptive options can help too, like loop scissors (they reopen on their own) or other OT-style spring scissors. Accommodations are not “cheating.” They are tools that keep kids practicing.
Printable practice pages?
I love a printable as much as the next tired parent, but you can get the same practice with a marker and index cards in about 30 seconds. Draw thick roads, curves, and zigzags, then let your child cut right on the line. It is fast, flexible, and you can adjust difficulty instantly.
One last reminder from a mom who has vacuumed paper crumbs forever
Cutting is hard work for little hands. If the edges look choppy, that means your child is learning to control a tool, coordinate two hands, and make a plan. That is big kid brain stuff.
Start where it feels easy, repeat the same activity a few times, and move to the next stage when your child seems ready. And if your table ends up looking like a tiny paper parade happened, welcome to the club.