A mom-tested, kindergarten-friendly guide to tactile STEM fun: slime, colorful baking soda fizz, oobleck, sensory bottles, sink or float, and more with safet...
If your child’s feelings can go from “fine” to “volcano” in about twelve seconds, you are in good company. In our house, a calming sensory bottle is like a tiny, glittery pause button. It gives busy hands something to do and gives a worried brain something gentle to follow.
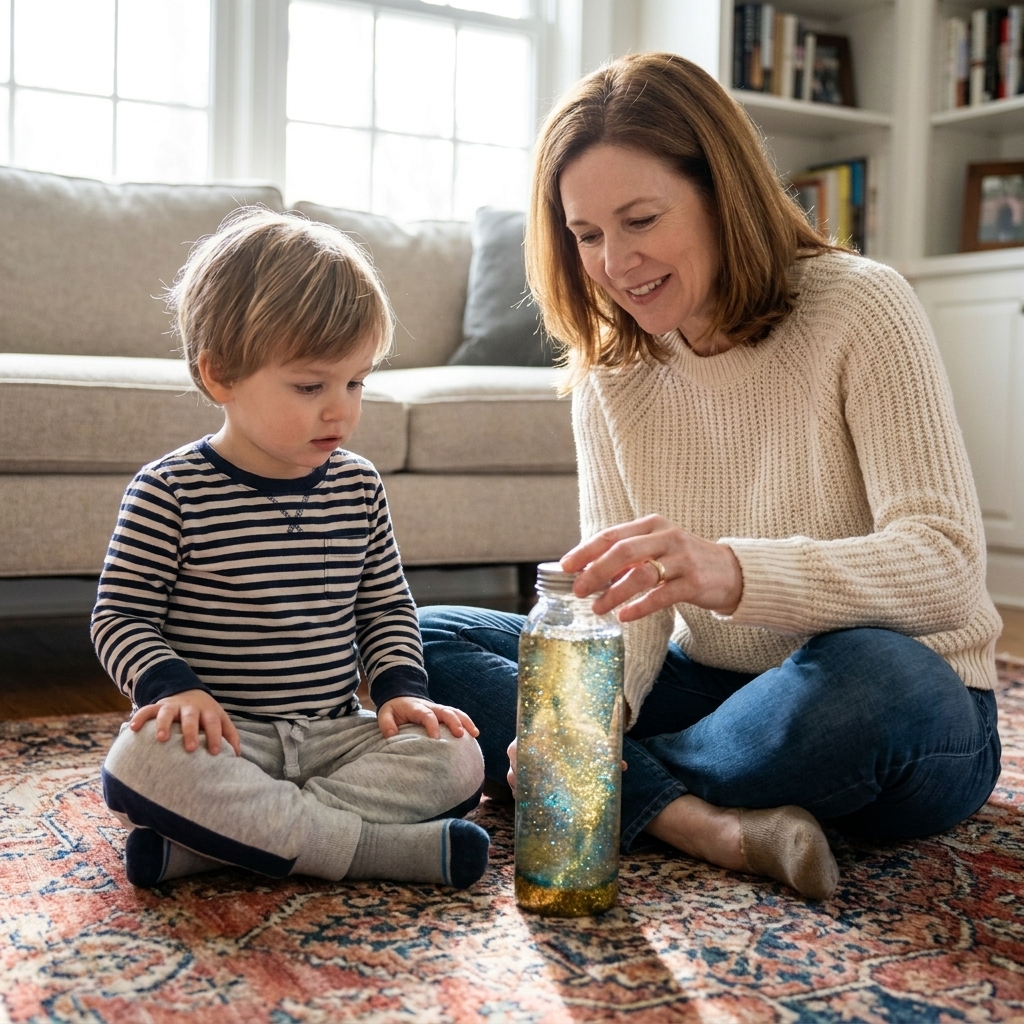
These bottles are not magic, and they are not a treatment for anxiety. But as part of a calm-down routine, they can be surprisingly helpful for some kids. Today I’m sharing two classic versions that I’ve made (and remade) with my own three kids: a glitter glue bottle and an oil and water “lava lamp” bottle.
Why sensory bottles can help
When kids are anxious, overwhelmed, or mid-tantrum, their nervous system is on high alert. A sensory bottle can support regulation in a few simple ways:
- Gives the eyes something predictable to track. Watching glitter drift down is slow, repetitive, and soothing.
- May encourage slower breathing. Some kids naturally start breathing more slowly as they watch the movement.
- Creates a “do” instead of a “don’t.” Instead of “Stop yelling,” we can offer “Let’s shake the bottle and watch it settle.”
- Adds a comfort object that is not a screen. Calm visual input without the bright, fast stimulation.
In kindergarten, I used these as part of our calm corner. At home, we keep one in the playroom and one in the car, because parking lots are apparently where patience goes to die.
Safety first (please read)
Sensory bottles can be very safe when made thoughtfully. Here is how I set ours up to survive real life.
Pick the right container
- Best choice: a sturdy plastic bottle with a screw-on lid (reused juice bottle or a purpose-made sensory bottle).
- Avoid for little kids: glass. It is beautiful, but if it drops, it is not worth the risk.
Seal it like you mean it
- After you’re happy with the fill level, remove the lid and add a ring of strong glue around the inside threads (I use waterproof craft glue. If you use an industrial adhesive like E6000, it needs adult-only handling, strong ventilation, and it must cure fully out of kids’ reach, following the label exactly).
- Screw the lid on tightly and let it cure for the recommended time.
- For extra security, wrap the lid seam with clear packing tape or a tight band of duct tape.
Know what is inside
- Skip anything that could be dangerous if it leaks (for example, water beads for toddlers. If swallowed, they can expand and cause a choking or intestinal blockage risk).
- If your child still mouths objects, stick to non-toxic ingredients and extra-strong sealing, or use the bottle only with close supervision.
- If your child has sensory sensitivities or skin allergies, keep ingredients simple and wash hands after use.
What you’ll need
You can make both bottle types with simple supplies. Pick one version, then add extras as you like.
Basic supplies
- Clear plastic bottle with a tight lid (8 to 16 oz is a great size)
- Warm water
- Small funnel (helpful, not required)
- Strong glue to seal the lid threads (adult step)
- Clear tape (optional but recommended)
For the glitter glue bottle
- Clear glitter glue (start with 2 to 6 oz, then adjust)
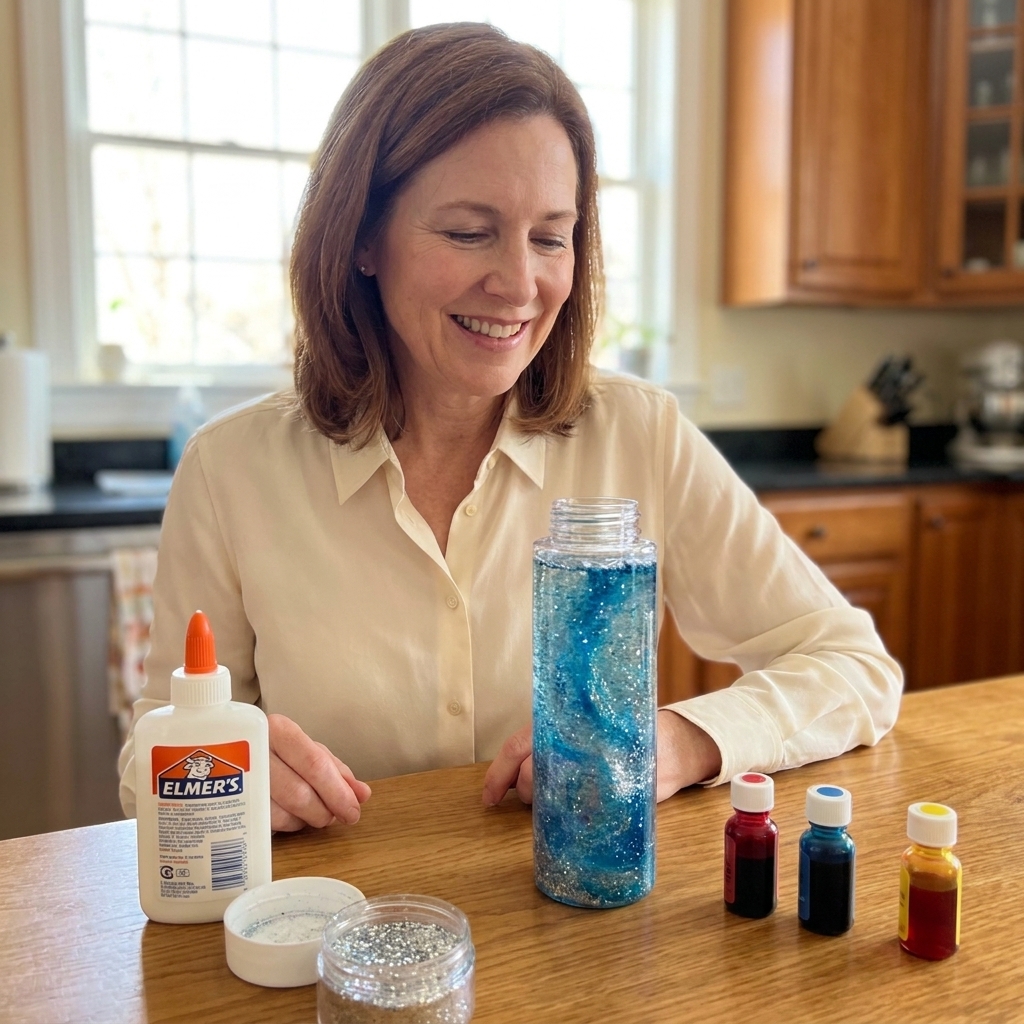
- Loose glitter (fine glitter works best for “snow globe” drift)
- Optional: a drop or two of food coloring
For the oil and water bottle
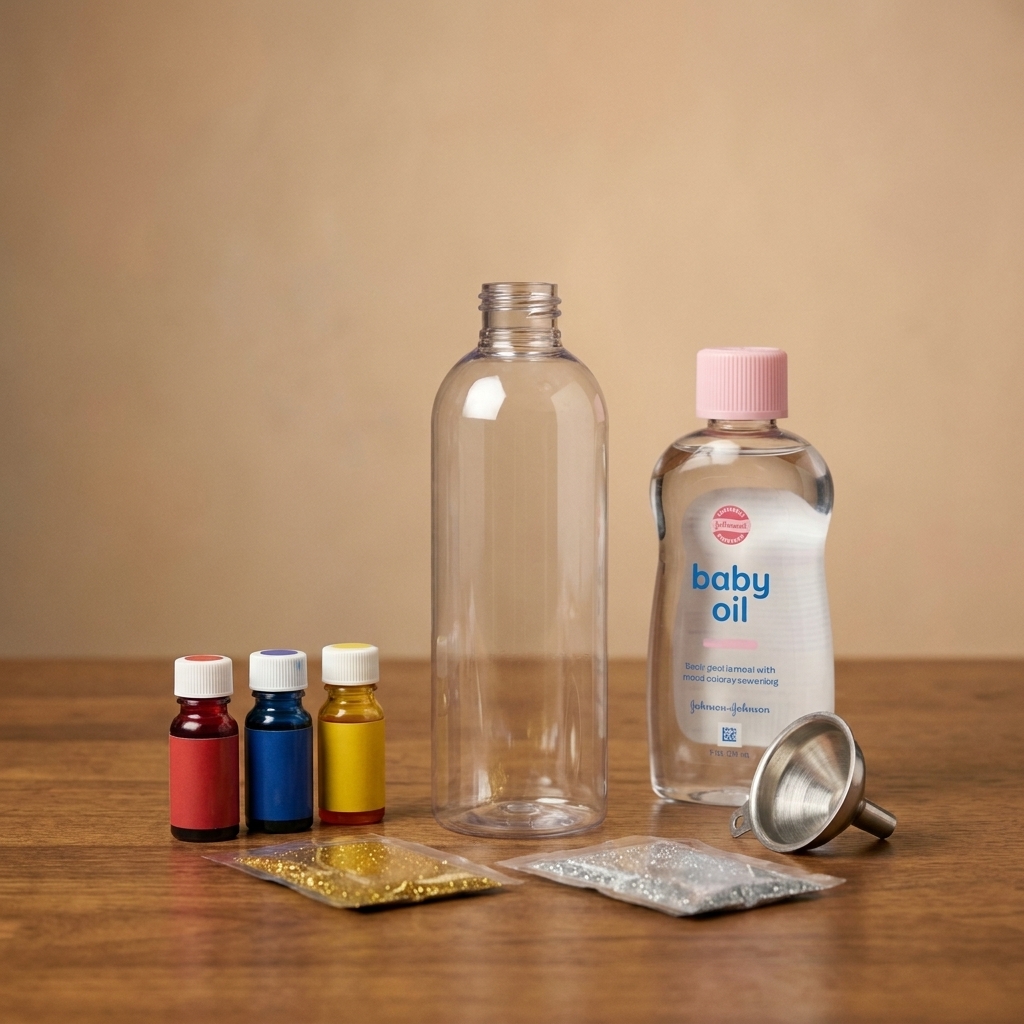
- Baby oil or clear mineral oil
- Water
- Food coloring
- Optional: a pinch of fine glitter
Option 1: Glitter glue bottle
This version is my go-to for anxious kids because the glitter can move slowly and evenly. It is also the easiest to customize for different ages.
Step-by-step
Start with warm water. Fill the bottle about 1/3 of the way with warm (not boiling) water. Warm water helps the glue blend faster.
Add clear glitter glue. Add a few good squeezes (I usually start with 2 to 6 oz, depending on bottle size). Swirl or shake, then check the thickness. You can always add more if you want a slower drift.
Add extra glitter (optional). If your child loves sparkle, add about 1/4 to 1/2 teaspoon of fine glitter. A little goes a long way.
Top with water. Fill close to the top, leaving a small air gap so it can shake without stressing the seal. Screw the lid on.
Mix patiently. Shake, then let it sit, then shake again. It can take a few minutes for the glue to fully blend. If it looks stringy at first, that is normal.
Test the “calm speed.” Shake once and watch. If the glitter falls too fast, add more glitter glue (or a small squirt of clear school glue). If it falls too slowly for your child, add a bit more water, but keep enough thickness that the glitter still drifts, and always leave a little headspace.
Seal the lid threads. When you love it, open the lid, add glue to the inside threads, screw it on tightly, and tape the seam (adult step).
Teacher tip: name it
Kids connect quickly when the tool feels like it belongs to them. We call ours “the settle bottle.” You might try “glitter timer” or “calm jar,” whichever your child likes.
Option 2: Oil and water bottle
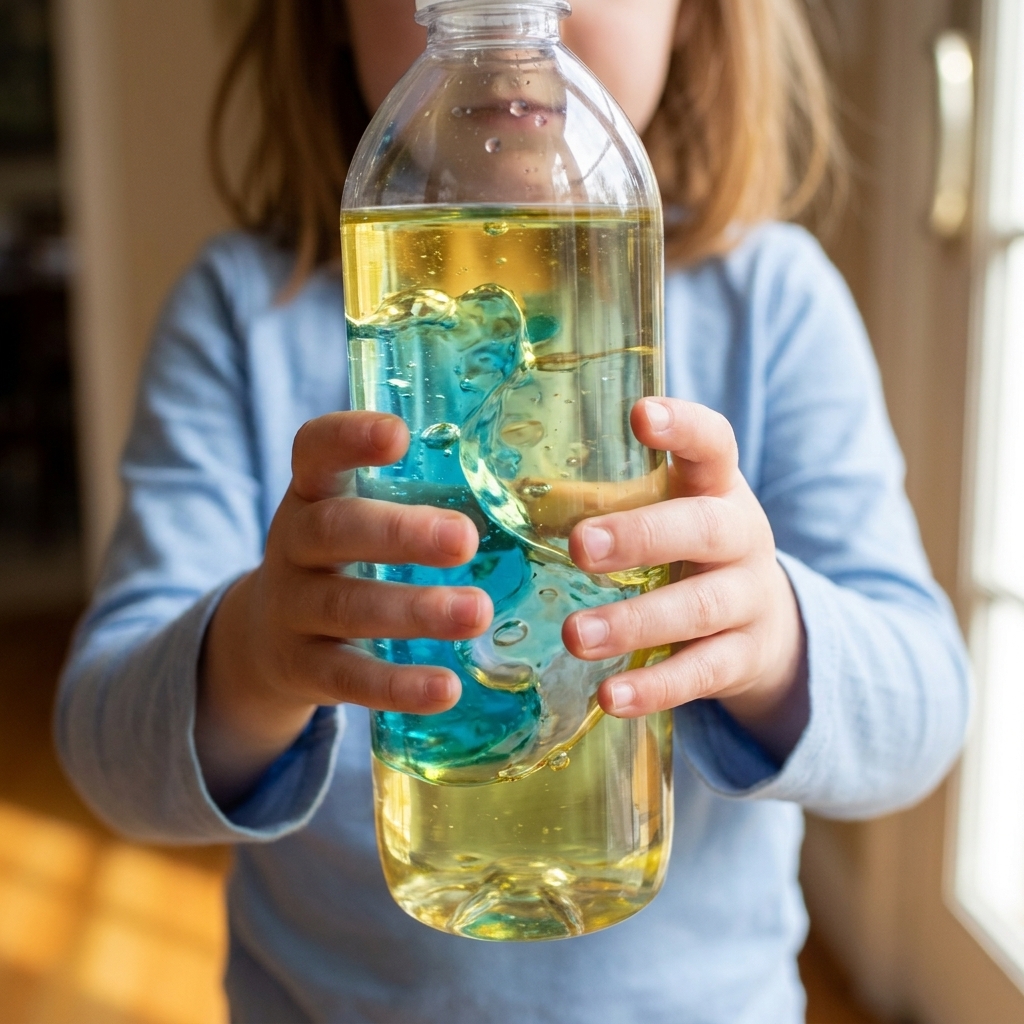
This one is dramatic in the best way. It is great for kids who need a stronger visual reset. You shake it and the color blobs tumble and roll as they separate.
Quick note: it is “lava lamp” style, not a true heat lamp. The blobs rise and fall mostly when you shake or tip it, not on their own.
Step-by-step
Add water. Fill the bottle about 1/3 with water.
Color the water. Add 2 to 4 drops of food coloring and swirl. (Food coloring mixes with water, not oil, which is exactly what we want.)
Add oil. Slowly pour baby oil or mineral oil until the bottle is almost full, leaving a small air gap at the top.
Add a pinch of glitter (optional). If you add glitter, use fine glitter so it does not clump. The glitter will float mostly in the oil layer and look extra dreamy when it moves.
Screw on the lid and test. Tip and roll the bottle first, then try a gentle shake. Watch the colored water break into blobs and fall through the oil.
Seal the lid threads. Glue the inside threads and tape the seam like a parent who has already cleaned glitter out of a rug once in their life.
How to use it in big feelings
The trick is offering the bottle early, before your child is fully escalated. Once a kid is in full meltdown mode, they may not be able to accept any tool right away. Here are a few ways to build it into real life.
Keep the routine simple
- Step 1: Offer the bottle and a choice: “Do you want the glitter bottle or the swirl bottle?”
- Step 2: Shake once together, then set it down.
- Step 3: Watch quietly until the glitter settles or the blobs separate.
- Step 4: Do one small next step: sip water, hug, or move to a quieter spot.
Use a short script
When my kids were little, I used the same words every time so their brains did not have to work hard to understand me:
“We are going to help your body feel safe. Shake. Set. Watch. Breathe.”
Practice when calm
This is the part many families skip. Practice with the bottle when your child is already doing okay. That is when the brain learns, “Oh, this is my calm tool.”
Easy upgrades
Add a texture grip
- Wrap the bottle with a band of washi tape or athletic tape for grip.
- Add a few rubber bands around the middle to create ridges.
Try a theme
- Ocean calm: blue food coloring, silver glitter
- Sunset settle: pink and orange tones
- Space slow-down: dark blue water (very small amount of coloring) and holographic glitter
Make it a feelings timer
For kids who get stuck in a loop, you can say, “Let’s be mad until the glitter reaches the bottom.” You are not dismissing their feelings. You are giving the feeling a container and an endpoint.
Troubleshooting
The glitter falls too fast
- Add more glitter glue or a small squirt of clear school glue.
- Use finer glitter, which tends to drift more slowly.
The glitter is clumping
- Switch to fine glitter and use less.
- Shake, then let it rest. Some clumps break apart after sitting overnight.
- Try warm water to help the glue blend smoothly.
The bottle looks cloudy
- Some glues make water slightly cloudy. It often clears after the bubbles settle.
- Use distilled water if your tap water is very mineral-heavy.
The oil bottle is not blobbing much
- Make sure your coloring is in the water layer, not mixed into the oil.
- Use a bit more water and a bit less oil for bigger blobs.
It leaked
- Empty it, wash the bottle, and let it dry completely.
- Refill and reseal with stronger glue and tape.
- If leaks are a recurring issue, switch to a heavier-duty sensory bottle made for classrooms.
Best ages
I’ve used sensory bottles with kids from toddlerhood through early elementary. The key is choosing the right bottle style and the right expectations.
- Ages 1 to 3: Use larger bottles, skip tiny add-ins, supervise closely, and seal extremely well.
- Ages 4 to 6: Great age for practicing a simple calm routine. Let them choose colors and glitter.
- Ages 7 to 9: Kids often like “cooler” themes (space, ocean, storm cloud). They can also help mix and troubleshoot.
FAQ
Is this the same as a calm-down jar?
Yes, most families use the terms interchangeably. I usually say “bottle” when it is plastic and “jar” when it is glass. For kids, I strongly prefer plastic.
Can I use dish soap instead of glitter glue?
You can, but it tends to create lots of bubbles and the glitter often settles faster. Glitter glue (or a small amount of clear school glue) usually gives a slower, smoother fall.
How long does a sensory bottle last?
If it is sealed well and stored at room temperature, we’ve had them last for months. If the liquid gets cloudy or funky, just dump it, wash the bottle, and remake it. Think of it like playdough. It is meant to be refreshed.
What if my child throws it when upset?
Totally honest answer: some kids will. Use a smaller, sturdier plastic bottle, keep it supervised during big moments at first, and teach a simple boundary: “The bottle is for helping, not for throwing. If you throw it, it takes a break.” You can also offer it while seated in a cozy spot to reduce the urge to toss.
How do I clean and dispose of an oil bottle?
Try not to pour oil down the drain. I pour off what I can into the trash (soaked into paper towels or an absorbent rag), then wash the bottle with dish soap and hot water. If you need to dump a larger amount of oil, collect it in a sealed container and dispose of it according to your local guidelines.
A gentle reminder
If you are parenting an anxious child, you are doing a lot of invisible work. A sensory bottle is a small tool, but small tools add up. Keep it simple, keep it sturdy, and remember that the process matters more than perfection.
Also, if meltdowns or anxiety feel frequent, intense, or are getting in the way of school, sleep, or daily life, it is worth looping in your pediatrician or a child therapist or occupational therapist. A calm tool is great, and extra support can be great too.
If you make one, I hope it becomes one of those little family rituals that actually gets used, not just pinned.