A simple, repeatable 3-ingredient slime recipe that works. Plus my teacher-mom troubleshooting tips for sticky slime, rubbery slime, and easy storage.
If you have a kindergartner, you have probably noticed this: for many kids, their hands want to learn first, and their brain catches up right after. That is why sensory science is such a sweet spot for this age. It turns curiosity into real experimenting, without needing fancy supplies or a perfectly clean table.
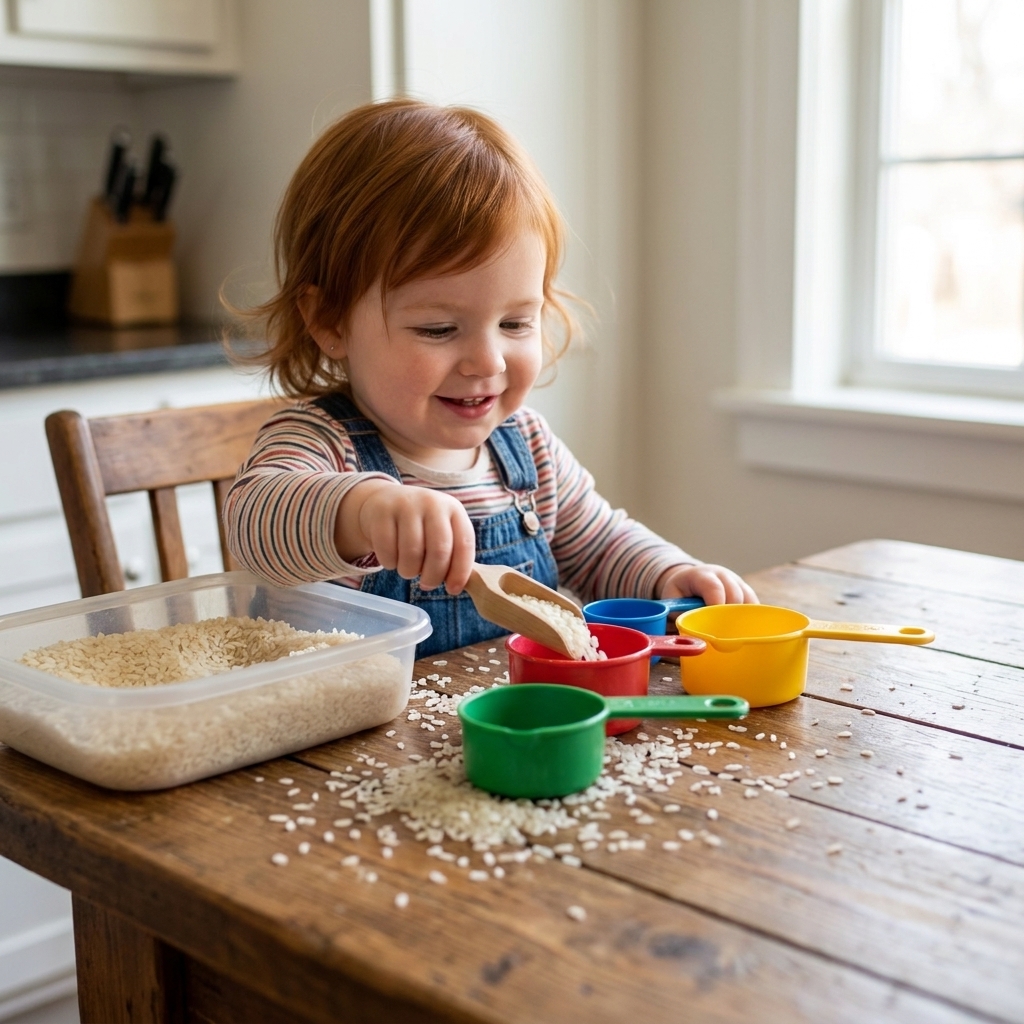
I taught kindergarten for eight years, and now I test everything at home with my own crew (3, 6, and 8). The winning experiments are always the same kind: simple setup, big tactile payoff, and room for kids to wonder out loud. This guide is packed with those tried-and-true ideas, plus my best mess-friendly tips so you can say yes more often.
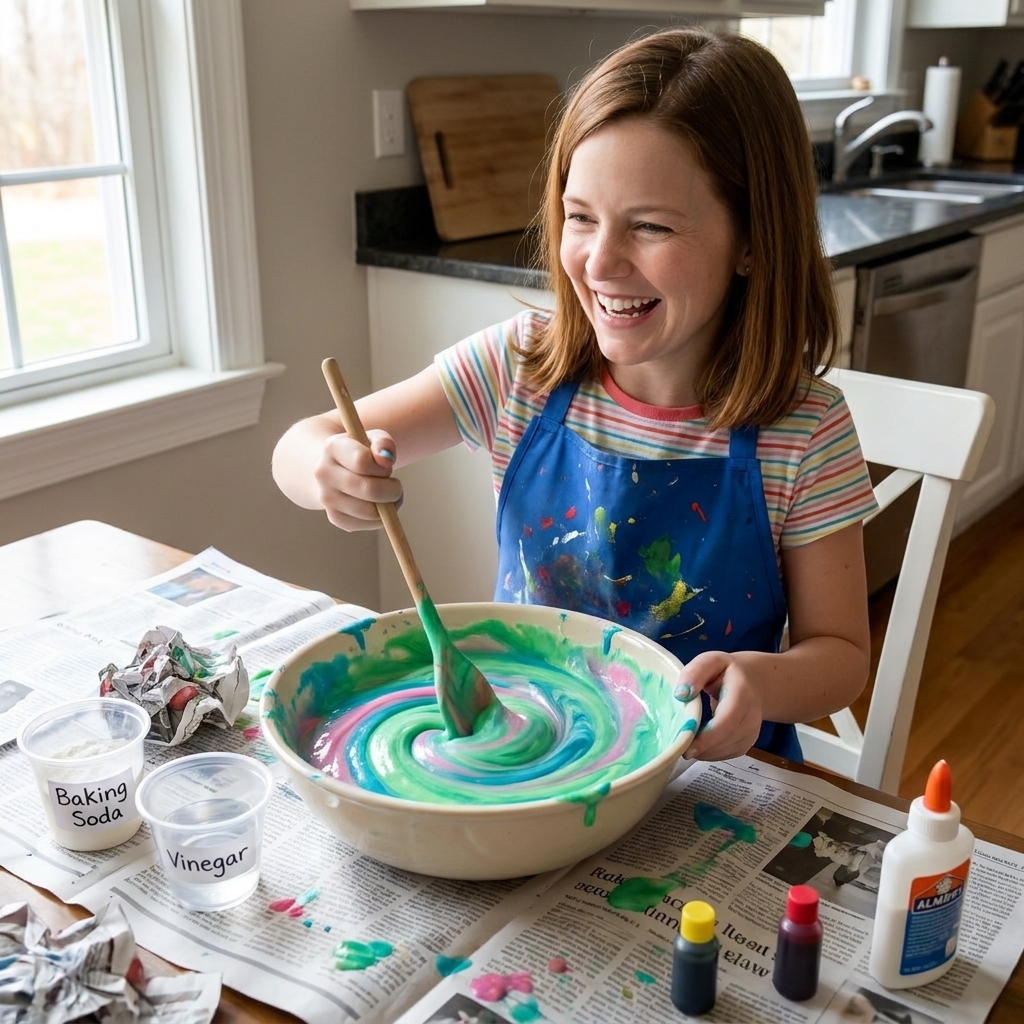
Before You Start
My no-stress sensory science rules
- Protect the space, not the craft. Lay down a shower curtain liner, old tablecloth, or flattened cardboard box. Your future self will thank you.
- Pick the right container. Sensory bins, roasting pans, and plastic under-bed bins are my go-to trio.
- Do a quick safety check. Adults handle hot water, scissors, and anything that could irritate eyes. If your child still mouths materials, skip small items (beads, rice, tiny foam balls) and choose taste-safe options.
- Keep a towel and a rinse bowl nearby. A bowl of warm soapy water on the table lets kids rinse hands fast without leaving the experiment.
- Process over perfection. If it fizzes, stretches, swirls, or splats, you are doing it right.
Simple supply list to keep on hand
- Baking soda
- White vinegar
- Cornstarch
- Dish soap
- Food coloring or washable liquid watercolors
- Measuring cups and spoons
- Pipettes or turkey baster
- Plastic cups, muffin tin, and a tray
- Craft sticks or spoons for stirring
- Glitter (optional, but my kids would call it essential)
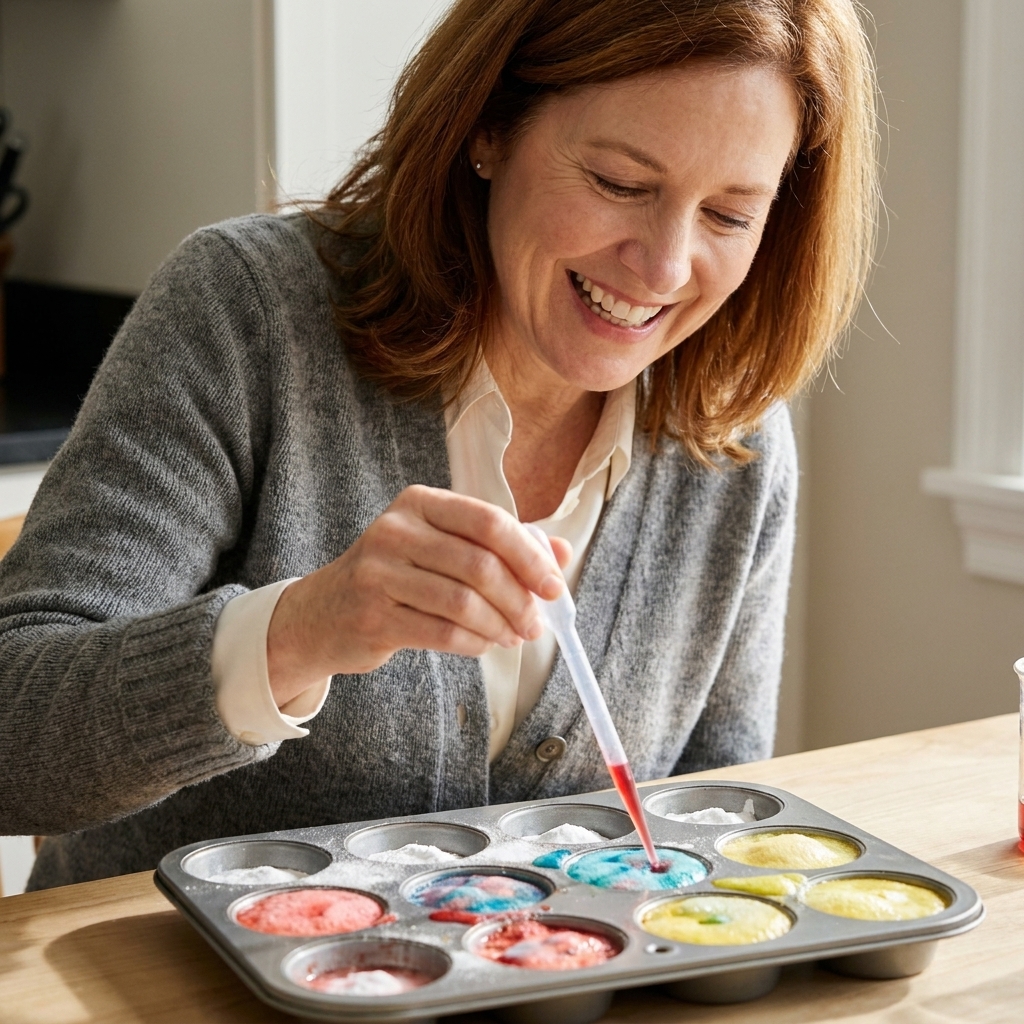
Experiment 1: Colorful Baking Soda Fizz
This is the classic for a reason. It is chemistry you can feel and hear, and kindergartners love being in charge of the squirting and bubbling.
What you will learn
An acid and a base reacting to make carbon dioxide gas. That gas is what creates the fizzing bubbles (and if you add soap, extra foam too).
Time
5 minutes setup, 10 to 15 minutes play
Supplies
- Baking soda
- Vinegar
- Food coloring
- Muffin tin or ice cube tray
- Pipettes or small cups
Steps
- Fill each muffin cup about halfway with baking soda.
- Drop food coloring onto the baking soda (2 to 3 drops per cup).
- Pour vinegar into a small cup. Kids use a pipette or spoon to add vinegar to each cup.
- Repeat and mix colors.
Make it extra sensory
- Add a squirt of dish soap to the vinegar for foamier fizz.
- Try it in a sensory bin so overflow is no big deal.
Troubleshooting
- Not fizzing much? Use fresh baking soda, and add more vinegar.
- Fizz too fast? Use a pipette so kids add vinegar slowly and stay in control.
Experiment 2: Erupting Slime
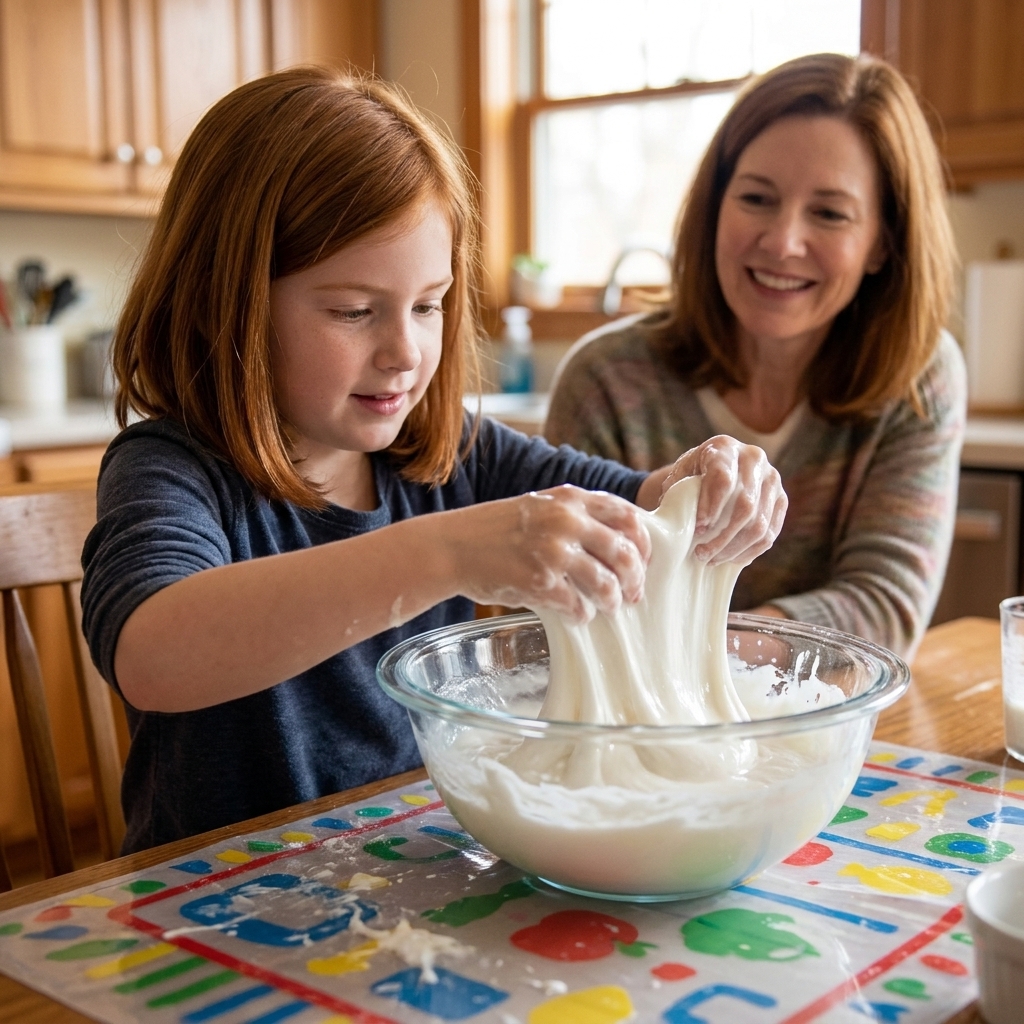
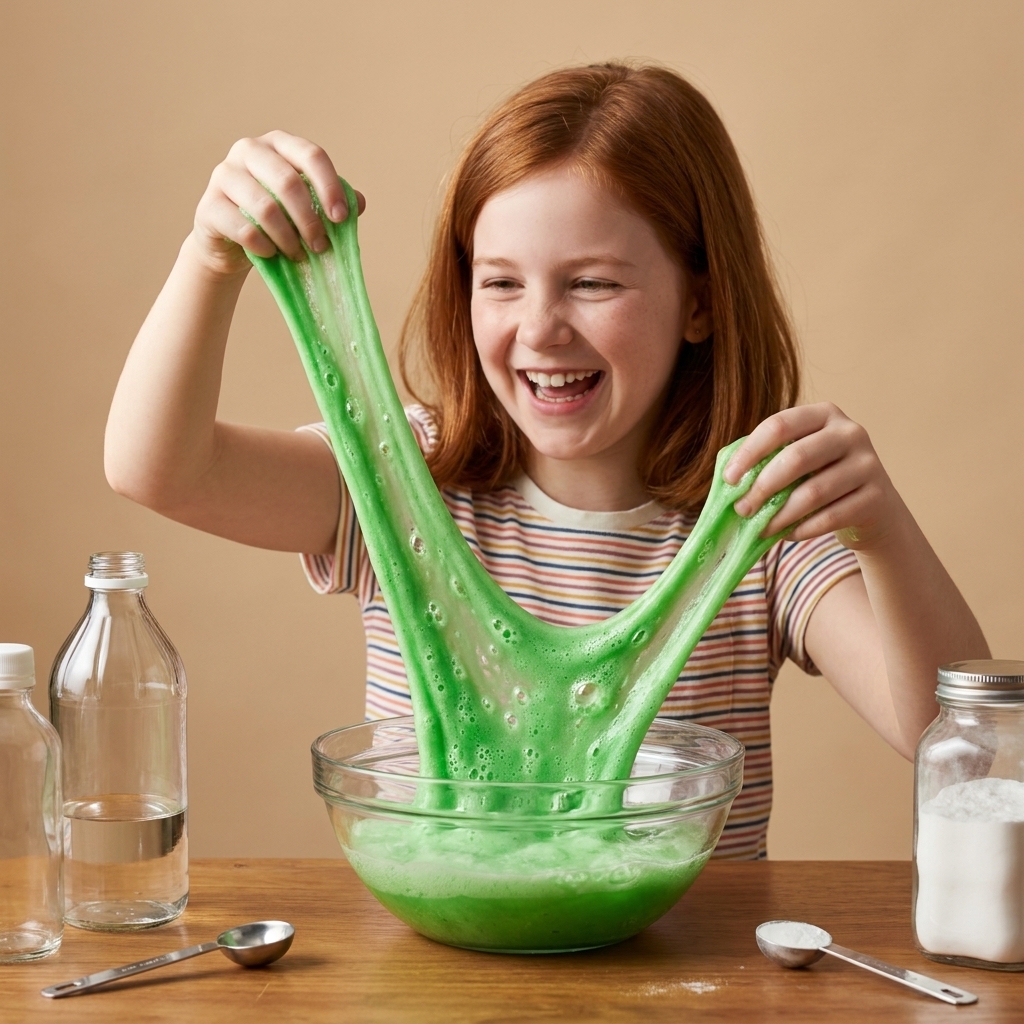
Yes, we are combining two kid obsessions into one: slime and fizz. It is gloriously squishy and surprisingly science-y.
What you will learn
Mixtures, reactions, and how changing ingredients changes texture.
Time
10 minutes setup, 15 to 20 minutes play
Supplies
- Clear school glue (PVA)
- Baking soda
- Contact lens solution (must contain boric acid or sodium borate) or a store-bought slime activator
- Vinegar
- Food coloring (optional)
- Bowl and spoon
Steps
- In a bowl, mix 1/2 cup glue with 1/2 teaspoon baking soda. Add coloring if you want.
- Slowly add contact lens solution a little at a time, stirring until it forms slime. Knead until less sticky.
- Now for the eruption: drizzle in 1 to 2 teaspoons vinegar and gently fold. Watch it bubble and puff a bit as it reacts.
Safety note
Slime is not edible. Wash hands after, and keep it away from eyes. Any activator-style slime (contact solution, borax solution, or store-bought activator) can irritate sensitive skin. Supervise closely, and use gloves if needed.
Troubleshooting
- Too sticky? Add a few drops more activator and knead.
- Too stiff? Warm it in hands and add a tiny bit of water.
- No eruption? You need baking soda in the slime for vinegar to react with. Add a pinch more baking soda and try again.
- Not turning into slime at all? Check the label on your contact lens solution. If it does not list boric acid or sodium borate, it may not work. A store-bought activator is the easiest swap.
Experiment 3: Oobleck
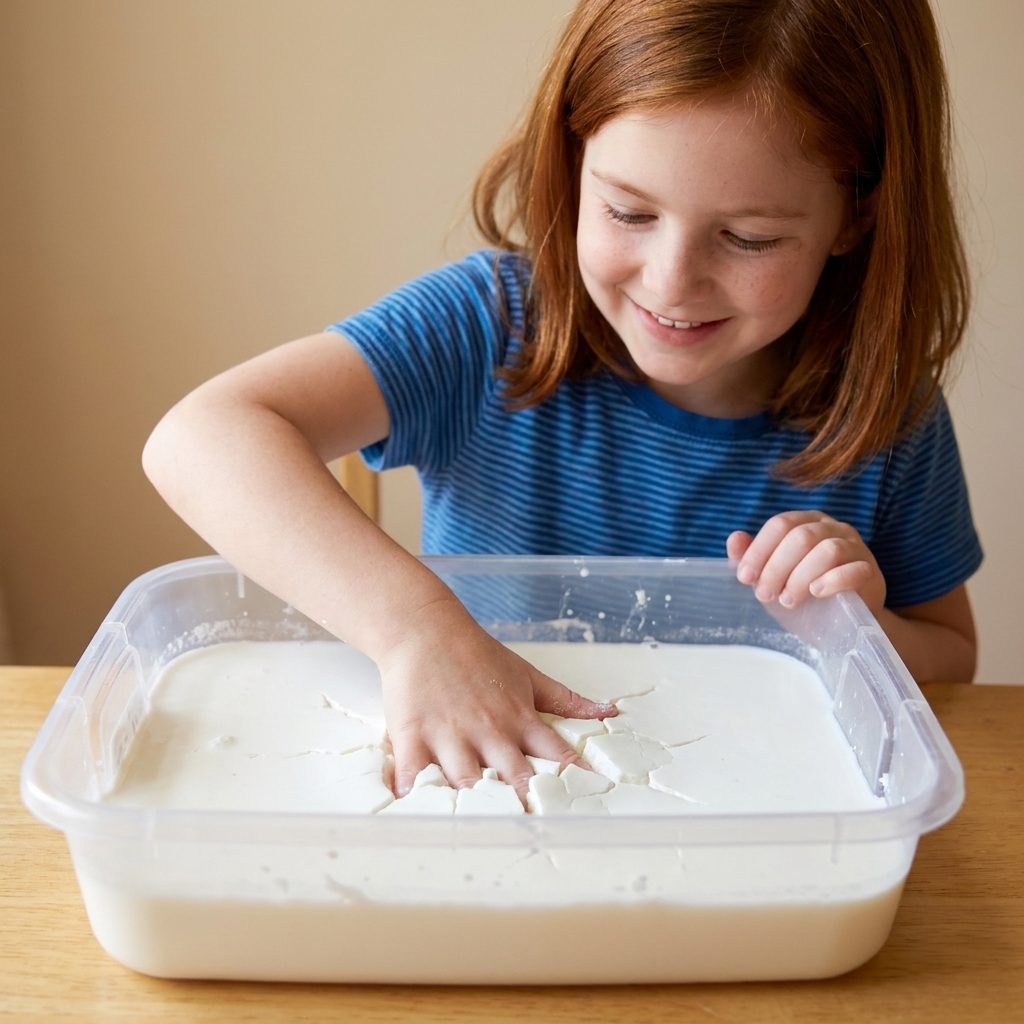
Oobleck is my favorite how-is-this-possible activity. It acts like a liquid when you move slowly and a solid when you squeeze. Kindergarteners find this deeply hilarious.
What you will learn
States of matter and non-Newtonian fluids.
Time
5 minutes setup, 15 to 25 minutes play
Supplies
- Cornstarch
- Water
- Food coloring (optional)
- Large bowl or sensory bin
Steps
- Add 2 cups cornstarch to a bowl.
- Slowly add 1 cup water, mixing as you go. Adjust until it feels like thick honey when moving slowly, but firm when you press.
- Add color if desired.
Play prompts
- What happens if you poke it fast? What if you poke it slowly?
- Can you roll a ball in your hands? What happens when you stop?
Cleanup tip
Let it dry, then scrape into the trash. Do not pour big amounts down the drain.
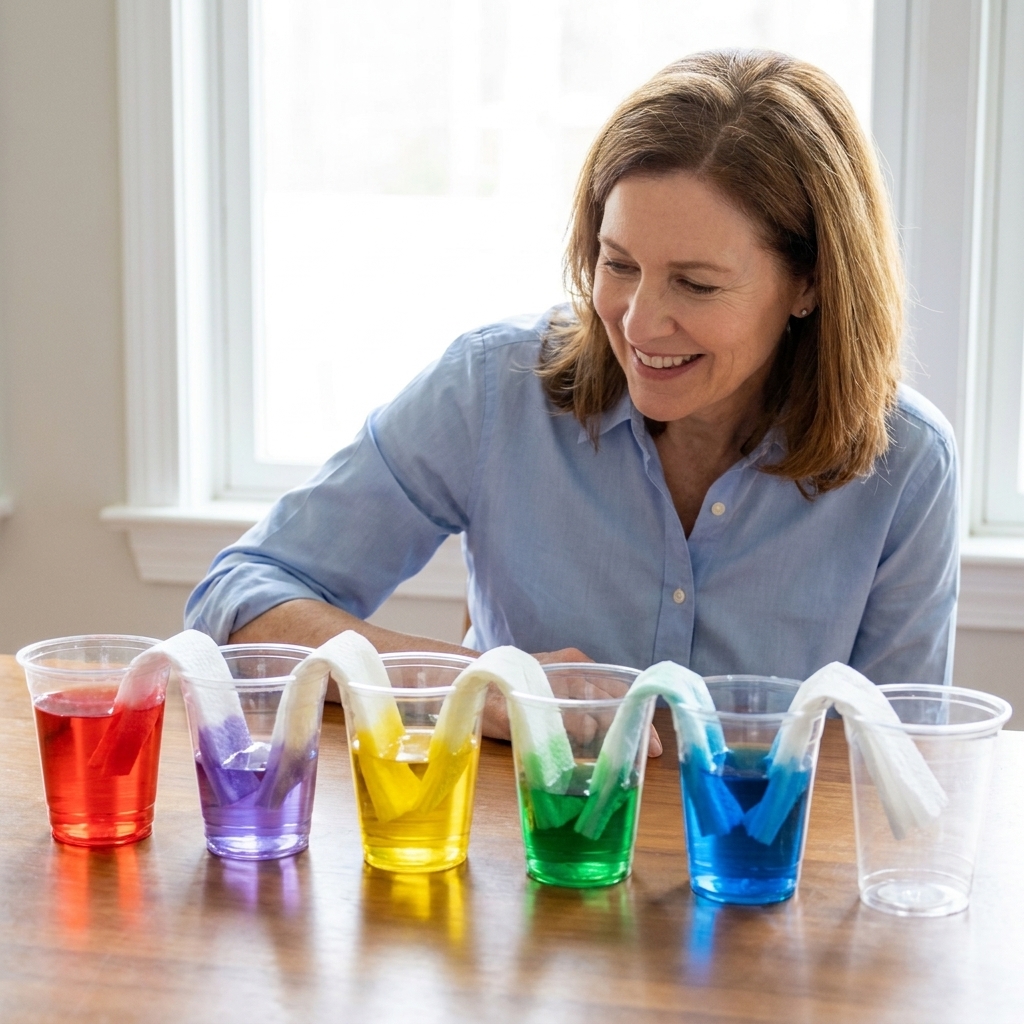
Experiment 4: Rainbow Walking Water
This one feels like a magic trick, but it is really absorbency and capillary action. Plus, it is wonderfully calm for kids who love color.
What you will learn
Capillary action and color mixing.
Time
5 minutes setup, 30 to 60 minutes to watch (plus check-ins)
Supplies
- 6 clear cups
- Paper towels
- Water
- Food coloring (red, yellow, blue)
Steps
- Line up 6 cups. Fill cups 1, 3, and 5 halfway with water.
- Add red to cup 1, yellow to cup 3, blue to cup 5.
- Leave cups 2, 4, and 6 empty.
- Fold paper towels into strips and place one end in a colored cup and the other end in the empty cup next to it (1 to 2, 2 to 3, and so on).
- Wait 30 to 60 minutes and watch the water walk.
Experiment 5: Sink or Float Tub
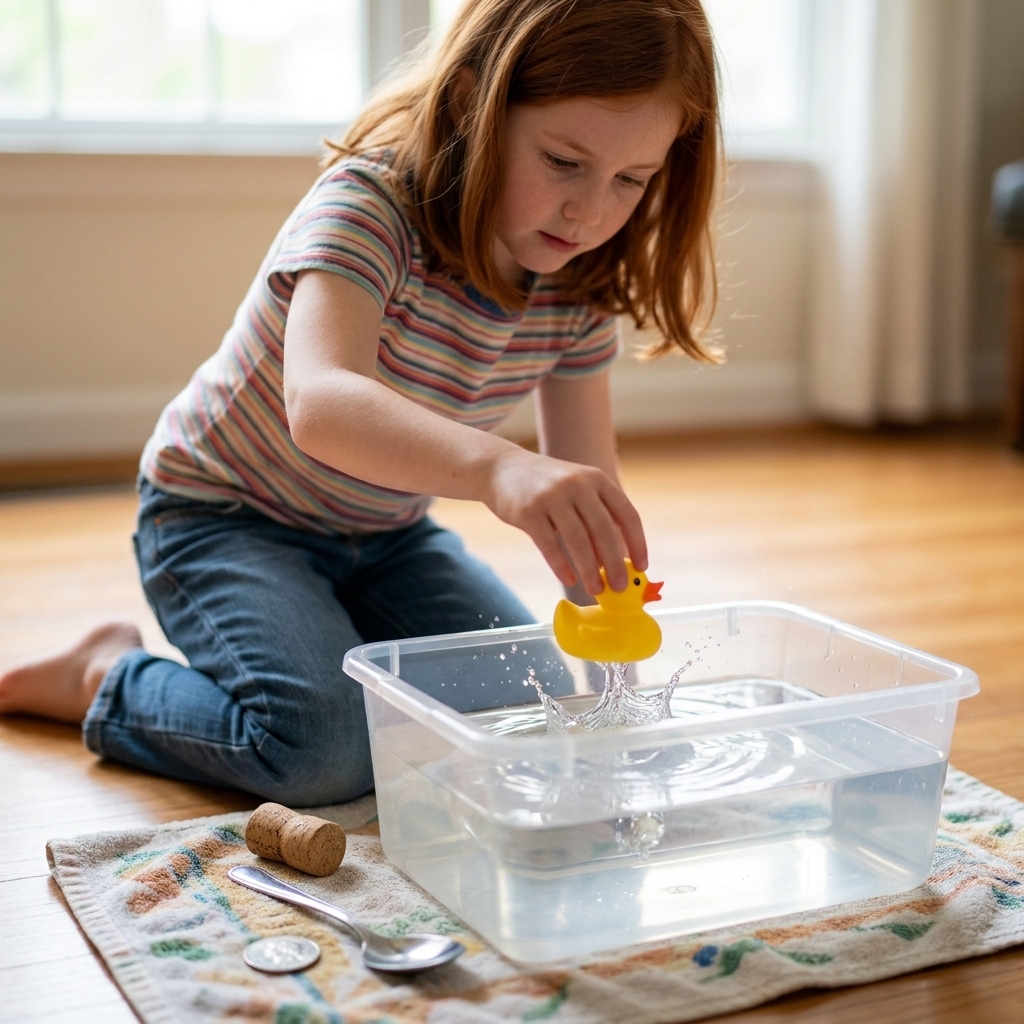
This is science, sorting, and a splashy good time. If you have siblings, this one is great for mixed ages because everyone can make predictions.
What you will learn
Buoyancy and making hypotheses.
Time
5 minutes setup, 15 to 20 minutes play
Supplies
- Large bin of water
- 10 to 15 household objects (spoon, cork, plastic toy, coin, sponge, crayon, block)
- Towel
Steps
- Set up a water bin on a towel.
- Let your child hold each object and guess sink or float.
- Test and sort into two piles beside the bin.
Kindergarten extension
Try changing one variable: Does a sponge float before it gets wet? What about after you squeeze it underwater?
Experiment 6: Pepper and Soap
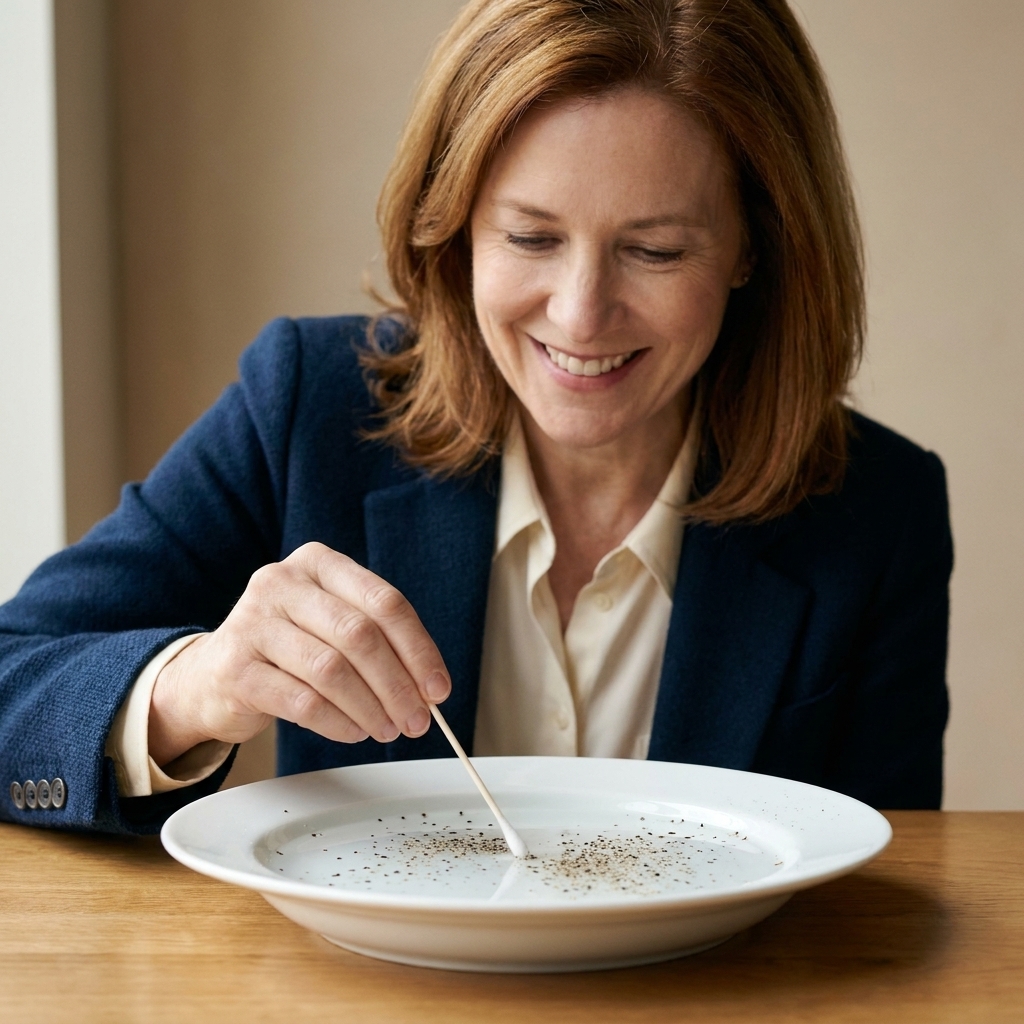
This is the easiest wow experiment you can do in two minutes, and it supports real-life hygiene without a lecture.
What you will learn
Surface tension and what happens when soap changes it. When the soap touches the water, the water pulls away and carries the pepper along for the ride.
Time
2 minutes setup, 5 minutes play
Supplies
- Plate or shallow bowl
- Water
- Ground black pepper
- Dish soap
- Cotton swab or finger
Steps
- Fill a plate with a thin layer of water.
- Sprinkle pepper across the surface.
- Dip a swab in dish soap and touch the center of the water.
- Watch the pepper scatter.
Experiment 7: Rain Cloud Jar
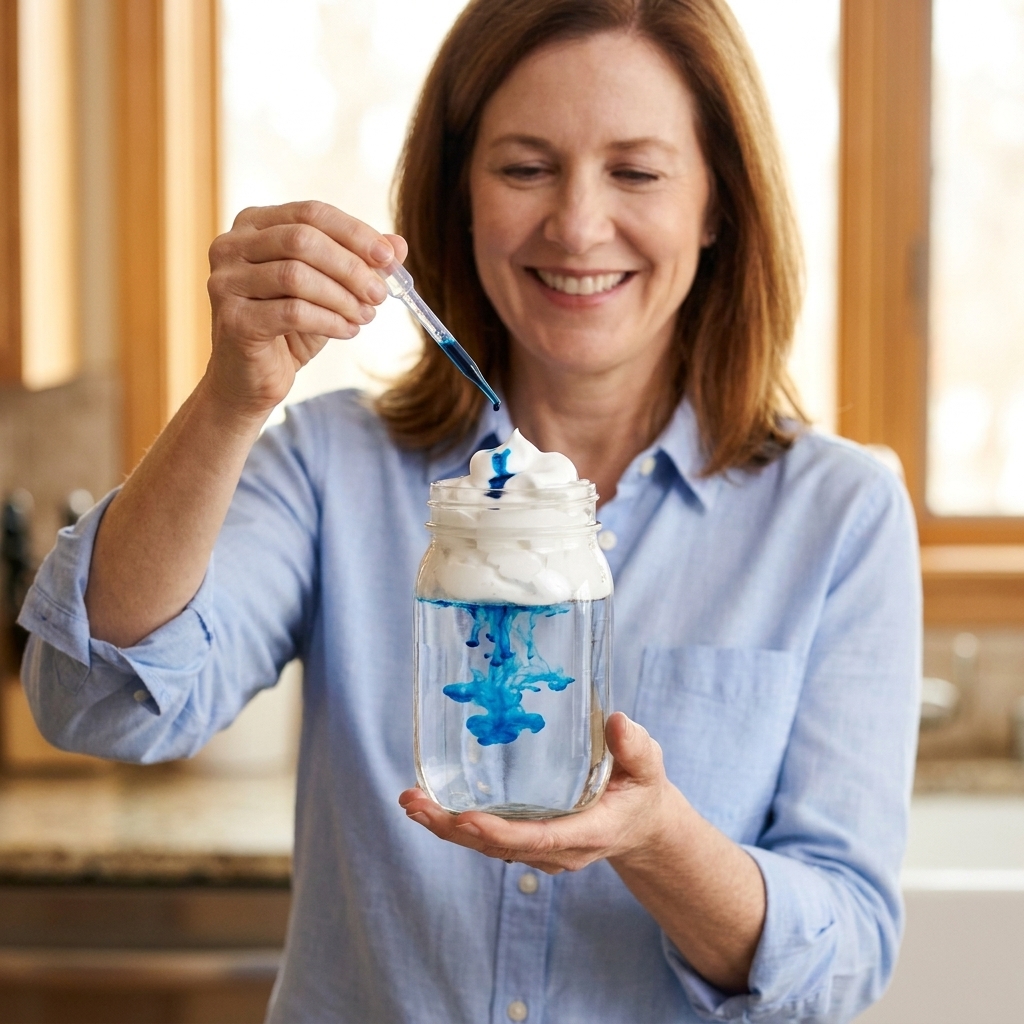
If your child is in the why-does-it-rain phase, this is the prettiest hands-on answer.
What you will learn
How clouds hold water until they get heavy enough to rain.
Time
5 minutes setup, 10 minutes play
Supplies
- Clear glass or jar
- Water
- Shaving cream
- Food coloring mixed with a little water
- Pipette or spoon
Steps
- Fill the jar about 3/4 with water.
- Add a fluffy layer of shaving cream on top.
- Slowly drip colored water onto the shaving cream.
- Watch as the color eventually sinks through like rain.
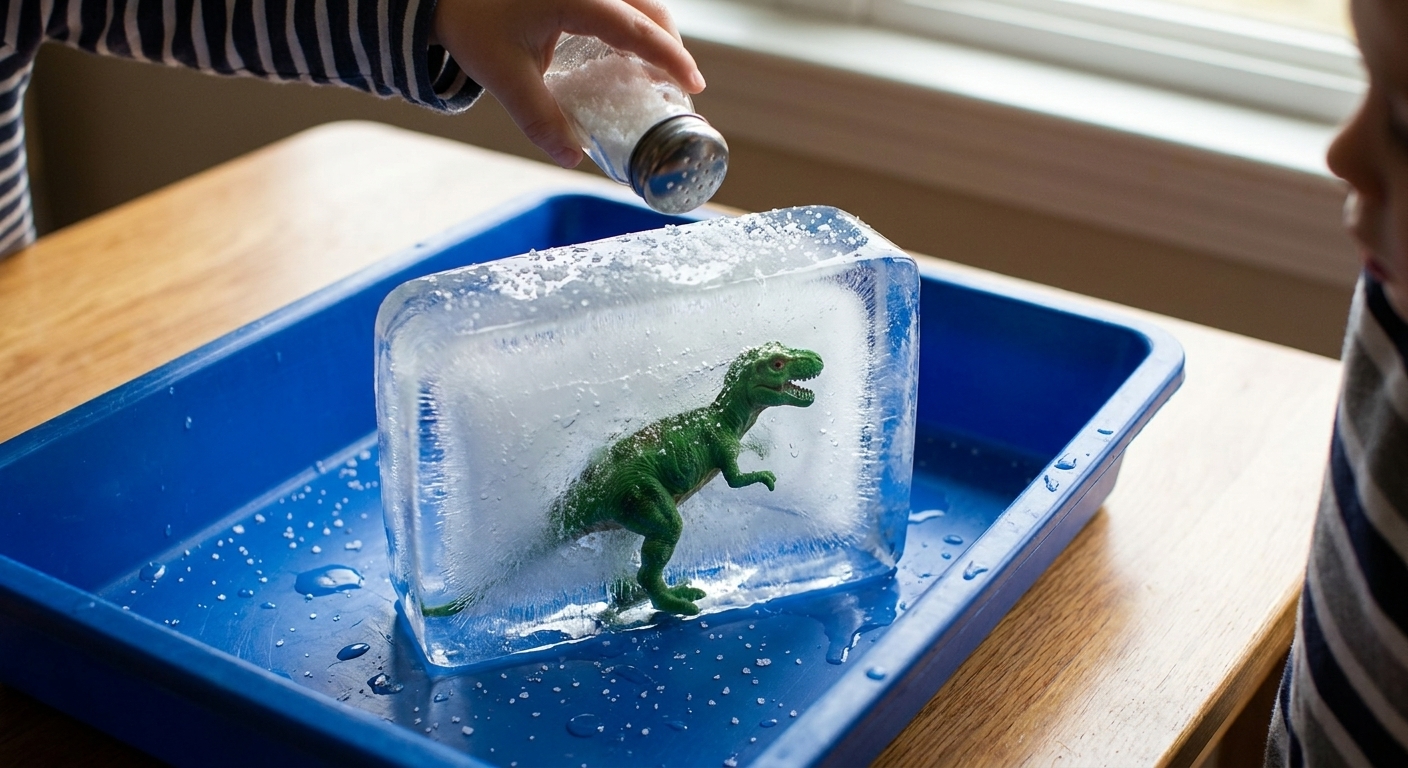
Experiment 8: Ice Melt Rescue
This is a great one for kindergartners because it feels like a mission. You can rescue small toys from ice and test different ways to melt it.
What you will learn
Temperature, melting, and comparing methods. Salt can help ice melt faster by lowering the freezing point.
Time
10 minutes prep (plus overnight freeze), 15 to 25 minutes play
Supplies
- Small toys (plastic animals work well)
- Ice cube tray or small containers
- Water
- Salt
- Warm water in a cup (adult-handled)
- Optional: liquid watercolors
Steps
- Freeze toys in water overnight (add color if you want).
- Pop out the ice blocks into a bin.
- Offer tools: salt, warm water, and hands. Let kids test what melts fastest.
Mess-friendly tip
Do it in a bin. Melting ice is basically guaranteed flooding, and bins keep it contained.
Experiment 9: Balloon Static
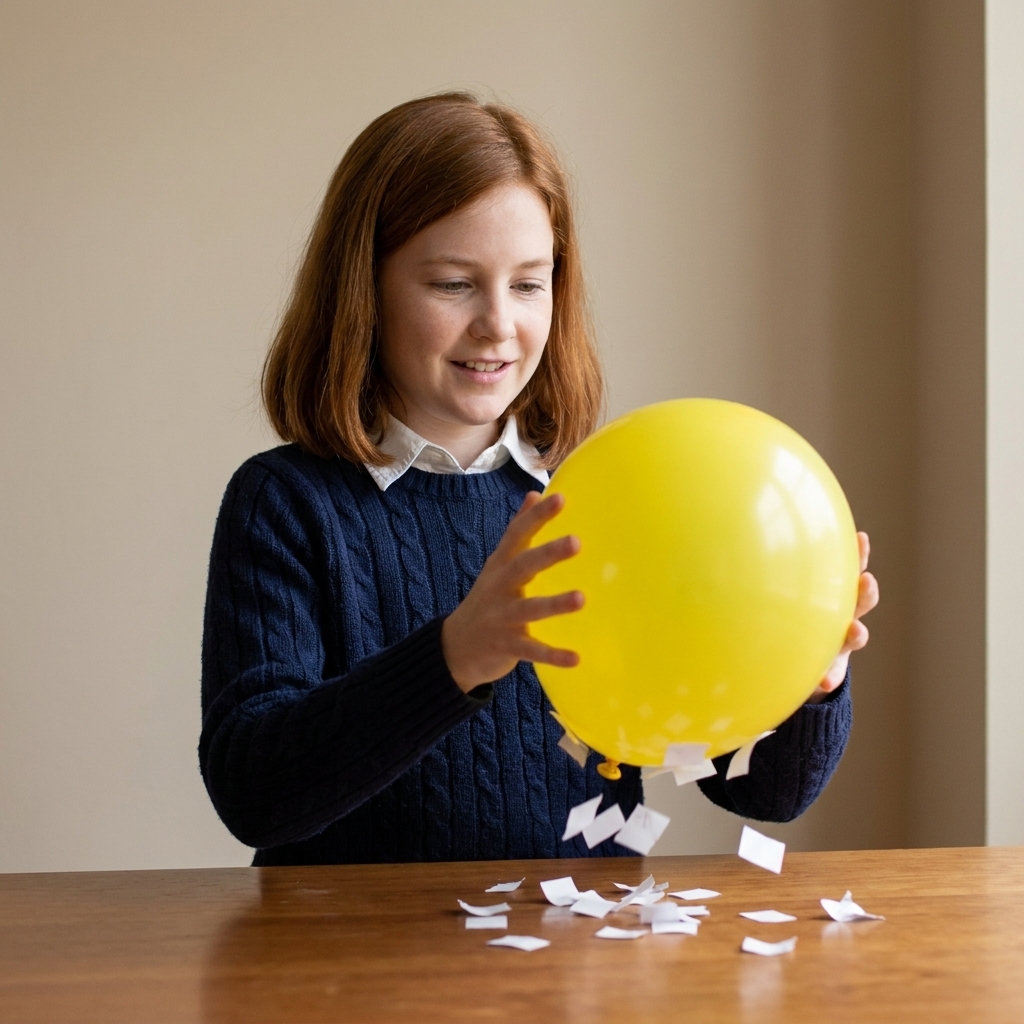
No liquids. No cleanup. Still feels like a little magic. This is a perfect quiet science moment for after dinner.
What you will learn
Static electricity and attraction.
Time
2 minutes setup, 10 minutes play
Supplies
- Balloon
- Wool sweater or dry hair
- Small paper bits or tissue confetti
Steps
- Blow up a balloon.
- Rub it on hair or a sweater for 10 to 15 seconds.
- Hover it over paper bits and watch them jump.
Try this too
See if the balloon can stick to a wall for a few seconds.
Experiment 10: Sensory Bottles
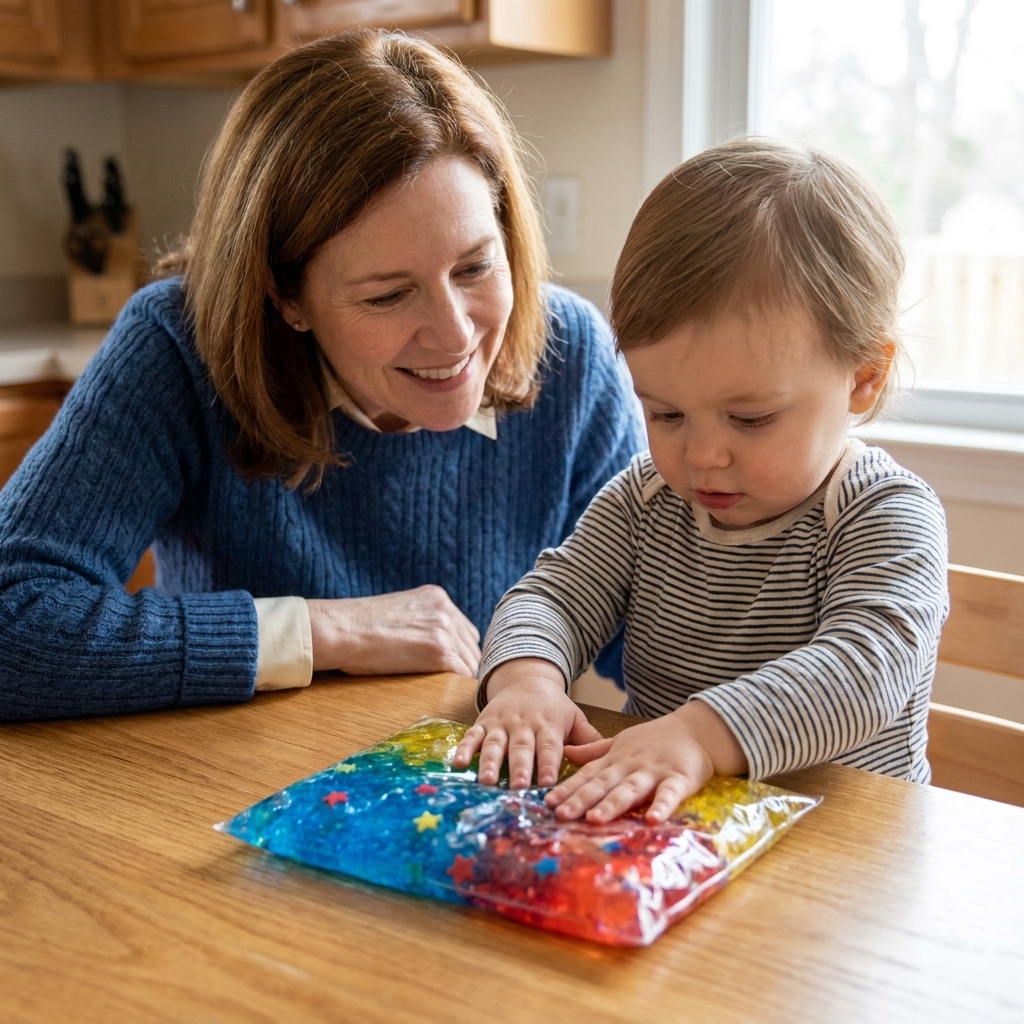
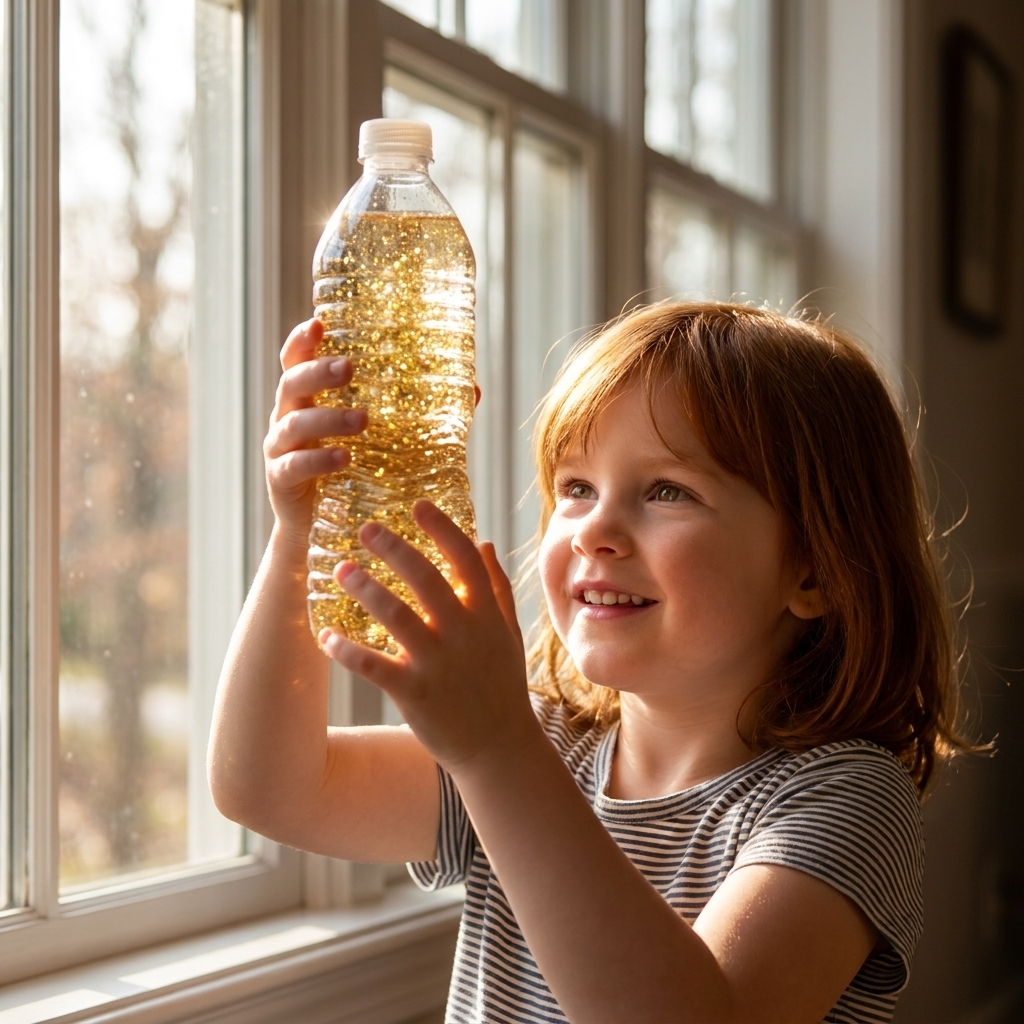
Sensory bottles are part calm-down tool, part science. They are also an excellent way to reuse odds and ends from around the house.
What you will learn
Density, viscosity, and observation skills.
Time
10 minutes setup, then endless use
Supplies
- Clear shatter-resistant plastic bottle with tight lid (skip glass)
- Water
- Clear glue or corn syrup (optional for slow swirl)
- Glitter, sequins, beads (skip small items for kids who mouth)
- Super glue or hot glue for sealing (adult only)
Steps
- Add glitter or other fill to the bottle.
- Fill with water. For a slower swirl, mix in clear glue or corn syrup. Leave a small air gap at the top so it can move.
- Seal the lid with glue (adult step).
- Shake and observe.
Experiment 11: Magic Milk
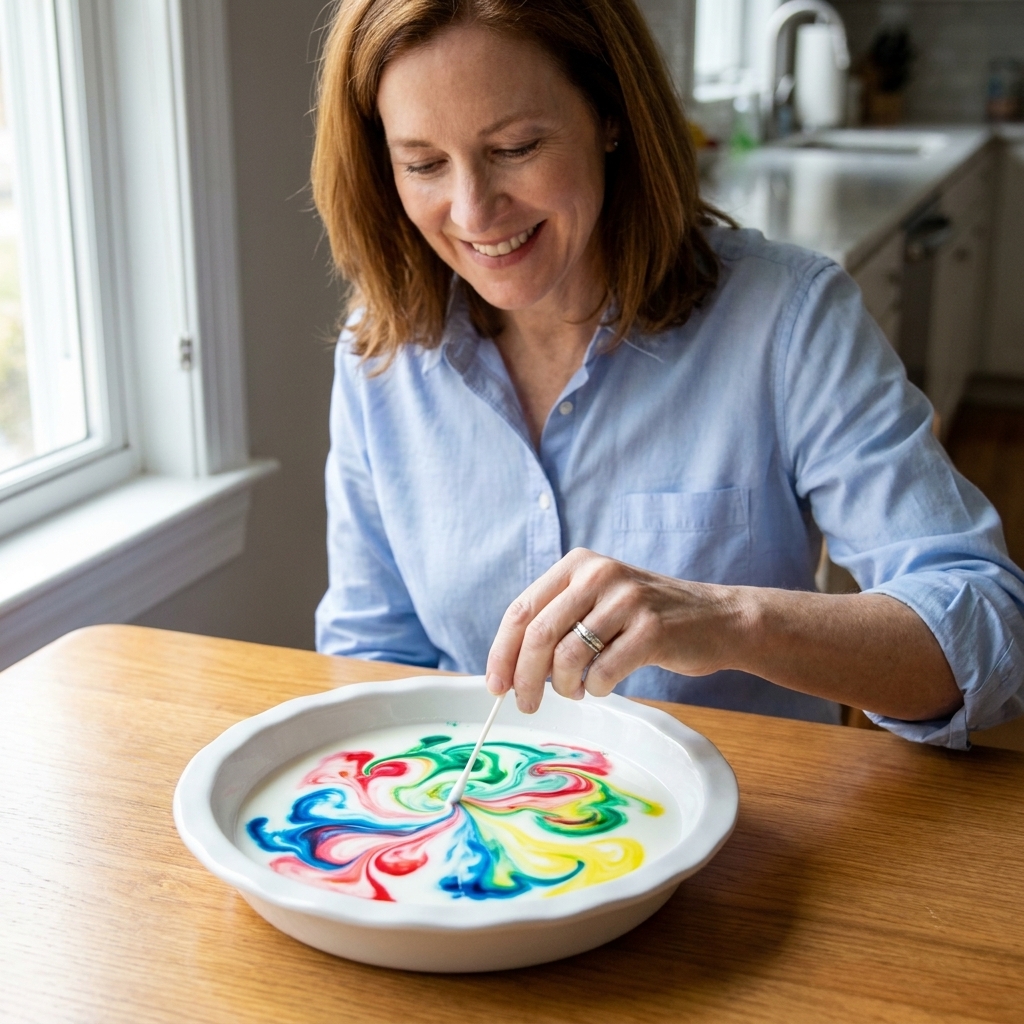
This one looks like tiny fireworks. It is a gorgeous way to explore movement and cause and effect.
What you will learn
Surface tension and how soap interacts with the milk, grabbing onto fats and helping the colors race around as everything rebalances.
Time
2 minutes setup, 10 minutes play
Supplies
- Shallow dish
- Milk (whole works best)
- Food coloring
- Dish soap
- Cotton swabs
Steps
- Pour milk into a shallow dish.
- Add drops of food coloring around the surface.
- Dip a swab in dish soap and touch the milk.
- Watch the colors swirl and move.
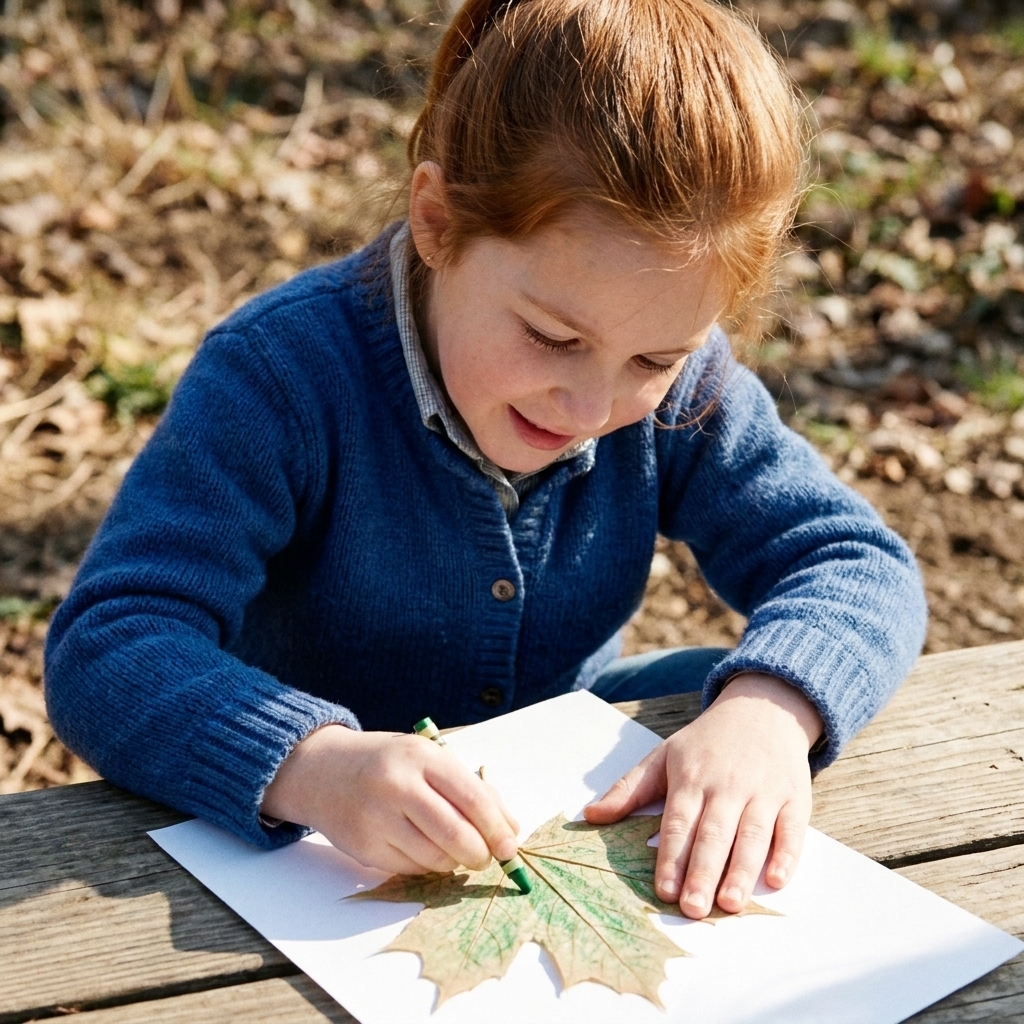
Experiment 12: Texture Rubbings
Not all science needs fizz. This is sensory exploration in a quieter, outdoorsy way, and it builds observation skills beautifully.
What you will learn
Comparing textures, patterns, and describing what you notice.
Time
5 minutes setup, 15 to 30 minutes exploring
Supplies
- Paper
- Crayons (wrappers removed)
- Clipboard (optional)
- Nature finds: leaves, bark, rocks (flat ones)
Steps
- Place paper over a leaf or textured surface.
- Rub the side of a crayon over the paper to reveal the texture.
- Compare: Which textures make bold patterns? Which are faint?
Safety Tips
- Supervise anything that could splatter. Vinegar, soap, and food coloring can sting eyes.
- Use taste-safe options for younger siblings. Oobleck (cornstarch and water) is not a snack, but it is lower risk than activator slime if a toddler wanders over.
- Watch for allergies and sensitivities. Shaving cream and some soaps can irritate skin. If in doubt, do gloves or choose water-based experiments.
- Seal sensory bottles. Always glue lids shut if your child might open and dump.
- Set a hands-stay-low expectation. Most messes happen when kids lift wet hands high to show you their masterpiece.
Easy Cleanup
My fastest reset routine
- Scoop solids into the trash first (baking soda clumps, paper towels, oobleck scraps).
- Wipe surfaces with a dry paper towel, then a damp cloth.
- Dump sensory bin water outside or into a utility sink if possible.
- Finish with a quick hand wash and a high five.
Common cleanup questions
- Can I pour oobleck down the drain? I do not recommend it. Let it dry and trash it.
- How do I get food coloring off hands? A little dish soap and warm water usually works. For stubborn stains, try a tiny bit of baking soda paste.
- Slime stuck in fabric? Soak the spot in vinegar, then gently scrape and wash. (And next time, slime lives on a tray. Ask me how I know.)
Science Talk
You do not need a big lesson. A few good questions turn play into real scientific thinking.
- What do you notice?
- What do you think will happen next?
- What did you change?
- What stayed the same?
- How could we test it again?
If your child gives a wild guess, celebrate it. Kindergarten science is about confidence and curiosity, not right answers.
FAQ
What is the best experiment for a first try?
Colorful baking soda fizz is my top pick. It uses simple supplies, gives instant results, and is easy to contain in a muffin tin.
How do I do sensory science with multiple ages?
Give everyone the same materials but different jobs. Toddlers can pour and stir (with close supervision), kindergartners can predict and test, and older kids can measure, time reactions, or write down results.
How long should a kindergarten experiment last?
Aim for 10 to 20 minutes of experimenting, then let them play with the materials a little longer if interest is high. It is completely normal to do the science part quickly and spend the rest of the time squishing oobleck like a tiny mad scientist.
What if my child does not like messy hands?
Start with cleaner sensory options like sensory bottles, balloon static, texture rubbings, or walking water. You can also offer tools (spoons, pipettes) and build up to hands-on materials over time.
Your Turn
If you try one of these with your kindergartner, pick the one that matches their personality. Big movers usually love oobleck or fizz. Careful observers often adore walking water or rain clouds. And if your house is held together by hot glue and washi tape like mine, you will appreciate that every experiment here is low-cost, high-joy, and totally okay if it gets a little messy.