A realistic, parent-friendly guide to toddler crafts: low-mess setup, easy materials, and simple ideas that keep little hands busy without wrecking your house.
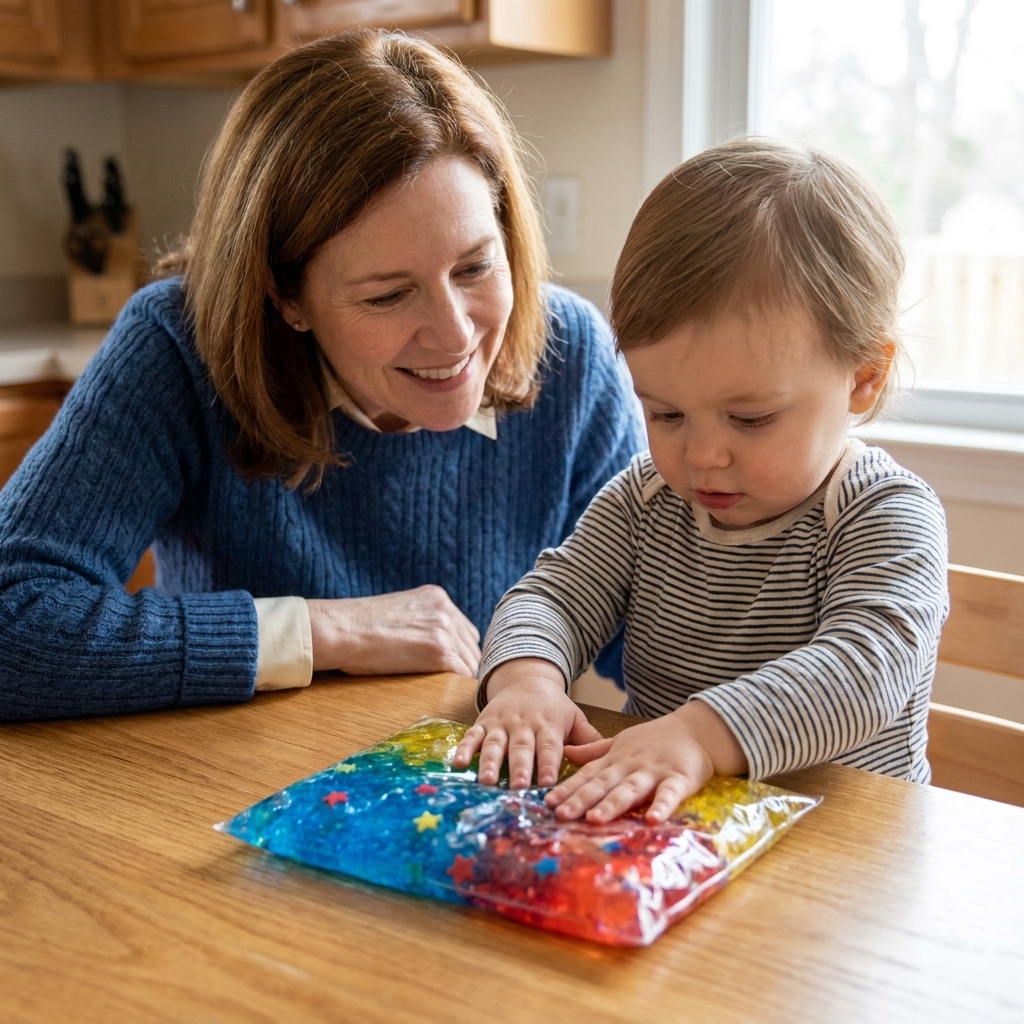
If you have a toddler, you already know this truth: they want the sensory fun of slime, paint, and water play… but you want floors that are not mysteriously sticky. Enter my forever favorite compromise: sensory bags.
Sensory bags are sealed, squishy little “windows” toddlers can poke, pat, and press. They can support tactile exploration and calm, focused play, and they are wonderfully travel-friendly. I used these constantly when I taught kindergarten, and now I lean on them hard with my own three kids (especially when my 3-year-old is in a “touch everything” mood).
Before you start: safety basics
Mess-free only works if the bag stays sealed and you treat it like the supervised tool it is. These quick steps make a big difference.
- Use heavy-duty bags. Freezer-grade zip-top bags are sturdier than sandwich bags. For extra durability, double-bag.
- Reinforce the seal. Zip it fully, then tape across the zipper with strong clear packing tape. If your toddler is extra determined, add tape along the side seams too.
- Supervise the whole time. It is calm, contained play, but it is still a sealed plastic bag.
- Put it away when you are done. Do not leave sensory bags within reach after play. An unattended plastic bag is a safety risk.
- Attach for “no-toss” play. Tape the bag to a window, tile, a high chair tray, or a table. Avoid painted walls, which can peel when you remove tape.
- Skip small parts if your child can tear plastic. If your toddler bites bags or can pull tape off, stick with gel, color, and larger foam pieces only.
- Check often. If you see stretching, tiny leaks, or worn corners, toss it and remake. It takes five minutes and saves a headache.
My go-to supplies
You can make most of these with what you already have. Here are the basics I keep in my craft bin because my house is, in my own words, held together by hot glue and washi tape.
- Freezer zip-top bags (quart size is easiest)
- Clear packing tape or duct tape
- Hair gel (a thick, clear squish base)
- Dish soap (for bubbles and slippery movement)
- Food coloring or liquid watercolors (optional)
- Low-risk add-ins: foam shapes, larger pom poms
- Use with extra caution: buttons, beads, sequins, confetti, small toy pieces (these are choking hazards if a bag breaks, so only use if you trust your seal and you are actively supervising)
- Painter’s tape (for sticking to surfaces)
Product sensitivity tip: Fragranced gels, soaps, and some glitters can bother sensitive skin. If that is your kid, go fragrance-free and keep it simple.
Cleaning note: If you plan to reuse bags, skip anything oily and avoid adding loose flour or powders that can clump and stress the seams.
15 sensory bag ideas (ages 1-3)
Each idea below includes a simple “make it” and a few toddler-friendly ways to play. You do not need to do them all. Pick one, celebrate the calm, and call it a win.
1) Rainbow hair gel squish bag
Make it: Add hair gel to a freezer bag. Dot in a few drops of food coloring (or liquid watercolors). Seal using the safety method above.
Play: Encourage your toddler to press the colors together and “find” new colors. Ask: “Can you make purple?”
2) Pom pom push bag
Make it: Add a handful of small pom poms plus clear gel (enough so they move). Seal using the safety method above.
Play: Try “push the red pom pom to the corner” or “find two that match.”
3) Bubble burst dish soap bag
Make it: Add a few tablespoons of dish soap and a little water. Squeeze in some air before sealing so bubbles form. Seal using the safety method above.
Play: Toddlers love pressing bubbles around. Great for restaurant wait time.
4) Glitter calm-down bag
Make it: Fill with clear gel and a pinch of glitter. Seal using the safety method above.
Play: Use as a calm corner tool. Prompt: “Let’s push the glitter to the bottom and watch it float back up.”
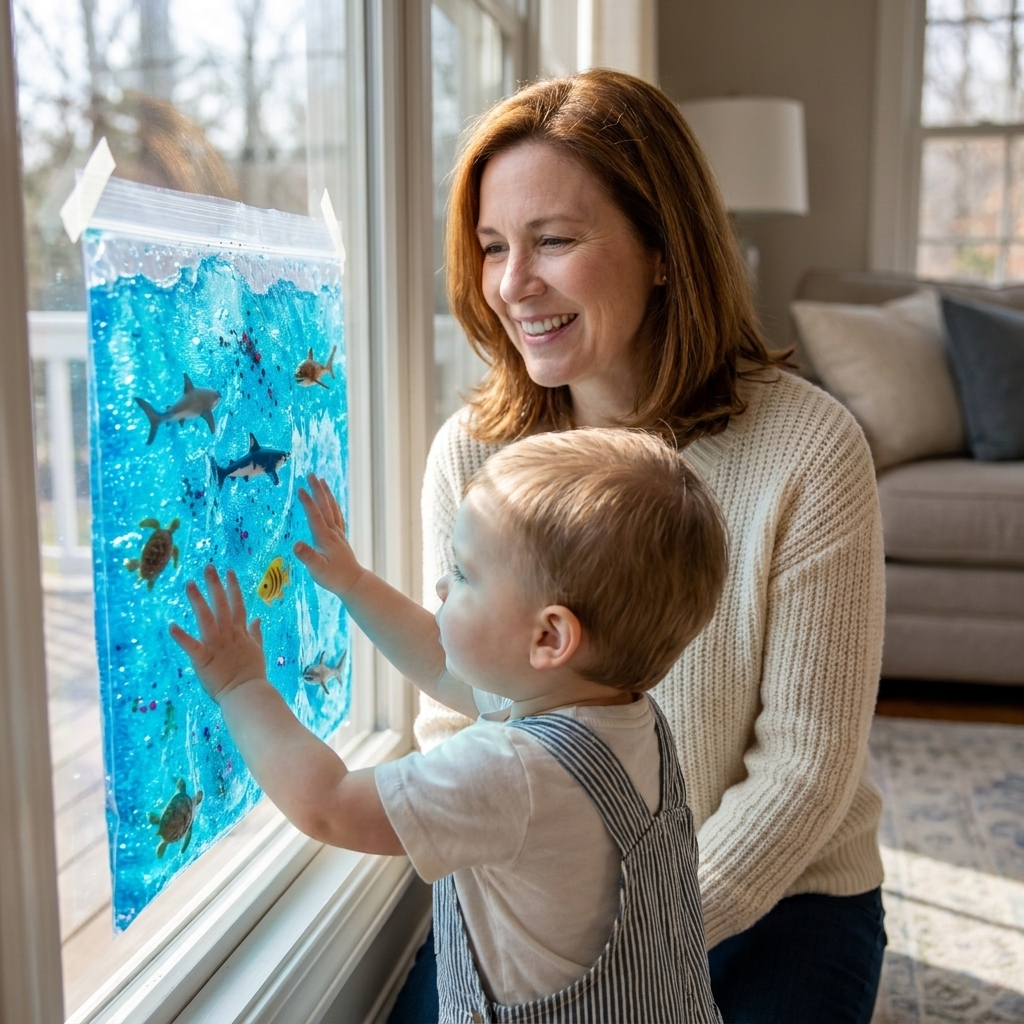
5) Ocean animal float bag
Make it: Add blue-tinted gel or water plus a few small plastic sea animals. Seal using the safety method above.
Play: “Can you find the turtle?” “Make the fish swim fast.”
6) Color hunt confetti bag
Make it: Add gel and a mix of colorful sequins or confetti (larger pieces are easier to see). Seal using the safety method above.
Play: Call out colors: “Find yellow!” Toddlers can point or press a finger on the matching piece.
7) Button slide bag (older 2s and 3s)
Make it: Add gel and a small handful of buttons. Seal using the safety method above. (Supervise closely.)
Play: “Can you push the big button to the top?” Builds finger strength and focus.
8) Car wash bag
Make it: Add blue-tinted dish soap and water. Drop in a couple of small plastic cars. Seal using the safety method above.
Play: “Wash the wheels!” “Push the car through the bubbles!”
9) Nature discovery bag
Make it: Add clear gel and a few flat nature finds: small leaves, petals, thin twigs. Seal using the safety method above.
Play: “Can you find the leaf?” “Press it flat and feel the bumpy veins.”
10) Alphabet foam squish bag
Make it: Add gel plus foam letters. Seal using the safety method above.
Play: Keep it simple: “Find A.” If your toddler is 1, just let them explore the shapes and colors.
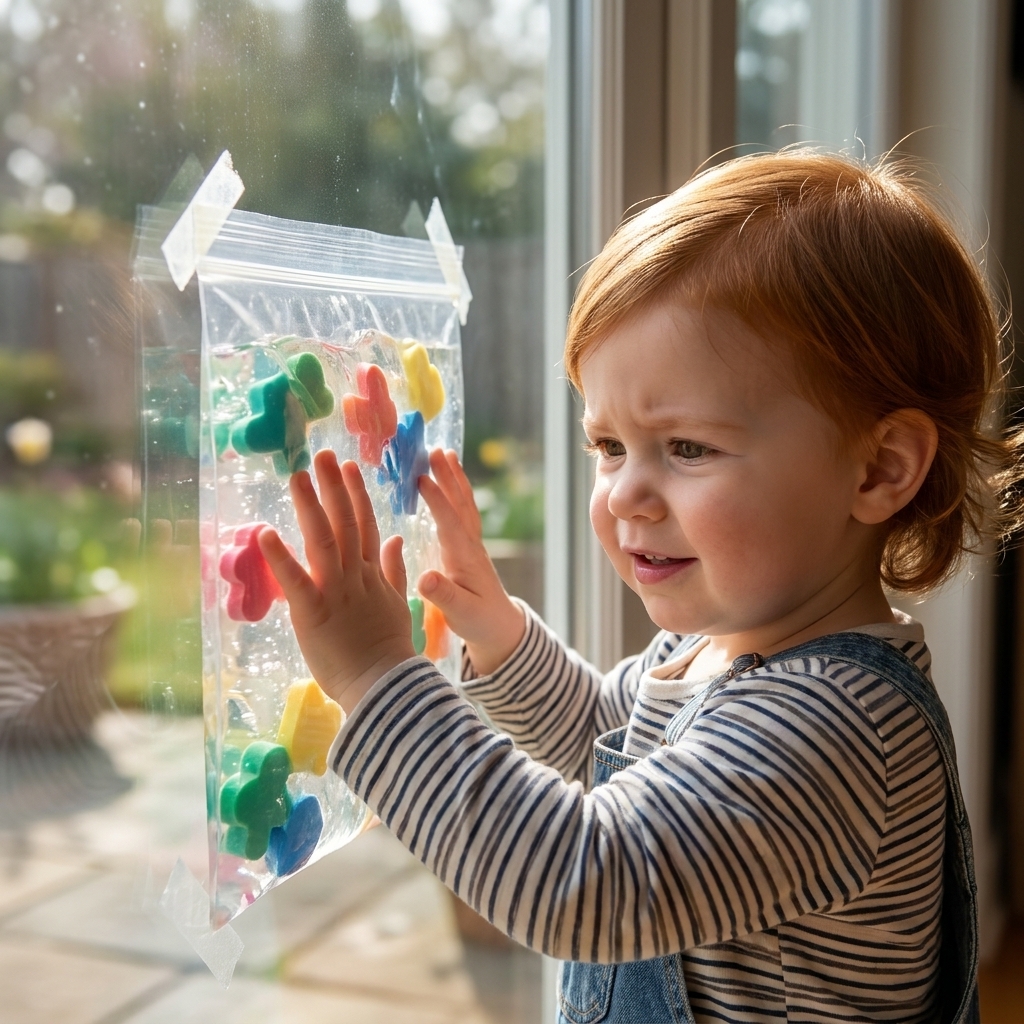
11) Shape match window bag
Make it: Add gel and foam shapes. Tape the bag to a bright window.
Play: Name shapes: circle, star, heart. Toddlers love the “stained glass” effect.
12) “I Spy” rice-look bag (no loose rice)
Make it: Use clear hair gel and mix in a few drops of tan or brown coloring to get that “sensory bin” vibe. Add tiny objects like foam stars or plastic beads that are fully sealed in the bag. Seal using the safety method above.
Play: “Can you find the star?” You get the look of a rice bin without vacuuming rice for days.
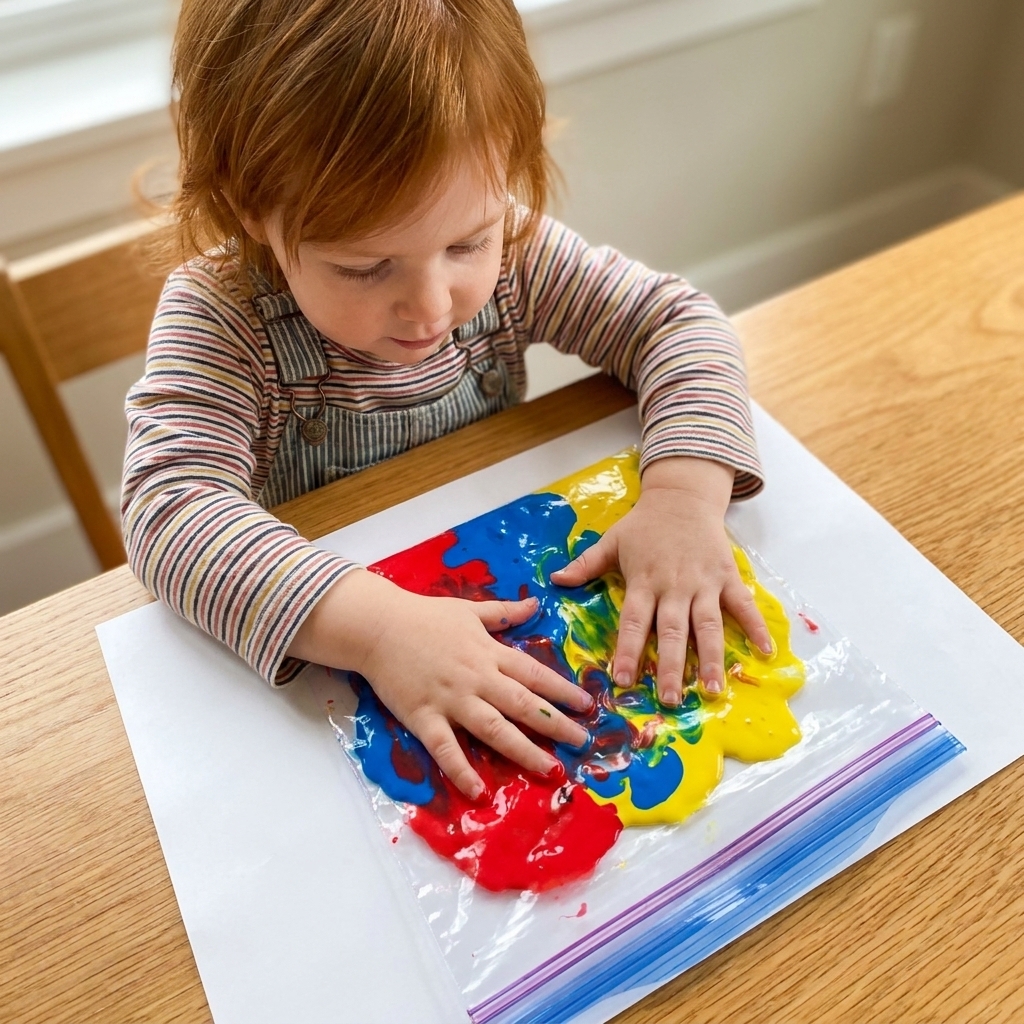
13) Paint squish bag art
Make it: Squirt a few colors of washable paint into a bag. Seal using the safety method above. Place the bag on white paper.
Play: Your toddler presses and smears the paint inside the bag to make “prints” on the paper underneath. No paint on hands, big art payoff.
14) “Feed the monster” dot bag
Make it: Add gel and small foam dots or pom poms. Seal using the safety method above. On the outside of the bag, use washi tape to make a simple “monster mouth” shape.
Play: “Can you push the dots into the mouth?” This is shockingly engaging.
15) Seasonal bag
Make it: Base = clear gel. Add seasonal items: foam pumpkins (fall), snowflakes (winter), hearts (February), plastic eggs or chicks (spring), foam suns (summer). Seal using the safety method above.
Play: Talk about seasons, colors, and simple vocabulary like “cold,” “hot,” “windy,” and “cozy.”
Ways to play (even at age 1)
Some toddlers jump right in. Others need a little invitation. Try these prompts:
- Two-finger poke: “Can you poke, poke, poke?”
- Press and release: “Push it down… now let it go!”
- Find and point: “Where is the star?”
- Move to the corner: “Can you push the red one to the top?”
- Quiet time routine: Use a calm glitter bag while you read one board book.
My teacher tip: Narrate what they are doing. “You are pressing with your palm” and “That one is sliding fast.” This builds language without turning play into a quiz.
Troubleshooting
If the bag leaks
- Set it on a towel, then wipe the surface with warm soapy water.
- If you used food coloring, check for staining and clean quickly.
- Double-bag it next time.
- Use less liquid so there is less pressure on the seams.
- Tape the edges, not just the zipper.
If your toddler tries to bite it
- Stick it to a window or high chair tray so it stays flat.
- Offer a teether alongside the bag.
- Skip small parts and switch to a thicker gel base, or pause sensory bags for a bit.
If everything clumps
- Use hair gel instead of water for smoother movement.
- Skip powders and anything that absorbs liquid.
Storage and reuse
If the bag is still in good shape, you can store it in a bin out of reach between uses. If you used fresh nature items (like petals or leaves), a short stint in the fridge can help slow odors or mold. Either way, discard at the first sign of cloudiness, stretching, odor, or any mold. The goal here is calm, not “make it last forever.”
Quick FAQ
What can I use instead of hair gel?
Dish soap and water works for bubbles. You can also use clear shampoo. Reinforce the seal and supervise.
Can I use hand sanitizer as the base?
I generally prefer hair gel or shampoo for toddler sensory bags. If you do use sanitizer, choose a thick, clear, fragrance-free option when possible, tape it down securely, and supervise closely. Stop immediately if your child bites the bag. If a leak happens, wash hands and the surface right away, and keep it away from eyes and mouths.
Can babies under 1 use sensory bags?
Some families do, but this list is designed for ages 1 to 3. If you try earlier, stick to larger, simple items (or just gel and color), tape the bag down, and supervise closely the whole time.
How long does a sensory bag last?
Some last a single afternoon, some last a week. It depends on how enthusiastic your toddler is and how sturdy your bag is. I plan for short life spans and easy remakes.
How do I keep it truly mess-free?
Freezer bag + double-bagging + packing tape across the zipper + tape it to a surface. That combo is my “toddlers will test this” method.
A gentle reminder
If your toddler presses a sensory bag for 90 seconds and then runs off to chase the cat, it still counts. Sensory play does not have to be long to be valuable. You are offering a safe, hands-on way to explore textures and focus, and that is a big win.
If you try any of these, I would love to know which one your toddler goes back to again and again. In my house, the bubble bag and the “feed the monster” bag are basically celebrities.