10 simple, mess-friendly cardboard box toys kids actually play with. Build a car, castle, dollhouse, marble run, and more using everyday supplies.
If my house ever gets audited for craft supplies, I am pretty sure the evidence will be a pile of shipping boxes behind the pantry door. And honestly, I am not sorry. Cardboard boxes are one of the best open-ended materials for 5 and 6-year-olds because they are big, forgiving, easy to modify, and perfect for the kind of pretend play kindergarteners live for.
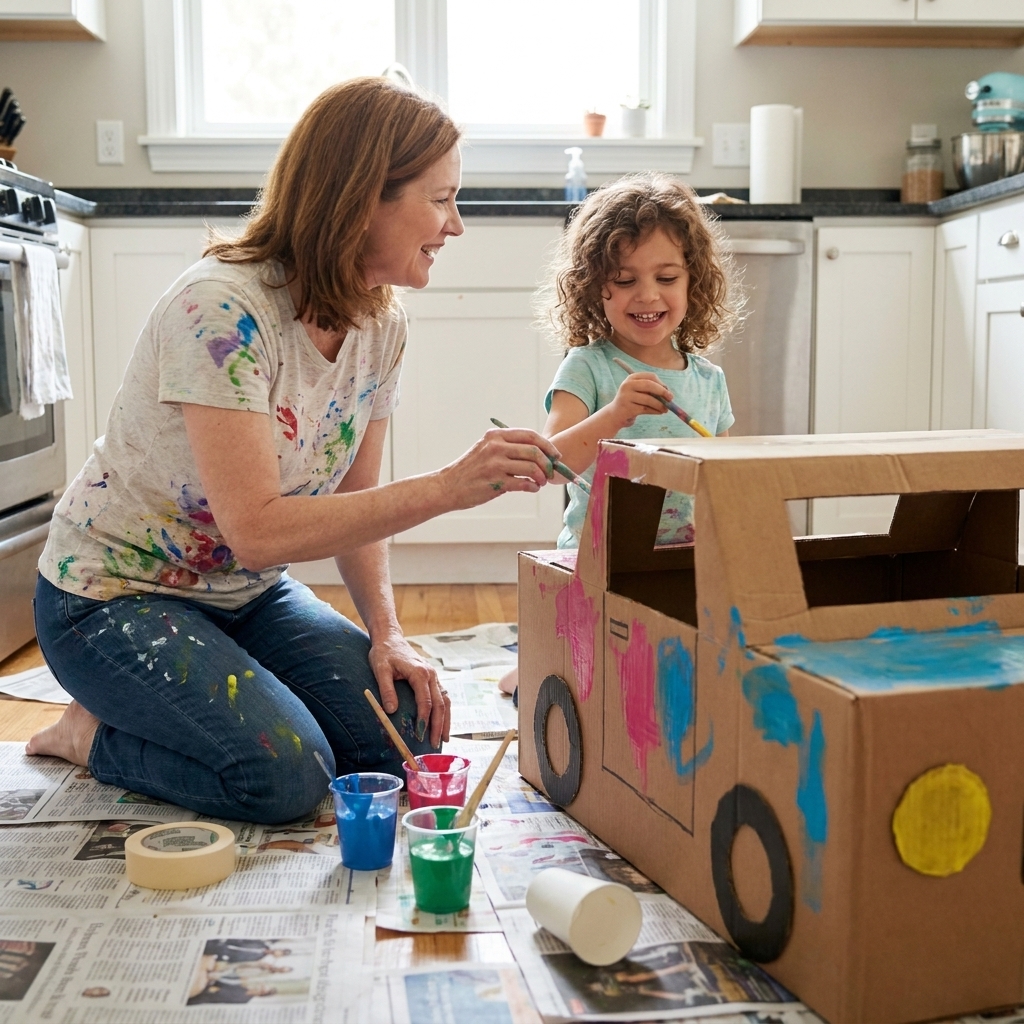
Below are three cardboard box “masterpieces” I have made (and remade) with my own kids and in my kindergarten classroom: an interactive car, a cozy castle, and a stompy robot. Each one is designed for short attention spans, wiggly hands, and the delightful reality that the process matters more than perfection.
Before You Start: My Cardboard Craft Rules
Pick the right box
- For cars: a medium moving box that reaches your child’s waist when they stand next to it.
- For castles: a large appliance box or two large shipping boxes taped together.
- For robots: a box that fits over the torso (arms can hang out), plus a smaller box for a headpiece if you want one.
Kid-safe tools that actually work
- Grown-up only: box cutter or sharp utility knife (for clean windows and doors). Use on a stable surface, cut away from your body, and keep kids well back.
- Kid helper options: blunt-tip scissors, kid scissors, hole punch, washable markers, paintbrushes, glue stick.
- My MVP supply: masking tape. It sticks, it peels, it forgives.
Quick safety notes (because cardboard is sneaky)
- Tape or fold down any sharp cardboard edges after cutting.
- Skip cords and long strings on costumes. For young kids, anything around the neck is a strangulation risk. If you need ties or straps, use short, wide ribbon or soft fabric strips, and keep everything under close supervision.
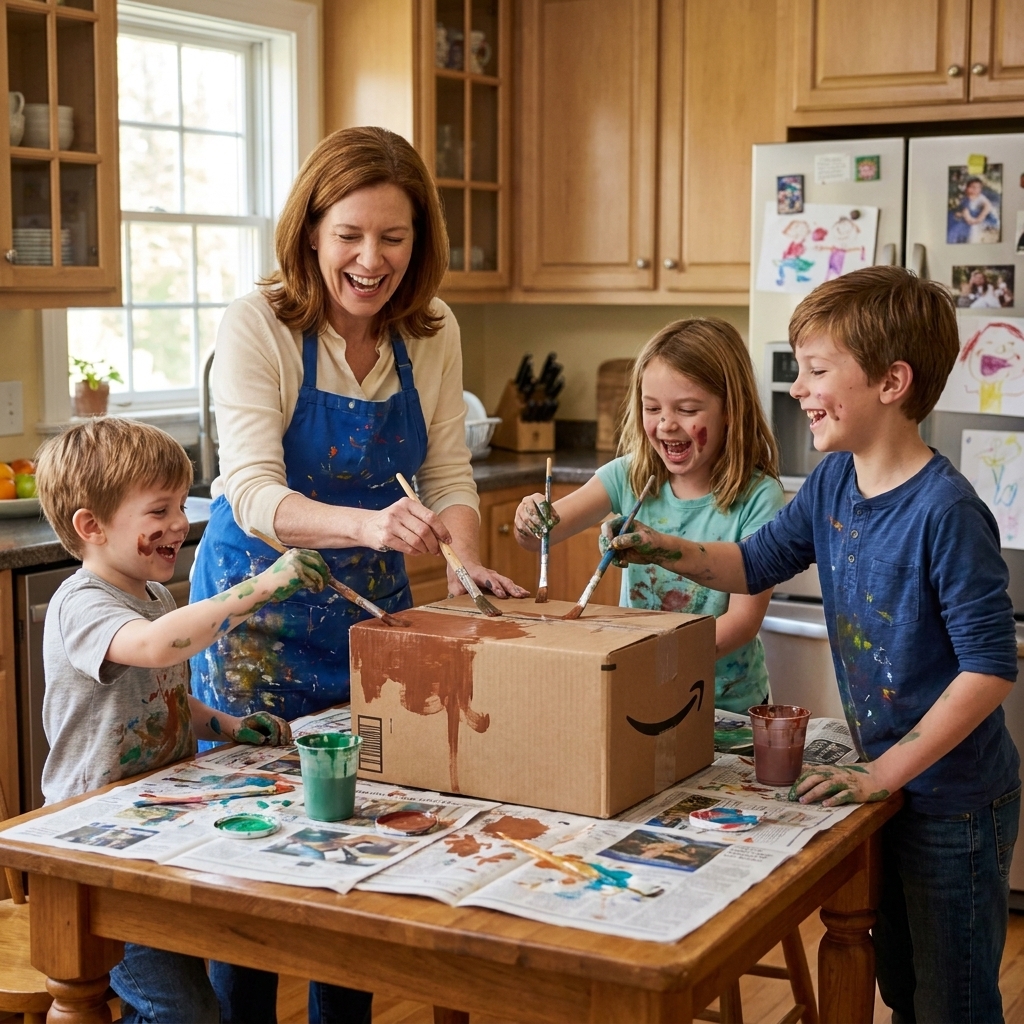
- If you use paint, put down a tablecloth or flattened cardboard as a drop cloth. Cardboard projects shed little paper fuzzies when wet.
- Wearables need visibility and airflow. Keep face openings big, never cover the nose or mouth area, and do a quick comfort check before play starts.
Set expectations in kid language
I tell 5 and 6-year-olds: “We are building a prototype.” They take it very seriously and it gives everyone permission to adjust as we go.
Quick age guide (helpful for siblings)
- Ages 3 to 4: great at decorating (stickers, scribbles, tape strips you pre-tear). Adults handle all cutting and anything wearable.
- Ages 5 to 6: can help plan, tape, draw details, and problem-solve with you. Adults still do cutting and hot glue.
- Ages 7+: often enjoy measuring, more detailed designs, and sturdier builds. You can slowly hand over more responsibility with close supervision.
Craft 1: Cardboard Box Car
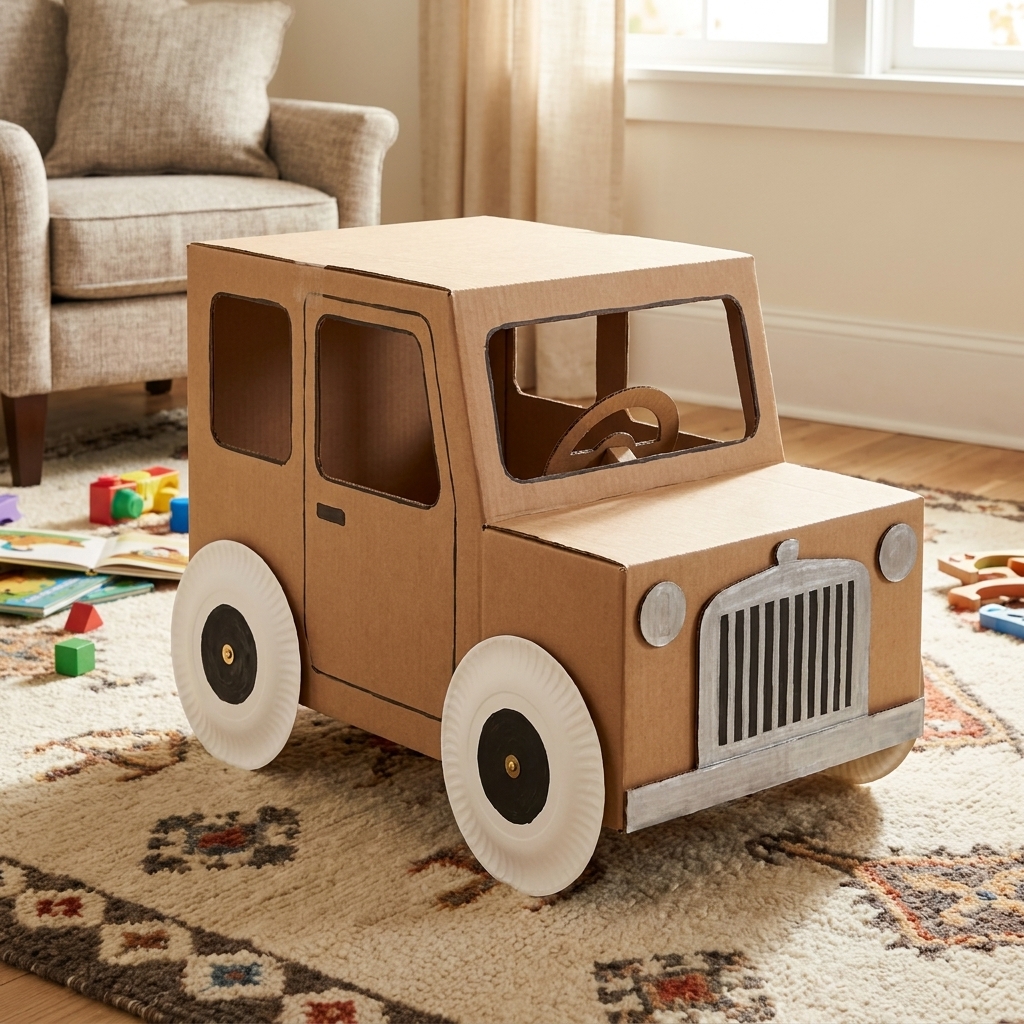
This is the craft that gets played with for days. Add a “dashboard” and your kindergartener will run a whole pretend town from the hallway.
Supplies
- 1 medium cardboard box
- Masking tape or painter’s tape
- Markers and/or washable paint
- 4 paper plates (or cardboard circles) for wheels
- 2 bottle caps or small cardboard circles for headlights (optional)
- 1 paper towel tube for a steering column (optional)
- Glue or tape for wheels
- Adult scissors or a box cutter
Step-by-step
- Decide how they will “drive.” For 5 and 6-year-olds, I love a car they can sit inside. Turn the box so one large side faces upward as the opening (you may fold flaps inward and tape them down for a flatter rim).
- Cut the top opening. Adult step: cut a large rectangle from that top panel so your child can climb in and out easily. Leave a 2 to 3 inch “frame” around the edges for stability.
- Add a windshield flap. Tape a piece of cardboard to the front edge like a hinged flap, then fold it up to create a windshield. Or cut a simple windshield window from the front panel.
- Make a dashboard. Tape a strip of cardboard inside the front. Kids can draw buttons, a speedometer, and a radio. This is where the magic happens.
- Add wheels. Tape or glue paper plates to the sides. If you want wheels that spin, poke a hole through the box and wheel and use a brass fastener, but taped wheels are usually plenty for this age.
- Decorate. Let your child choose: race car stripes, a taxi sign, a fire truck ladder drawn on the side. This is also a great place to use scraps of wrapping paper or old stickers.
Make it more interactive
- License plate: write their name and a silly number. Mine once insisted on “CAR-987.”
- Turn signals: tape on two paper triangles that flip up and down.
- Fuel gauge: draw a line and use a clothespin as the “needle.”
- Car wash: set up streamers in a doorway and have them drive through.
Troubleshooting
- Box collapsing? Reinforce corners with extra tape, especially along the bottom edges. You can also slide a second piece of cardboard inside the base like a floor.
- Paint making the cardboard sag? Use markers, crayons, or a thin layer of paint. Or paint only the “details” instead of the whole box.
- Wheels keep falling off? Tape from the back of the wheel onto the box in multiple spots like spokes. One strip of tape usually is not enough for energetic drivers.
Craft 2: Cardboard Box Castle
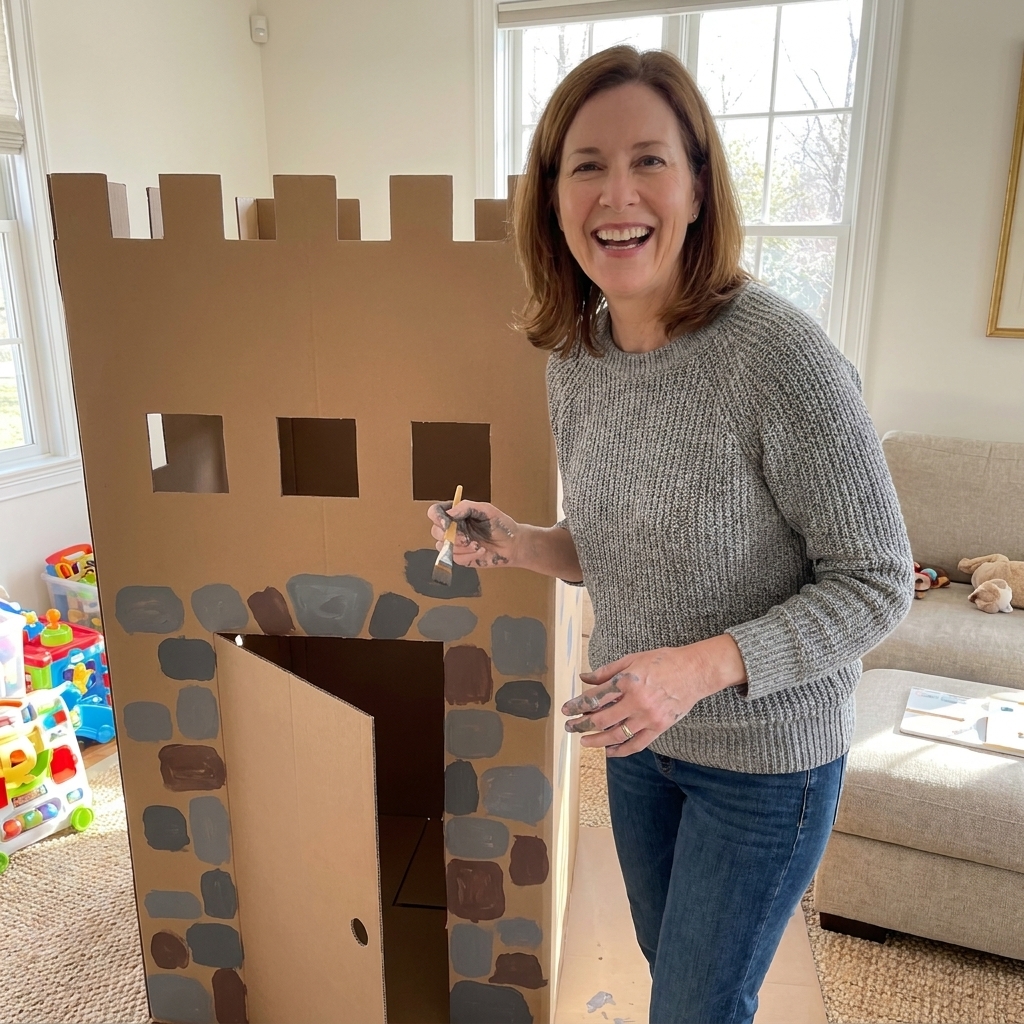
A cardboard castle is basically an invitation for storytelling. Knights, princesses, dragons, library books acting as spell books. All of it.
Supplies
- 1 extra-large cardboard box (or 2 large boxes)
- Masking tape and/or packing tape (adult use)
- Adult box cutter
- Markers, crayons, and/or paint
- Optional: aluminum foil, paper scraps, tissue paper, yarn
- Optional: battery tea lights for “torches”
Step-by-step
- Stand the box upright. You want the opening on the bottom so the “ceiling” is sturdy.
- Cut a door. Adult step: draw a big rounded-top door and cut three sides, leaving one side attached as a hinge so it opens and closes.
- Add windows. Cut a few simple square windows at kid eye level. If you want sturdier windows, cut only the top and sides and fold the flap down as a window ledge.
- Create castle towers (optional but fun). Tape smaller boxes to the sides as towers. You can also roll poster board into a tube shape and tape it on.
- Make crenellations. Cut rectangles along the top edge. Keep it simple. Perfection is not required for pretend royalty.
- Decorate like stone. For an easy “stone wall,” kids can draw large uneven ovals or rectangles all over the castle. Gray crayons and black marker outlines look great.
- Add a flag. Tape a paper triangle flag to a straw or stick and attach it to the top. Let your child choose the symbol for their “kingdom.”
Play add-ons
- Drawbridge: Cut a flap at the door base and tape on two short strips of fabric to lift it. Skip cords, especially anything that could loop around a neck.
- Moat: Blue painter’s tape outline on the floor.
- Torch lights: Tape battery tea lights near the door, out of reach of tiny siblings. Check that the battery compartment is secured with a screw, especially if the light uses button batteries.
- Royal mail slot: Cut a thin slot and deliver “letters” (scrap paper) from villagers.
Group tip
If you have multiple kids (or a classroom group), assign roles: one child designs the flag, one makes “stone” patterns, one is in charge of windows. Short jobs keep 5 and 6-year-olds engaged and reduce arguments over who gets the marker.
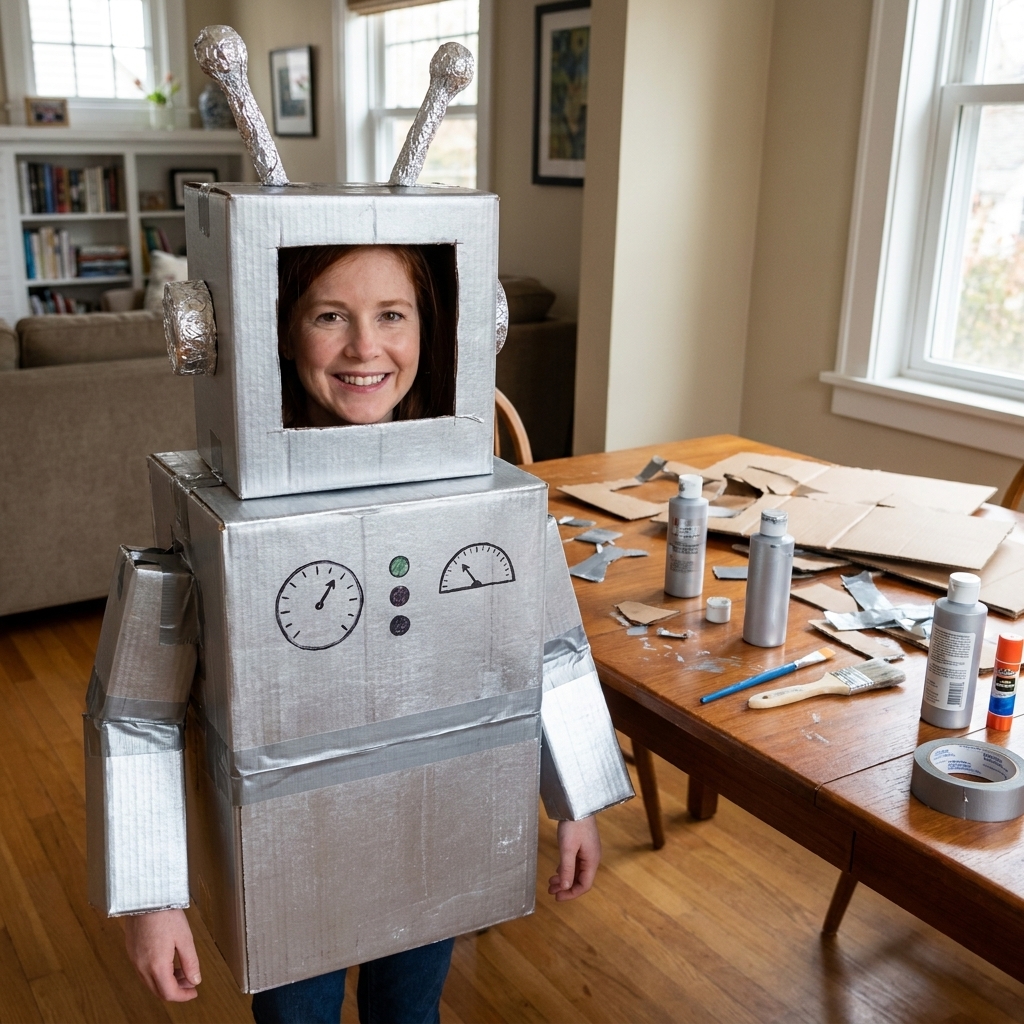
Craft 3: Cardboard Robot
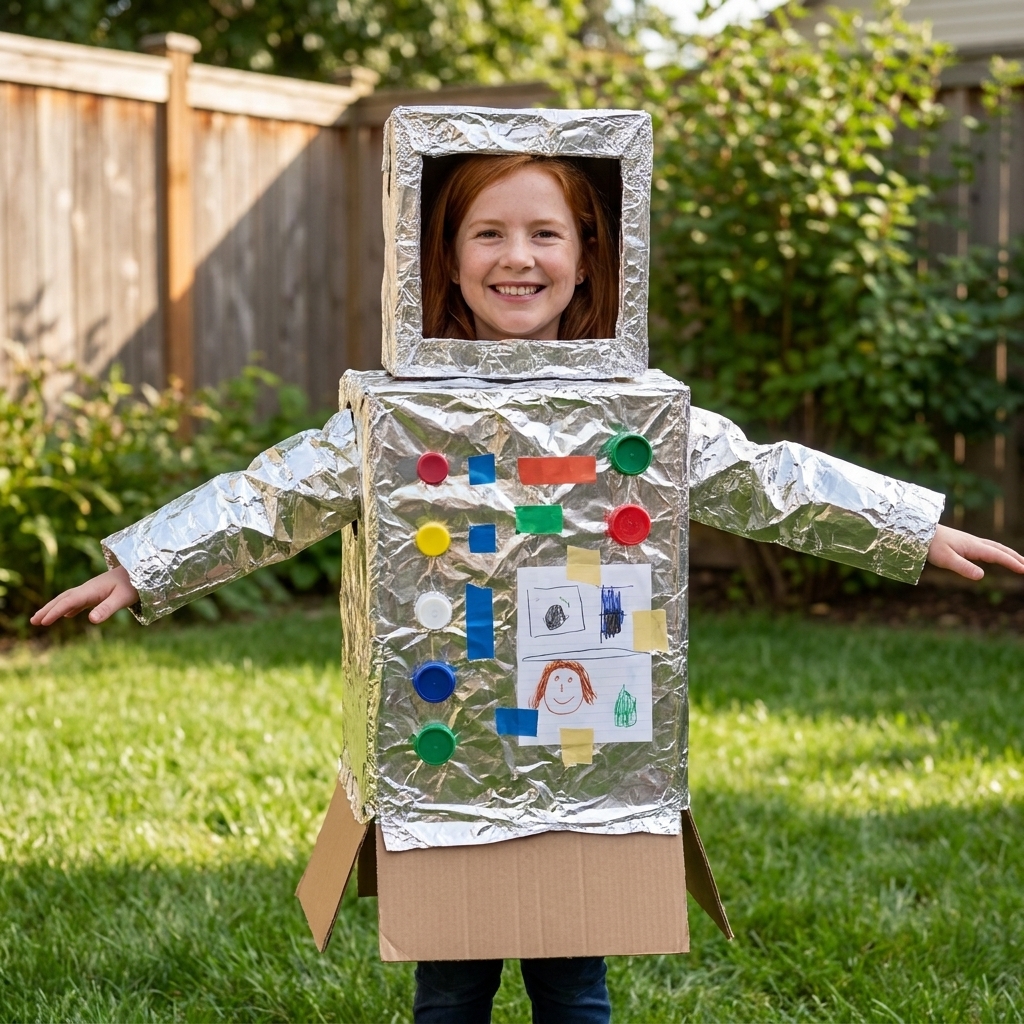
This robot is a whole-body yes for kindergarteners who love movement. It is also a sneaky way to practice planning, spatial awareness, and problem-solving while they are busy announcing, “BEEP BOOP, I REQUIRE SNACKS.”
Supplies
- 1 medium to large box for the body
- 1 smaller box for a head (optional)
- Masking tape or duct tape (adult use)
- Markers and/or paint
- Aluminum foil, bottle caps, egg carton cups (great for buttons)
- Adult box cutter
- Hole punch (optional)
- Wide ribbon or soft fabric strips (optional for shoulder straps)
Step-by-step
- Fit the body box. Have your child step into the box to check sizing. You want it roomy enough to move, but not so wide they cannot use their hands.
- Cut head and arm openings. Adult step: cut a large head hole in the top. Then cut arm holes on each side. Keep arm holes lower than you think. Kindergartners like to swing their arms.
- Soften edges. Fold and tape raw edges so they do not scratch.
- Add straps (optional but helpful). Punch two holes in the front and back top edge and tie ribbon to create shoulder straps. Keep straps short and secure, and skip anything that could form a loop around the neck.
- Design the control panel. Tape on bottle caps, foil squares, and egg carton cups. Kids can draw dials, numbers, and “power” buttons.
- Robot head (optional). If your child wants a headpiece, use a smaller box and cut a face opening. I often skip this for comfort and visibility and let kids make a “robot helmet” from a cereal box instead.
- Finish with foil accents. A little foil goes a long way. Wrap “antennae” on top with foil or tape on a foil spiral.
Make it kindergarten-friendly
- Visibility first: If they cannot see well, make the face opening bigger or skip the headpiece.
- Airflow matters: Avoid tight headpieces and never cover the mouth or nose area. Do a quick “Can you breathe and talk easily?” check.
- Bathroom breaks plan: Keep the costume simple to remove. Trust me.
- Movement test: Do a “robot dance” before you call it done. If it pinches or catches, trim and tape.
- Hot glue is adult-only: If you use it for stubborn pieces, apply it yourself and let it cool fully before kids handle the robot.
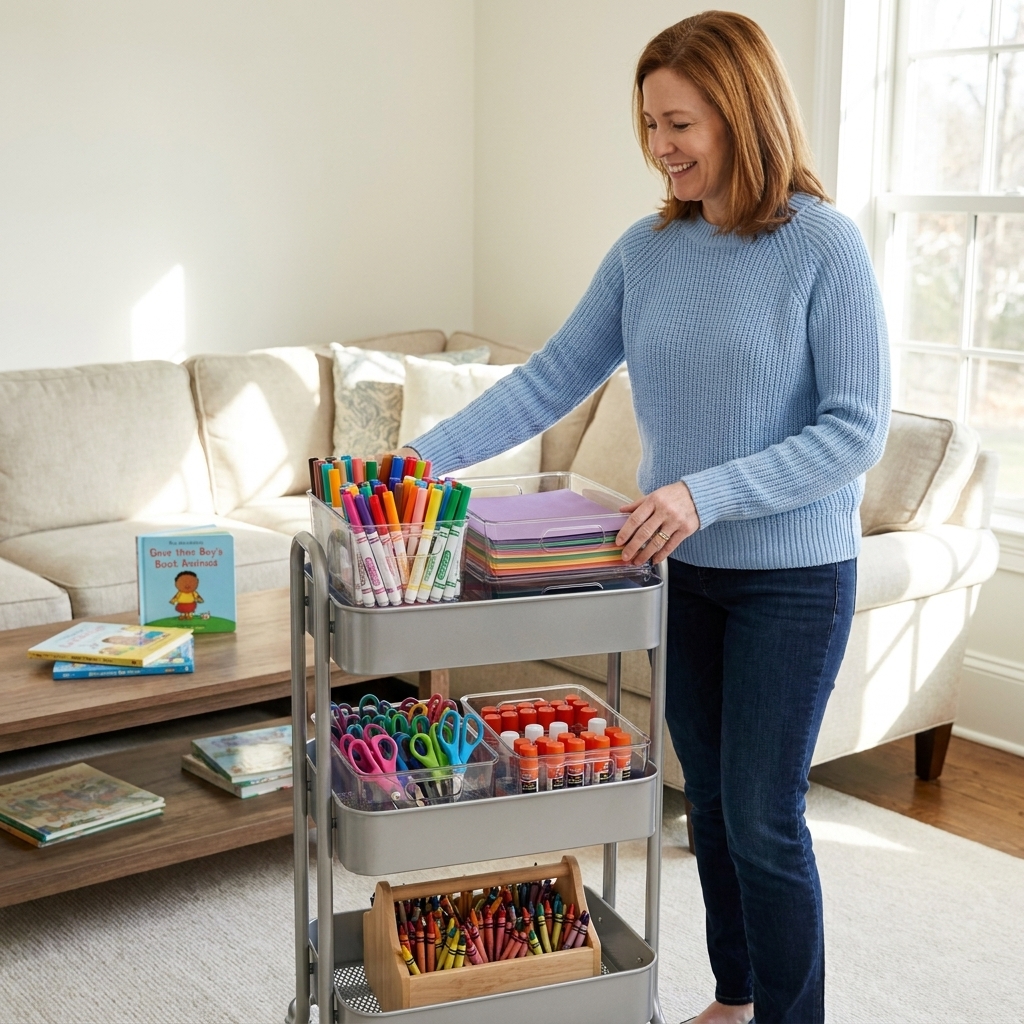
My Go-To Supply Bin
You do not need a craft store run. Here is what I keep in a small bin for quick box builds:
- Masking tape and painter’s tape
- Washable markers (thick ones are easiest for 5 and 6-year-olds)
- Glue sticks
- Child-safe scissors
- Stapler (adult use)
- Paper plates, bottle caps, egg cartons
- Scrap paper, wrapping paper, old stickers
- Aluminum foil
Optional but wonderful: a cheap roll of kraft paper for drawing big plans and “blueprints.”
Teaching Tip: Plan Like Builders
For kindergarteners, planning can be as simple as asking:
- “What will it do?”
- “How will you get in and out?”
- “What does it need to have?”
Then I hand them a marker and let them draw directly on the box where they want doors, buttons, or windows. I do the cutting later. Kids feel in charge, and you avoid the heartbreak of cutting the door on the wrong side.
Cleanup That Won’t Break You
- Use a “dry decoration” option first: markers, crayons, tape, and paper scraps are less messy than paint.
- Set a timer: 10 to 15 minutes of decorating is usually the sweet spot before kids move into play mode.
- Embrace the cardboard confetti: A quick sweep is easier than trying to prevent every tiny cardboard bit.
Storage and When to Recycle
- Store it dry: A closet or garage shelf beats a damp basement every time.
- Fix it like a pro: Keep masking tape handy for quick “field repairs.” For crushed corners, slide a new piece of cardboard inside and tape it as a patch.
- Know when it’s done: If it is moldy, heavily painted and soggy, or shedding flakes, it is time to recycle what you can and toss what you cannot.
- Easy classroom trick: Snap a picture of the creation before recycling it. Kids love the “museum gallery” feeling, and you get your floor space back.
FAQ
What kind of tape works best on cardboard?
Masking tape and painter’s tape are my favorites for kid crafts because they tear easily and reposition well. For structural parts like connecting two big boxes, I use packing tape, but that is an adult job because it can be tricky and tangly.
Can I use hot glue with 5 and 6-year-olds?
I use hot glue only as the grown-up helper, and usually only for parts that keep popping off, like wheels or heavy “robot buttons.” For most of these builds, tape is enough.
How do I make the project last longer than one afternoon?
Reinforce seams with extra tape, keep cutouts simple, and avoid soaking the cardboard with thick paint. Also, store it somewhere dry overnight. Damp basements and cardboard are not friends.
What if my child wants it “perfect” and gets frustrated?
I remind them that we are making a pretend-play prop, not a museum piece. Then I offer two choices: “Do you want to fix it with tape, or do you want to call it a special feature?” Amazingly, “special feature” solves a lot of problems.
One Last Thing
If your car looks a little lopsided or your castle has exactly one window because attention spans are real, you did it right. These are the crafts that build confidence because kids can see their own ideas become something they can actually play with.
If you make one, I hope it turns into the kind of cardboard masterpiece that sticks around in the living room longer than you planned and becomes part of the everyday magic.