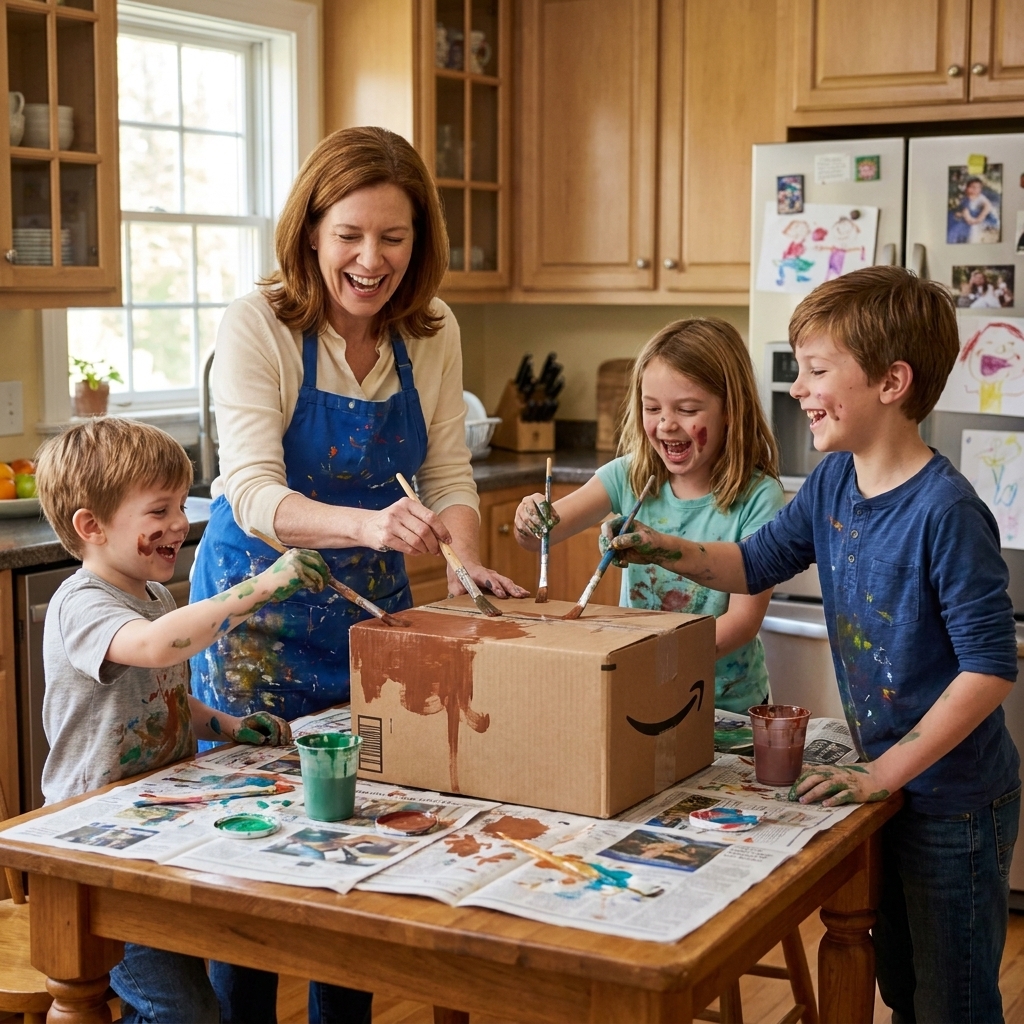
10 simple, mess-friendly cardboard box toys kids actually play with. Build a car, castle, dollhouse, marble run, and more using everyday supplies.
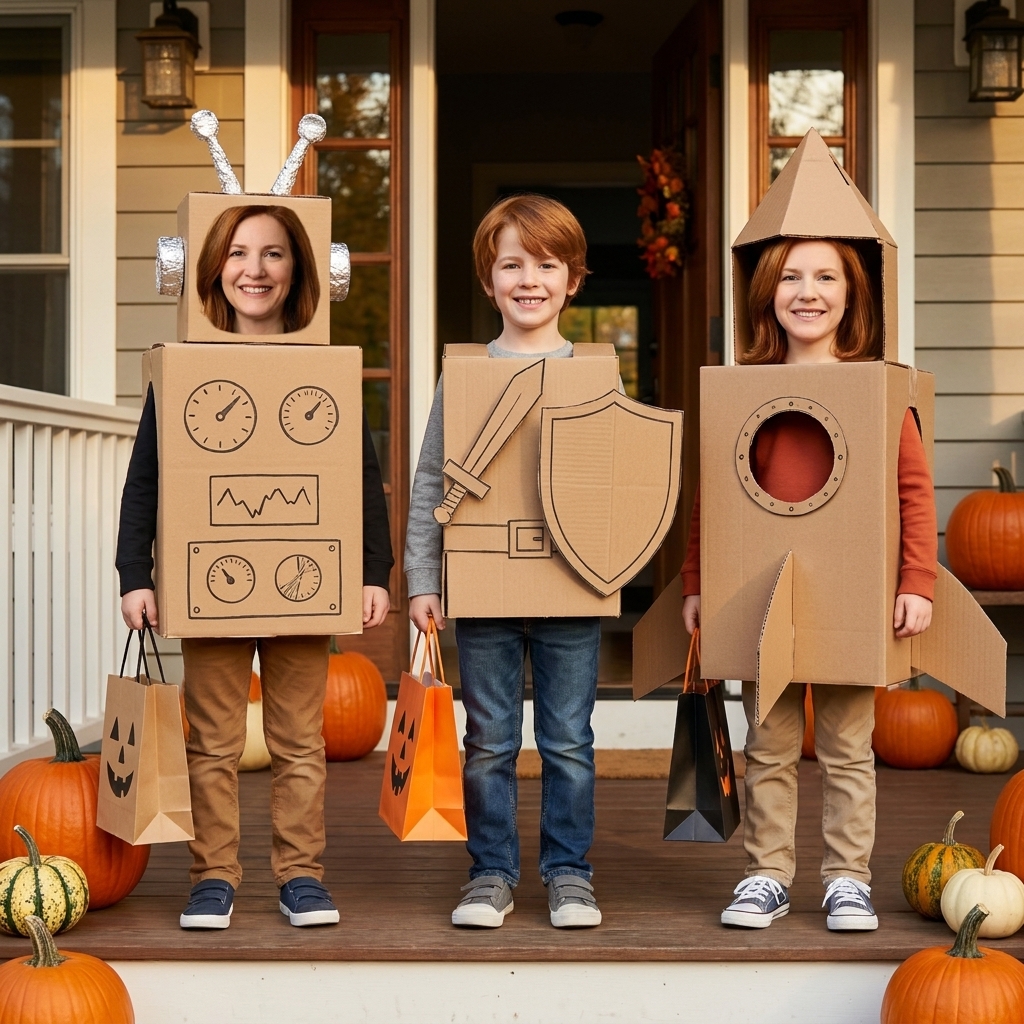
Confession from my house: if you open my hall closet in October, you will probably find at least one flattened cardboard box, a roll of washi tape, and a hot glue stick that is hanging on by faith alone. Cardboard box costumes are my favorite kind of Halloween magic because they are cheap, forgiving, and weirdly sturdy once you tape the seams like you mean it.
This guide is for real-life families and classrooms. We are going for “kid can move, sit, and eat a snack” costumes, not “museum display.” The process matters more than perfection, and cardboard is very good at hiding little oops moments under paint and glitter.
Before you start: pick the right box
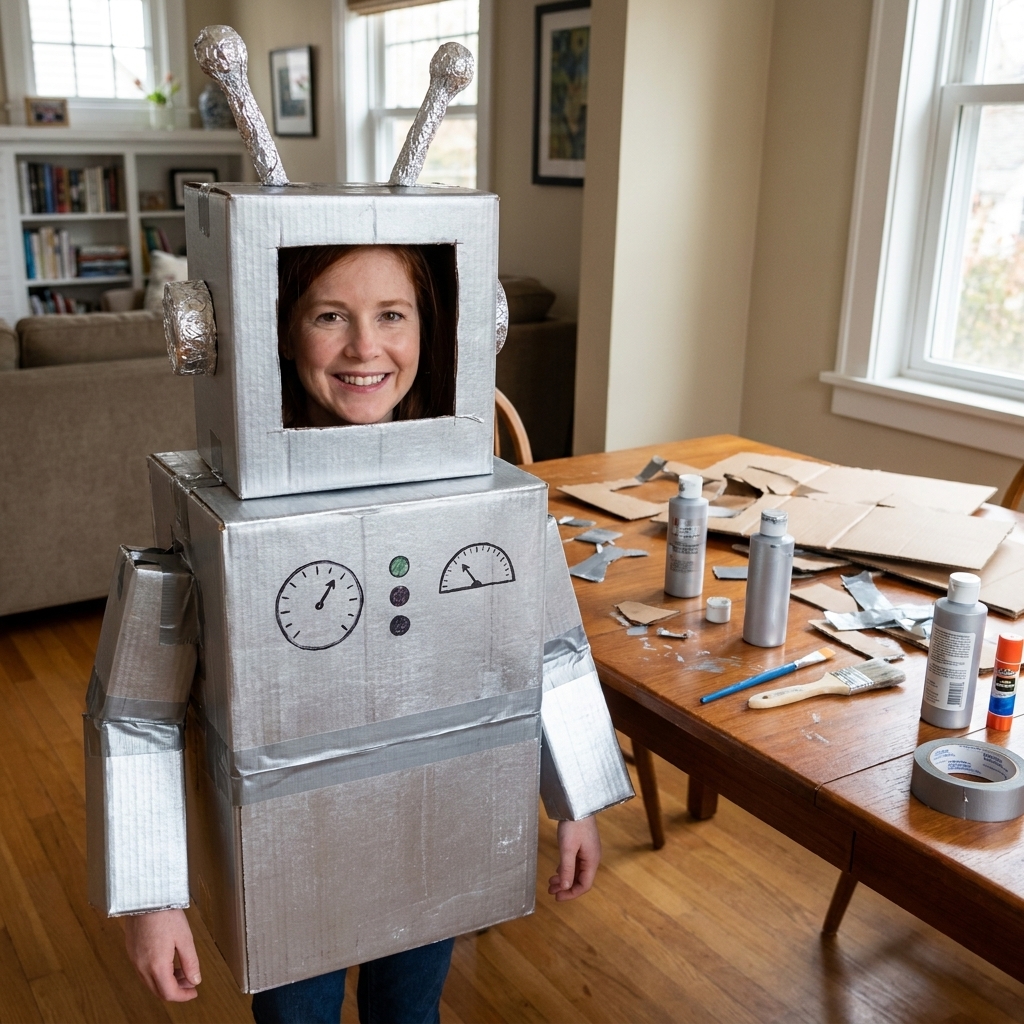
The box you choose is half the battle. For a torso-worn costume (robot, vending machine, gumball machine), I like to start with a box that is slightly wider than your child’s shoulders and long enough to cover from shoulders to mid-thigh. Too tall and they cannot sit. Too narrow and it becomes a cranky squeeze by the time you hit the first porch.
For a waist-hung costume (race car, boat, anything that “floats” around the hips), you can go wider and shorter since it does not need to ride on the shoulders.
Best box types
- Shipping boxes (Amazon-style): sturdy and easy to cut.
- Moving boxes: great for bigger builds like cars and vending machines.
- Cereal and snack boxes: perfect for accessories like “control panels,” fins, signs, and hats.
Quick fit check
- Can your child lift both arms up and forward?
- Can they take a big step without the box catching their knees?
- Can they sit on a chair without the box jamming into their chin?
If the answer to any of those is “no,” trim the bottom or switch to a wider box. Future you, standing on a neighbor’s porch, will be grateful.
Tools and supplies (kid-safe and sanity-saving)
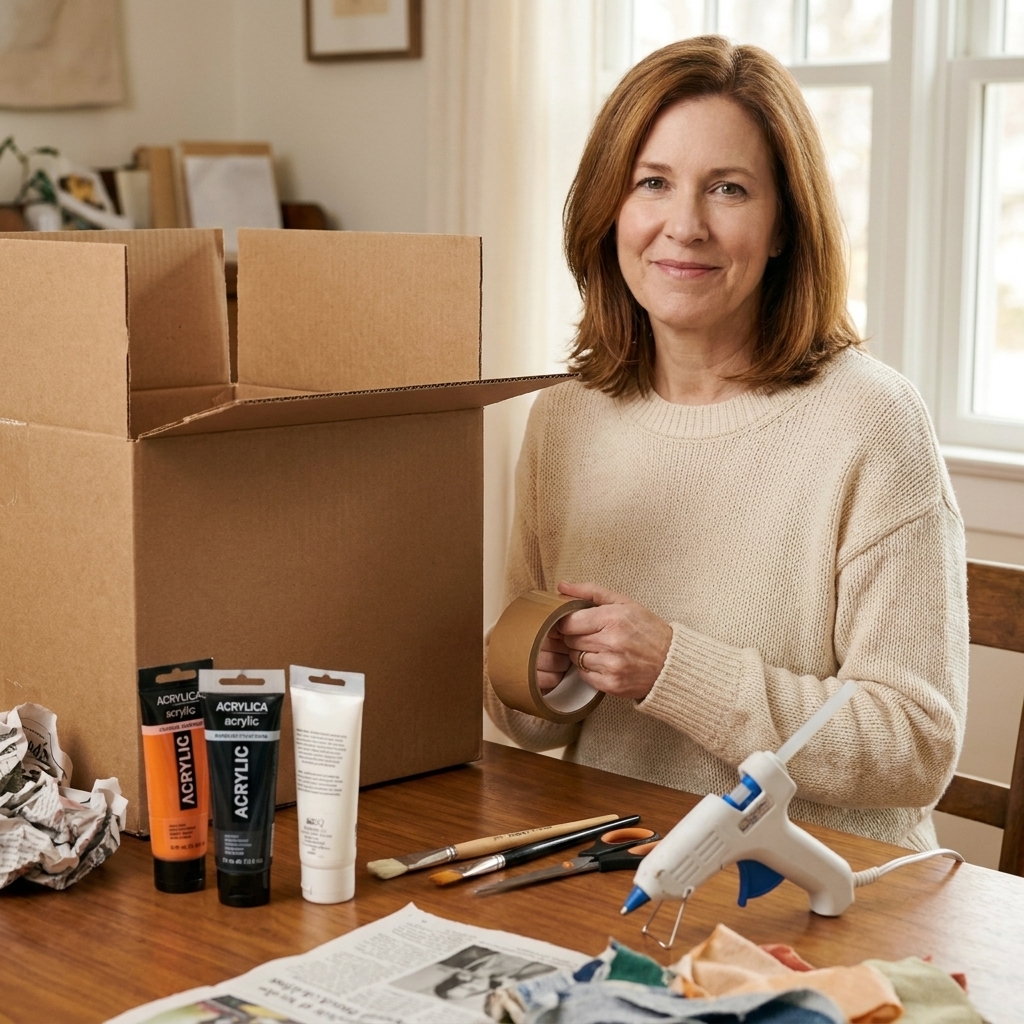
You can do most cardboard costumes with just tape and scissors, but these are the supplies that make it smoother.
Quick grown-up note: anything labeled adult only stays adult only. Box cutters, awls, and spray paint are not “learn as you go” kid jobs.
My essential toolkit
- Box cutter (adult only): for clean, straight cuts.
- Sharp scissors: kid scissors struggle with thick cardboard.
- Packing tape: structural strength.
- Painters tape: temporary holds and clean edges for painting.
- Hot glue gun: I use it for details, not load-bearing seams. Tape is often better for seams that flex and take stress.
- Stapler (optional): surprisingly helpful for straps and small flaps.
- Hole punch or awl (adult only): for making strap holes.
Decorating supplies that actually work on cardboard
- Acrylic paint: covers well and dries fast.
- Spray paint (adult only, outdoors): quickest for large areas.
- Markers and paint pens: details, outlines, “buttons,” and faces.
- Aluminum foil: instant “metal.”
- Washi tape: borders, stripes, pretend wiring (also my emotional support supply).
- Glue stick: for paper layers.
- White school glue: stronger than glue stick, slower to dry.
Straps and comfort items
- 1 inch elastic or ribbon for shoulder straps.
- Pool noodle pieces or foam scraps for padding edges.
- Old T-shirt to cut into soft straps in a pinch.
The basic build (works for almost every idea)
Think of this as your base pattern. Once you have the base, you can turn it into nearly anything.
Step 1: Decide how it opens
Option A: Slide on from the top (fastest). Use if the box is roomy and your child can lift it on and off.
Option B: Side opening (best for wiggly kids). Cut a straight line down one side seam so it opens like a door, then tape or Velcro it closed when worn.
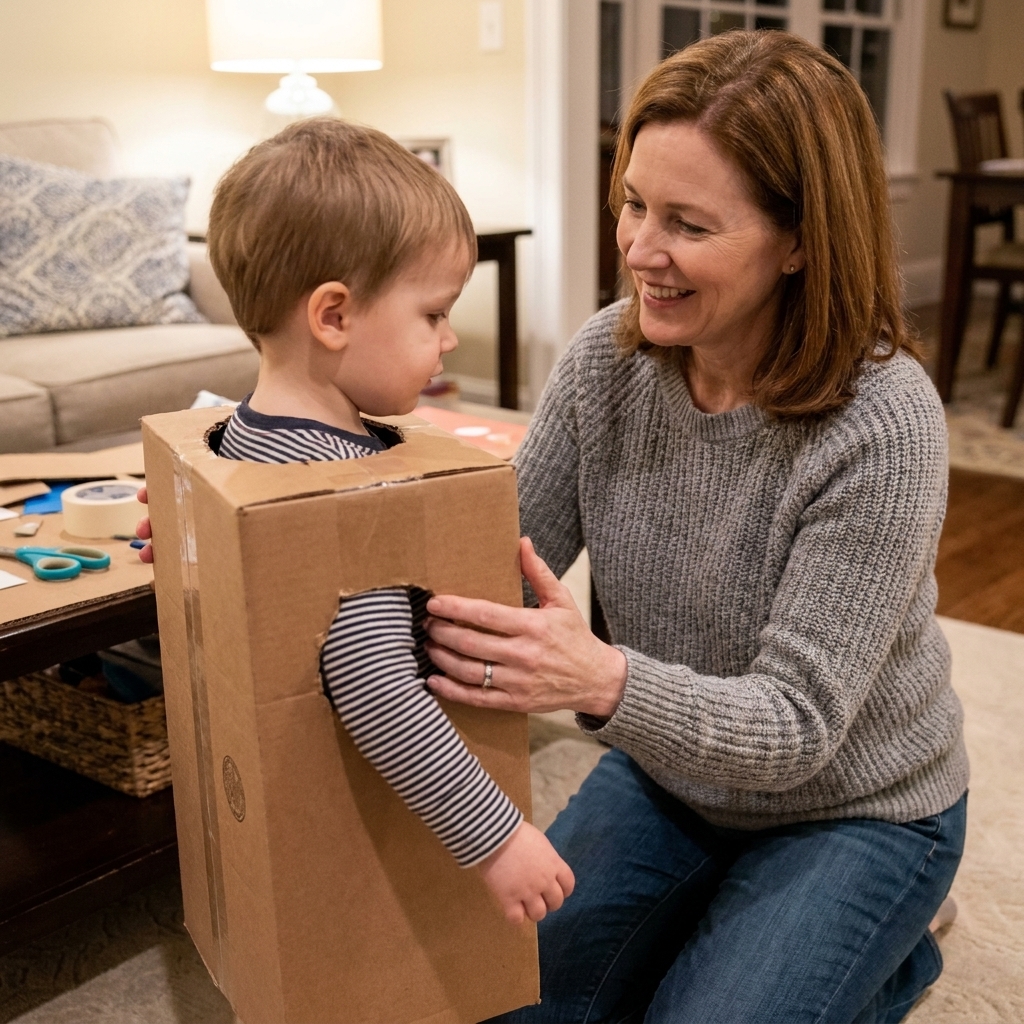
Step 2: Mark the armholes
Have your child put the box on and stand naturally with arms relaxed. Use a marker to dot where their shoulders sit and where their upper arms rest against the sides. Take the box off.
- Start with small armholes. You can always make them bigger.
- Round your corners. Sharp corners tear and poke.
Step 3: Cut the head opening (if needed)
Many costumes do not need a head hole if the box sits on the shoulders with straps. If you do cut a head hole:
- Make it an oval, not a square.
- Reinforce the edge with tape so it does not rip.
Step 4: Add shoulder straps (my favorite “why didn’t I do this sooner” trick)
Straps keep the costume from bonking into little chins and make it much easier to run house to house.
- Punch two holes in the front top edge and two in the back top edge.
- Thread elastic through like backpack straps and knot inside.
- Try it on and adjust so it sits comfortably, does not hit the chin, and does not smack the knees when they walk or sit.
Step 5: Reinforce like a mini engineer
- Tape inside corners.
- Add an extra strip of tape along any cut edges.
- If the costume needs to last through a school parade and trick-or-treating, tape the bottom edge all the way around.
Paint and decor hacks
Fastest way to make it look finished
If you want smoother coverage, do a quick base coat first:
- Option 1: White acrylic paint mixed with a tiny bit of water for a primer coat.
- Option 2: Cover big areas with colored paper (construction paper or butcher paper), then add details on top.
Dry time tips
- Use thin coats. Thick paint stays sticky.
- Set pieces in front of a fan.
- Paint the inside edges last. Kids always want to try it on before it is dry.
Kid-friendly texture tricks
- “Metal”: crumpled foil glued down, then lightly painted.
- “Candy shine”: clear packing tape over colored paper.
- “Stone”: dab gray paint with a sponge.
- “Buttons”: bottle caps or punched circles from cereal boxes.
10 costume ideas (mini how-to)
These are all kid-tested in my house or classroom life. If you are building with multiple ages, let the older kid do the measuring and the younger one do the decorating. Everyone wins.
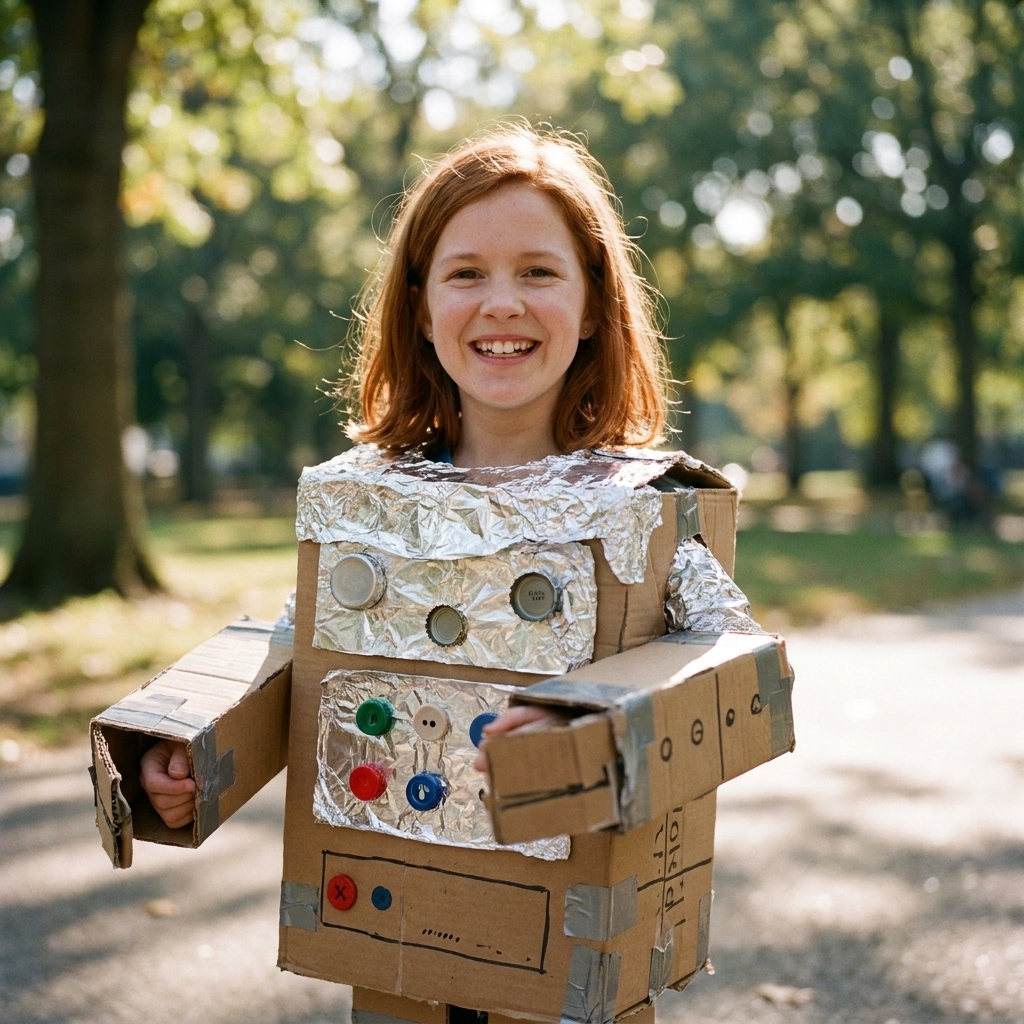
1) Classic Robot
- Use one box for the body.
- Add a smaller cereal box “control panel” on the chest.
- Wrap details in foil, add marker buttons, and use bottle caps for knobs.
- Optional: a tissue box with the plastic removed makes a great “screen.”
2) LEGO Minifigure
- Body: one box, cut armholes.
- Head: a smaller box worn like a helmet with a big face opening.
- Paint solid yellow, then draw the face with a black marker.
- Keep the head box roomy for airflow and comfort.
3) Vending Machine
- Cut a big window area on the front and tape clear packaging plastic behind it.
- Make “snacks” from paper and tape them inside the window.
- Add a side “coin slot” from a folded strip of cardboard.
- Bonus: make a flap near the bottom as the “prize door.”
4) Gumball Machine
- Use a tall box for the base and paint it red.
- Make a big circle window from clear plastic packaging and tape it on.
- Fill the window area with colorful pom-poms or paper balls glued behind the plastic.
- Add a bottle cap or small cup as the “turn knob.”
5) Washing Machine or Dryer
- Paint white or silver.
- Draw a big round door and add a clear plastic circle if you have it.
- Use foil for a control panel strip.
- Stuff a few lightweight fabric scraps behind the window for the “laundry” look.
6) Minecraft Character
- Body: box base with square armholes.
- Head: separate cube box helmet with a face opening.
- Cover in colored paper squares or paint blocky patterns.
- Keep edges crisp with painters tape.
7) Race Car
- Use a longer box that sits around the waist (no head hole needed).
- Cut a big top opening so your child can step in.
- Add paper plate wheels on the sides.
- Use ribbon straps so the car “hangs” at the right height.
8) Mailbox (with letters inside)
- Turn a box on its side for a wide shape.
- Create a curved top by taping on a bent piece of thinner cardboard.
- Cut a mail slot and tuck in paper “letters.”
- Paint blue, red, or classic mailbox gray.
9) Shark or Dinosaur
- Body: box base.
- Cut a fin or spikes from spare cardboard and tape to the back.
- Use white triangles from paper for teeth along the front edge.
- Paint and sponge on texture spots.
10) TV or Tablet Screen
- Cut a big rectangle window and leave a thick frame.
- Tape a printed picture or drawing behind the opening if you want a character “on screen.”
- Add foil buttons on the side.
- This one is extra fun for group costumes or a family theme.
Comfort and safety (non-negotiables)
Cardboard costumes should feel like a fun outfit, not a wearable obstacle course. Here is my quick checklist.
Comfort checklist
- Pad sharp edges with tape, foam, or even folded fabric taped inside.
- Keep the bottom trimmed so knees can lift for stairs.
- Add ventilation if there is a helmet or face covering. Hidden holes along the sides work great.
- Make it snack-proof by leaving plenty of space around the mouth and hands.
Visibility and mobility
- Make sure your child can see down at their feet and has decent peripheral vision.
- Test walking up and down a few steps.
- Do a quick “porch lean” test. Can they bend enough to grab candy?
Heat, fumes, and fire
- Keep helmets roomy. If it feels warm inside at home, it will feel warmer outside after 20 minutes of excitement.
- Spray paint outdoors only, and let pieces fully air out before wearing.
- Cardboard is flammable. Keep costumes away from candles, fire pits, and jack-o’-lanterns with real flames.
About lights
If your neighborhood gets dark early, consider adding reflective tape or small battery lights. Attach with tape, not hot glue, so you can remove them easily.
Real-life logistics
What to wear underneath
Cardboard is basically a portable draft. Plan a simple base outfit under the costume, like leggings and a long-sleeve tee that matches your theme. If it is cold, size up the box a little so a sweatshirt can fit underneath without turning your child into a frustrated cardboard sausage.
Bathroom breaks
If the costume covers the torso, practice taking it on and off quickly. Side openings with Velcro dots are my favorite for this. For waist-hung builds (like a race car), straps are the difference between “easy bathroom trip” and “why did we do this to ourselves.”
Age-based tips
Ages 3 to 4
- Go lighter and shorter. Waist-height costumes are often best.
- Skip complicated head boxes. A simple hat or headband detail is easier.
- Use straps so it stays put even during a full-body wiggle.
Ages 5 to 7
- Let them help plan the theme and color palette.
- They can paint broad areas and place stickers, tape stripes, and “buttons.”
- Keep closures simple: one side seam with Velcro dots or tape tabs.
Ages 8 to 10+
- They can sketch the design first and measure placements.
- Try moving parts like a hinged “vending machine door” or a flap.
- Give them a job title. My oldest takes “quality control” very seriously.
Troubleshooting
The box keeps riding up
Add or tighten shoulder straps. If there is no room for straps, tape a belt loop inside and thread a ribbon around the waist.
Paint looks streaky
Do one quick base coat (white or light gray) and then repaint. Or cover the area with colored paper and paint details on top.
The costume is too heavy
Remove extra layers, skip thick glued-on pieces, and use paper details instead of cardboard where you can. Also, hot glue adds weight fast.
It is tearing near a cut edge
Reinforce with a tape “frame” around the cut. Packing tape on both sides works like a bandage.
The helmet box wobbles
Add a simple headband inside made from a strip of cardboard or foam taped into a ring, like an adjustable crown.
Easy add-ons
- Sound effects: a little bell inside a robot, or a “beep” button on a toy keychain.
- Matching treat bag: decorate a small box or paper bag in the same theme.
- Gloves or leggings: color-match with basics you already own.
- Name tag: for characters like “Delivery Bot 3000” or “Captain Candy.”
FAQ
How do you make cardboard wearable without it falling apart?
Use packing tape for structure, reinforce inside corners, and add shoulder straps. Most “falls apart” problems happen when decorations are doing the job that tape should be doing.
What is the best way to attach things to a cardboard box costume?
Packing tape for anything structural, hot glue for small decorations, and glue sticks for paper layers. When in doubt, tape it first, then glue for looks.
Can cardboard costumes survive rain or snow?
They can handle a light drizzle, but a steady rain or wet snow is rough. Covering the outside with wide packing tape can help for short, damp walks, but it will not truly waterproof seams or stop cardboard from getting soggy. If bad weather is likely, plan a quick backup costume or bring a poncho that can fit over the top.
How far ahead should we build it?
I like to build the base 5 to 7 days before Halloween, then decorate over a couple of short sessions. Also, kids change their minds. Giving yourself a little buffer saves your sanity.
One last mom tip
Do a full dress rehearsal, complete with shoes and candy bucket, before the big night. You will catch the “armhole too small” issue in your kitchen instead of on a stranger’s porch. And if your child wants a crooked button panel or a lopsided shark fin, let it be lopsided. That is the charm. Happy making, friends.