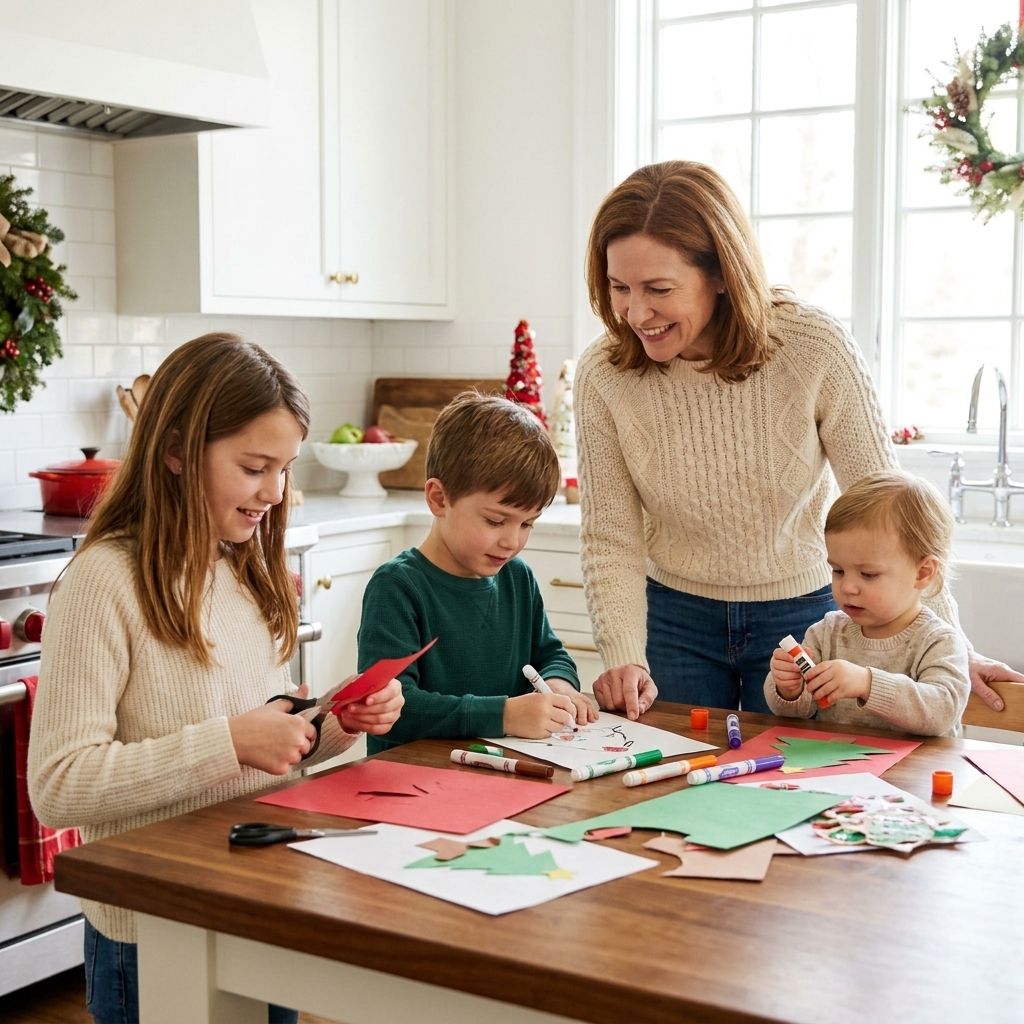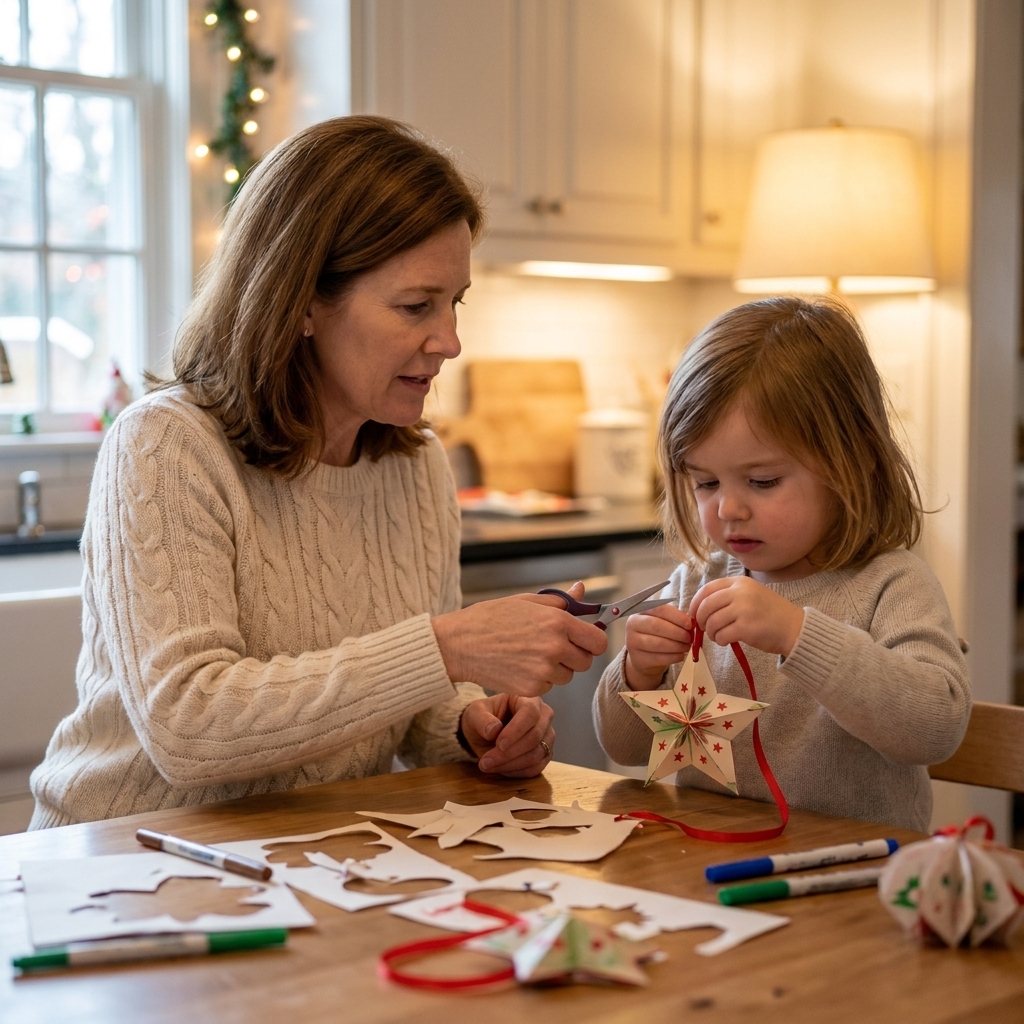
Zero glitter, no wet paint, and still plenty of holiday magic. Try 20 easy, kid-made Christmas ornaments using simple supplies you already have at home.
Some kids want to help with holiday gifting. Some kids want to run the whole operation like tiny elves with a mission. If you have an 8 to 10-year-old who loves doing things “all by myself,” this list is for you.
Everything below is designed to be upper-elementary independent: no glue guns, no craft knives or box cutters, no oven, and almost no “can you just do this one tricky part” handoffs. (Yes, we do use kid-safe scissors in a few projects, because that is a normal 8 to 10-year-old tool.)
Just simple materials, clear steps, and gifts that look genuinely impressive when they wrap them up.
Before they start
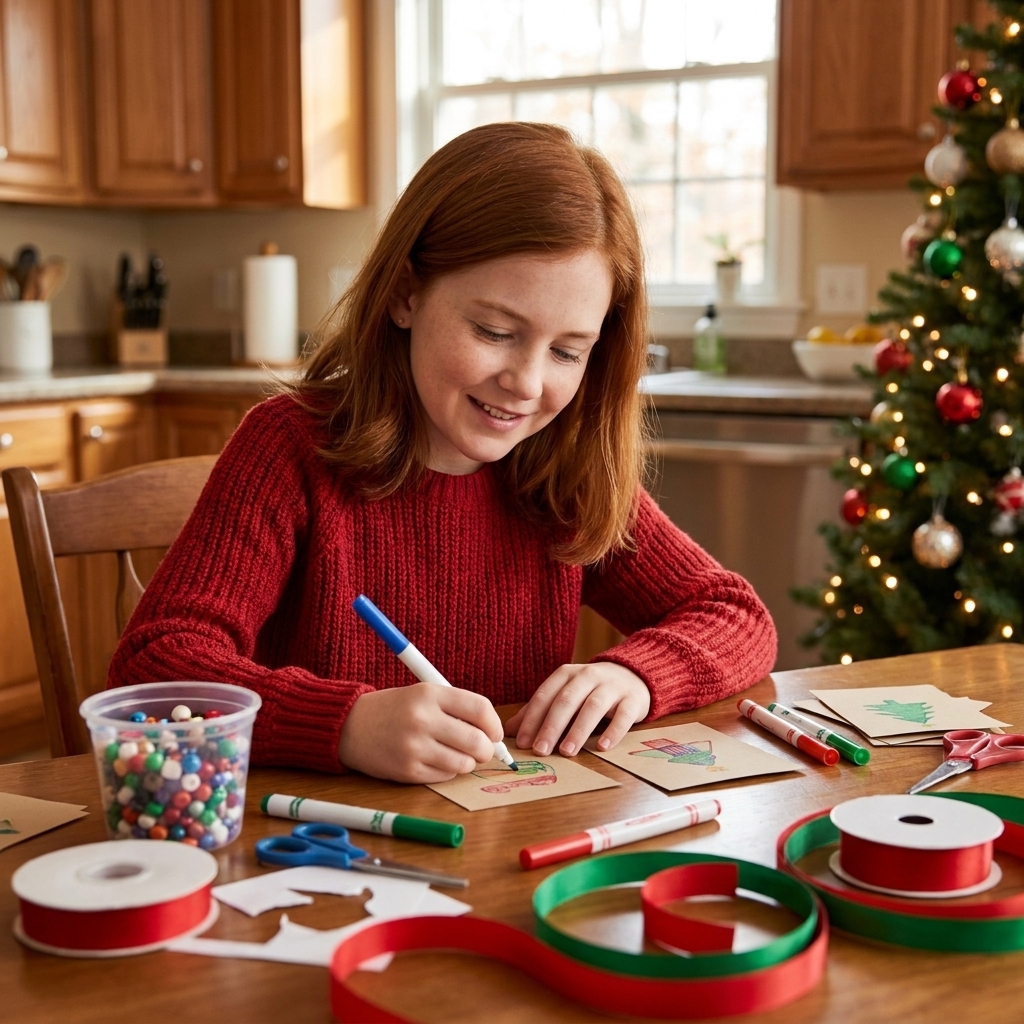
To keep these crafts truly grown-up-light, have your child do a quick prep check first:
- Work zone: Clear a table spot and put down a placemat, old towel, or a piece of cardboard.
- Tool rules: If it needs a glue gun, craft knife, stove, or special cutting tools, it is not on today’s list.
- Scissor reality check: If the material feels tough (fleece or cardboard), this might be a “slow cuts only” job. Some kids do fine. Some kids need an adult to do one first long cut line, then the kid takes it from there. That still counts as them making the gift.
- Dry time plan: Set the finished gift somewhere safe where siblings and pets will not “test it.”
- Gift tag ready: Add a tag right away so nobody forgets who it is for.
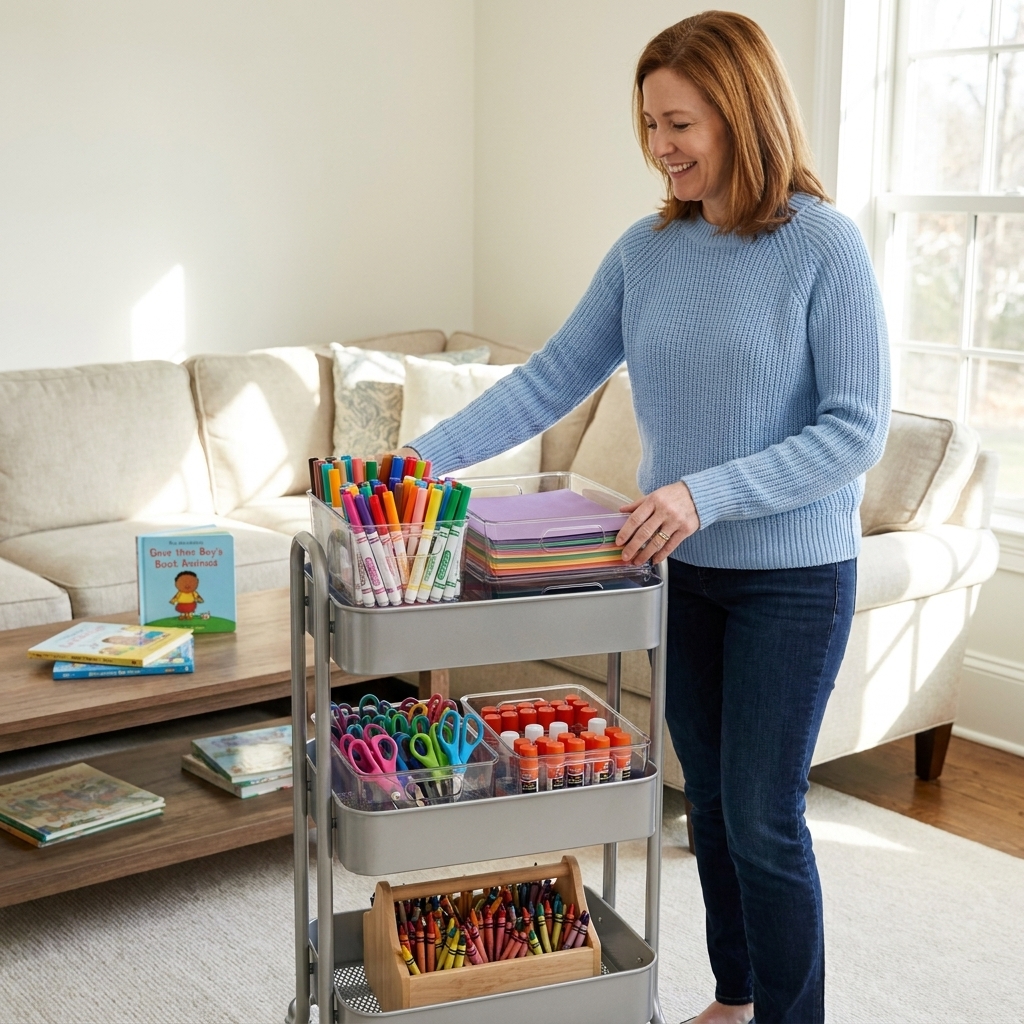
Parent tip: Put a roll of tape, a pen, and a stack of sticky notes in a small basket. That is your “no-mom-needed” station.
Quick shopping list (so independence does not stall): fleece, pony beads, 0.8 to 1 mm elastic cord or nylon cord, key rings or lobster clasps, self-adhesive magnet sheets, magnetic tape strips (optional backup), organza bags, cardstock, clear packing tape, treat bags, ribbon.
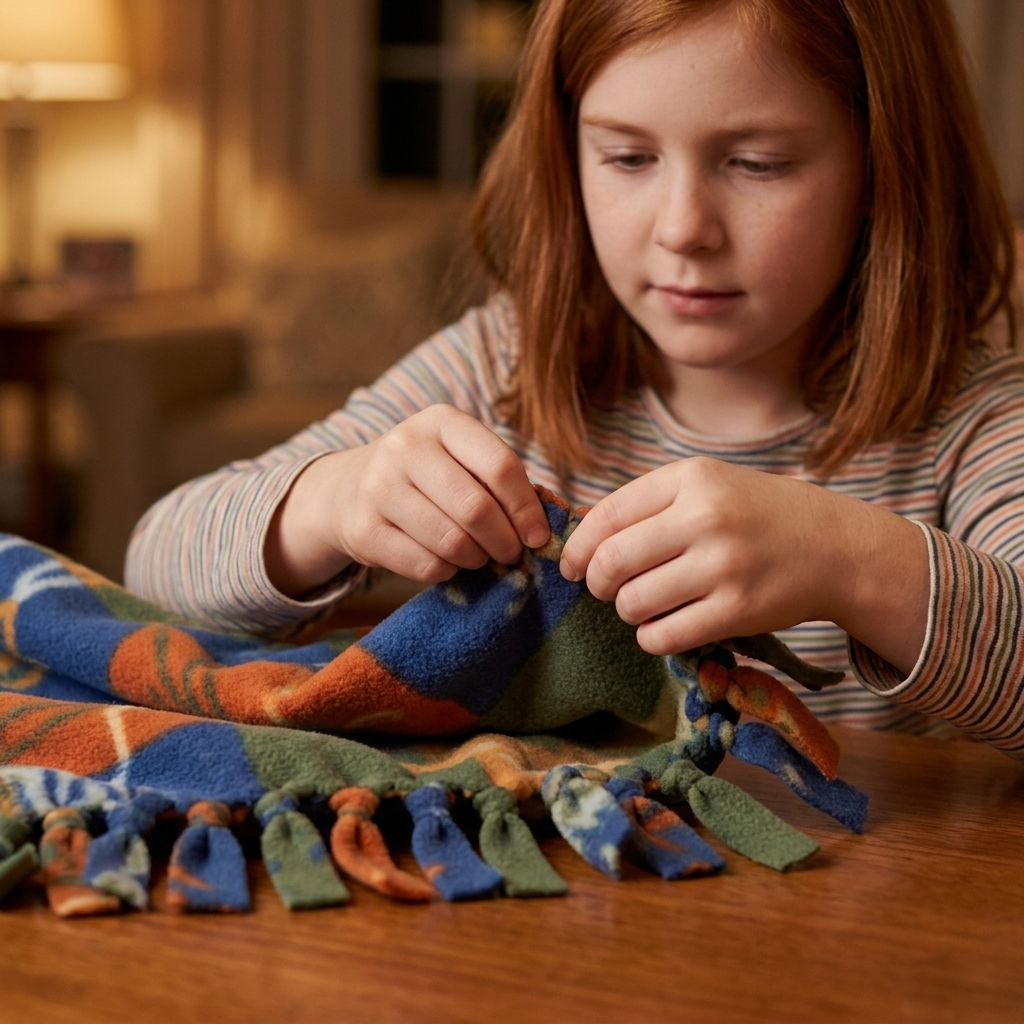
1) No-sew fleece scarf
Best for: grandparents, teachers, neighbors, anyone who is always cold
Why it works independently: No needles, no pins, no sewing machines, just fringe ties (like a tie blanket).
Time: 30 to 45 minutes
Cost: $5 to $12 depending on fleece
Supplies
- One piece of fleece fabric (about 1/2 yard for a short scarf, 1 yard for a longer one)
- Scissors
- Ruler (helpful but optional)
Steps
- Trim the ends: Cut the short ends straight if needed.
- Make fringe: Cut strips about 1 inch wide and 4 to 5 inches long along both short ends.
- Tie it (pick your look):
- Most common: Tie fringe strips in pairs. Grab two strips right next to each other and tie them together in a simple double knot. It gives you a predictable look and keeps the scarf length feeling “normal.”
- Bouncy fringe: Tie each strip into its own knot near the end. It makes chunkier knotted ends and it will shorten the scarf a bit, so start with a longer piece of fleece if you want more length.
- Flatter look: Fold each strip in half, then pull the ends through the loop to make a lark’s head knot.
- Optional double-thickness: If you have two coordinating fleeces, stack them and tie matching fringe strips together (one from the front layer, one from the back layer) for a double-sided scarf.
Make-it-fancy ideas
- Add a small tag made from cardstock that says “Handmade to keep you cozy.”
- Tie a ribbon around the folded scarf so it looks store-ready.
Kid troubleshooting: If fringe looks uneven, it still looks great once it is tied. Knots are very forgiving.
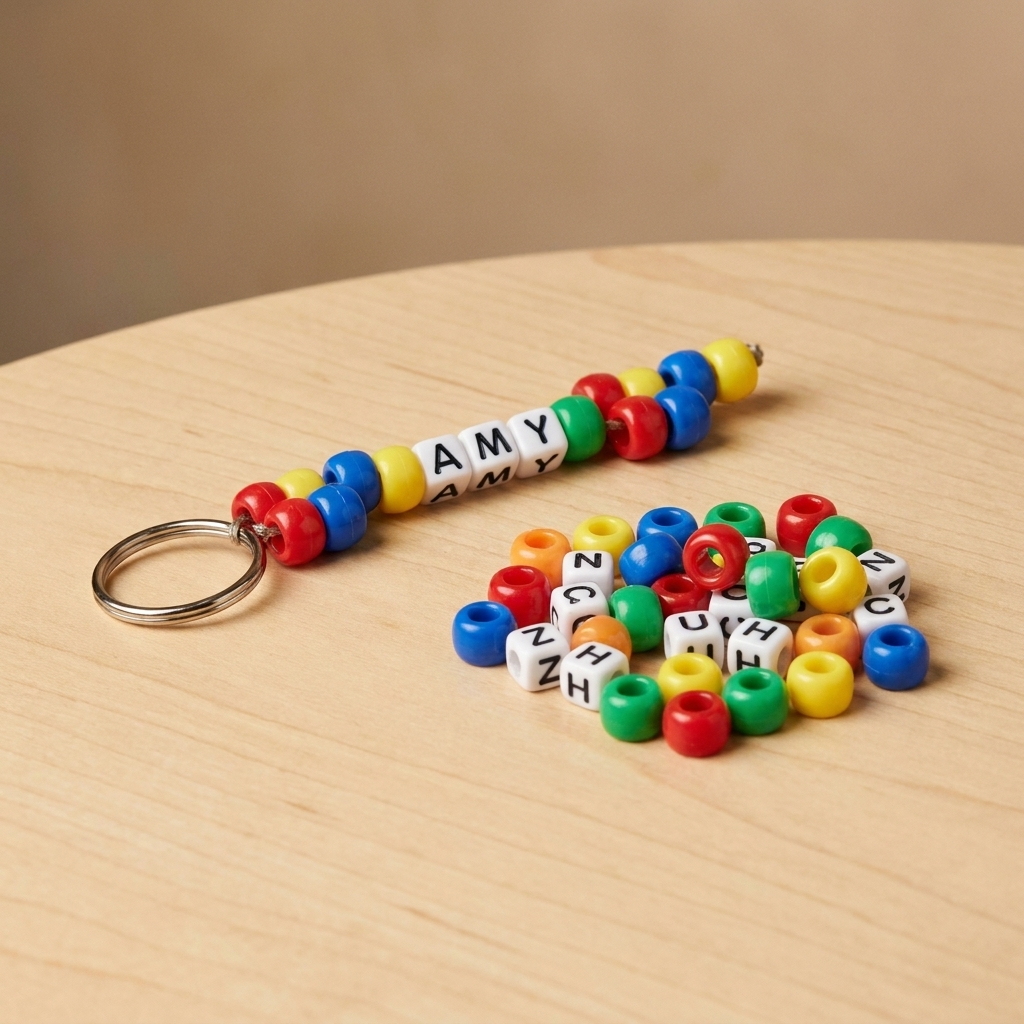
2) Beaded keychain or zipper pull
Best for: teachers, coaches, older siblings, bus drivers, friends
Why it works independently: It is basically “string beads,” but the final result feels like a real store-bought accessory.
Time: 10 to 20 minutes
Cost: $2 to $6 per gift
Supplies
- Keychain ring or lobster clasp
- Plastic pony beads or letter beads
- String: 0.8 to 1 mm elastic cord or nylon cord (more durable)
Steps
- Plan the pattern: Pick colors or spell a short name or word (LOVE, JOY, BEST).
- String beads: Leave about 4 inches of cord at the start.
- Tie to the ring: Thread both ends through the keychain ring and tie a tight triple knot.
- Lock it in (optional, for durability): Wrap a small piece of clear tape around the knot, or tape the two loose ends down along the cord before trimming. It is not required, but it helps a lot for keychains that get tossed around.
- Test it: Tug gently. If it slides, tie one more knot.
Make-it-fancy ideas
- Add one “charm bead” at the end (a star, heart, or oversized bead).
- Make a matching pair for a best friend set.
Kid troubleshooting: If beads keep sliding off while tying, set the beaded part in a cup so it stays contained.
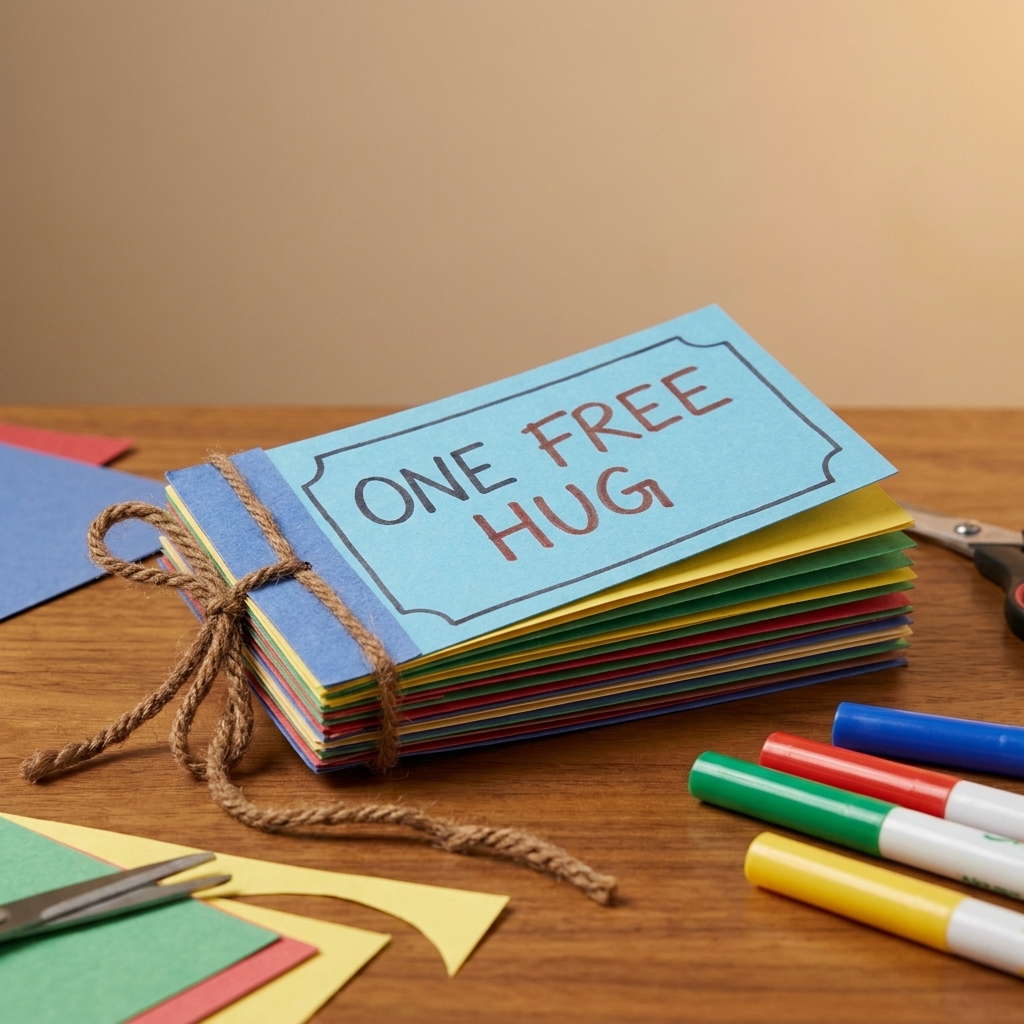
3) DIY coupon book
Best for: parents, grandparents, a favorite aunt or uncle
Why it works independently: It is all paper and pencil, but it feels personal and meaningful.
Time: 15 to 30 minutes
Cost: basically free if you already have paper and markers
Supplies
- Paper or cardstock
- Markers or colored pencils
- Stapler or a hole punch with yarn
Steps
- Cut pages: Make 6 to 12 small rectangles.
- Write coupons: One per page (examples below).
- Decorate: Add little drawings, borders, or sticker accents.
- Bind it: Staple on one side, or punch two holes and tie yarn.
Coupon ideas kids can realistically deliver
- “One dishwasher unload”
- “Pick the family movie night”
- “Ten-minute back rub”
- “I will read to you for 20 minutes”
- “Breakfast in bed (cereal edition)”
- “One room tidy sprint with me”
Kid troubleshooting: If writing feels hard, do fewer coupons but make them extra thoughtful.
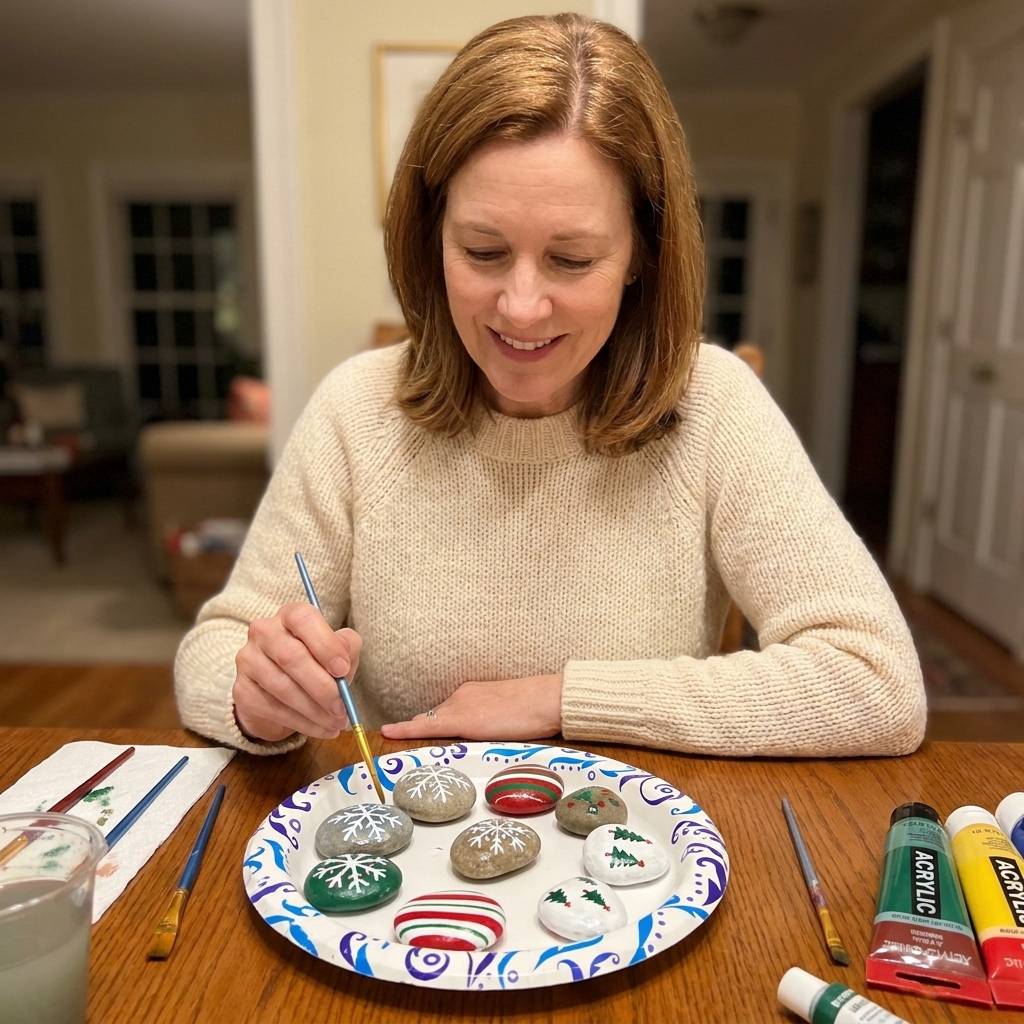
4) Painted rock paperweights
Best for: teachers, neighbors, anyone with a desk
Why it works independently: Rocks do not wiggle around like other crafts, and mistakes disappear under more paint.
Time: 20 minutes plus drying
Cost: low (especially if you already have paint)
Supplies
- Smooth rocks (washed and fully dry)
- Acrylic paint or paint pens
- Optional: clear tape for making crisp lines
Steps
- Choose a theme: snowflakes, candy stripes, hearts, simple patterns.
- Paint base: Let it dry.
- Add details: Dots, stripes, initials, tiny stars.
- Dry overnight: Place on a paper plate.
Make-it-fancy ideas
- Wrap in tissue paper with a ribbon like a little “treasure.”
- Include a note: “A little paperweight for your desk.”
Kid troubleshooting: If paint looks streaky, wait for it to dry, then add a second coat. Wet paint always looks worse than dry paint.
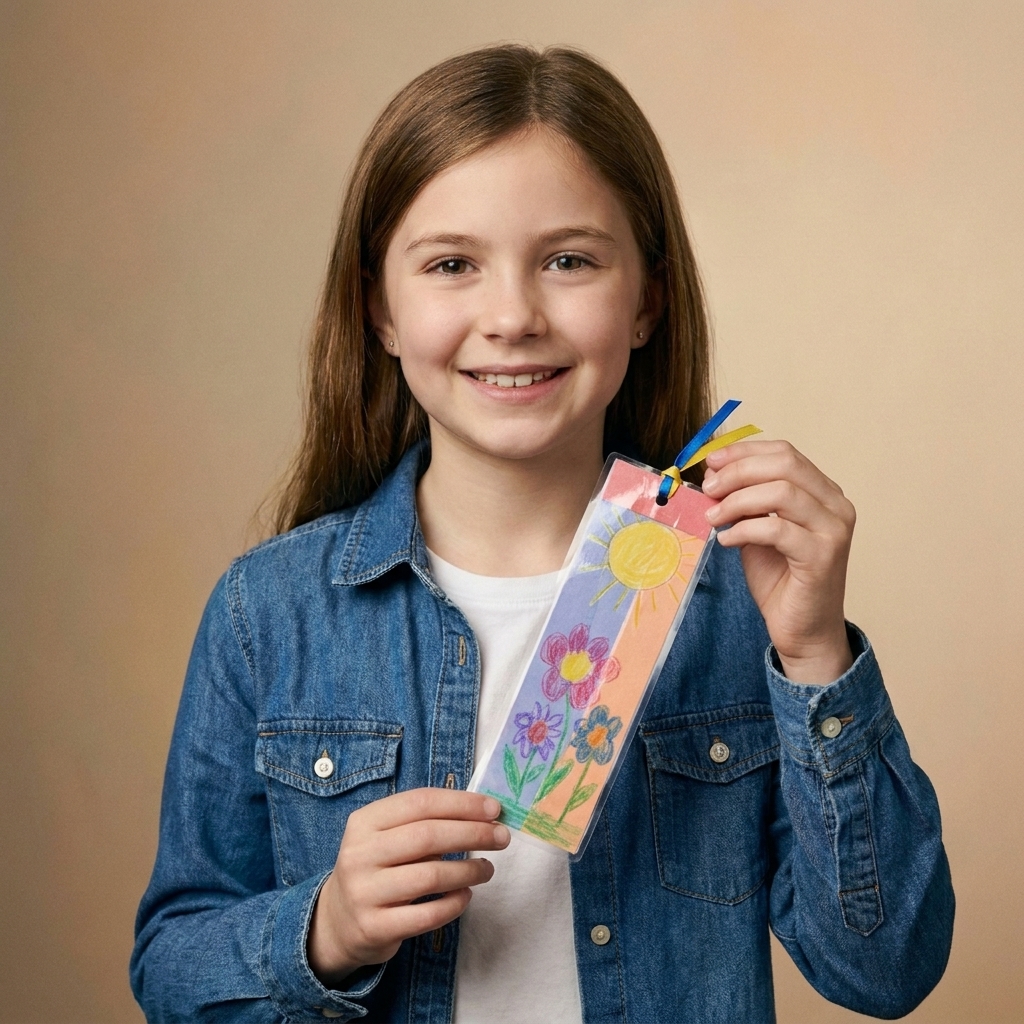
5) Personalized bookmark set
Best for: readers, teachers, grandparents
Why it works independently: “Laminating” with clear packing tape feels like a magic trick and makes it sturdy.
Time: 15 to 25 minutes
Cost: $1 to $4
Supplies
- Cardstock or thick paper
- Markers, colored pencils, or stickers
- Clear packing tape
- Scissors
- Hole punch (optional)
- Ribbon or yarn (optional)
Steps
- Cut strips: About 2 inches by 6 inches, or any size you like.
- Decorate one side: Name, favorite quote, doodles, patterns.
- Tape laminate: Cover the front with tape, flip, cover the back with tape.
- Trim edges: Cut off extra tape for a clean border.
- Add a tassel: Punch a hole and tie on ribbon.
Gift idea
Make a set of three in matching colors and tie them together with yarn.
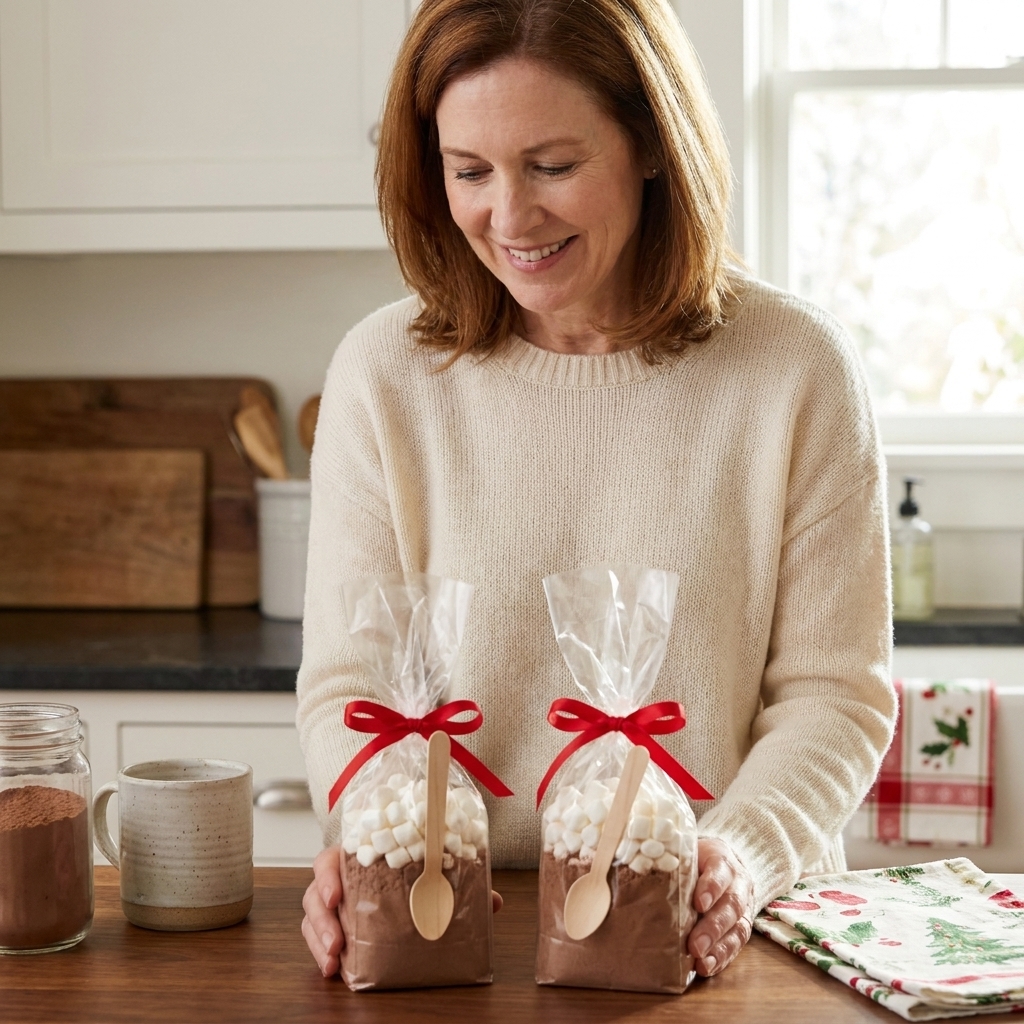
6) Hot cocoa gift bags
Best for: teachers, neighbors, friends
Why it works independently: It is a “layer and package” craft, not a cooking project.
Time: 10 to 15 minutes
Cost: $2 to $5
Supplies
- Plastic spoons or wooden craft spoons
- Mini marshmallows
- Cocoa mix or chocolate chips
- Small clear treat bags
- Ribbon or twist ties
- Tape and a small paper tag
Steps
- Fill bag: Add a spoonful of cocoa mix or a small handful of chocolate chips.
- Add marshmallows: A few on top.
- Slide in spoon: Handle up like a stir stick.
- Tie it: Ribbon or twist tie.
- Tag it: “Stir into warm milk.”
Food note: If this is for a classroom or staff room, check any “no homemade treats” rules. Add a quick ingredient note on the tag for allergies.
Kid troubleshooting: If the bag tips over while filling, set it inside a mug to hold it upright.
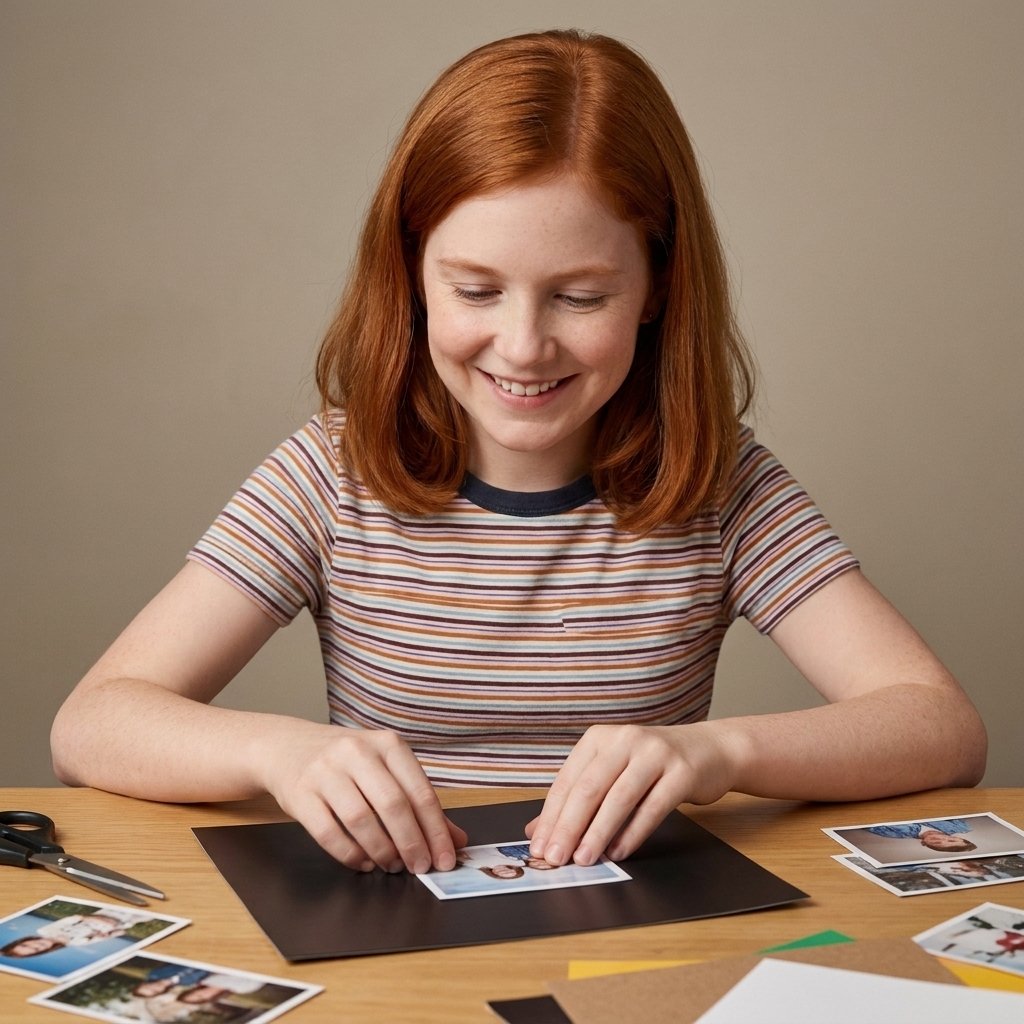
7) Photo magnet gifts
Best for: grandparents and anyone who loves seeing kids on the fridge
Why it works independently: It is cut, stick, press.
Time: 15 to 20 minutes
Cost: $2 to $6
Supplies
- Printed photos (small wallet-size works well)
- Self-adhesive magnetic sheets (or magnetic tape strips)
- Scissors
- Optional: clear packing tape
Steps
- Cut photo: Trim to shape (rectangle, heart, circle).
- Stick photo: Press onto magnetic sheet. (Matte photos tend to stick best. If yours are glossy, press extra firmly.)
- Cut magnet: Cut around the photo carefully.
- Boost magnet strength (if needed): Magnet sheets vary a lot by brand. If the magnet feels weak or the photo paper is heavier, add magnetic tape strips across the back, or mount the whole photo on a full-sheet magnet backing.
- Seal (optional but helpful): Add a layer of clear tape over the front of the photo and trim the edges.
- Press again: Smooth with fingers to help it bond.
Make-it-fancy ideas
- Add a thin cardstock “frame” behind the photo before sticking it onto the magnet sheet.
- Write the year on the back.
Kid troubleshooting: If corners peel, add clear tape around the edges or an extra strip of magnetic tape across the back for support.
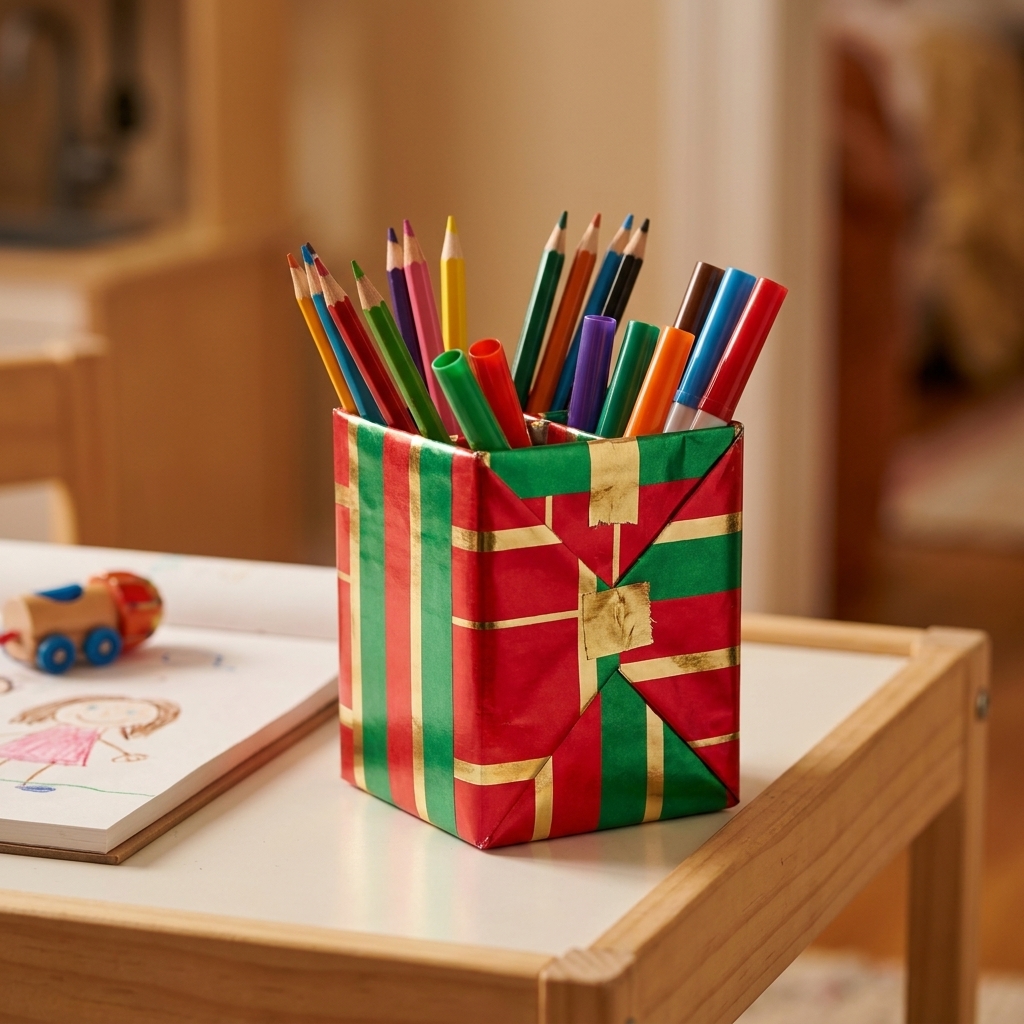
8) Cereal box desk organizer
Best for: teachers, older siblings, parents who always lose pens
Why it works independently: Wrapping with paper is easier than painting, and it looks surprisingly polished.
Time: 25 to 40 minutes
Cost: basically free (plus paper and tape)
Supplies
- Empty cereal box or small shipping box
- Scissors (or an adult can do the first big cut)
- Wrapping paper or leftover scrapbook paper
- Tape
Steps
- Shape the box: Cut the cereal box down to a pencil-cup height (kids can choose tall or short). If cardboard is fighting back, this is a great moment for an adult to do the first cut line, then the kid takes over.
- Wrap it: Cover the outside with paper and tape the seams on the back.
- Reinforce: Add a strip of tape inside the top edge so it stays sturdy.
- Optional divider: Fold a strip of cardstock and tape it inside to make two sections.
Make-it-fancy ideas
- Use paper from a reused gift bag for extra thick wrapping.
- Add a simple paper “band” around the middle like a belly band and tape it in back.
Kid troubleshooting: Wrinkles happen. If the paper gets messy, flip it around and call that side “the back.”
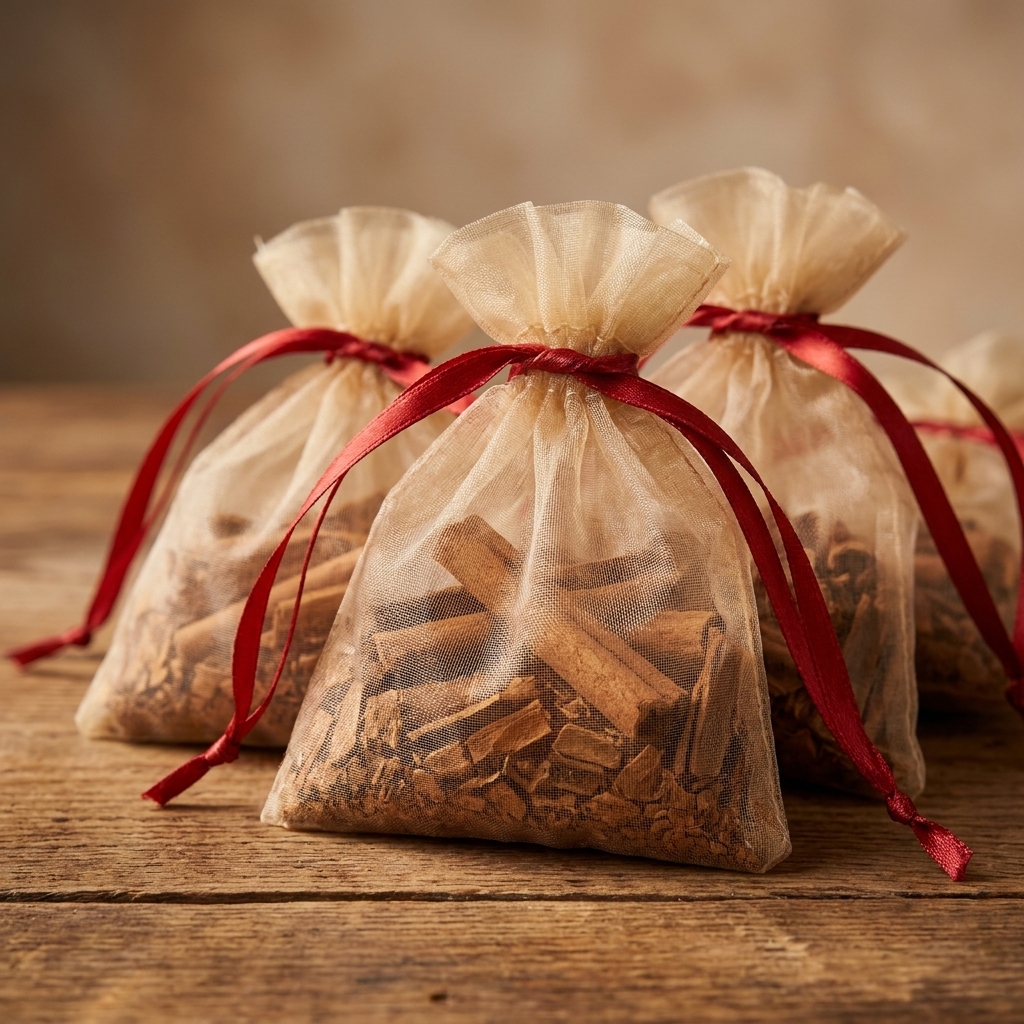
9) Scent sachet bags
Best for: grandparents, teachers, neighbors
Why it works independently: It is scoop, tie, gift.
Time: 10 minutes
Cost: $1 to $3
Supplies
- Small organza bags (the kind you can tie closed)
- Baking soda
- Ground cinnamon (or dried lavender if you have it)
- Optional: a few whole cloves
- Optional but recommended: coffee filters or empty tea bags (as a liner)
Steps
- Mix: 2 tablespoons baking soda + 1 teaspoon cinnamon in a cup.
- Line (recommended): Put the mixture into a coffee filter or empty tea bag, then place that bundle into the organza bag. This helps keep powder contained.
- Close tightly: Tie it shut.
- Tag it: “For drawers or closets.”
Important note: Cinnamon can irritate some people, and powders can leave residue. Baking soda is also mildly abrasive, so you want it sealed inside the liner and bag, not loose in a drawer. If you are not sure about allergies or sensitivities, use dried lavender only, and do not place sachets directly on delicate fabrics.
Kid troubleshooting: If powder spills, do the mixing over a tray or plate so it is easy to pour back in.
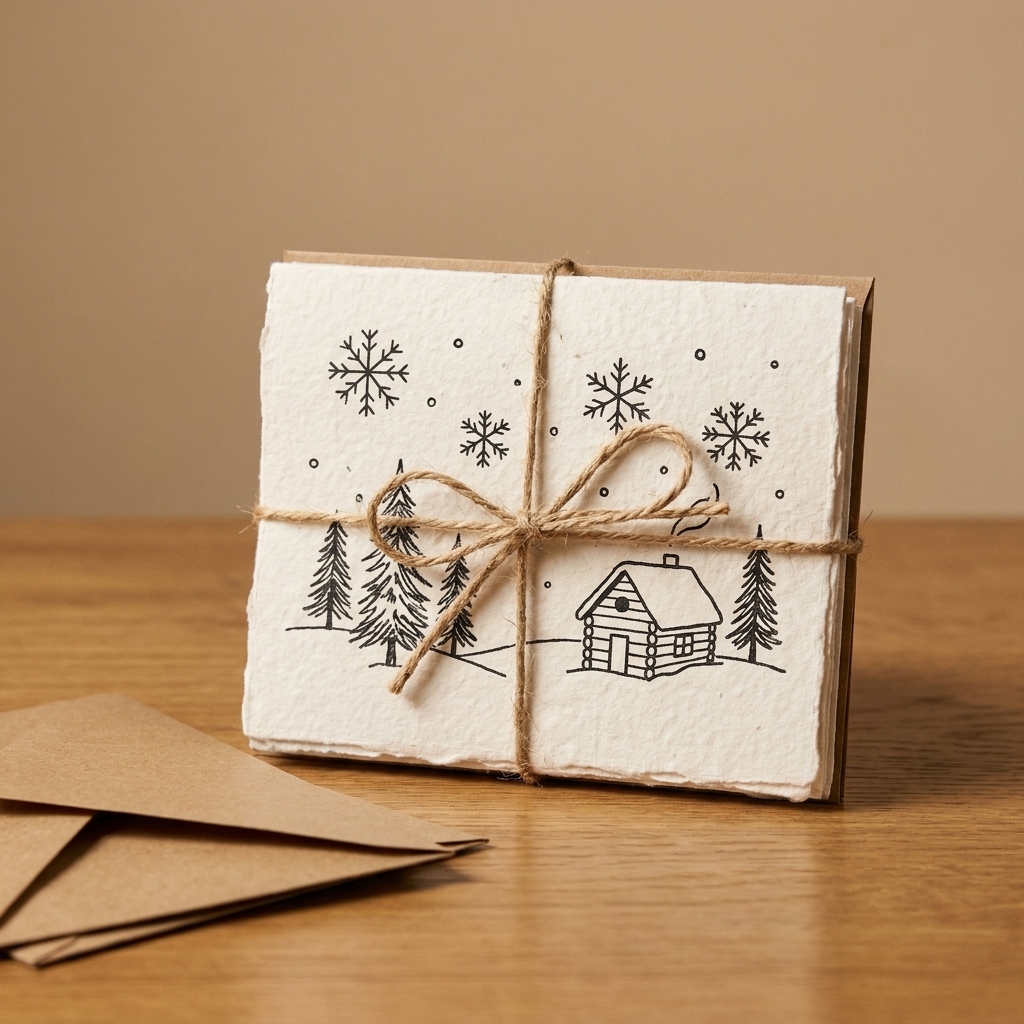
10) Handmade card pack
Best for: grandparents, teachers, anyone who sends thank-you notes
Why it works independently: Drawing and folding are squarely in 8 to 10-year-old wheelhouse, and it feels like a boutique gift.
Time: 30 to 45 minutes
Cost: $2 to $6, or basically free if you already have cardstock, paper, and markers
Supplies
- Cardstock
- Markers or colored pencils
- Envelopes (store-bought or folded from paper)
- Ribbon or yarn
Steps
- Make cards: Cut and fold 6 small cards (or 4 larger ones).
- Pick a theme: simple winter patterns, flowers, stars, funny animals.
- Decorate fronts: Keep the insides blank for the gift recipient.
- Bundle: Stack and tie with ribbon.
Make-it-fancy ideas
- Create two designs and alternate them in the stack.
- Add one “bonus” tiny card labeled “Just because.”
Wrapping they can do
Independent gifting is not just the making, it is the wrapping too. These options are kid-friendly and still look lovely:
- Gift bag + tissue: easiest win. Tape the tag right on the handle.
- Paper wrap + tape loop: use pre-cut strips of tape stuck to the table edge so they can grab and go.
- Brown paper lunch bag wrap: decorate the bag with markers and a ribbon bow.
If you want one extra parent-proofing trick, teach them the “label first” rule: name tag goes on before the gift leaves the craft table.
Safety notes
- Scissors: Standard kid scissors are fine for most projects here. For fleece and thick cardboard, remind them to cut slowly and keep fingers far from the blades. If cutting is frustrating, an adult can do the first big cut line so the kid can take it from there.
- Allergies and sensitivities: For cocoa and sachets, skip scents or ingredients you are unsure about for teachers or classmates. When in doubt, choose paper gifts.
- Choking hazards: Beads and small pieces should be kept away from younger siblings while the big kid is crafting.
Quick picks
For teachers
- Beaded keychain
- Hot cocoa gift bags
- Painted rock paperweight
- Handmade card pack
For grandparents
- Photo magnets
- No-sew scarf
- Coupon book (especially “read together” coupons)
For friends
- Beaded zipper pull
- Bookmark set
- Mini card set
FAQ
What if my 8 to 10-year-old still asks for help?
That is normal. “Independent” does not mean “never needs reassurance.” I like to tell kids: you can ask for confidence help (like “does this look okay?”), but not hands help (like “can you do it for me?”). It keeps the project theirs. And if something truly needs stronger scissors, it is fine to have a grown-up do one quick cut line so the kid can keep going.
What is the best last-minute gift on this list?
The coupon book, beaded keychain, photo magnets, or hot cocoa gift bags. They are quick, forgiving, and still feel special.
How can I keep it truly mess-free?
Choose the coupon book, card pack, bookmarks, or photo magnets. Save paint for a day when you have a wipeable surface and a little more patience in your tank.