Step-by-step paper tearing, folding, and gluing activities for 3- to 5-year-olds that strengthen little hands and boost early learning.
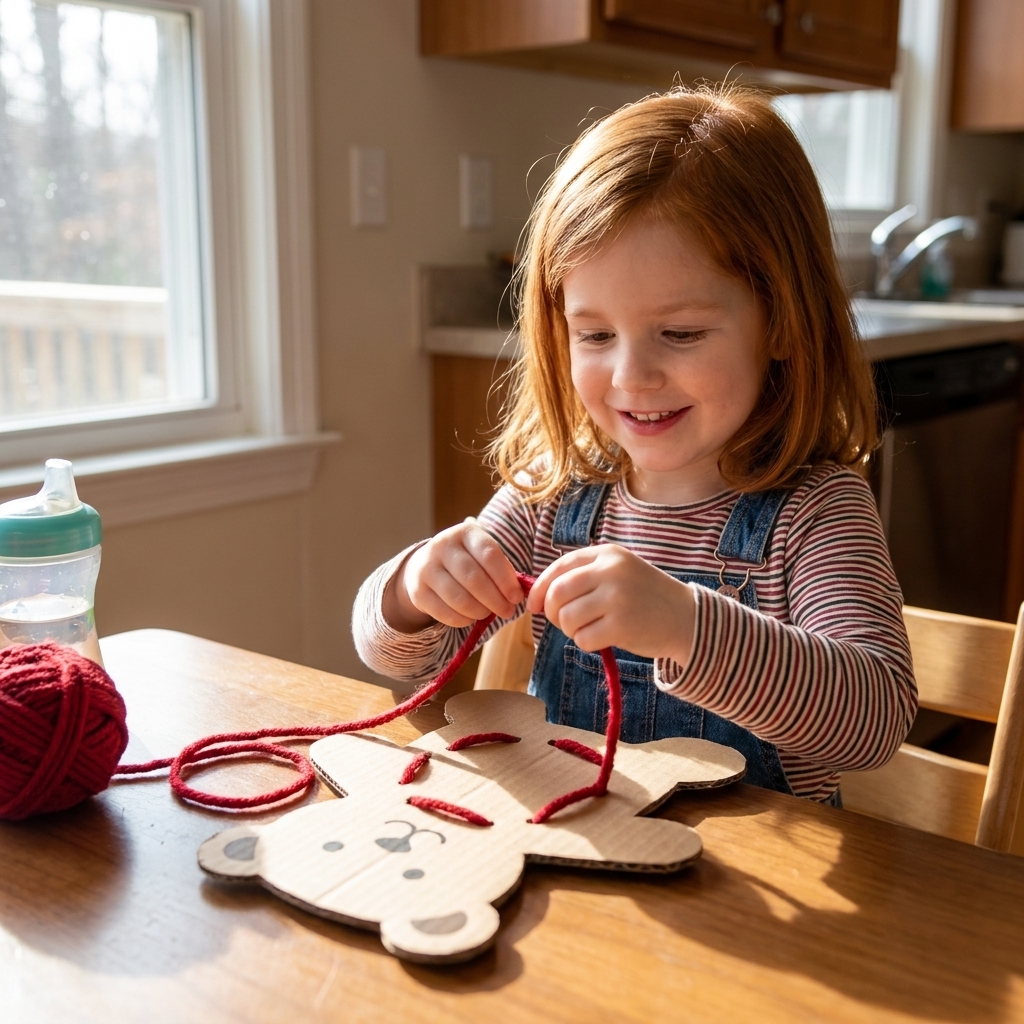
If you’ve ever watched a preschooler work so hard to hold a crayon “the right way,” you already know this truth: little hands need practice and time. One of my favorite no-fuss ways to build the kind of fine motor control that supports writing later is with DIY threading and lacing cards. They are cheap, customizable, and honestly kind of magical in the way they hold a kid’s attention.
Also, this is the kind of craft my house is basically built for. Cardboard from a delivery box, yarn from the “I will totally use this someday” bin, and a little tape. Done.
Why lacing cards help with writing
Lacing is sneaky learning. It looks like play, but it can help kids build several of the underlying skills that make writing and other school tasks feel easier over time.
- Hand and finger strength and endurance: Pulling yarn through holes works small muscles in the fingers and hand and helps kids stick with a task a little longer.
- Pincer grasp practice: Pinching the yarn tip and guiding it through is great pre-writing practice.
- Bilateral coordination: One hand stabilizes the card while the other hand threads. This matters for writing, cutting, and buttoning.
- Visual motor skills: Eyes and hands learn to work together as kids aim for the next hole.
- Focus and persistence: Lacing encourages kids to keep going, problem-solve, and finish what they started (even if “finished” means three holes and a victory lap).
When I taught kindergarten, I used lacing cards constantly, especially for kids whose hands tired quickly during handwriting. At home, my 3-year-old calls them “sewing cards,” and my 8-year-old still enjoys making fancy patterns, so it is a win across ages.
Materials (simple and mostly from home)
- Cardboard: Cereal boxes, snack boxes, shipping boxes, or cardstock work. Thicker is sturdier.
- Yarn: Any kind. Thicker yarn is easier for beginners.
- Hole punch: A standard single-hole punch is perfect.
- Scissors: Adult use for cutting out shapes.
- Marker or crayons: Optional for decorating.
- Tape: Clear tape or washi tape for reinforcing edges and yarn tips.
- Optional: Laminator and laminating sheets, contact paper, or packing tape to make cards last longer.
How to make DIY lacing cards
1) Choose a simple shape
Start with big, friendly shapes like a heart, leaf, pumpkin, star, circle, or mitten. Trace a cookie cutter, a small plate, or draw freehand.
2) Cut it out and smooth the edges
Cut out the shape from cardboard. If the edges feel rough, run a strip of tape around the perimeter. This also helps the card last longer.
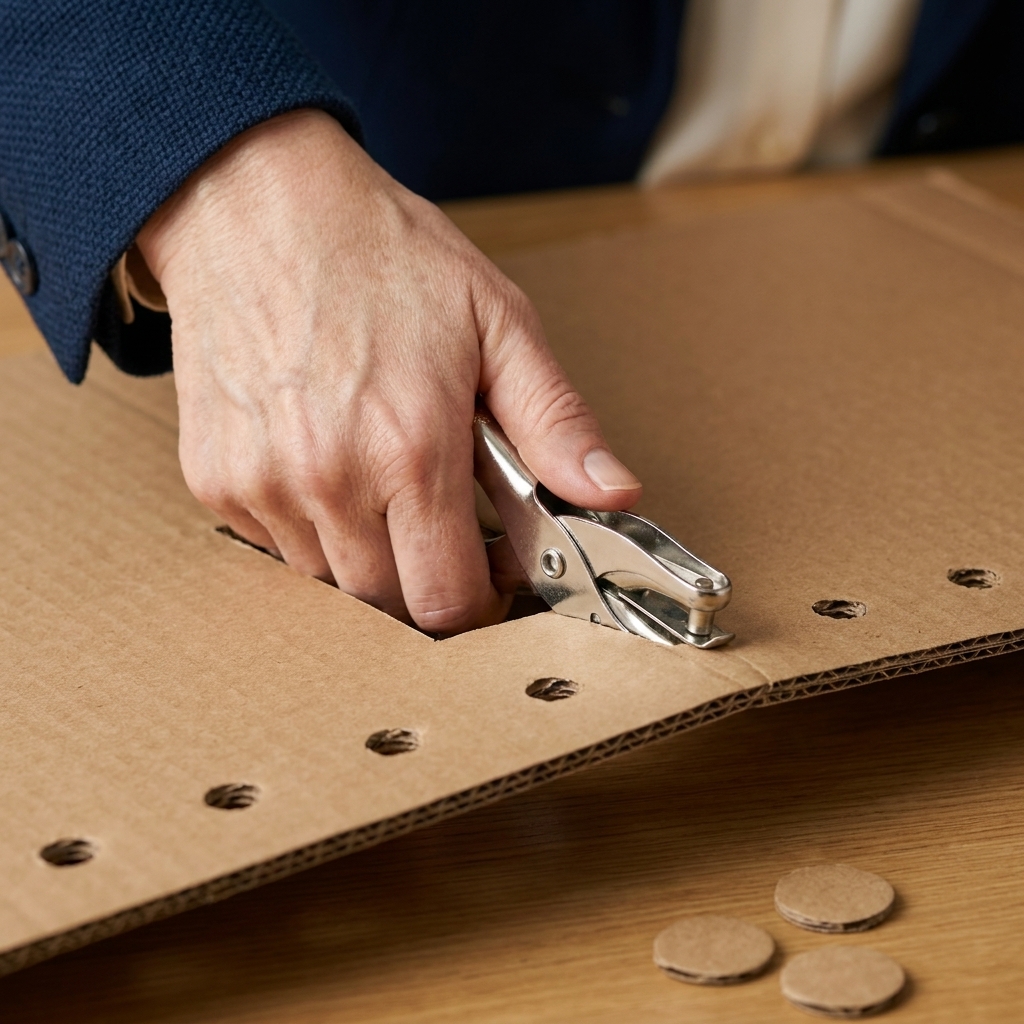
3) Punch holes around the edge
Punch holes about 1/2 to 1 inch apart, staying about 1/4 to 1/2 inch in from the edge so the cardboard does not tear. For preschoolers, fewer holes is usually better. You can always make “level 2” cards later.
4) Prep the yarn (this is the secret sauce)
Cut a piece of yarn about 24 to 36 inches long. Too long turns into a knot festival. Wrap a small piece of tape tightly around the yarn tip to make a firm “shoelace” end. Trim the taped end at an angle so it is easier to poke through holes.
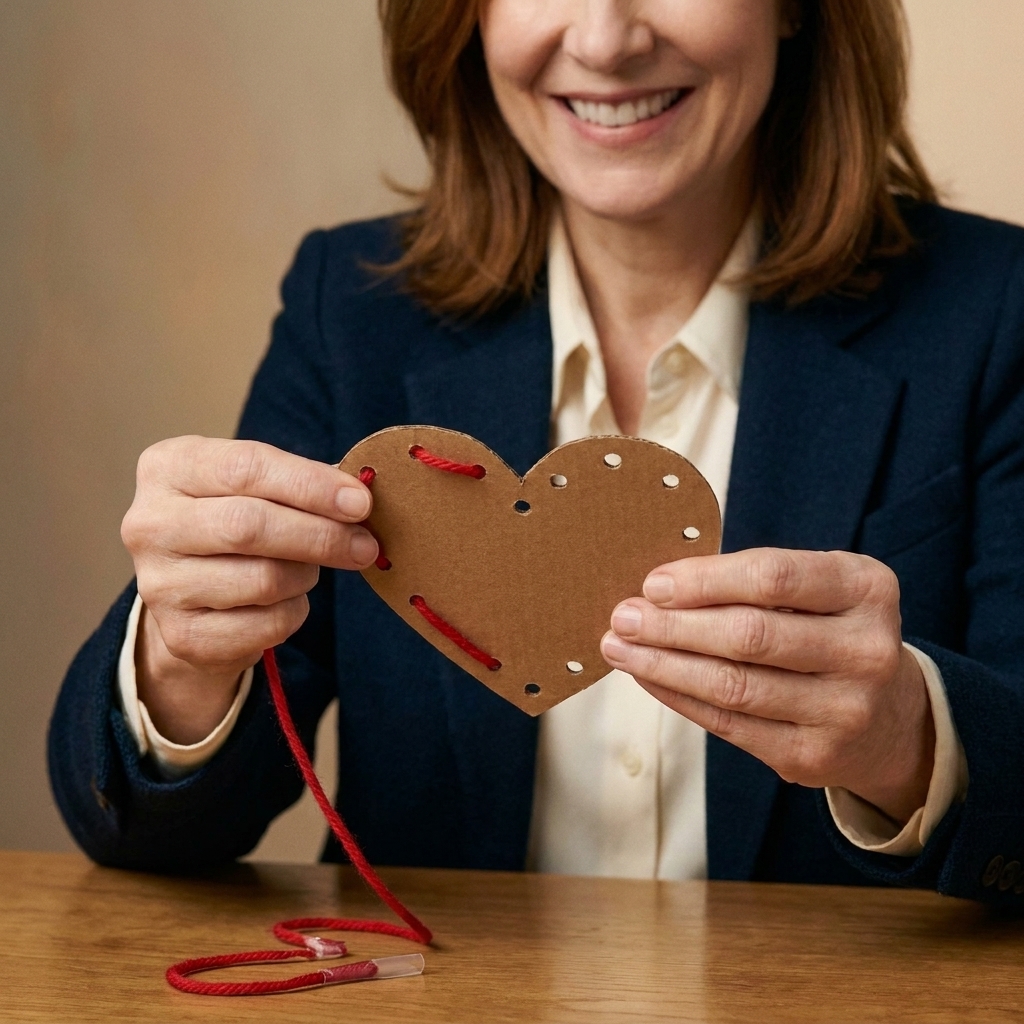
5) Add a starting point
Pick one hole as the start. Tie a big knot at the end of the yarn so it does not pull through. If knots frustrate your child, tape the yarn end to the back of the card instead.
6) Demonstrate one or two stitches, then let them take over
Show how to go front to back, then find the next hole. After two stitches, slide the card over and let your child continue. Remember: the goal is finger practice, not perfect patterns.
Make them sturdy
If you want these to last more than one enthusiastic afternoon, here are my favorite durability upgrades:
- Cardboard sandwich: Glue two cereal box pieces together, then cut the shape. It becomes surprisingly sturdy.
- Packing tape cover: Cover both sides with packing tape, then trim. Punch holes after taping.
- Contact paper: Great for adding a wipe-clean surface. Again, punch holes after covering.
- Reinforce holes: If a card starts tearing, add a little ring of tape near the hole and repunch.
Age tweaks
Ages 2 to 3 (with close supervision)
- Use very thick yarn or a soft shoelace.
- Use a standard hole punch, but space holes farther apart and choose a larger shape. If you truly need larger holes, an adult can use a 1/4-inch craft punch or an awl (adult-only).
- Try 5 to 8 holes total on a large shape.
- Expect them to poke, pull, and repeat the same hole. That still counts as great practice.
- Safety note: For toddlers, keep yarn activities within arm’s reach and do not leave yarn or lacing cards out unattended. Entanglement is a real risk at this age.
Ages 3 to 5 (preschool sweet spot)
- Use 10 to 16 holes.
- Introduce simple patterns like “skip a hole” or “every other hole” if they are interested.
- Add a challenge: lace all the way around and stop at the starting hole.
Ages 5 to 8 (kindergarten to early elementary)
- Make more detailed shapes and add more holes closer together.
- Encourage pattern-making: over-under, around the edge, or “X” stitches.
- Try letter or number cards for extra learning.
Seasonal ideas
One reason I love this activity is that you can match it to whatever season your kids are already buzzing about. Here are crowd-pleasers:
Spring
- Flower (use different yarn colors for petals)
- Butterfly
- Raincloud with “raindrop” holes at the bottom
Summer
- Ice cream cone
- Sun
- Sandcastle
Fall
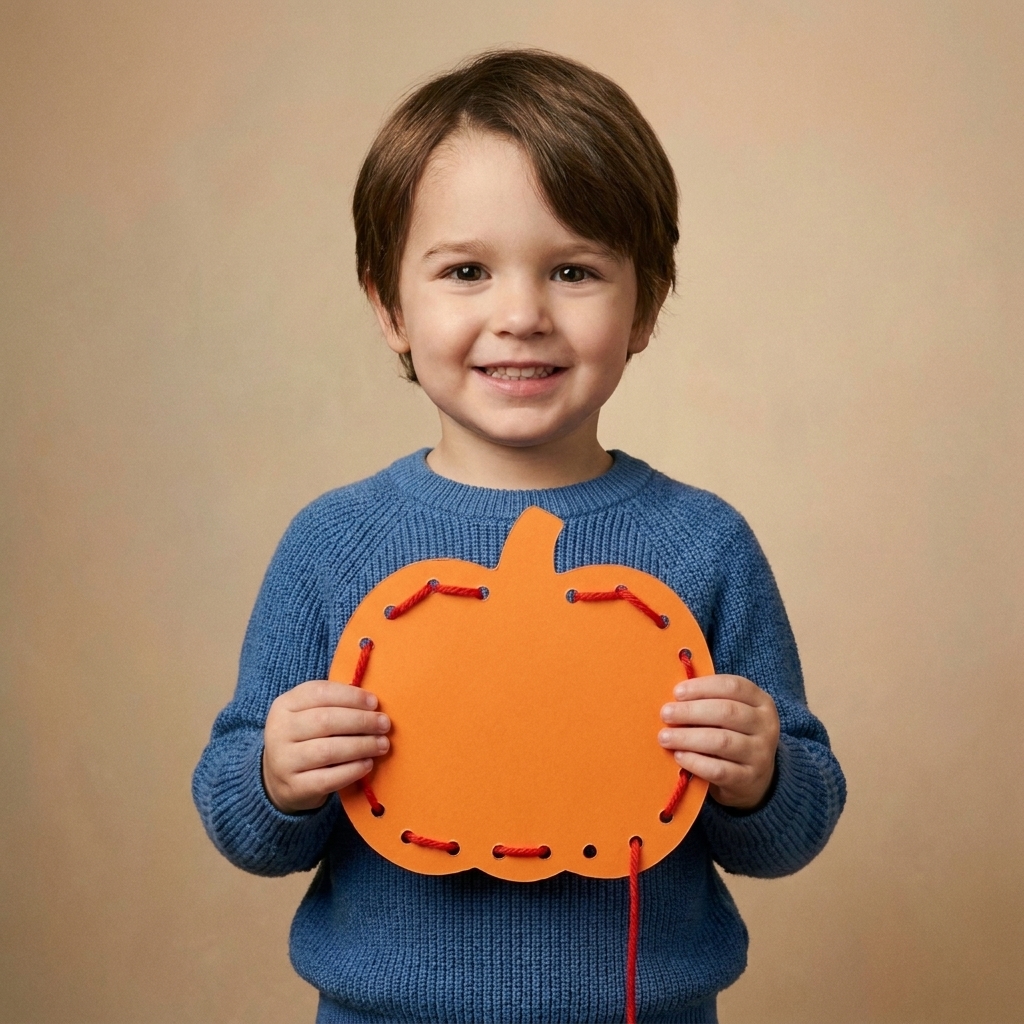
- Pumpkin
- Leaf
- Apple
Winter
- Snowflake (older kids love the challenge)
- Mitten
- Evergreen tree
Everyday learning themes
- Simple shapes
- Letters (start with their first initial)
- Numbers (great for “lace while counting”)
Extra learning ideas
- Count the holes: “How many do we have on this card?”
- Directional words: Up, down, through, pull, next to.
- Color practice: Switch yarn colors halfway and talk about the change.
- Story prompts: “Tell me about your mitten. Who wore it? Where are they going?”
- Name-building: Make a simple card with holes in the shape of the first letter of their name.
If your child is the kind who resists anything that looks like practice, keep it playful. Sometimes I call it “cardboard sewing,” sometimes it is “rescue rope for the pumpkin,” and sometimes it is just quiet table time while I drink lukewarm coffee.
Safety notes
- Skip plastic needles for most preschoolers. A taped yarn tip is usually enough and avoids pokes.
- Watch yarn length. Keep it manageable to reduce tangles and frustration.
- Check cardboard edges. Tape sharp corners and trim any rough bits.
- Do not leave yarn unattended with toddlers. For ages 2 to 3, this is a sit-with-them activity.
- Choking hazard reminder. Loose yarn, small punched pieces, and any added decorations require supervision with younger kids.
When to pause
Lacing is wonderful, but it should not feel like boot camp for fingers.
- Keep it short: A few minutes is plenty for beginners.
- Watch for fatigue: If your child starts shaking out their hands, switching hands repeatedly, slumping over the table, or getting extra cranky, it is a good time to stop.
- End on a win: Even “two holes and done” counts.
Troubleshooting
The yarn keeps fraying
Tape the tip more tightly and trim it at an angle. If it still frays, switch to a thicker yarn or even a shoelace.
The cardboard is tearing near holes
Your holes may be too close to the edge. Next time, punch farther in. For this card, add tape around the edge and repunch the holes.
My child is getting frustrated
Make fewer holes, use thicker yarn, and sit beside them for the first few stitches. You can also start the lacing for them and let them continue where it is already “working.”
Everything is tangled
Shorten the yarn and show the “pull through, then straighten” step. For some kids, winding extra yarn around a cardboard scrap like a little bobbin helps a lot.
Quick variations
- Sticker lacing cards: Let kids decorate with stickers first, then lace.
- Texture cards: Add a strip of fabric or felt to the center for sensory play.
- Two-piece “sewing”: Punch matching holes in two shapes and lace them together like a sandwich.
- On-the-go version: Toss a card and yarn into a zip bag for waiting rooms or sibling activities.
- Accessible swaps: Try pipe cleaners, ribbon, or a shoelace if yarn is too floppy to manage.
Storage tips
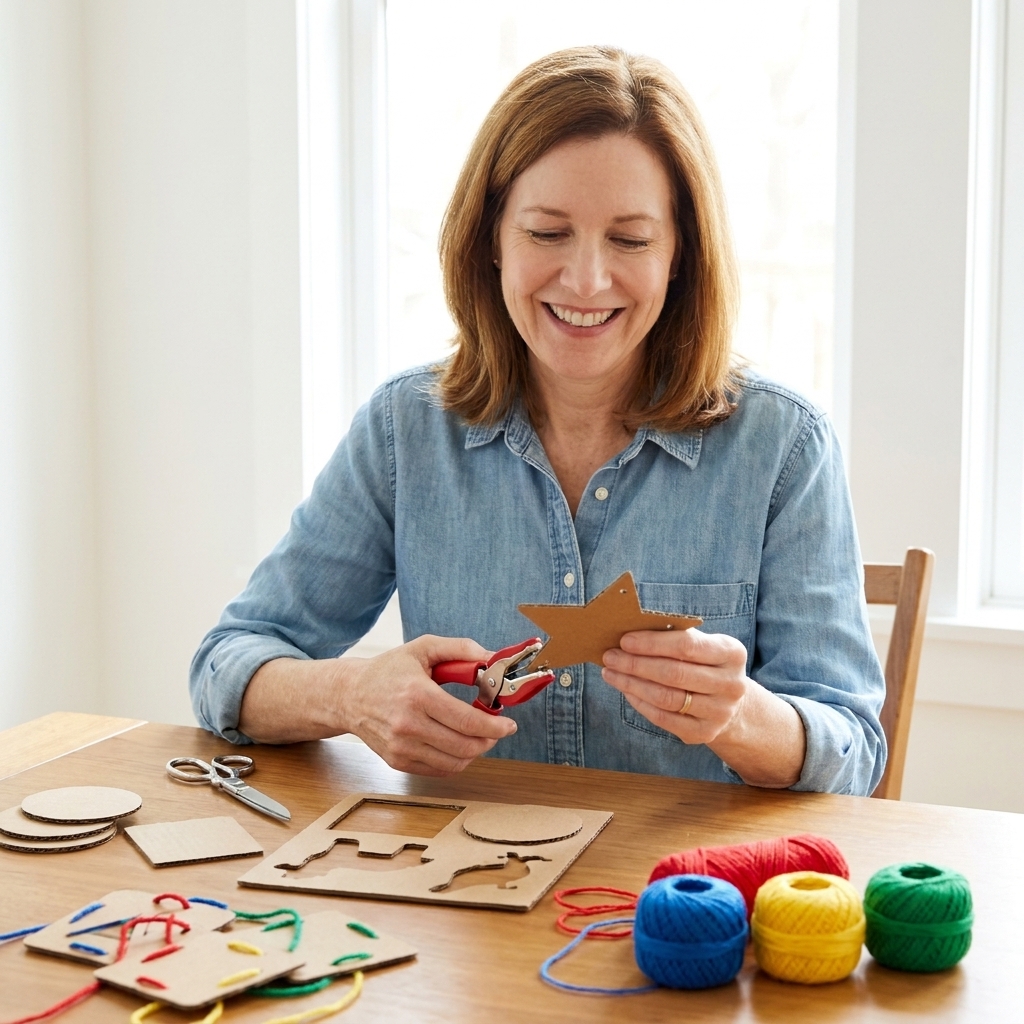
- Keep cards flat: Store them in a folder, large envelope, or slim bin so they do not bend and tear.
- Make a simple yarn bobbin: Wrap yarn around a small piece of cardboard to prevent tangles.
- Bag by set: One card plus one lace in a zip bag makes grab-and-go quiet time easier.
FAQ
What kind of yarn is best for preschool lacing cards?
Thicker yarn is easiest for beginners because it is easier to grab and less likely to slip. If you have very smooth yarn, tape the tip well so it behaves like a shoelace.
How many holes should I punch?
For preschoolers, 10 to 16 holes is a sweet spot. For younger kids, aim for 5 to 8. If your child loves it, add more holes next time for an extra challenge.
Can I use paper instead of cardboard?
You can, but it tears quickly. If paper is what you have, glue two layers together or tape both sides to strengthen it, then punch holes.
Do lacing cards really help with handwriting?
They can help build coordination, control, and endurance that supports handwriting readiness. They are not a handwriting lesson by themselves, but they can make pencil tasks feel less tiring by giving little hands more practice doing precise work.
A gentle reminder
If your child laces three holes and declares it finished, that is still a win. Fine motor skills grow through repetition over time, not through one perfect craft. Keep the supplies handy, pull them out on rainy afternoons, and celebrate the effort.
And if your house ends up with a few stray strands of yarn stuck to a sock, welcome to the club. Mine is basically held together with hot glue and washi tape anyway.