A simple, repeatable 3-ingredient slime recipe that works. Plus my teacher-mom troubleshooting tips for sticky slime, rubbery slime, and easy storage.
My house is basically held together by hot glue and washi tape, so trust me when I say I love a craft supply you can make in your own kitchen. This no-cook homemade playdough is my go-to because it is fast, made with non-toxic pantry ingredients, easy to color, and sturdy enough for everything from toddler squishes to big-kid “bakery orders.”
If you have ever made playdough that turned out sticky, gritty, or weirdly dry, you are in the right place. This version is the one I keep coming back to after testing it with my three kids (3, 6, and 8), plus a whole lot of kindergarten classroom memories.
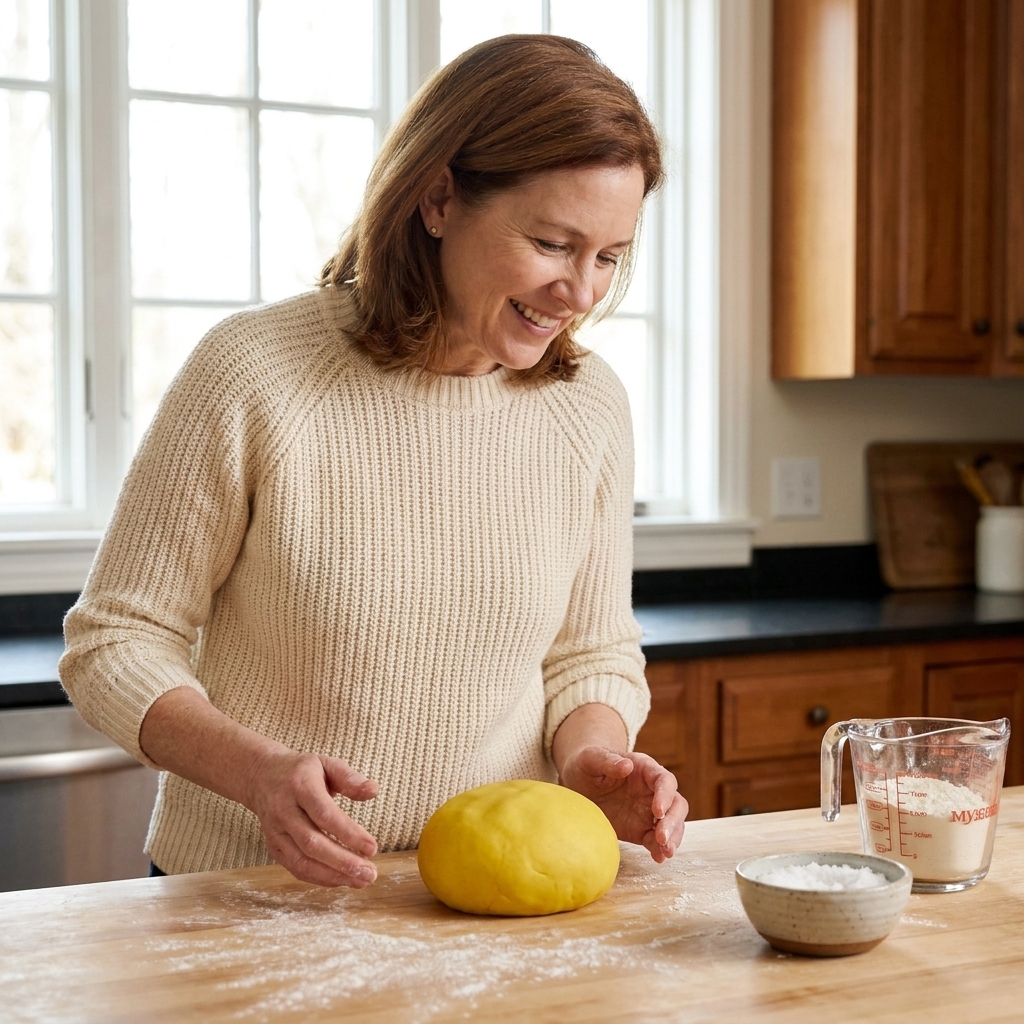
Why no-cook works
Cooked playdough is wonderful, but on real-life days, I want something I can whip up between snack time and school pickup. No-cook playdough works because the flour hydrates quickly, the salt helps slow down funky growth when it is stored clean and airtight, and the oil keeps it stretchy and soft.
What you are aiming for: soft, pliable, and not tacky. It should feel like a smooth stress ball, not like glue.
- Fast: about 10 to 15 minutes start to finish
- Durable: holds shape for cutters, stamps, and “snakes”
- Easy to refresh: a tiny splash of oil brings it back to life
- Budget-friendly: pantry staples and optional food coloring
Ingredients
This makes one good-sized batch, enough for 2 to 3 kids to play comfortably. Double it if you are hosting a playdate, or if you know your kids will insist on “one color each.”
- 2 cups all-purpose flour
- 3/4 cup fine table salt (fine salt = smoother dough)
- 2 tablespoons cream of tartar (optional, but strongly recommended for smoother texture and better keeping quality)
- 2 tablespoons vegetable oil (or canola)
- 1 1/2 cups warm water (not boiling)
- Food coloring or gel coloring (optional)
Don’t have cream of tartar? You can still make it. The dough will just be a bit less silky and may dry out sooner. Cream of tartar mainly helps texture and can help it keep better when stored well, but it is not a magic preservative.
Allergen note: This recipe contains wheat (gluten). If anyone in your house has a wheat allergy or gluten sensitivity, skip this batch and use a gluten-free option instead.
Tools
- Large mixing bowl
- Measuring cups and spoons
- Spoon or silicone spatula
- Clean countertop or cutting board for kneading
- Zip-top bags or airtight containers for storage
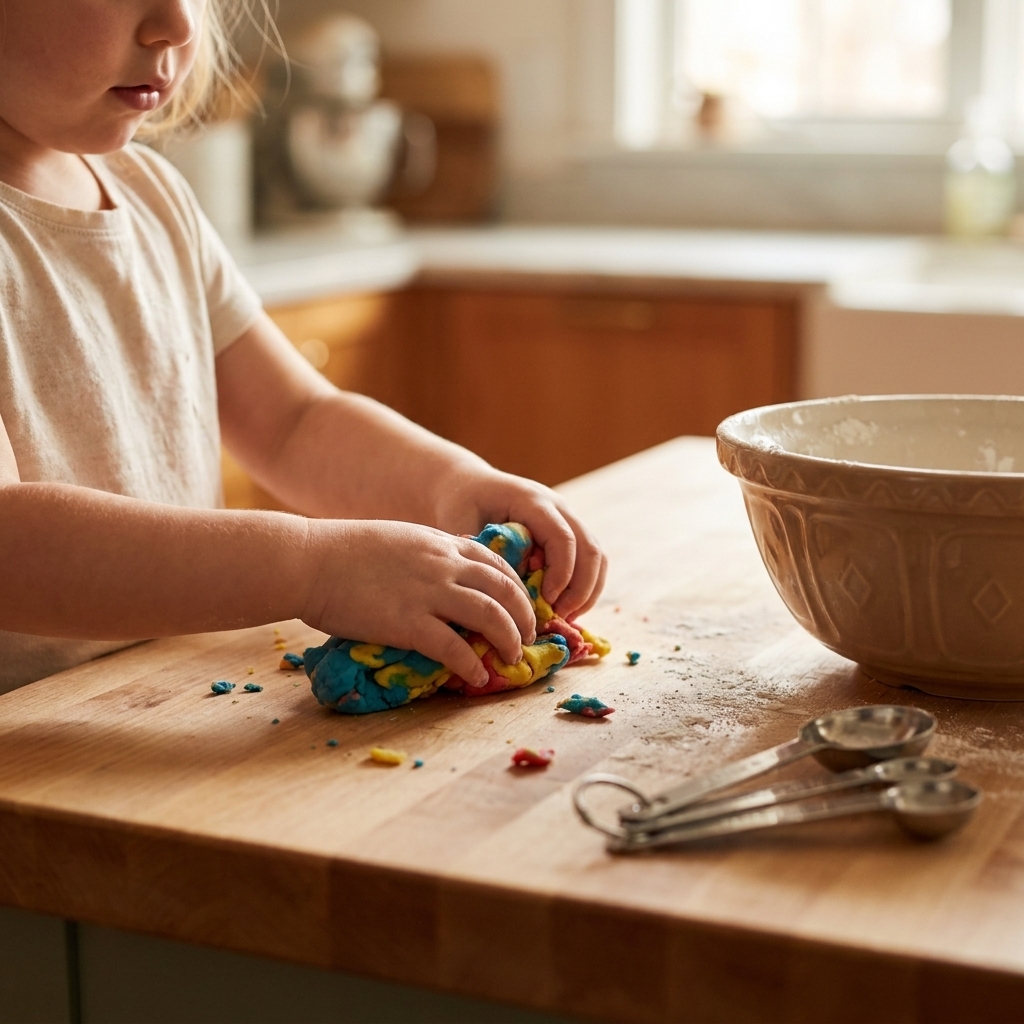
Step by step
1) Mix dry first
In a large bowl, whisk together the flour, salt, and cream of tartar (if using). Mixing dry first helps prevent salty pockets and keeps the texture even.
2) Stir in the oil
Add the oil and stir it through the dry mix. It will look a little clumpy, and that is perfect.
3) Add warm water slowly
Pour in about 3/4 of the warm water and stir. Add the remaining water a little at a time until you have a shaggy dough that mostly clears the sides of the bowl.
Tip from my kindergarten days: Different flours absorb water differently. Humidity also matters. Your goal is “soft but not gluey.”
4) Knead until smooth
Turn the dough onto the counter and knead for 2 to 3 minutes. If it feels sticky, sprinkle on a tiny bit of flour and keep kneading. If it feels dry or cracky, wet your hands and knead again, adding moisture in tiny amounts.
5) Color it (two easy options)
- Option A: Color the water. Add food coloring to the warm water before mixing. This gives more even color with less mess.
- Option B: Knead in color. Divide the dough into portions, add a drop of coloring to each portion, and knead. If your kid loves the “science” part, this is the fun route.
Coloring tip: Gel food coloring makes brighter playdough with fewer drops. If your hands stain easily, rub a little cooking oil on your palms before kneading in color.
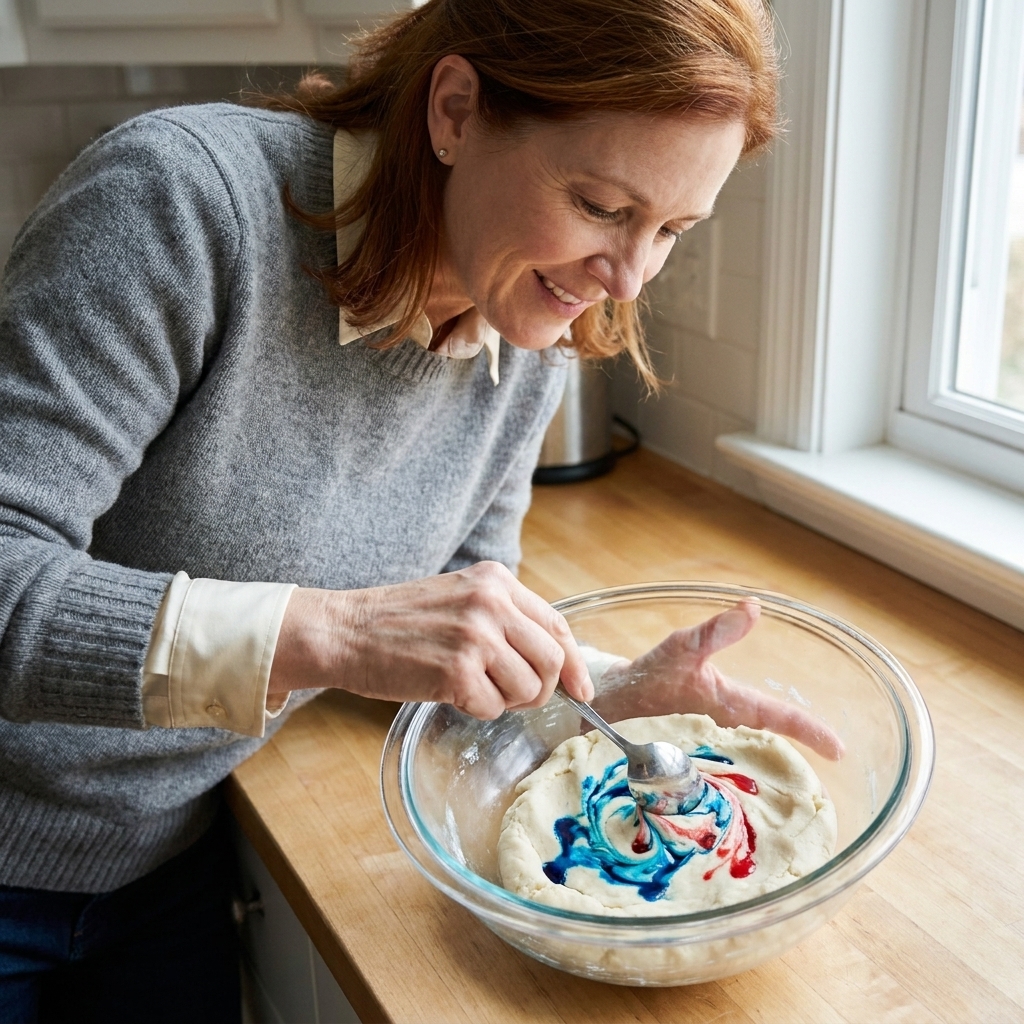
Bright color tips
If you have ever made playdough that turned out pastel no matter how much coloring you added, here are the tricks that help most:
- Use gel coloring for stronger color.
- Start with warm water so color spreads more evenly.
- Let it rest for 10 minutes in a sealed bag after coloring, then knead once more. Colors deepen as the flour hydrates.
- Go darker than you think for reds and blacks. Those always look lighter once mixed into flour.
About paint or watercolors: If you want jewel tones, only use washable, child-safe, non-toxic liquid watercolors or paints that are clearly labeled for kids’ crafts. Even then, treat it like art-supply dough, not taste-safe dough. Skip paint coloring entirely for toddlers, kids who mouth everything, or anyone with pica, and wash hands after play.
Troubleshooting
If it is sticky
- Knead for a full minute before adjusting. Sticky dough often just needs more kneading.
- Dust your hands with flour and knead again.
- Add flour 1 tablespoon at a time until it is workable.
If it is crumbly or cracking
- Wet your hands and knead. This adds tiny amounts of water without overdoing it.
- Add 1 teaspoon of water at a time if needed.
- Knead in 1/2 teaspoon oil for extra softness.
If it feels gritty
- Make sure the salt is fully mixed into the flour before adding water.
- Knead longer. A couple extra minutes makes a big difference.
- If your salt is coarse, switch to fine table salt next time for a smoother dough.
If it smells “off” after a few days
- It likely picked up germs from play, got stored with air exposure, or sat somewhere warm. Toss it and make a fresh batch.
- To help it keep better next time, use cream of tartar, start with clean hands, and store airtight right after play.
Storage
Homemade playdough lasts the longest when it stays clean and airtight. In our house, I try for “good enough,” not “laboratory sterile,” and we still get great mileage.
- Store in zip-top bags with as much air pressed out as possible, or in airtight containers.
- Keep it at room temperature, away from direct sun or heat vents.
- If it starts drying out, knead in a few drops of oil.
- If it gets little crumbs, mist your hands with water and knead to revive.
- Hygiene tip: Quick handwashing before play goes a long way for making it last.
- Life tip: Keep it away from pet hair and carpet if you can. Your vacuum will thank you.
My mom tip: If you have multiple colors, store each color separately. Otherwise, you will end up with “mystery brown” by day two.
Play ideas
This is the part where my former teacher heart does a happy little dance. Playdough is secretly packed with skill-building.
- Fine motor workout: roll tiny balls, pinch “sprinkles,” cut with kid scissors
- Letter practice: form letters, then squish and redo
- Math play: make shapes, count mini “cookies,” compare sizes
- Sensory calm-down: slow squeezing and rolling is wonderfully regulating
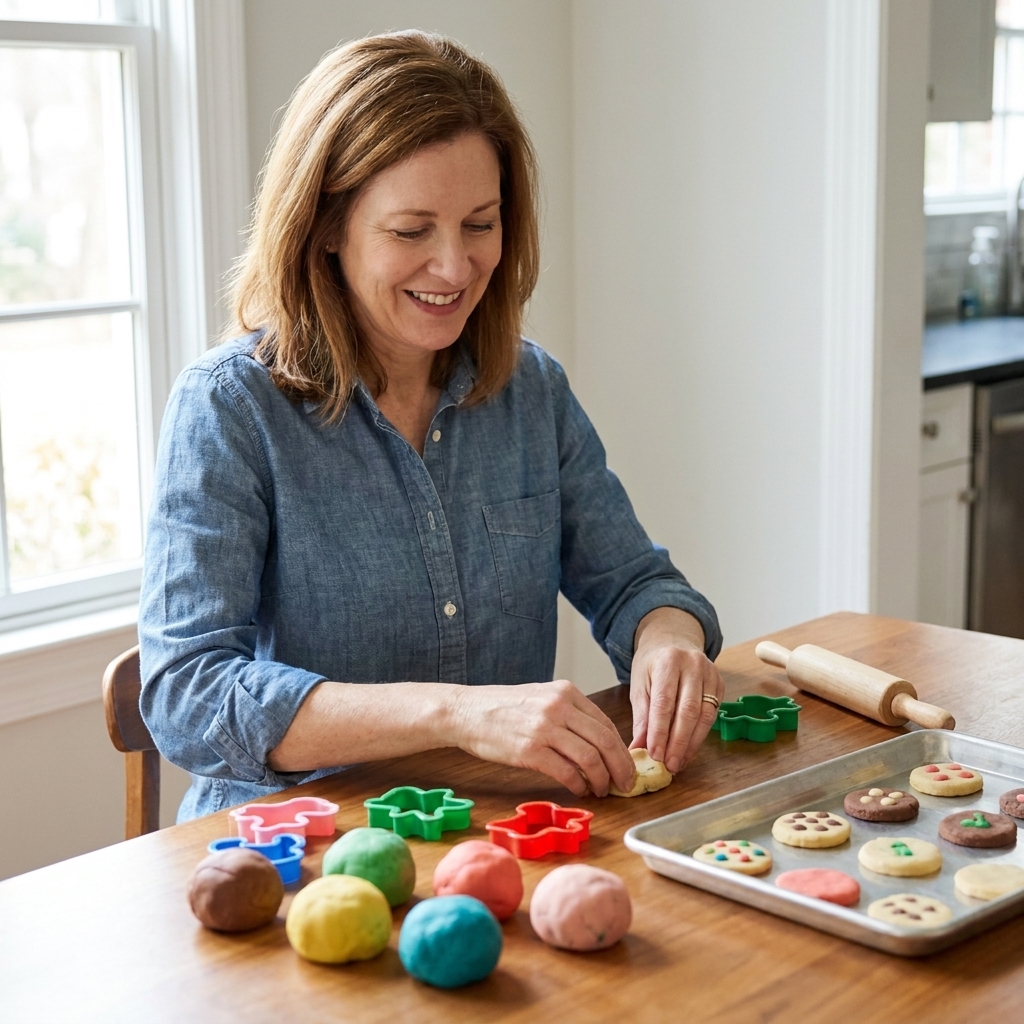
Quick FAQ
Is it safe if my toddler tastes it?
It is made with non-toxic pantry ingredients, but it is not meant to be eaten. It is very salty, and eating a significant amount can be harmful. For kids under 3 or kids who still mouth everything, use very close supervision or choose an edible dough instead. If a large amount is swallowed and you are concerned, contact Poison Control right away.
Can I make it gluten-free?
You can try a 1:1 gluten-free flour blend. The texture varies by brand, so add water slowly and expect a slightly more crumbly dough. A little extra oil often helps.
Why warm water?
Warm water helps the salt dissolve and hydrates the flour faster, which makes kneading easier and the dough smoother.
How long does it last?
With clean hands and airtight storage, it often lasts 2 to 4 weeks. That said, homemade playdough is not sterile. If it smells odd, looks moldy, feels slimy, or has been played with by lots of little hands and left out repeatedly, toss it and make a fresh batch.
How do I clean playdough crumbs?
Let crumbs dry fully, then sweep or vacuum. For carpet, a stiff brush helps loosen bits. For tables, scrape gently with a plastic card, then wipe.
Hard to mess up
If it is sticky, add flour. If it is dry, add a little water or oil. That is the whole game. Playdough is wonderfully forgiving, and kids genuinely do not care if the color is uneven or there are a few sparkles of flour left on the counter.
Put on a playlist, embrace the mess-friendly moment, and enjoy the kind of play that keeps little hands busy and big imaginations humming.