A foolproof no-cook playdough recipe that stays soft with simple pantry ingredients. Includes kid-friendly coloring tips, storage guidance, and quick trouble...
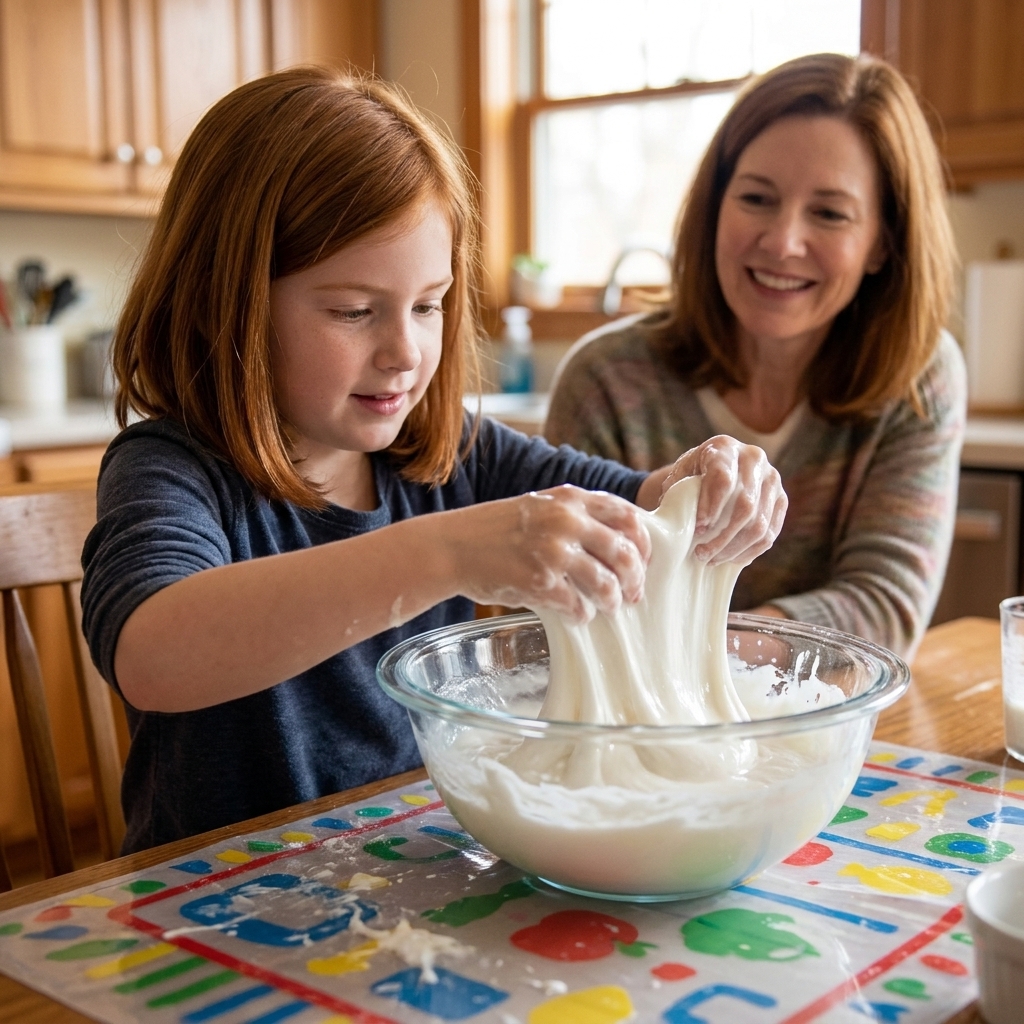
If your house is anything like mine, slime making happens on a random Tuesday at 4:17 pm when everyone is hungry and someone says, “Can we make slime?” This is the recipe I use when I need it to be reliable without fancy ingredients, complicated measuring, or tears over a bowl of glue soup.
This is my everyday 3-ingredient slime: white school glue + baking soda + contact lens solution. It makes a stretchy, glossy slime that is easy for little hands to knead, and it holds up well for sensory play. (Like all slime, though, you might need a tiny tweak depending on your glue and solution brand.)
Before you start
Two quick mom notes from the trenches of craft time:
- Adult help is needed. Contact lens solution is not for tasting, and little kids love tasting things that look like frosting.
- Slime is a table activity, not a carpet activity. Ask me how I know.
Age guidance
- Ages 3 to 4: Great as a supervised sensory experience. I do the mixing, they do the kneading.
- Ages 5 to 8: Can help measure and mix with close supervision.
- 8+: Usually able to make it independently, but I still recommend an adult nearby for the contact solution step.
3 ingredients you need
- White school glue (PVA glue). Regular Elmer’s-style school glue works beautifully. Some washable or no-run/gel glues can act a little different, so you may need a touch more kneading time or a tiny adjustment to the activator.
- Baking soda (sodium bicarbonate).
- Contact lens solution with boric acid and/or a borate listed (like sodium borate or a borate buffer). This is the activator, and it is the detail that makes or breaks the batch.
Important: Not all contact lens solutions work, and the strength varies by brand. Flip the bottle and check the ingredient list. If you do not see boric acid or a borate, your slime may stay sticky no matter how long you stir.
Tools (keep it simple)
- Mixing bowl
- Spoon or spatula
- Measuring spoon
- Optional: silicone mat or baking sheet for kneading
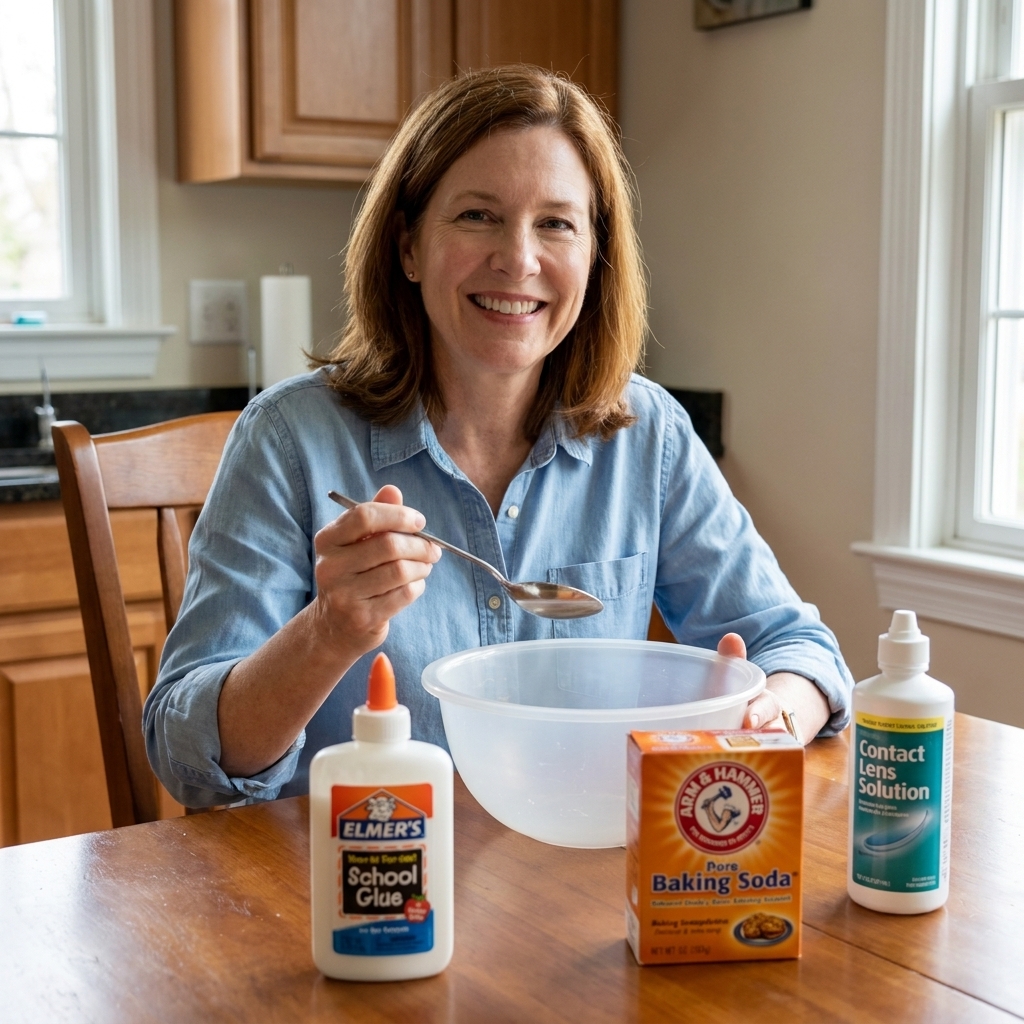
3-ingredient slime recipe
Ingredients (one generous batch)
- 1/2 cup white school glue
- 1/2 teaspoon baking soda
- 1 tablespoon contact lens solution, plus 1 to 2 teaspoons more as needed
Step-by-step
Pour the glue into a bowl. I like a clear bowl so kids can see the changes as you mix.
Stir in the baking soda. Mix until it looks smooth and creamy. This step helps the slime set up with a nicer, stretchier texture.
Add 1 tablespoon contact lens solution. Stir well and keep stirring until it clumps. At first it will look stringy and lumpy, then it will start pulling away from the sides of the bowl.
Knead with your hands. Once it is mostly clumped together, pick it up and knead for 1 to 2 minutes. The warmth of hands helps it come together.
Adjust if needed.
- If it is still very sticky, add contact lens solution 1/2 teaspoon at a time and knead between additions.
- If it is too stiff, stop adding activator and keep kneading. (More tips below.)
My no-panic rule: Do not dump in extra contact lens solution all at once. Most slime disasters happen because we get impatient and over-activate it.
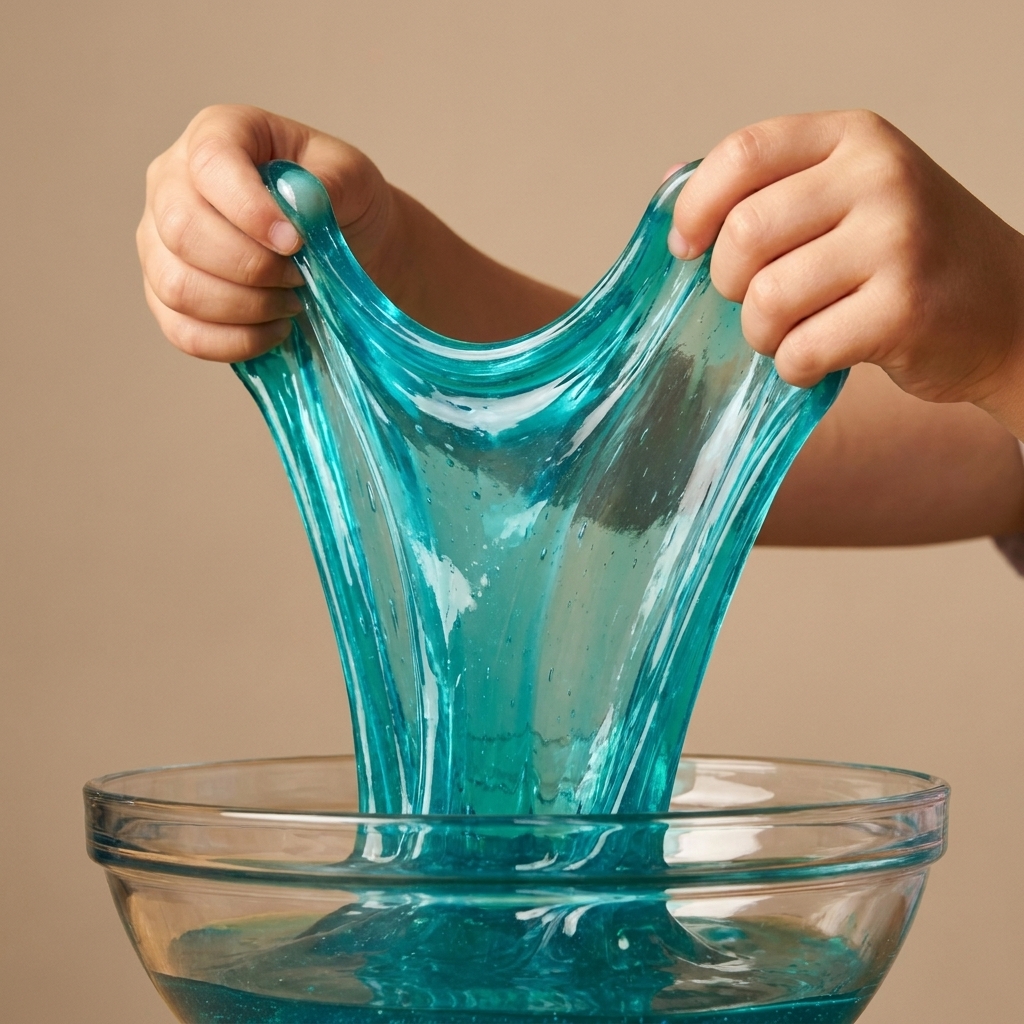
When it is ready
- It pulls cleanly from the bowl without leaving a gluey ring.
- It feels slightly tacky but does not coat your fingers.
- It stretches slowly into a long ribbon before snapping.
If it is snapping quickly, it is usually over-activated. If it is coating everything like frosting, it needs a tiny bit more activator and more kneading time.
Troubleshooting
Too sticky
- Knead longer first. Give it a full minute of kneading before changing anything.
- Add contact lens solution slowly. 1/2 teaspoon at a time, then knead again.
- Double-check your contact lens solution ingredients. No boric acid or borate often equals endless stickiness.
Rubbery or rips
- It is over-activated. The fix is time and gentleness.
- Warm it in your hands and stretch slowly. Sometimes it relaxes with a few minutes of play.
- Next time, stop sooner. When slime pulls from the bowl, switch to kneading instead of adding more activator.
Stiff the next day
- Warm it up. Have kids knead it for a minute or two.
- Store it airtight. Air dries slime out fast.
Wet residue or slimy feel
- Knead and rest first. Sometimes it just needs a few minutes of kneading, then a 5 to 10 minute rest in a sealed container to finish setting.
- Check the room temp. In a warm room, slime can feel looser. Chill it in a sealed container for 10 minutes.
- If it is still truly sticky after that, add contact lens solution 1/2 teaspoon at a time. If it seems like there is extra liquid from the solution, do not add more. Keep kneading and let it rest.
Easy add-ins
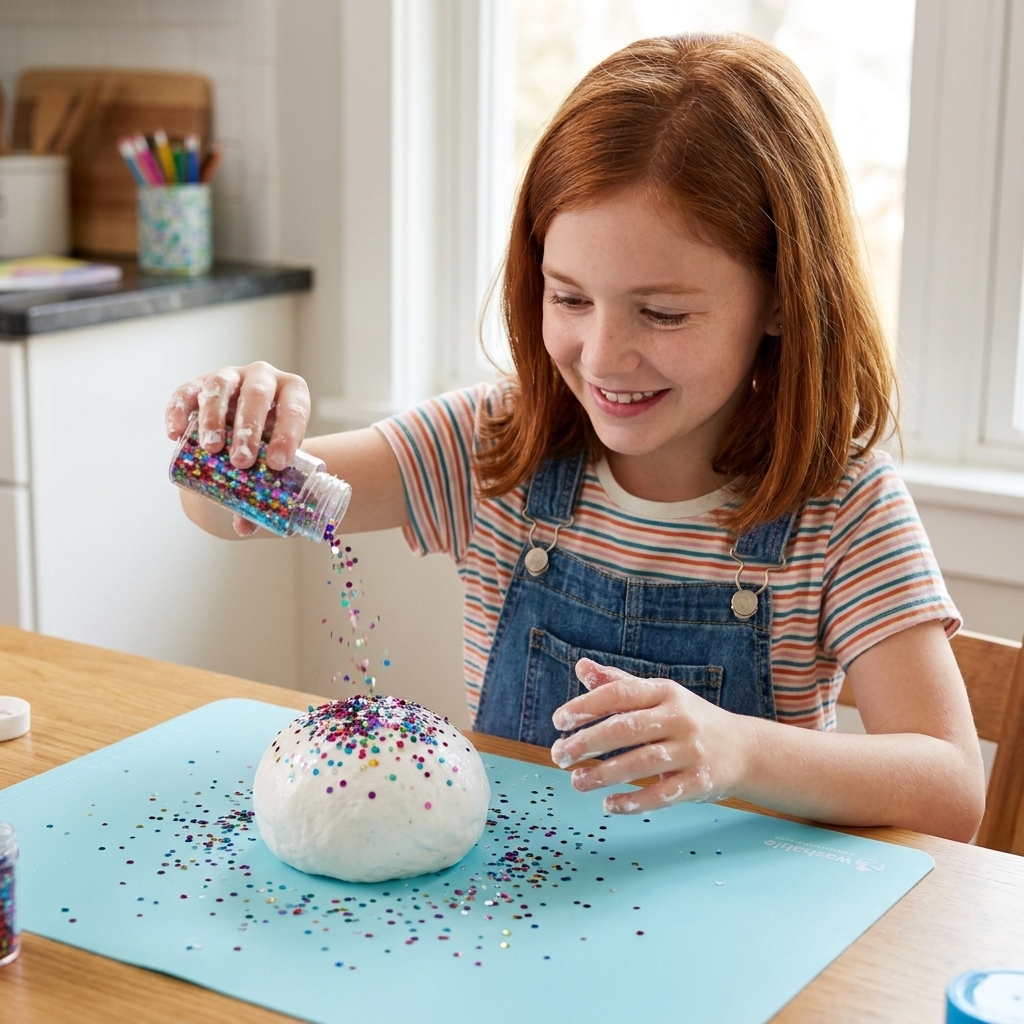
This recipe is great plain, but if you want to level it up, add extras after the slime has formed.
- Chunky glitter for a “dragon slime” look (use sparingly unless you enjoy finding glitter in your socks forever).
- Foam beads for crunchy texture.
- Mini pom-poms for a soft sensory twist.
- A drop of washable paint to tint it (start tiny).
Safety notes
- Do not taste. This is not edible and should be used with supervision, especially for toddlers and kids who still mouth objects.
- Wash hands after play. Always a good habit after sensory activities.
- Sensitive skin: Some kids get dry hands from slime. If your child has eczema, very sensitive skin, or open cuts, keep play sessions short and stop if irritation occurs.
- Eye safety: Keep contact lens solution away from eyes and mouths, and recap it immediately.
Storage
- Store slime in an airtight container or zip-top bag.
- Keep it at room temperature.
- If it picks up crumbs, fold it over itself a few times to trap debris, then pull it out. For really crumbly tables, lay down a tray or mat first.
Properly stored (and played with using clean hands), this slime is usually great for about 1 to 2 weeks. If it starts to smell odd, look moldy, or gets watery, toss it and make a fresh batch.
Cleanup tips
- Hard surfaces: Scoop with a plastic card, then wipe with warm soapy water.
- Fabric or carpet: Start by lifting off what you can. Many times, letting it dry a bit helps you pick it up, but dried slime can cling to fibers, too. Use warm water and a little dish soap and dab gently. For borate-activated slime, a small amount of white vinegar can help loosen residue. Patch-test first and avoid aggressive scrubbing (it pushes slime deeper).
- Hair: Conditioner is your best friend. Work it in gently, then comb out slowly.
FAQ
Can I use clear glue instead of white glue?
Yes. Clear glue works, too. It can be a bit stickier at first, so knead longer and add activator very slowly.
Can I make this without baking soda?
Baking soda helps the slime set up consistently. You can sometimes make slime with just glue and contact lens solution, but the texture is less predictable. For a no-fail batch, I recommend keeping the baking soda in.
Why will my slime not form at all?
The most common reason is the contact lens solution. Check for boric acid or a borate (like sodium borate or a borate buffer) in the ingredients. If it does not have one of those, it likely will not activate the glue properly.
How do I make it less sticky without ruining it?
Knead first, then add contact lens solution in tiny amounts, kneading between each addition. Slow and steady is the secret.
One last teacher-mom reminder
If your slime is not perfectly Instagram-smooth, you still did it right. Sensory play is about the squish, the stretch, the experimenting, and the giggles. In our house, the best batches usually happen when someone is laughing and someone else is shouting, “It’s ALIVE!”
If you try this recipe, I hope it earns a spot in your rainy-day toolbox. Mine is basically a drawer full of glue bottles and big dreams.