Gather leaves, twigs, rocks, and pinecones, then make 15 kid-friendly nature crafts using simple supplies you already have at home.
If your kids love getting their hands dirty (and you do not mind a little “garden glitter” under their fingernails), seed bombs are such a sweet Earth Day activity. They are little balls of clay, soil, and seeds that you can plant in a pot or garden bed. When they get watered, the clay softens, the seeds wake up, and boom, tiny sprouts.
Also, let us be honest: anything that looks like a tiny mud truffle immediately becomes fascinating to ages 3 through 8. My house is basically held together by hot glue and washi tape, but on Seed Bomb Day it is held together by clay dust and hope.
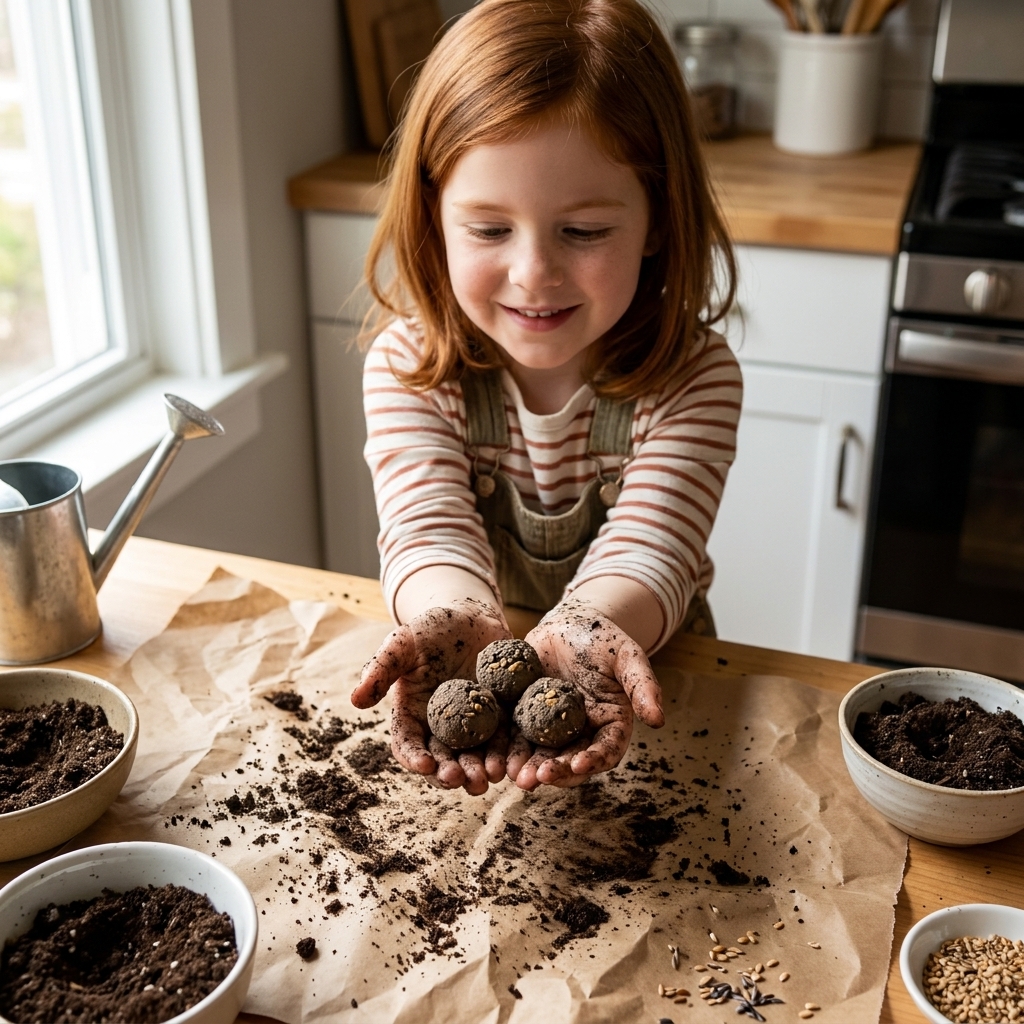
What are seed bombs?
Seed bombs (sometimes called seed balls) are small bundles designed to help keep seeds in place and improve their chances when moisture arrives. The clay holds everything together and can help protect seeds from drying out or blowing away. It may also help reduce bird snacking, but it is not a guarantee. Compost or potting soil gives seeds a cozy place to start once the ball breaks down with water.
They are often used for wildflowers, especially in spring, because many wildflowers are hardy and pollinator-friendly.
Before you start
I love a “toss it and walk away” craft as much as the next tired parent, but with seed bombs we do need to be thoughtful. The goal is to help nature, not accidentally introduce invasive plants.
- Use seeds that are native or well-suited to your region. Regional native wildflower mixes from local nurseries are ideal.
- Only plant on land where you have permission. Your yard, a friend’s yard, a school garden, community garden plots, or planters are great.
- Avoid protected natural areas unless a local organization specifically invites planting.
- Skip “wildflower mixes” that do not list seed types. If the package does not tell you what is inside, I pass.
- Avoid non-native “pretty favorites” that are not for your region. If you are unsure, your local extension office or native plant society can point you to safe picks.
Materials
You likely have most of this already. I will give you a couple of options depending on what you can find.
What you need
- Natural clay powder (often sold as “red clay powder” for seed balls) or additive-free natural clay
- Potting soil or compost (sifted is helpful, but not required)
- Wildflower seeds (native mix or a few favorite varieties)
- Water
- Mixing bowl and spoon
- Tray or baking sheet for drying
- Kraft paper, parchment, or an old towel to protect your table
Skip these clays
- Polymer clay (it does not break down in soil)
- Modeling clays with binders, fragrance, or glitter (not garden-friendly)
- “Air-dry” craft clays that are foamy, plasticky, or heavily dyed (they are made for crafts, not planting)
Optional but very helpful
- Measuring cups
- Disposable gloves (for kids who dislike the “mud feeling”)
- A fine mesh strainer (to remove sticks and chunks from soil)
- Aprons or old T-shirts
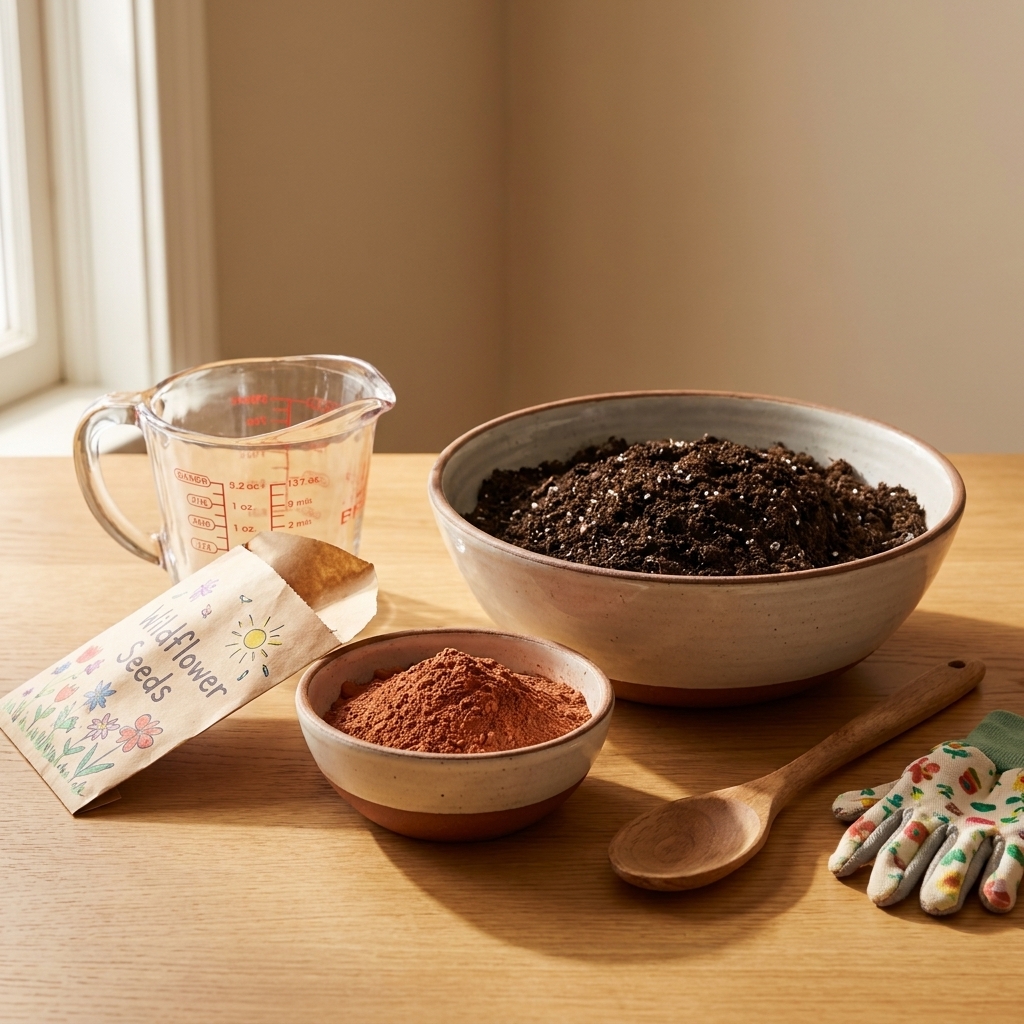
Easy recipe
This recipe is flexible. The exact amounts can change depending on how dry your soil is and what kind of clay you use. Think: playdough texture, not crumbly and not sticky.
- 2 parts clay powder
- 1 part potting soil or compost
- 1 to 2 teaspoons seeds per cup of dry mix (a little goes a long way)
- Water, slowly
Size tip: For kids, aim for seed bombs about the size of a large marble or small walnut. Bigger is not better here. Large balls can dry too slowly, compact too tightly, and may get moldy or make it harder for seeds to sprout.
Step-by-step
1) Set up a mess-friendly work zone
Cover the table, pull hair back, and set out a drying tray. I like to put a slightly damp washcloth at each spot for quick finger wipe-offs.
2) Mix the dry ingredients
In a large bowl, stir together the clay powder and soil. Break up any big clumps.
Now sprinkle in the seeds and stir again. Try not to crush the seeds. Gentle mixing is perfect.
3) Add water a little at a time
Pour in a small splash, mix, and repeat. You are going for a dough that holds together when squeezed.
- If it is crumbly, add a tiny bit more water.
- If it is sticky and goopy, add a spoonful of clay powder or soil.
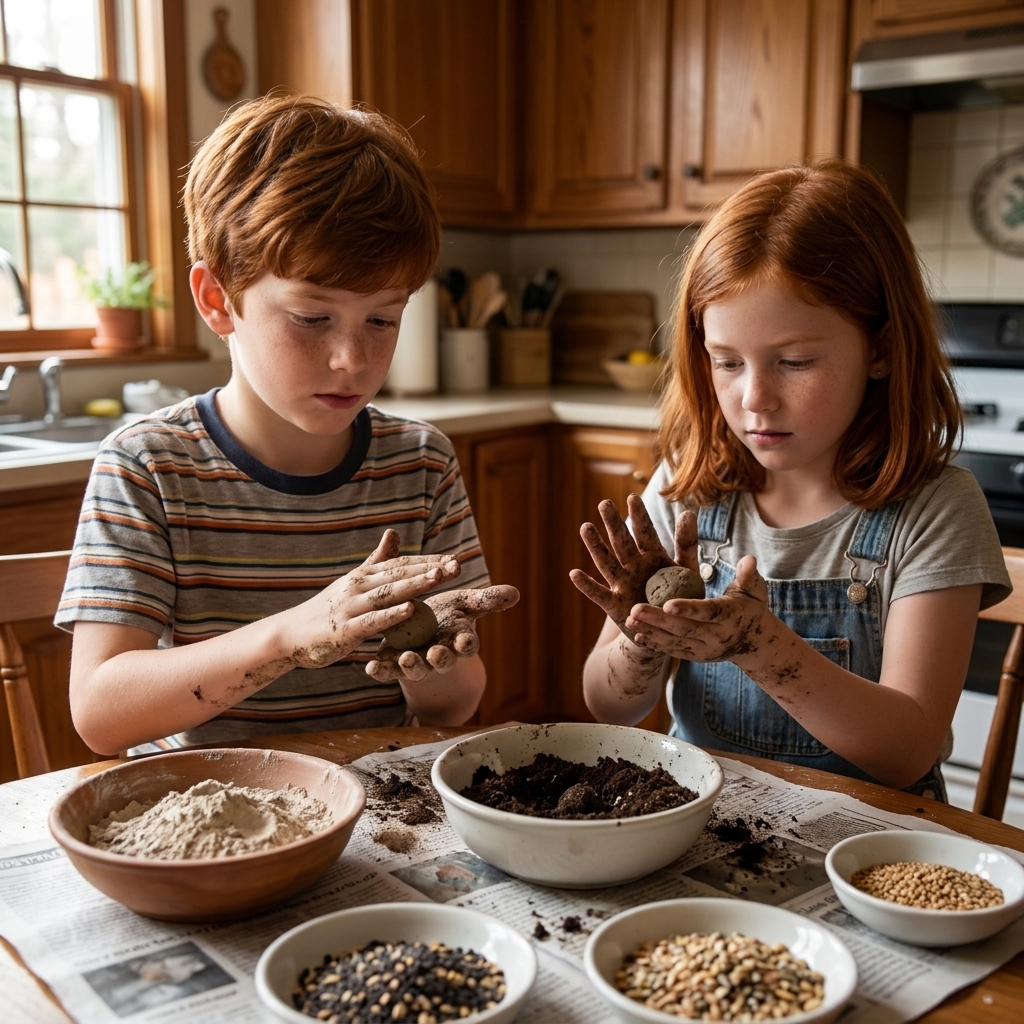
4) Roll into balls
Pinch off small pieces and roll them between your palms. This is where the kids really shine. Expect proud “Look what I made!” energy.
5) Dry the seed bombs
Place them on a tray in a single layer. Let them air dry for 24 to 48 hours, turning once halfway through if you remember. They should feel hard and dry on the outside.
How to plant seed bombs
You have two kid-friendly options: planting and gentle tossing. Both work best when there is consistent moisture.
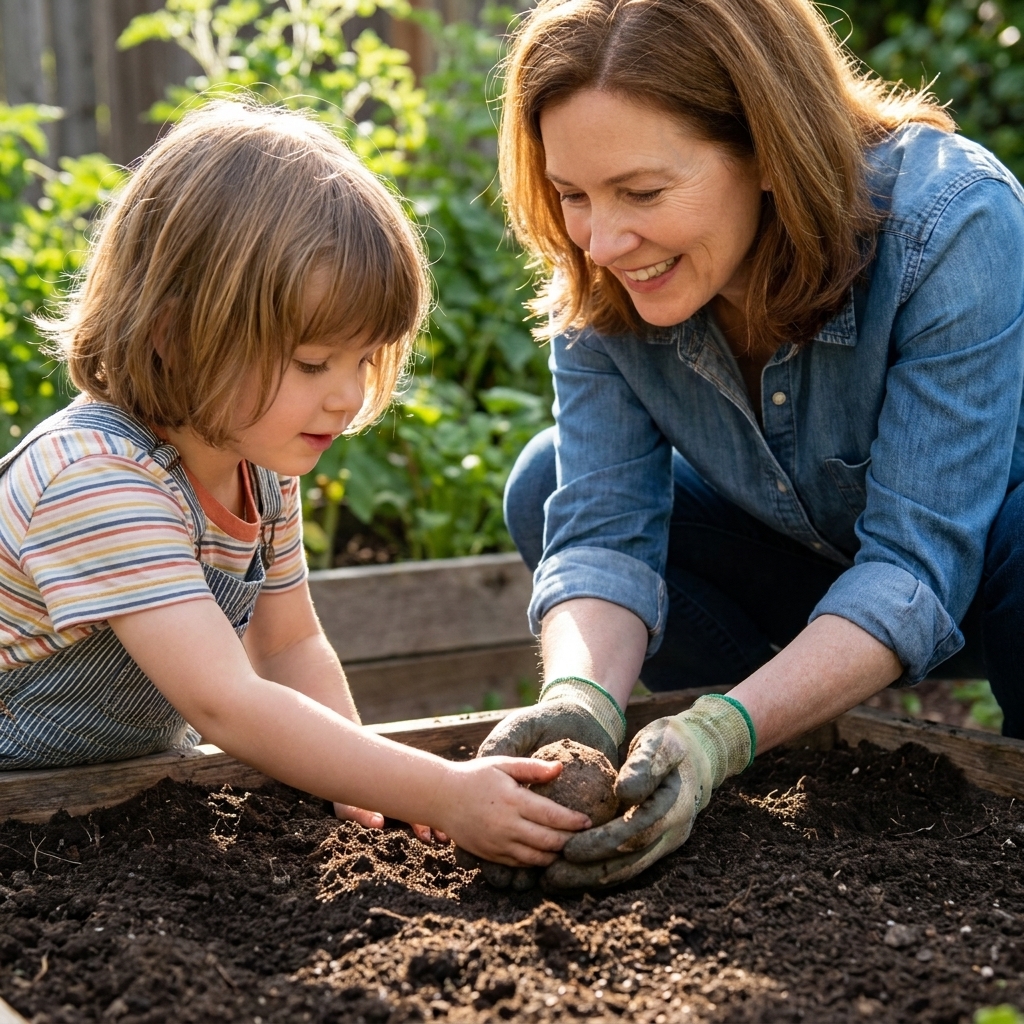
Best option: Plant them
- Choose a pot, planter, or garden bed with loose soil.
- Check your seed packet for depth. Many wildflowers need light to germinate, which means you should not bury them.
- If your seeds need light, press the seed bomb firmly into the soil so it makes good contact, but leave it mostly on the surface.
- If your seeds can be covered, bury the seed bomb very shallowly (often about 1/4 inch, depending on seed size).
- Water well, then keep the area lightly moist while seeds are germinating.
Tossing option: Only where you have permission
- Toss onto bare soil, not grass or thick weeds.
- Aim for a spot that will get rain or can be watered.
- In dry climates, this works best if you can water the area occasionally.
Timing tip: Spring and early fall are usually the sweet spots. If it is blazing hot and dry, seeds may wait it out or fail to sprout.
Drying, storing, and gifting
How long do they last?
If fully dry, seed bombs can last for months when stored correctly. Seeds are living things, though, so fresher is always better.
How to store them
- Let them dry until they feel hard and no longer cool to the touch.
- Store in a paper bag or cardboard box in a cool, dry place.
- Avoid sealed plastic bags unless you are 100 percent sure they are fully dry. Trapped moisture can cause mold.
Easy Earth Day gift idea
Seed bombs make lovely little “thinking of you” gifts for teachers, neighbors, and grandparents. Pop a few in a small paper bag or reusable fabric pouch.
Kid-friendly variations
Mini seed bombs for toddlers
For ages 3 to 4, I make extra-small balls and keep the seed amount light. Tiny hands do best with tiny projects.
Colorful clay option
Some clay powders come in red or brown tones. That is perfect. I do not recommend adding paint or glitter. It is not great for soil, and the whole point is eco-friendly.
Pollinator theme
Choose seeds known to support local pollinators. If your seed packet mentions bees and butterflies and is appropriate for your area, you are on a good track.
Troubleshooting
My seed bombs are cracking as they dry
A few cracks are fine. If they are falling apart, the mixture may be too dry. Next batch, add a bit more water or a bit more clay so it binds better.
They will not hold together when rolling
Add water in tiny splashes and knead a bit. If your soil is chunky, sift it or pick out larger bits.
They got fuzzy or moldy
This usually means they dried too slowly or were stored with moisture. Toss moldy seed bombs. For the next batch, make them smaller and dry them in a well-ventilated spot, then store in paper, not plastic.
Nothing sprouted
Most often, it is a moisture issue. Seeds need consistent dampness to germinate. Try planting in a pot where you can water regularly, and make sure the seed type matches the season.
Also, some native wildflowers are playing the long game. Certain varieties need a cold period (called cold stratification) and may not sprout until the next season. Sometimes “nothing happened” is actually “not yet.”
They sprouted unevenly
This can be totally normal with mixed seed packets. Different seeds germinate on different schedules. Many annuals pop up faster, while perennials can take longer.
Safety notes
- Supervise toddlers closely. Seeds are not snacks, even when they look like sprinkles.
- Wash hands after crafting, especially before eating.
- If anyone has allergies, check the seed varieties and soil additives.
- Skip unknown roadside soil. Use potting mix or compost you trust.
Earth Day learning moment
While you roll, try one of these easy conversation starters:
- “What do seeds need to grow?”
- “Who visits flowers besides people?”
- “How can we help nature in small ways at home?”
My favorite reminder for kids is: We are not just making crafts, we are making future flowers.
FAQ
Do seed bombs really work?
Yes, with the right seeds and enough moisture. Planting them in a pot or garden bed usually gives the best results because you can water more consistently.
How long does it take to see sprouts?
It depends on the seeds and the weather. Many easy annuals can sprout in 1 to 3 weeks with steady moisture. Some perennials take longer, and some native mixes may wait until after a cold period.
Can I use flour and water instead of clay?
I do not recommend it. Flour mixtures can mold quickly and attract critters. Clay is the better, more garden-friendly binder.
What clay should I buy?
Look for natural clay powder marketed for seed balls or pottery clay that is safe and additive-free. If a product is heavily scented or full of unknown additives, I would skip it for planting.
What seeds are best?
Native wildflower mixes are ideal. If you are unsure, check your local extension office or a local native plant society for recommended varieties in your area.
Wrap-up
If you want an Earth Day activity that is low-cost, hands-on, and genuinely meaningful, seed bombs are a home run. Expect mess. Expect giggles. Expect at least one child to request making “just one more” until you run out of clay.
And when those first little sprouts show up, you get the best kind of crafting payoff: proof that your kids made something that lives.