A realistic, parent-friendly guide to toddler crafts: low-mess setup, easy materials, and simple ideas that keep little hands busy without wrecking your house.
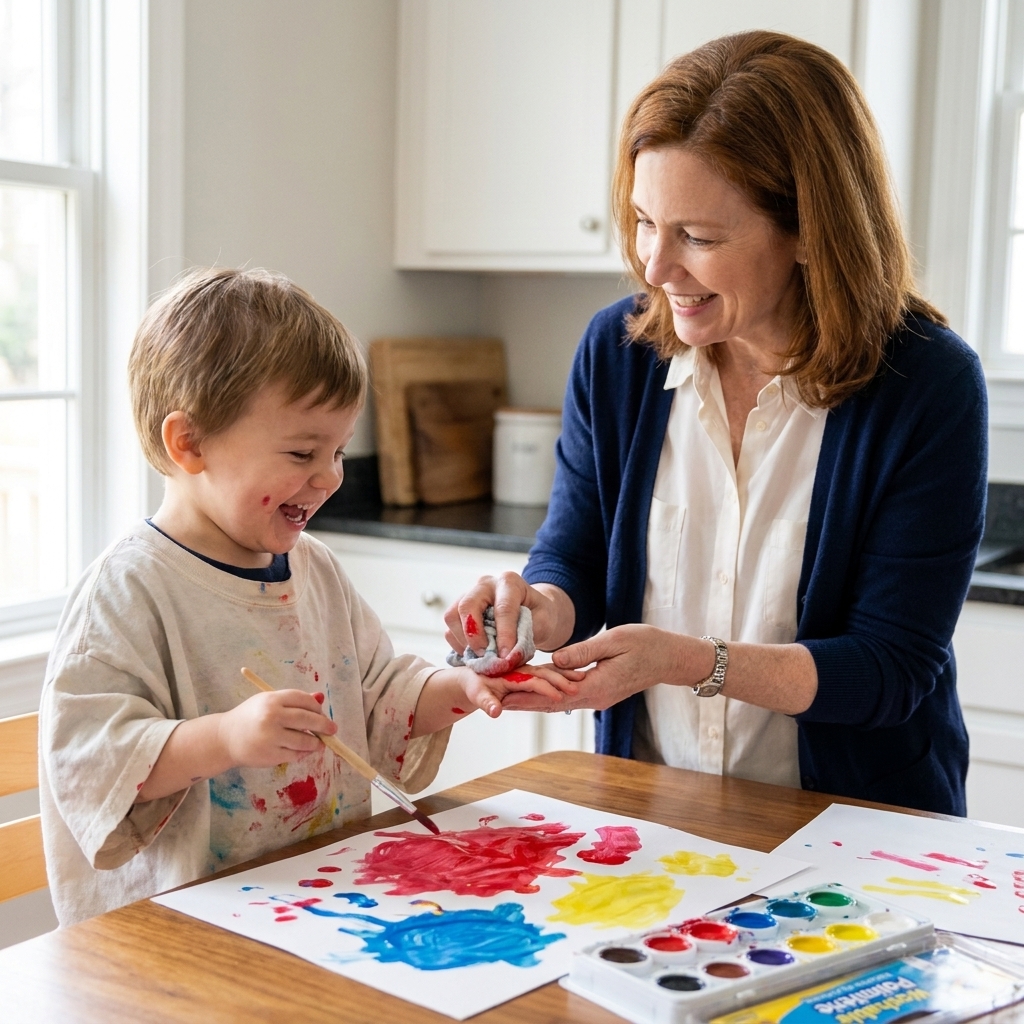
If you have a 1-year-old, you already know the truth: everything is a “taste test.” That is why taste-safe finger painting is such a sweet first art experience. You get the sensory magic of paint without the panic when those adorable little fingers head straight for the mouth.
I taught kindergarten for eight years, and now I am home with three kids (3, 6, and 8) who still manage to get paint in surprising places. For a one-year-old, we keep it extra simple: edible ingredients, a tiny color palette, and a setup that takes two minutes and can save you twenty.
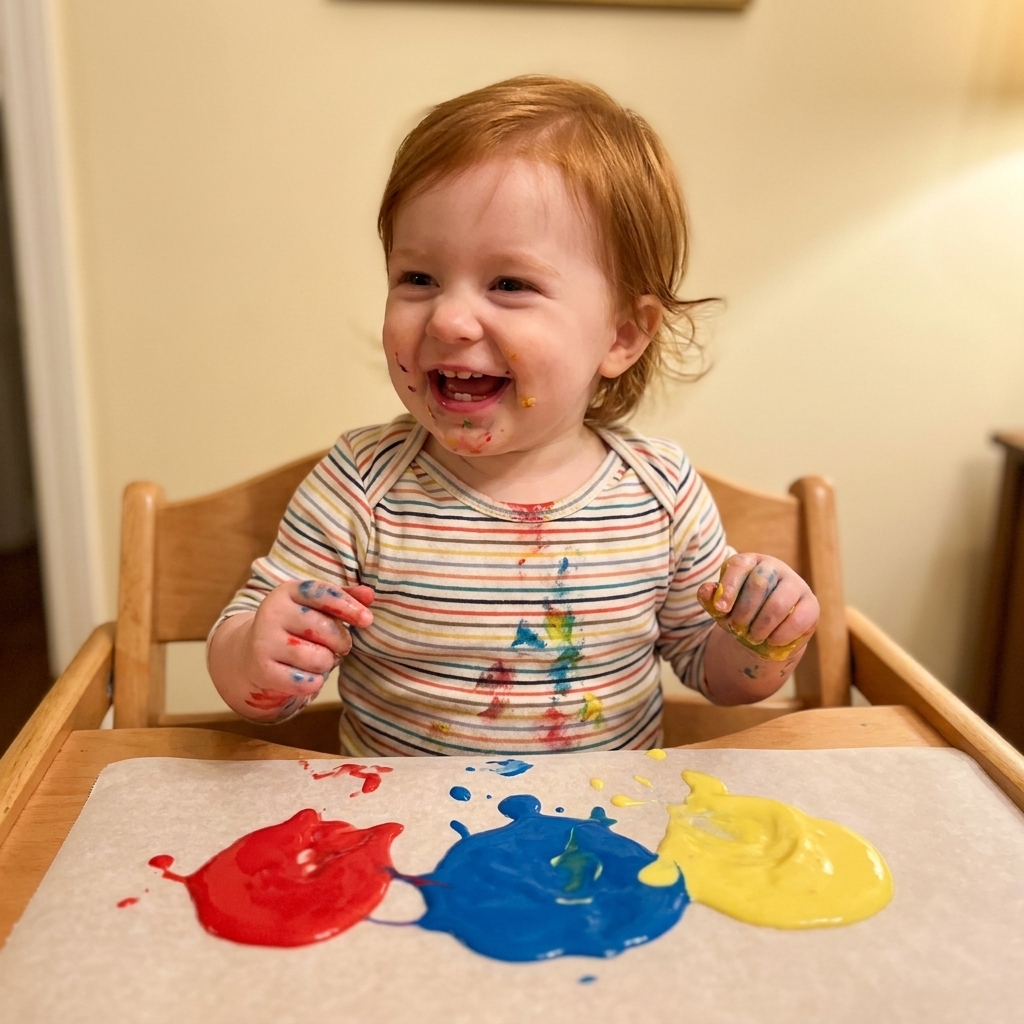
Before you start: quick safety notes
Taste-safe is not the same as allergy-safe, so do a quick check before you mix anything up.
- Supervision is non-negotiable. Even edible paint can become a problem if your child stuffs big globs in their mouth or mouths tools (spoons, tape, paper bits).
- Allergies matter. If your child has dairy, wheat, corn, or coconut allergies, pick a recipe that fits your household.
- Skip honey under age 1. (Not a paint ingredient we use here, but it sneaks into “edible” ideas online.)
- Avoid small add-ins. No sprinkles, chia, or rice for one-year-olds. They are tempting, and they do not belong in paint for this age.
- Check skin sensitivity. If your little one has eczema, patch test first and keep sessions short.
- Go easy on food coloring. Use the smallest amount you can. Some kids get mild skin irritation or temporary staining, especially with brighter colors.
If your child eats a bit, that is expected. If your child eats a lot, end the activity and offer a snack instead. Hungry artists are enthusiastic, but not always in the way we want.
And one more practical note: keep tape out of reach and do not send wet, painted paper into sleep spaces or daycare bags. Let it dry fully first.
Stop the activity if your child develops a rash, starts coughing or gagging, or seems genuinely distressed. You can always try again another day with a different recipe or a bag-paint option.
My no-stress setup for 1-year-olds
This is the setup I use when I want the fun without repainting my whole life afterward.
What you need
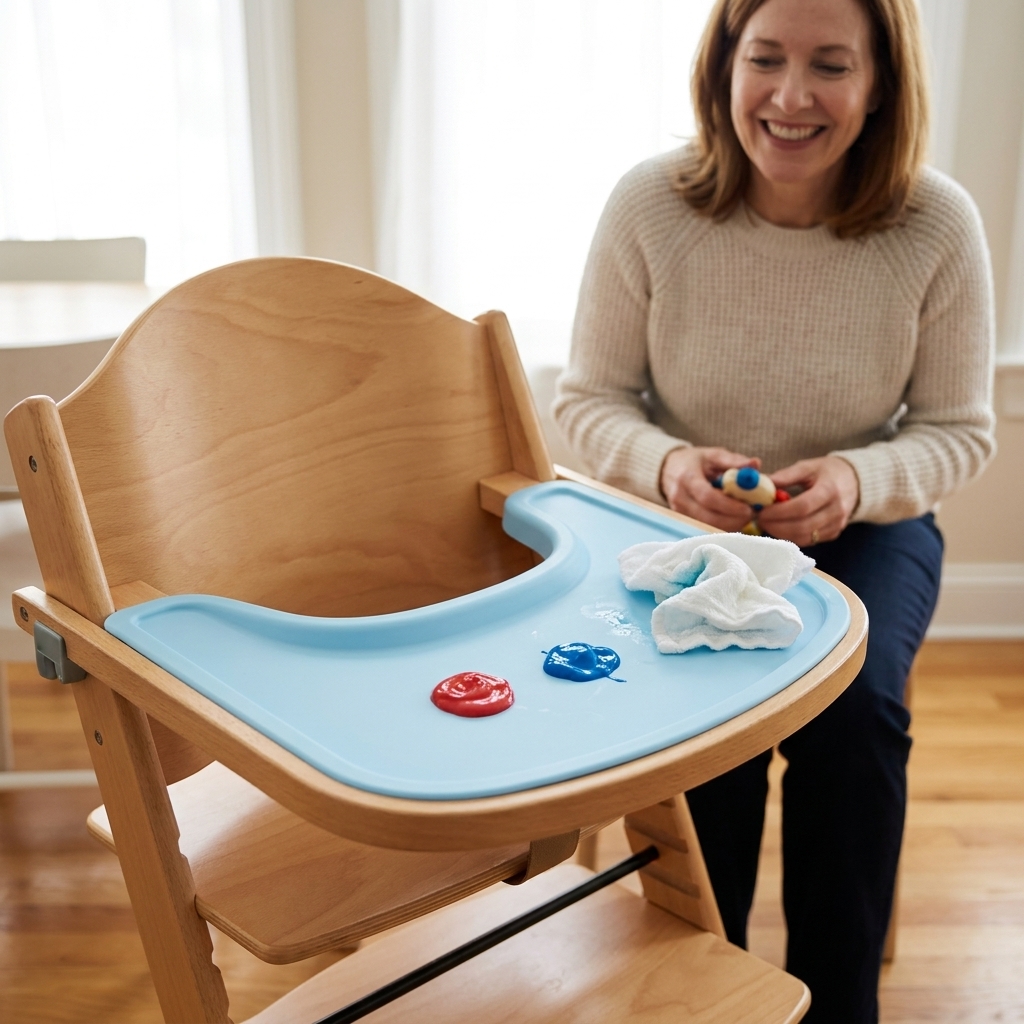
- High chair, or a toddler table you can wipe
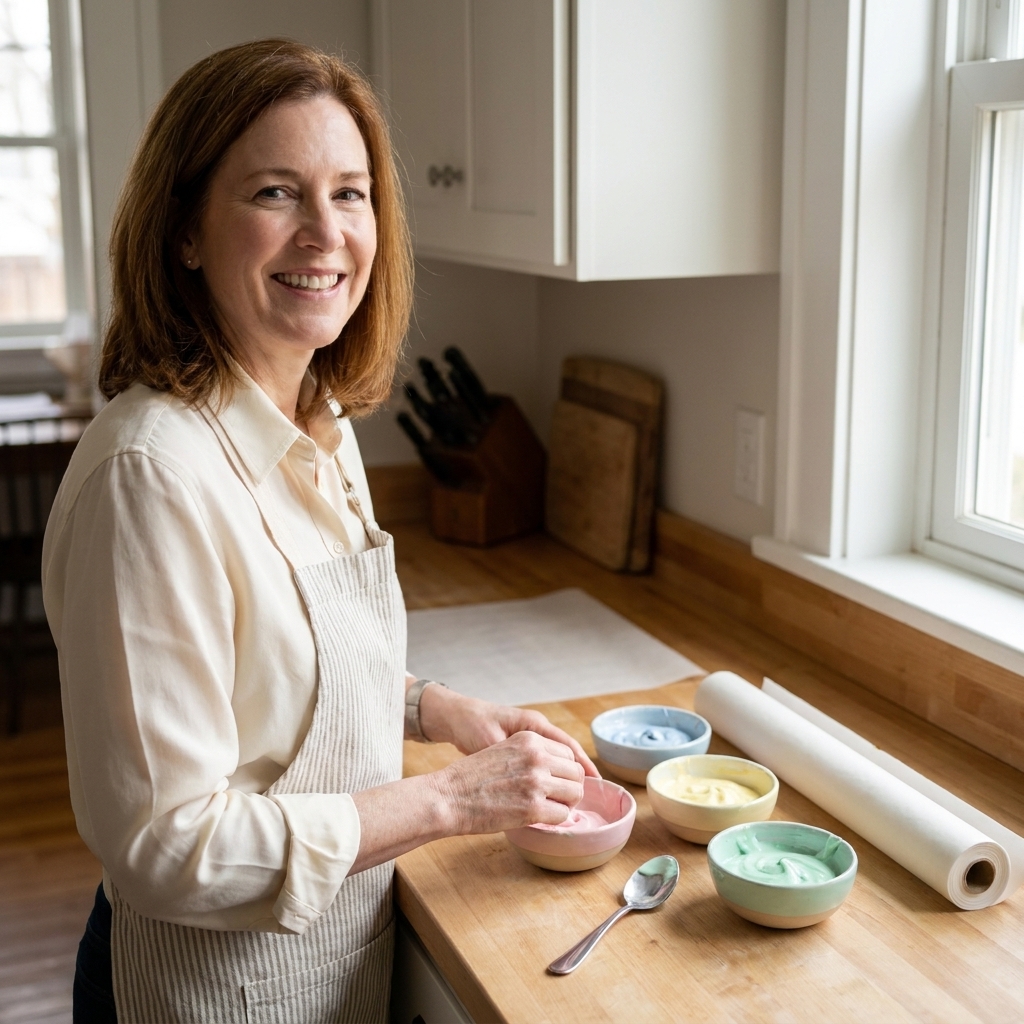
- Tray liner: parchment paper, freezer paper (shiny side up), or a silicone baking mat
- A damp washcloth (in a bowl) for “on-the-go” hand wipes
- An old towel under the chair, or a splat mat if you have one
- A onesie you do not love, or just a diaper and a bib
- 2 to 4 small blobs of paint (start with less than you think)
Best surfaces
- High chair tray: easiest cleanup, best containment
- Bathtub painting: fantastic for messy kids, and rinse is built in
- Outside on a porch: wonderful if weather allows, especially for pudding paint
The “tiny palette” rule
For 1-year-olds, I recommend two colors max for the first try. Too many colors quickly turns into one mysterious shade of beige (and a faster exit).
Taste-safe finger paint recipes
All of these are edible and made from simple pantry or fridge ingredients. Choose the one that matches your child’s needs and your tolerance for mess.
1) Yogurt finger paint (bright, creamy, and quick)
This is my go-to for first-time painters because it is thick, easy to spread, and wipes up well.
- Base: 1/2 cup plain Greek yogurt (or regular plain yogurt)
- Color options: a few drops of food coloring, or natural color (see below)
How to make it: Spoon yogurt into 2 small bowls. Tint each bowl with a tiny amount of color. Stir well. That is it.
Natural color ideas:
- Mashed blueberries for purple
- Beet puree for pink
- Spinach puree for pale green
- Turmeric (a pinch) for yellow
Tip from my teacher days: If your yogurt paint looks “watary,” stir in 1 to 2 teaspoons of baby oatmeal or finely ground oats to thicken.
2) Pudding finger paint (bold color, maximum sensory)
Chocolate pudding is basically sensory play gold. It is also extremely messy. Plan for a bath after.
- Base: prepared instant pudding (vanilla or chocolate)
- Optional: food coloring if using vanilla
How to make it: Prepare pudding according to package directions, or use a ready-to-eat cup for the easiest option. Add a tiny bit of coloring to vanilla if desired.
Best for: bathtub painting, outdoor painting, or “we are already having a messy day” painting.
3) Baby cereal paint (super gentle, great for sensitive skin)
If you want something that feels more like “real paint” but is still edible, baby cereal paint is wonderfully mild.
- 3 tablespoons baby oatmeal or rice cereal
- 3 to 5 tablespoons warm water (add slowly)
- Optional: a drop or two of food coloring or a spoon of fruit puree
How to make it: Mix cereal with warm water until it becomes a smooth paste. Adjust thickness by adding water for a looser paint or more cereal for thicker.
Why I love it: It dries less sticky than pudding and is less tempting to eat by the handful.
4) Cornstarch and water paint (silky, swirly, and fun)
This one is “oobleck-adjacent.” It is a fascinating texture for little fingers.
- 1/4 cup cornstarch
- 2 to 4 tablespoons water
- Food coloring (optional)
How to make it: Mix cornstarch and water until it is a thick, silky paste. Add color if you want. If it turns too runny, add a sprinkle more cornstarch.
Note: Some kids are sensitive or allergic to corn. If that is your family, choose yogurt or baby cereal instead.
How to paint (without overwhelm)
Step 1: Tape paper down first
Tape a sheet of thick paper or cardstock to the tray, or paint directly on the liner. If you use paper, a little painter’s tape keeps it from becoming a “rip and crumple” activity. Keep tape out of grabbing range.
Step 2: Offer tiny amounts of paint
Think teaspoon-sized blobs. You can always add more. Starting small keeps it from turning into a full-body mask in thirty seconds.
Step 3: Model one simple action
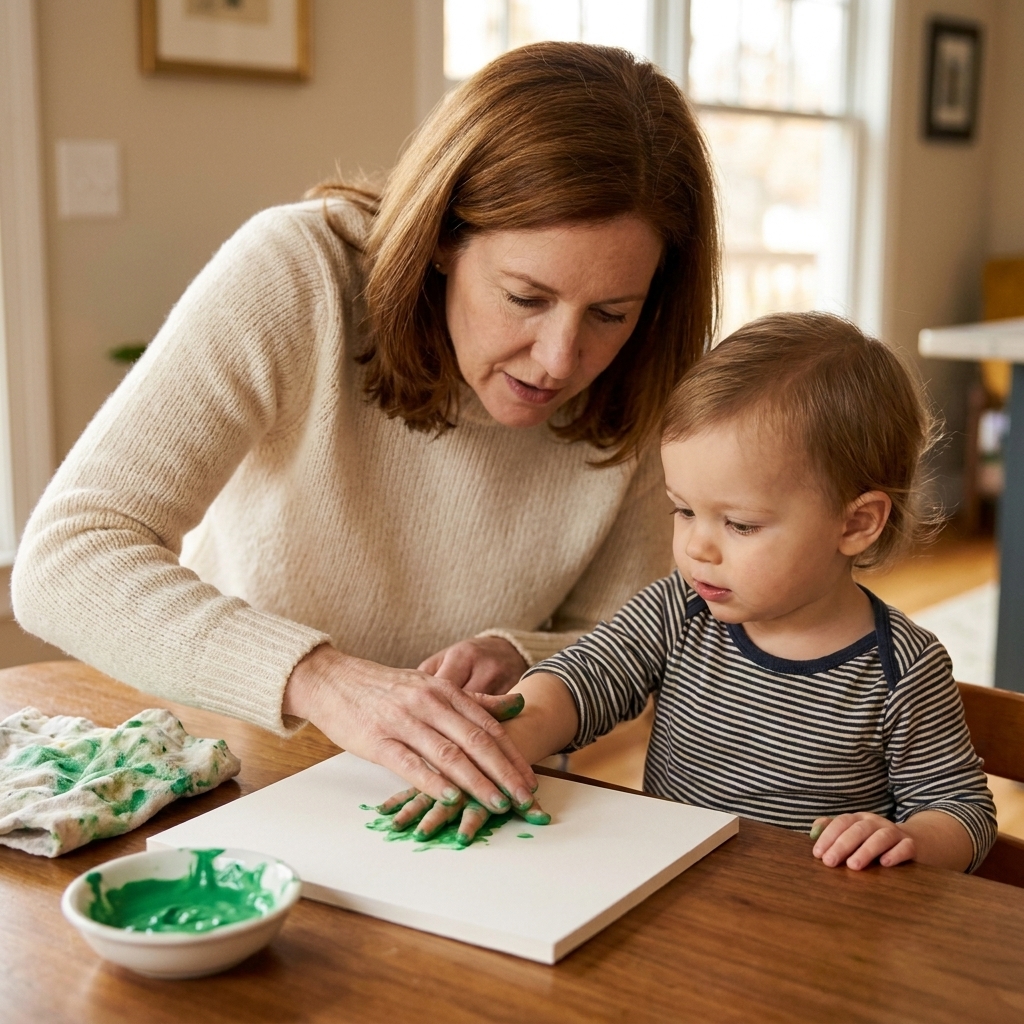
With a one-year-old, I demonstrate exactly one thing: dab, swipe, or make handprints. Then I let them explore. They might tap. They might smear. They might stare suspiciously at the paint for a full minute. All of that counts.
Step 4: Keep it short
Most 1-year-olds do great with 5 to 10 minutes. End on a happy note before they get tired, fussy, or too determined to eat the paint.
Step 5: Name what they are doing
Try simple language: “You are swishing!” “That feels squishy!” “Blue on your fingers!” It builds vocabulary without turning playtime into a lesson.
Clean-up strategies that save your sanity
I am going to say this with all the love in the world: plan clean-up before you start. It is the difference between “That was fun!” and “Why did I do this?”
The two-cloth trick
- Cloth #1 (wet): wipe hands and tray immediately
- Cloth #2 (dry): finish with a quick dry wipe so nothing spreads
Easy clothing plan
- Paint in just a diaper, or a short-sleeve onesie you do not mind staining
- Use a wipeable bib (the big smock-style ones are great)
- If you use food coloring, choose darker play clothes because it can tint fabric
Fast bath option
If you used pudding paint or your child is gleefully painting their elbows, head straight to the tub. I keep it simple: warm water, gentle soap, and a quick rinse.
Stain notes
- Turmeric stains. It makes a gorgeous yellow but can tint trays and fabric. Use it only if you are okay with the risk.
- Beet can tint. Usually it washes off skin fine, but it may stain light fabric.
- Food coloring can stain. A little goes a long way, and it may tint skin or fabric temporarily.
- Chocolate pudding: messy, but surprisingly manageable on most surfaces with soap and water.
Storage and make-ahead tips
These are best used fresh, but you can prep a little ahead if you want.
- Yogurt paint: store covered in the fridge up to 24 hours. Stir before using.
- Pudding paint: store covered in the fridge and use within 24 hours.
- Baby cereal paint: best fresh. It thickens as it sits, so you may need to add a splash of water.
- Cornstarch paint: can separate. Stir well, and toss if it smells off.
If anything looks strange, smells sour (beyond normal yogurt), or has been sitting out, toss it. These are food-based paints, so treat them like food. As a general rule, do not keep dairy-based paints at room temperature for more than 2 hours.
What to paint on
For a 1-year-old, the “project” is the experience. These simple surfaces keep it fun.
- Cardstock on a tray: great for saving a keepsake handprint
- Freezer paper (shiny side up): extra smooth and wipes clean
- Paper plate: easy handling and fast cleanup
- Inside a shallow box lid: contains paint and is easy to carry to the sink
Troubleshooting
My child only wants to eat the paint
Totally normal for this age. Try one of these:
- Offer a snack first, then paint
- Use baby cereal paint, which is less “dessert-like”
- Give them a clean spoon to hold while they paint with their other hand (and watch closely)
- Keep paint amounts tiny and end the activity quickly
My child hates messy hands
Some kids need a slow introduction.
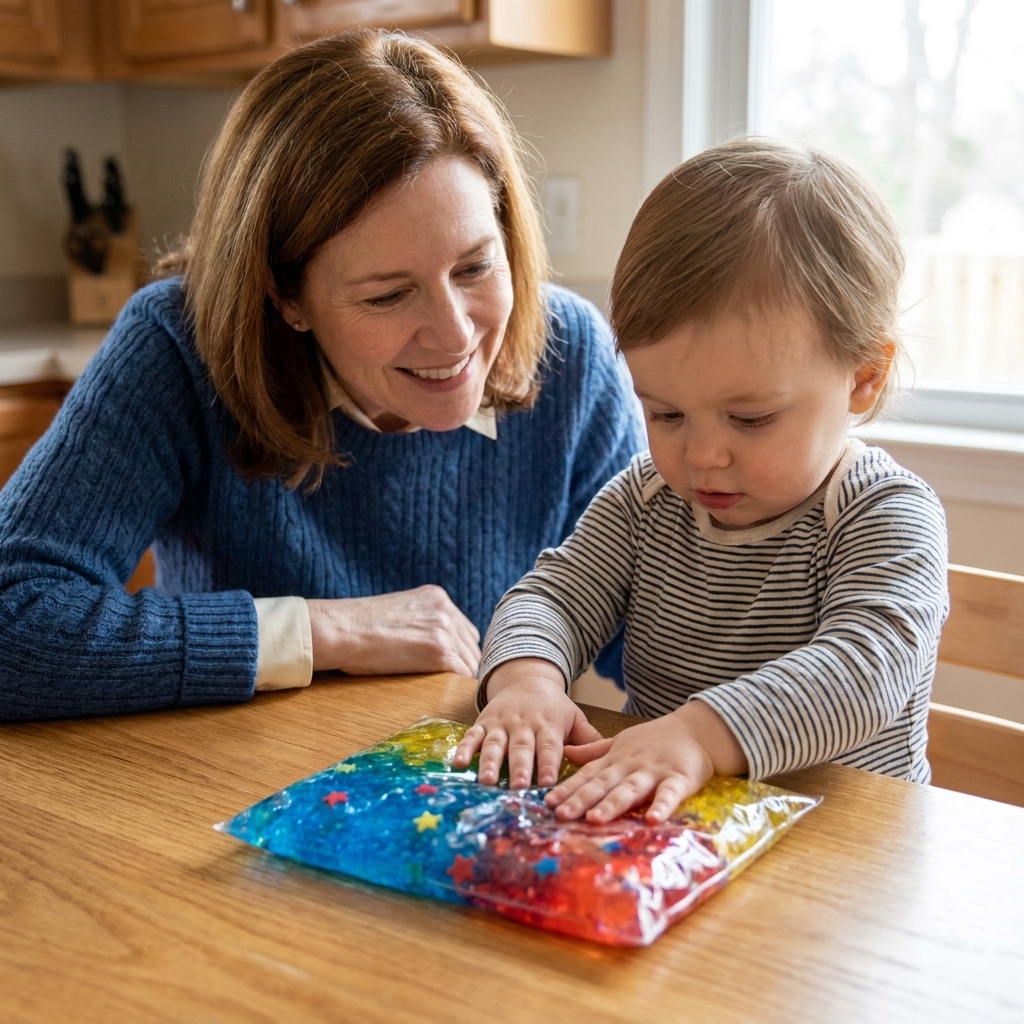
- Start with painting in a sealed zip-top bag (taste-safe paint inside, bag taped to tray)
- Offer a paintbrush or silicone pastry brush first, then fingers
- Keep a damp cloth nearby so they can wipe whenever they want
Everything turned brown
Welcome to color mixing with toddlers. If you want colors that tend to stay brighter and less muddy, try two that are close together (blue and green) or let your child explore one color at a time for the first few sessions.
The paint is too runny
- Thicken yogurt or pudding with a little baby oatmeal
- Thicken cereal paint with more cereal
- Thicken cornstarch paint with more cornstarch
FAQ
Is taste-safe finger paint the same as non-toxic paint?
No. “Non-toxic” craft paint is not meant to be eaten, even if a tiny accidental taste is usually not dangerous. For 1-year-olds, I prefer taste-safe recipes so you can relax while they explore.
Can I use regular washable paint with a 1-year-old?
I save regular washable paint for older toddlers who reliably do not mouth materials. If your one-year-old is still in the “everything goes in my mouth” stage, stick with edible paint.
What is the least messy recipe?
Baby cereal paint is usually the least messy, followed by yogurt paint. Pudding is the messiest but also the most exciting for many kids.
How do I make keepsake handprints without a meltdown?
Do the handprint first, fast, with a tiny amount of paint. Then let them free paint after. If you try to do the handprint at the end, you are negotiating with a slippery little masterpiece.
What paper works best?
Thick cardstock or mixed media paper holds up well to wet paint. Regular printer paper works too, but it will wrinkle more.
A gentle reminder
If your baby paints for three minutes and then cries because their fingers feel “too yucky,” that is still a win. If your toddler paints their tray, their hands, and somehow their forehead, that is also a win. The goal is not a perfect craft. The goal is a safe, happy first experience with art.
And if you need me, I will be over here, holding my house together with hot glue and washi tape, cheering you on.